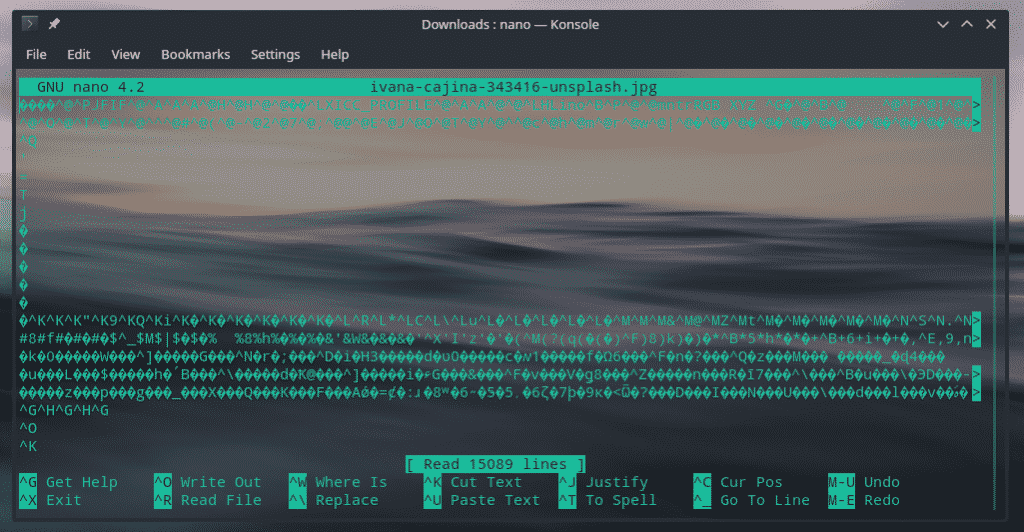
It’s not an ideal thing, though. Text editors are meant to edit files as if they’re a text file. That’s why when I told “nano” to open the JPG file, it opened it “as if” it’s a text file. A similar thing will happen if you’re trying to open other files, for example, audio, video, even binary files.

Vim text editor
Now, there are 2 types of text editors available on the Linux platform: GUI and console.
GUI text editors are the most popular ones among general users. Some of the popular ones include gedit, GNU Emacs, Atom, Brackets, Sublime Text, Visual Studio Code and others.
When we’re talking about the console text editors, the real challenge emerges. Using console text editors are not only rough but challenging. Of course, if you’ve clicked on this guide, you’re already familiar with them. Popular console text editors include nano and Vim.
As the title of the article suggests, this guide is on Vim – one of the toughest console text editors. Vim is actually the “vi” text editor with additional features and tweaks. My goal is to offer a basic and detailed introduction and usage examples of Vim.
Vim guide
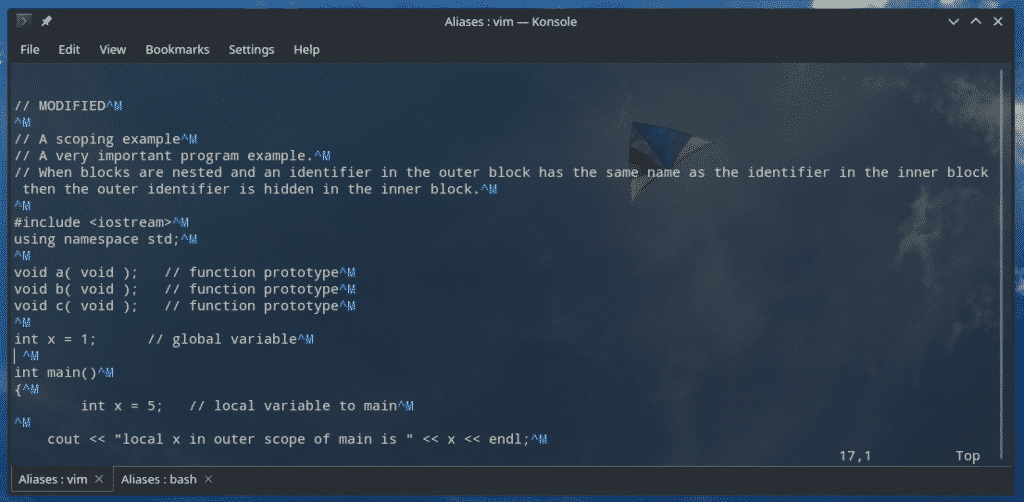
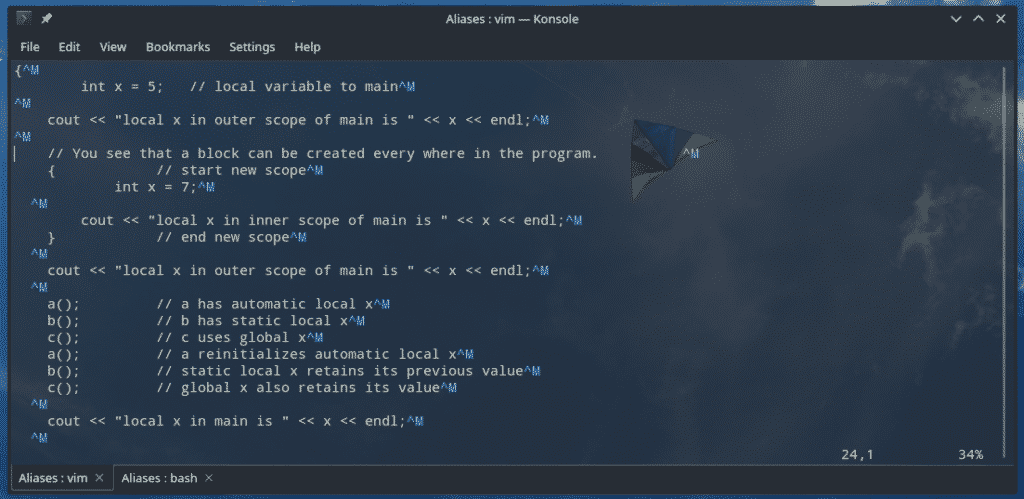
For this guide, I’ll be using C++ code examples. Check out the C++ codes by sinairv on GitHub.
Installing Vim
In most of the Linux distros, Vim comes pre-installed with nano and/or emacs. It doesn’t matter whatever Linux distro you’re using, Vim will always be available on the official repo as vi is required by POSIX.
Fedora: sudo dnf update && sudo dnf install vim
OpenSUSE: sudo zypper update && sudo zypper install vim
Red Hat-based distros: sudo yum update && sudo yum install vim
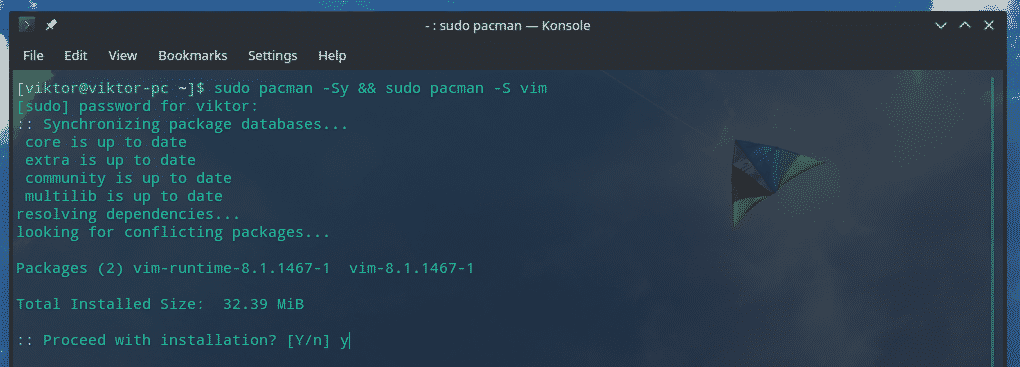
Arch/Arch-based distros: sudo pacman -Sy && sudo pacman -S vim
Launching Vim
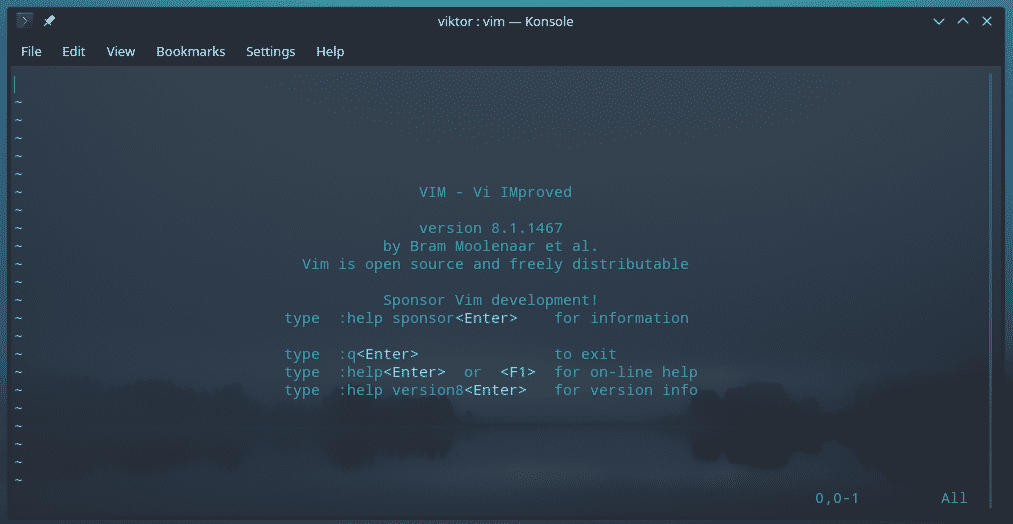
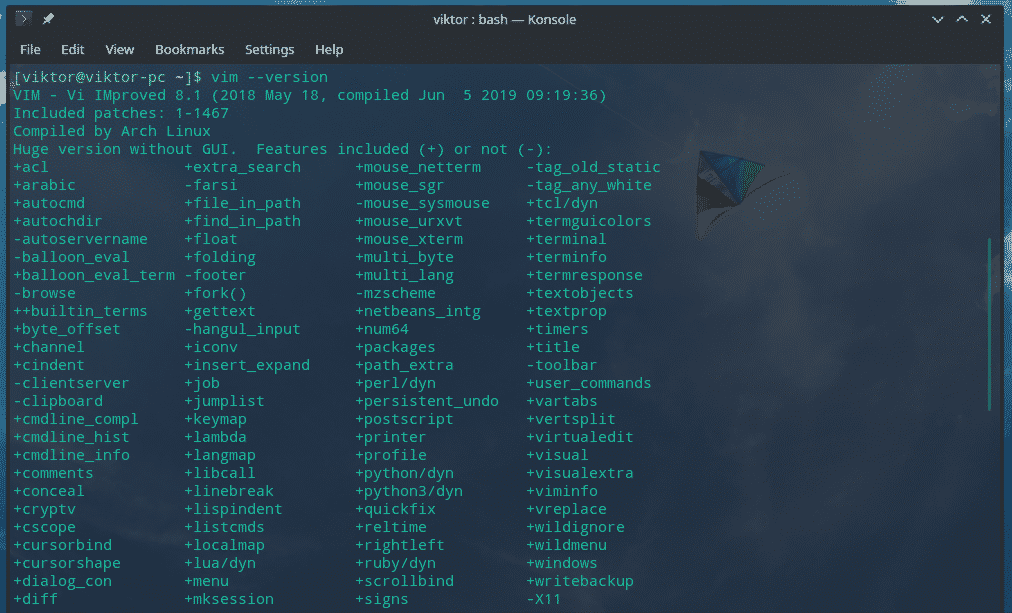
Once the installation is complete, check the existence of Vim.

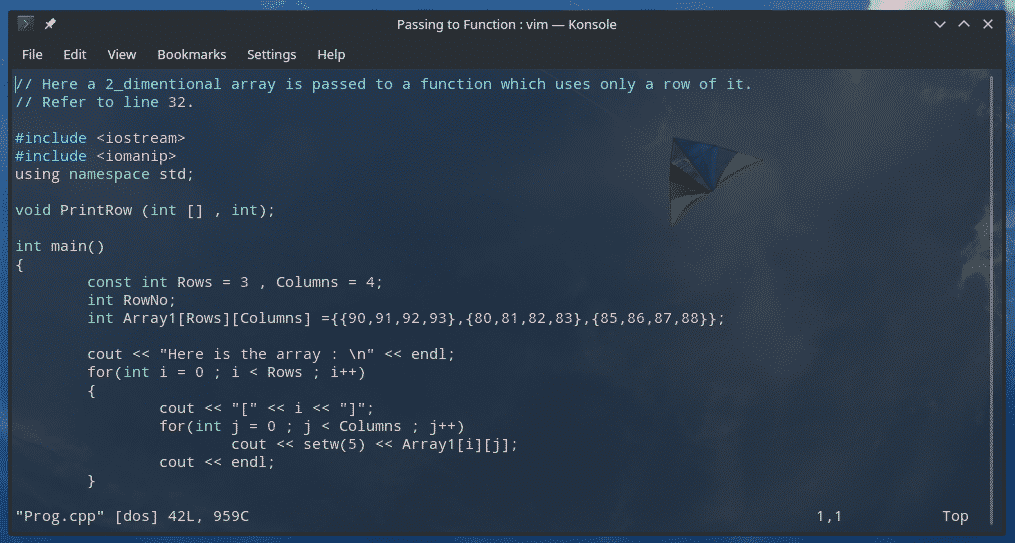
If you’re interested in using Vim for editing a text file, use the following structure.

Quitting Vim
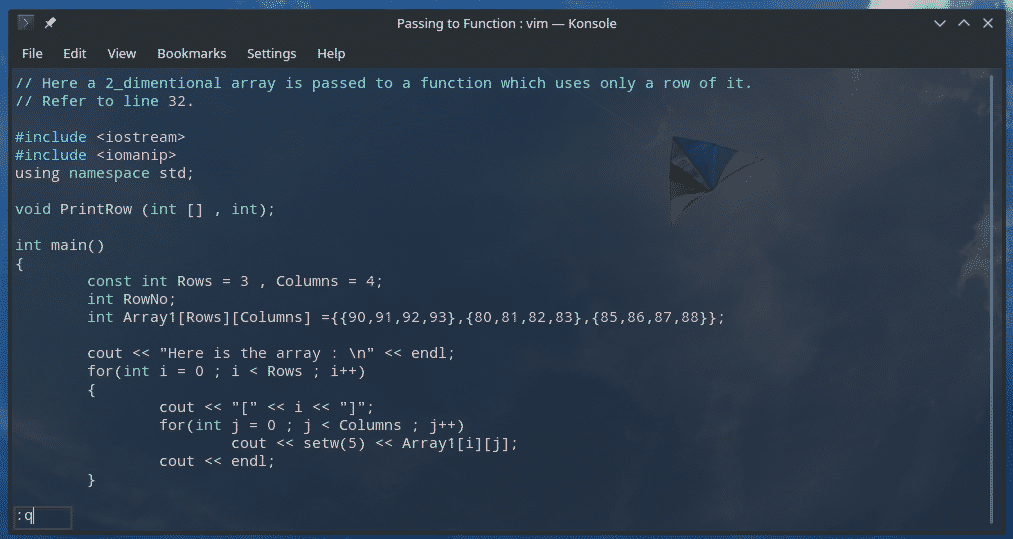
This is the very first thing I had to learn while using Vim. There are plenty of times when I screwed up. Learning how to quit Vim saved me countless times.
Type “:q” and hit Enter (without quotes).
Note: Vim won’t let you out without this method. “Ctrl + C” doesn’t work.
Navigating the file
Vim offers a really complicated set of ways you can use to navigate the text file.
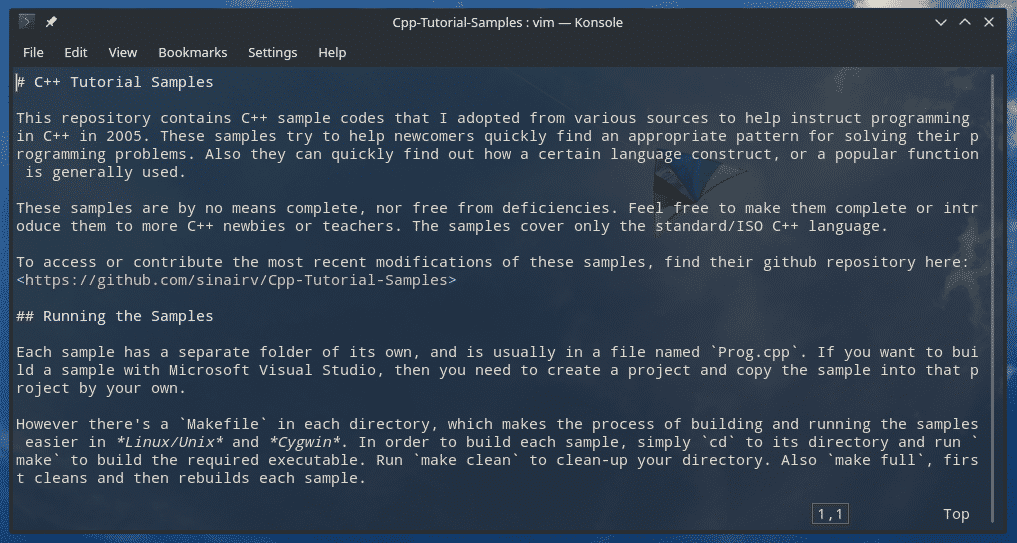
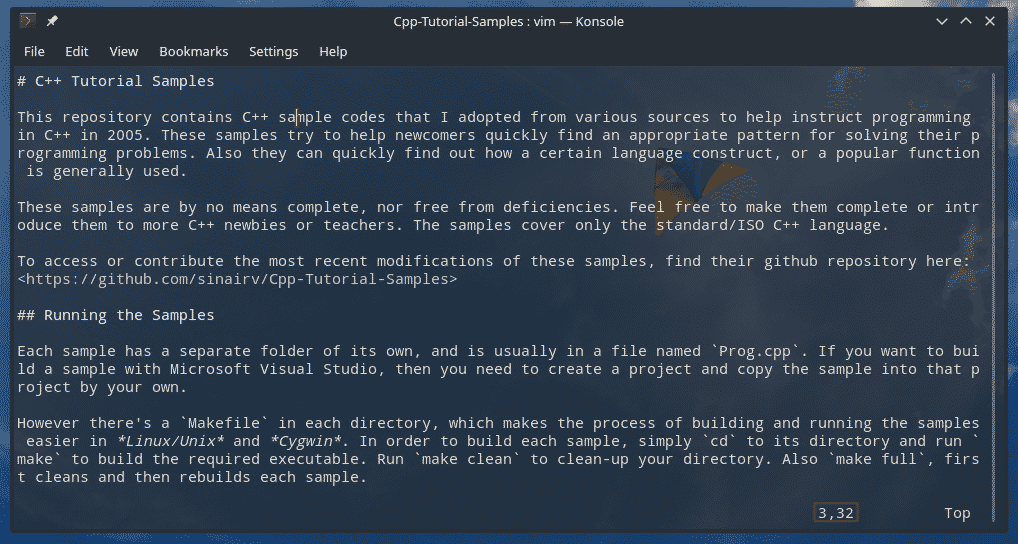
Let’s get back to the text file. This time, we’re on the ReadMe.md file.
The easiest way to navigate through the file is by using the arrow keys.
Vim allows using other keys to navigate the file like the arrow keys.
h – One character to the left
l – One character to the right
k – Go up
j – Go down
w – One word to the right
b – One word to the left
0 (zero) – Beginning of the current line
$ – End of the current line
Note: Be careful about the case of the keys.
Editing the file
This is the important part. We’re opening the text files into the editor to perform some edits, right?
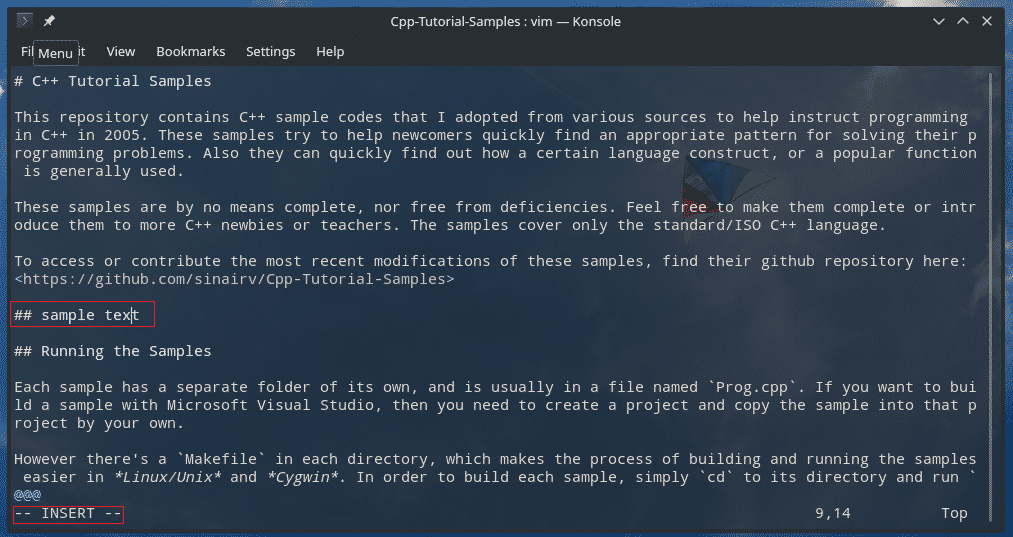
Navigate to your desired place on the text and hit “i”. This will tell Vim to enter the “Insert mode”.
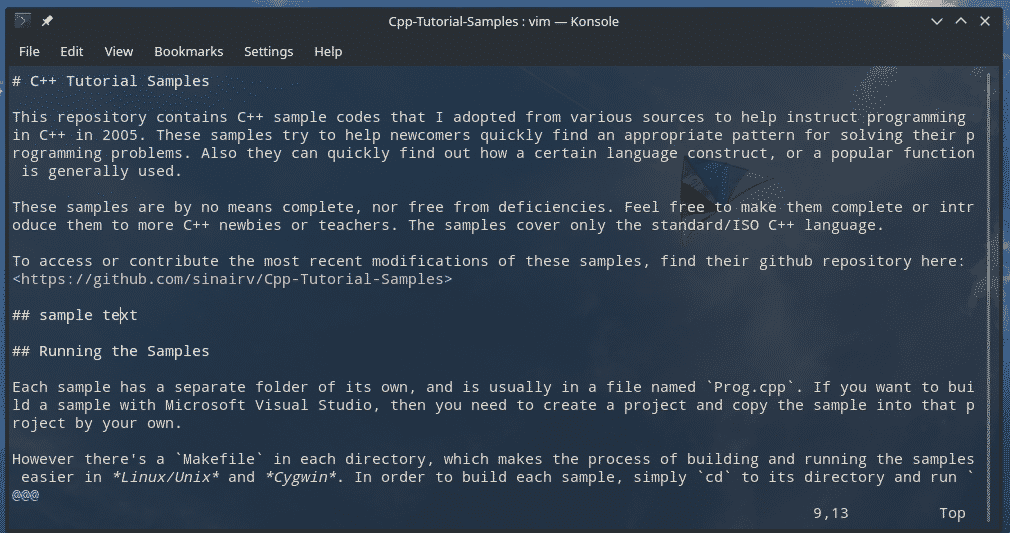
Once you’ve done your necessary edits, you can exit the “Insert” mode by pressing “Ctrl + C” or Esc. My personal preference is using the Esc key.
Saving the file
Before saving the file, it’s necessary to understand how Vim handles the work.
When you’ve opened a text file with Vim, you’re actually accessing a temporary copy of the original file. If you’re satisfied with your changes and decide to save, only then Vim will write the edited file over the original file.
There are benefits to this approach. It prevents the original file from unwanted corruption. Vim allows multiple users to edit the same file at the same time, so using a temporary file helps to avoid conflicts. Vim saves the temp file so that you can recover your work if there happen to be some interruptions.
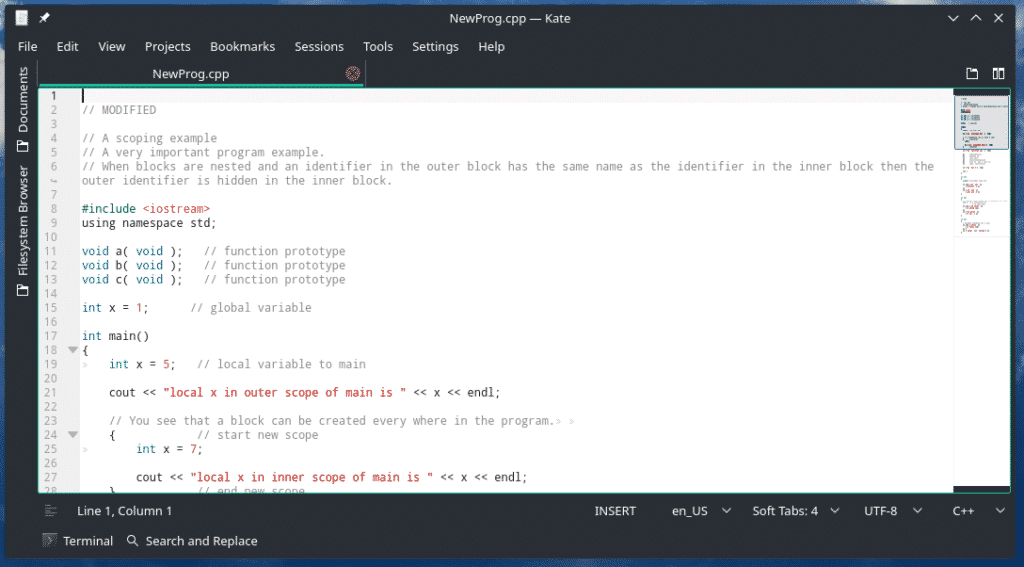
To write the buffer to the file, enter “:w”.


It’s also possible to combine the write command with quit.
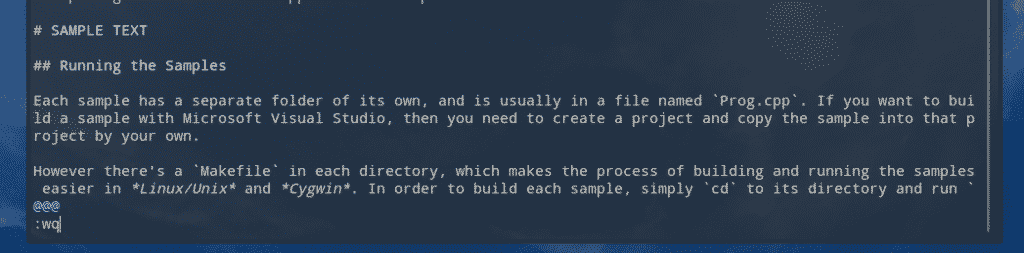

This will write the buffer to the file and exit the editor.
Another interesting feature Vim offers is writing the current buffer at the end of another file. In short, you can append the current edit to another file.
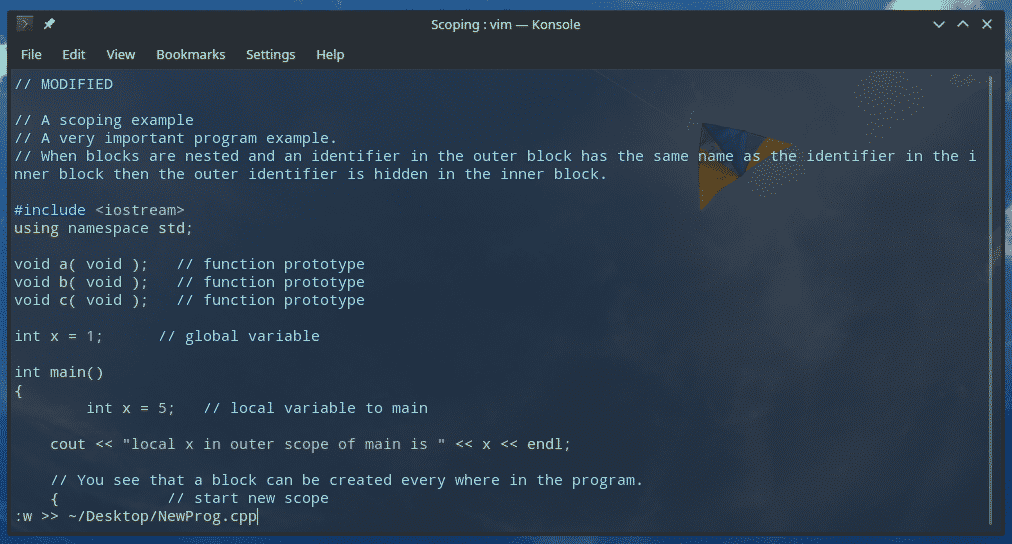
This command can also be paired with the quit command.
Sometimes, you might just want to discard the current buffer and start from scratch. I screwed up the sudoers multiple times, especially with Vim. This method just saved me a lot of headaches. Tell Vim to exit without writing the buffer to the file.
Searching
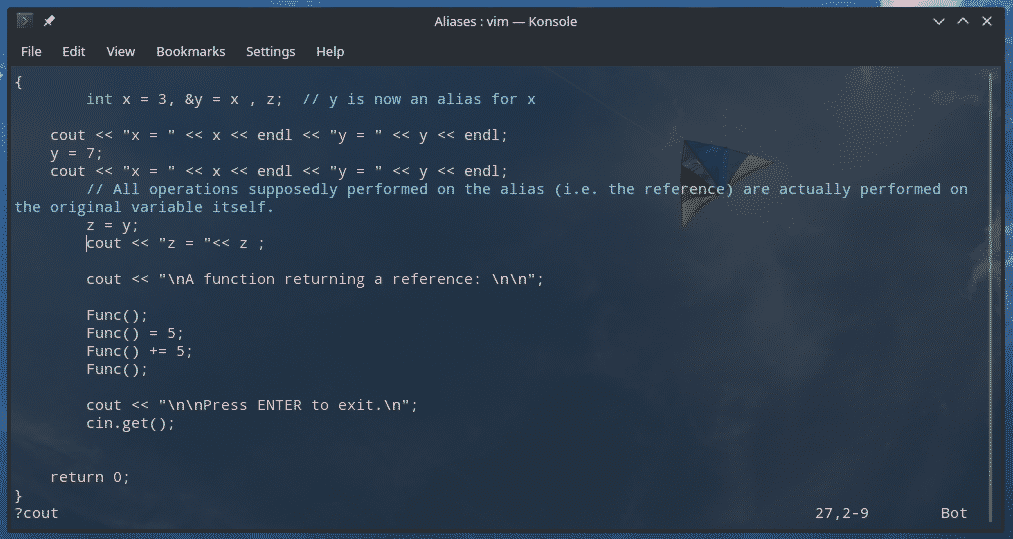
As a legendary piece of software, it would be a shame if there would be no search functions! Using Vim, it’s easy to find out where your target phrase is. This is the structure that Vim requires to perform the search function.
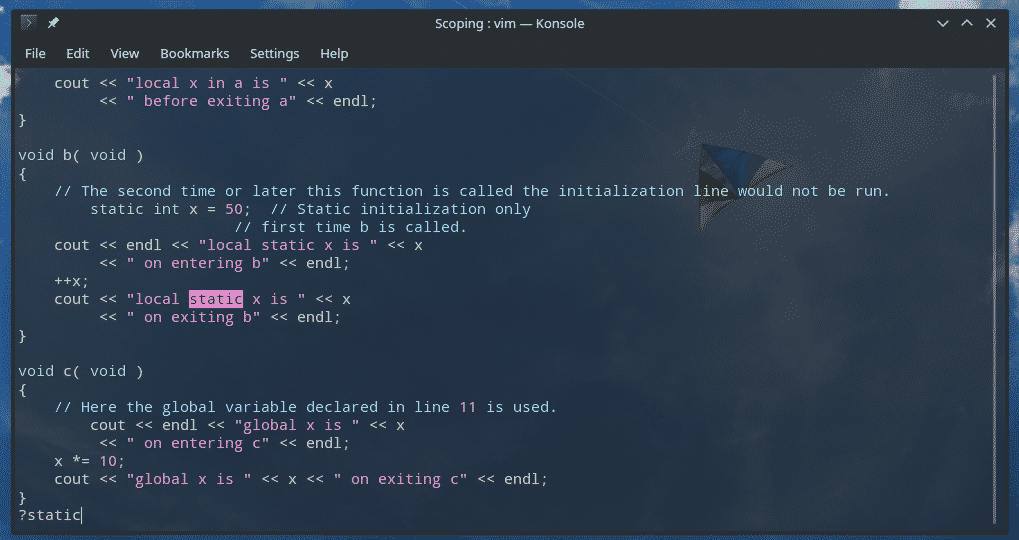
Notice that there’s no gap in-between the question mark and the search string. After typing the search term, hit Enter.
Now, when you run this, you’re stuck with the only search result. Is that acceptable? No! Tell Vim to navigate to previous/next search matches!
N – Find the previous match
Inserting data from an outer source
It’s another interesting technique that can come handy in lots of scenarios. You can directly take the output of a certain command and insert at the right spot of a file.
For example, let’s insert the output of a pacman command. Learn how to use Pacman on Arch Linux and other Arch-based distros.


This command structure offers a whole bunch of possible usage. For example, how about inserting the content of another file?

If you’re in need of specifically getting the content of a certain text, no need to call the “cat” command. Vim already offers an easier way to do so.

Vim customizations
Vim is extremely customizable. There are plenty of ways to improvise the functionality of this text editor. Vim allows plenty of customization through the vimrc file.
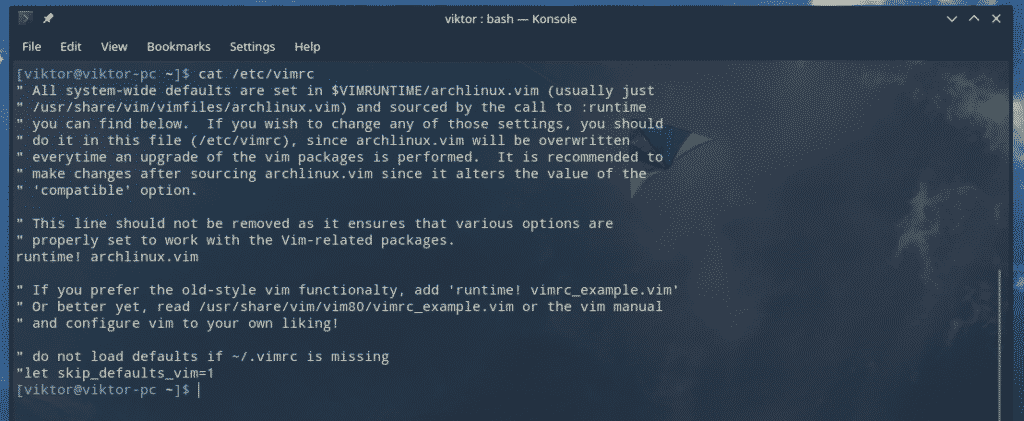
There are a couple of different locations for vimrc – global and local. The global one is located at “/etc/vim/vimrc” or “/etc/vimrc”.
For the local vimrc file, it’ll be located at “~/.vimrc” file.
Before editing the vimrc, it’s necessary to understand the scope of both. The global vimrc (located at “/etc/vimrc” or “/etc/vim/vimrc”) impacts all the Vim sessions across all the user accounts. However, in the case of local vimrc (located at “~/.vimrc), it will only take effect in the respective user’s session.
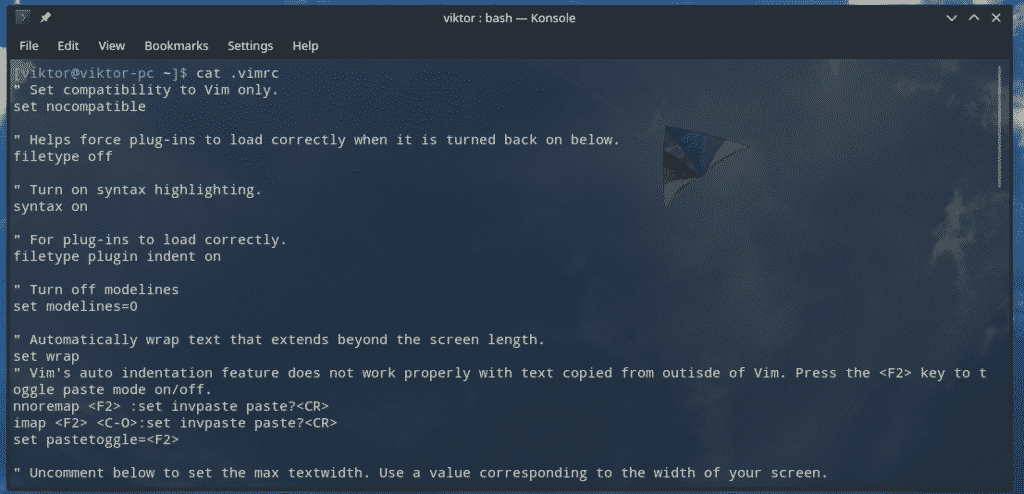
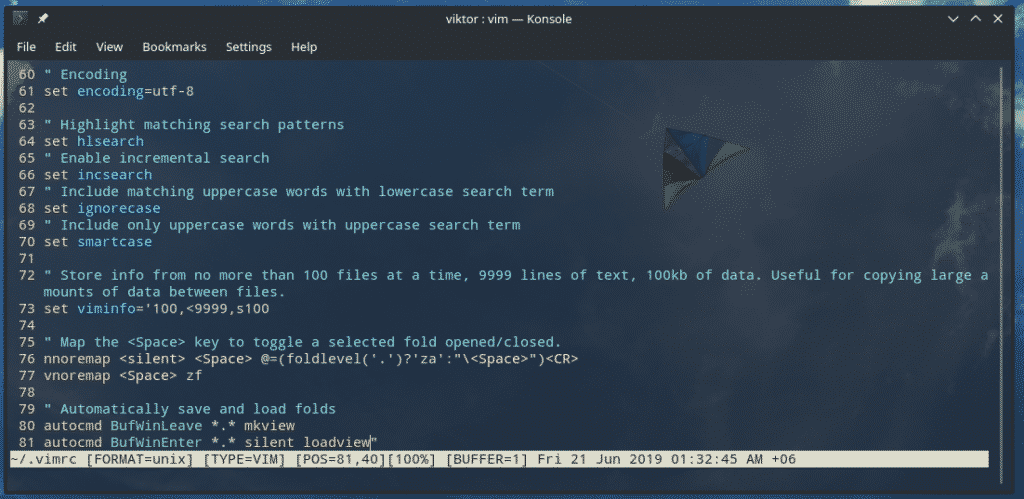
Here’s a short list of useful vimrc settings.
set number
“ Default tab size
set tabstop=4
“ Enable syntax highlighting
syntax on
“ Wrap text
set wrap
“ Default encoding
set encoding=utf-8

If you happen to edit the vimrc file while Vim is running, the changes won’t make effect immediately. Tell Vim to reload the config from vimrc.

Replacing content
Vim is not limited to basic search features. Vim allows sed-like command for performing the replace operation.
The syntax of the command goes something like this:
As of the replacement behavior, these 2 ones are quite common.
g – Perform the replacement on every occurrence of the search string.
gc – Same as “g” but will ask for confirmation before making the change.
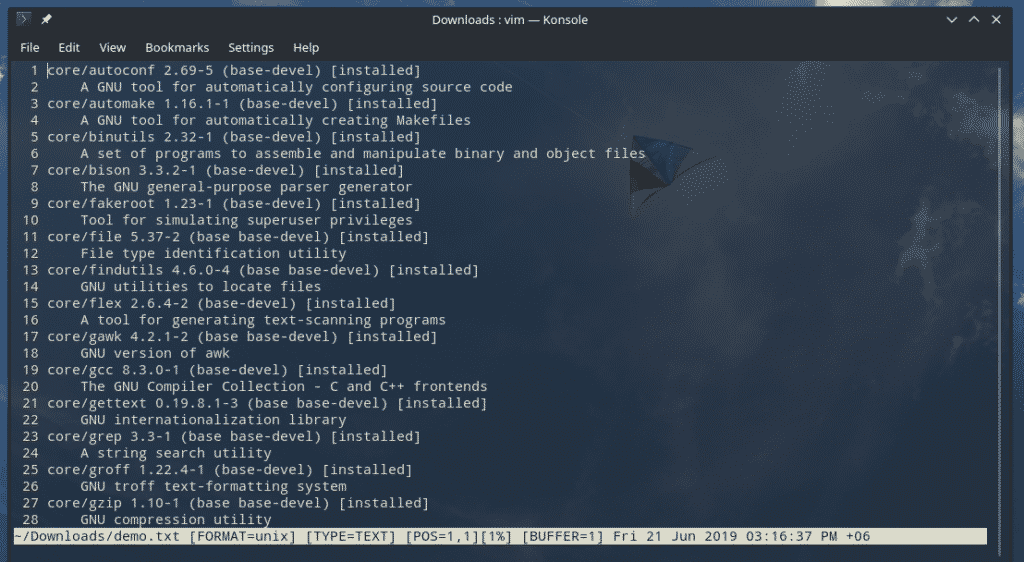
Let’s check the usage with an example. I have the list of all the packages from the “base-devel” group in a text file.
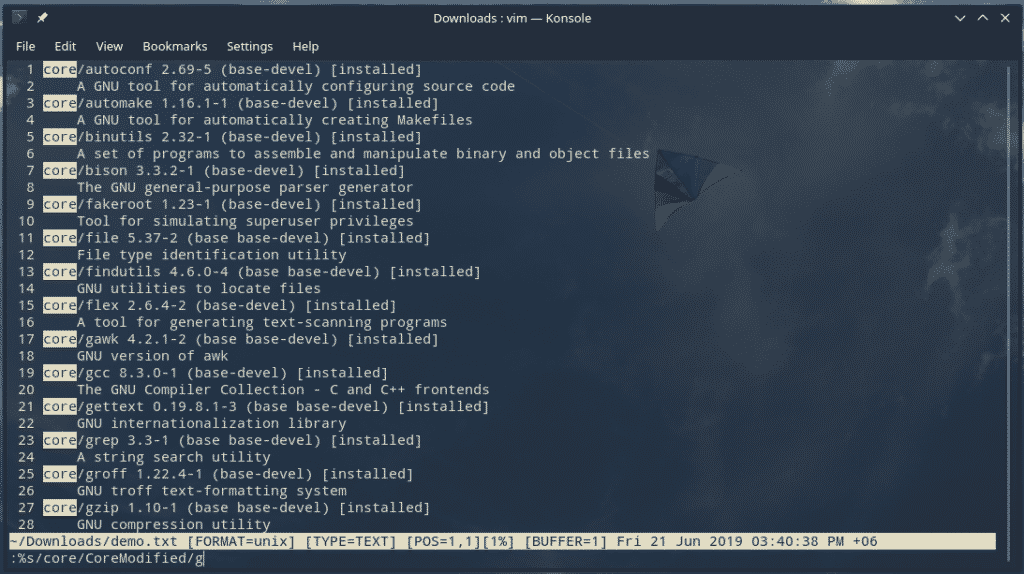
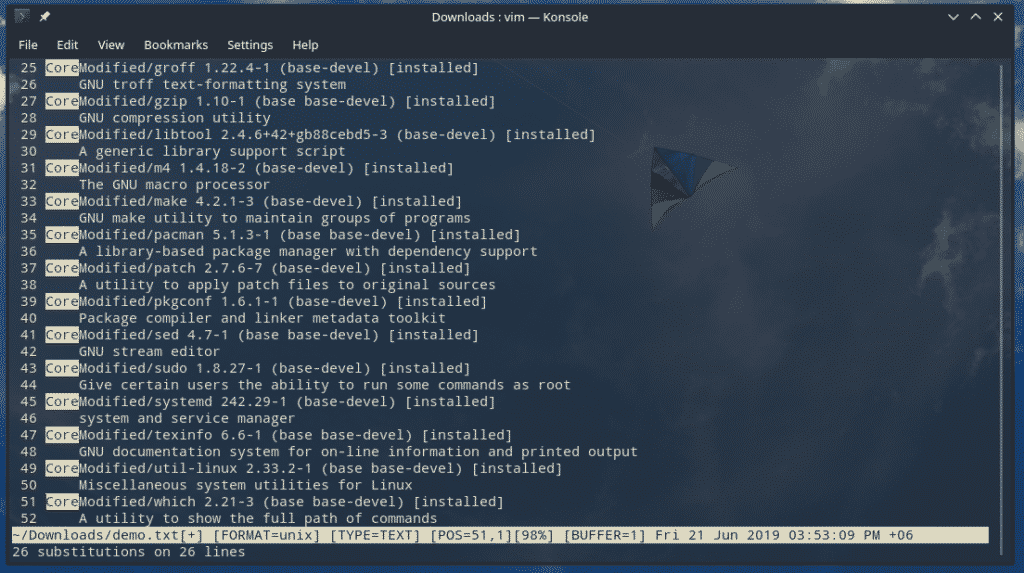
Now, let’s replace all the “core” with “CoreModified” string.
Occurrence count
Just like the previous example, it’s also possible to only highlight and count the occurrence of the search string instead of replacing it. This is a better one than the classic search function.
The syntax for the operation would be

Notice the “gn” part? It’s responsible for overriding the substitute behavior.
Vim plugins
Despite being a console text editor, Vim offers to extend its functionality via plugins. In fact, the number of plugins available for Vim is enormous! The Vim community is definitely a place of insane geniuses!
You can configure any directory for hosting the plugins. However, it’s recommended to use the following one.
Different Vim plugins require different procedures. For easier usage, there are also a handful of Vim plugin managers! For example, Vundle, VimPlug, Pathogen, etc. If you’re interested in grabbing a new Vim plugin, I recommend VimAwesome. It’s a big collection of all the popular and interesting Vim plugins.
Final thoughts
Mastering Vim requires a bit of work. These are just the basics. I hope that this post was helpful in getting you familiar with Vim and some of its basics. Feel free to explore the world of Vim.
Practice your Vim skills on a demo file. This way, even if you mess up the file, it’s not a big deal. If you happen to mess up the configuration of Vim, nothing to panic either. The default Vim config files are available online.