What is a reverse proxy?
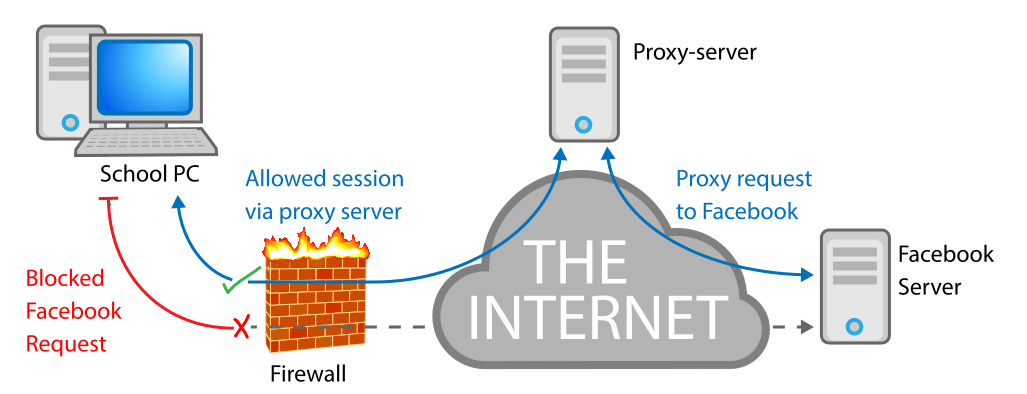
A proxy server is the one that talks to the Internet on your behalf. For example, if your college’s network has blocked https://www.facebook.com/ but the domain https://exampleproxy.com is still accessible, then you can visit the latter and it will forward all your requests for Facebook servers to Facebook, and send by the responses from Facebook back to your browser.
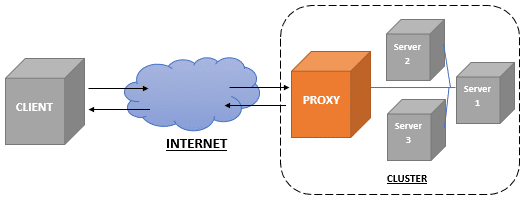
To recap, a proxy sends requests on behalf of one of more clients to any servers out in the Internet. A reverse proxy behaves in a similar fashion.
A reverse proxy receives request from any and all clients on behalf of one or more servers. So if you have a couple of servers hosting ww1.example.com and ww2.example.com a reverse proxy server can accept requests on behalf of the two servers, forward those requests to their respective end points where the response is generated and sent back to the reverse proxy to be forwarded back to the clients.
The set up
Before we start tweaking Nginx config files and make a reverse proxy server. I want to set in stone what my setup looks like, so when you are trying to implement your design you, it would be less confusing.
I used DigitalOcean’s platform to spin up three VPS. They are all on the same network each with its own Private IP, and only one VPS has a static public IP (This will be our reverse proxy server.)
| VM/Hostname | Private IP | Public IP | Role |
| Reverseproxy | 10.135.123.187 | 159.89.108.14 | Reverse proxy, running Nginx |
| Node-1 | 10.135.123.183 | N/A | Running first website |
| Node-2 | 10.135.123.186 | N/A | Running second website |
The two different websites that are running have domain names ww1.ranvirslog.com and ww2.ranvirslog.com and both of their A records point to the reverseproxy’s public IP, i.e, 159.89.108.14
The idea behind private IP is that, the three VMs can talk to one another via this private IP, but a remote user can only access the reverse proxy VM at its Public IP. This is important to keep in mind. For example, you can’t ssh into any of the VM using its Private IP.
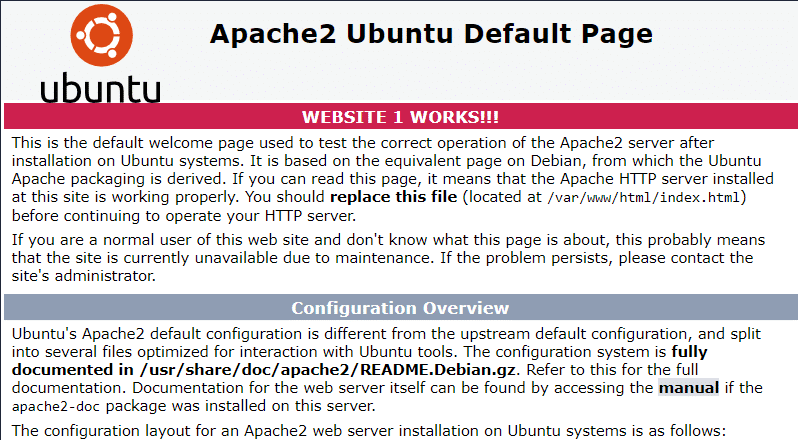
Furthermore, both Node-1 and Node-2 have an Apache web server serving two distinct webpages. This will help us distinguish one from another.
The first website says “WEBSITE 1 WORKS!!!”
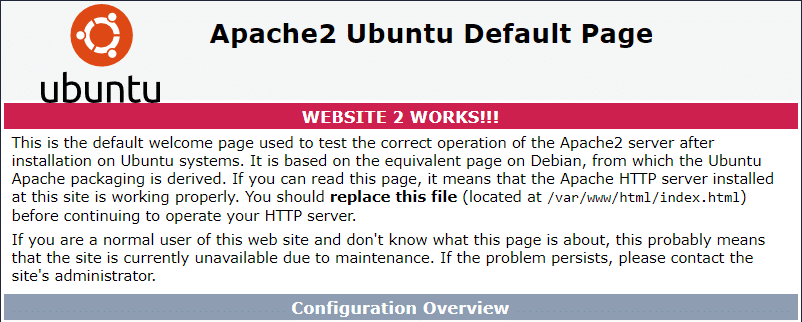
Similarly, the second website shows this:
Your websites may differ, but if you want to replicate this setup as a starting point, run apt install apache2 on Node-1 and Node-2. Then edit the file /var/www/html/index.html so that the web server says whatever you want it to say.
The reverseproxy VM is still untouched. All the VMs are running Ubuntu 18.04 LTS, but you are free to use any other OS that you want. You can even emulate this using Docker containers. By creating a user-defined Docker bridge network and spawning containers on it, you can assign each container a private IP and forward all the HTTP/HTTPS proxy to one container, which would be our Nginx reverse proxy container.
So far so good.
Nginx Default Configuration
Let’s begin by installing Nginx to the reverseproxy server, I am using Ubuntu so apt is my package manager:
Removing default configuration if you are using Debian-based distribution
Before we go any further a small note on Nginx’s configuration. All the various configuration files are stored in /etc/nginx including the nginx.conf file which is the main configuration file. If we look at the contents of this file (inside http block) you will notice the following two lines:
include /etc/nginx/conf.d/*.conf;
include /etc/nginx/sites-enabled/*;
…
The second line includes all the files in the sites-enabled directory to the Nginx’s configuration. This is the standard practice on most Debian-based distributions. For example the default “Welcome to Nginx” webpage has a corresponding file named default at the location /etc/nginx/sites-available/default with a symlink to /etc/nginx/sites-enabled/, but we don’t need this default webpage so we can safely remove the symlink. The original is still available at sites-available directory.
But when we will create reverse proxy configuration we will do so in conf.d directory (with our file name having a .conf extension) this is universal, and works across all distributions not just Debian or Ubuntu.
Removing default configuration for other distros
If you are not using Debian-based distro, you will find the default Welcome Page configuration at /etc/nginx/conf.d/default.conf just move the file to some place safe if you want to use it in the future (since this is not a symlink)
It can sometimes be found in /etc/nginx/default.d because people just can’t agree upon a single simple standard! So you would have to do a bit of digging in the /etc/nginx directory, to figure this out.
Adding Reverse Proxy Blocks
As stated before, the two different domain names I am hosting behind this proxy are
- ranvirslog.com (WEBSITE 1) with IP 10.135.123.183
- ranvirslog.com (WEBSITE 2) with IP 10.135.123.186
So let’s create one file per website in /etc/nginx/conf.d/ folder. So we are well-organized.
$ touch /etc/nginx/conf.d/ww2.conf
You can name the files whatever you wish, as long as it has a .conf at the end of its name.
In the first file ww1.conf add the following lines:
listen 80;
listen [::]:80;
server_name ww1.ranvirslog.com;
location / {
proxy_pass http://10.135.123.183/;
proxy_buffering off;
proxy_set_header X-Real-IP $remote_addr;
}
}
The listen statements tells Nginx to listen on port 80 for both IPv4 and IPv6 cases. It then checks if the server_name is ww1.ranvirslog.com then the location block kicks in and proxies the request to http://10.135.123.183/ with buffering turned off. Moreover, the proxy_set_header…line ensures that the client’s original IP is forwarded to the proxied server. This is helpful in case you want to calculate the number of unique visitors, etc. Otherwise the proxied server would have only one visitor — the Nginx server.
The buffering option and set_header options are completely optional and are just added to make the proxying as transparent as possible. For the ww2.ranvirslog.com website, I added the following configuration at /etc/nginx/conf.d/ww2.conf:
listen 80;
listen [::]:80;
server_name ww2.ranvirslog.com;
location / {
proxy_pass http://10.135.123.186/;
proxy_buffering off;
proxy_set_header X-Real-IP $remote_addr;
}
}
Save both the files and test whether the overall configuration is valid or not:
If there are errors, the output of the above command will help you find and fix them. Now restart the server:
And you can test whether it worked or not by visiting the different domain names in your browser and seeing the result.
Conclusion
Each individual’s use case is different. The configuration mentioned above may need a bit of tweaking to work for your scenario. Maybe you are running multiple servers on the same host, but at different ports, in that case the proxy_pass… line will have http://localhost:portNumber/ as its value.
These details depend very much on your use case. For further details about other options and tuneables see the official Nginx docs.