- Nmap phases
- Scanning top ports with Nmap
- Specifying a port with Nmap
- Running a fast scan with Nmap
- Showing IP ranges opened ports with Nmap
- OS detection using Nmap
- Aggressive OS detection using Nmap
- Saving Nmap results
Note: Remember to replace the used IPs addresses and network devices for yours.
About Nmap phases:
Nmap Security Port Scanner has 10 stages during the scanning process: Script pre-scanning > Target enumeration > Host discovery (ping scanning) > Reverse-DNS resolution > Port scanning > Version detection > OS detection > Traceroute > Script scanning > Output > Script post-scanning.
Where:
Script pre-scanning: This phase is optional and does not take place in default scans, the “Script pre scanning” option is to call scripts from the Nmap Scripting Engine (NSE) for the pre scanning phase like dhcp-discover.
Target enumeration: In this phase, the first one in default scan methods, nmaps only incorporates information on the targets to scan such as IP addresses, hosts, IP ranges, etc.
Host discovery (ping scanning): In this phase nmap learns what targets are online or reachable.
Reverse-DNS resolution: in this phase nmap will look for hostnames for the IP addresses.
Port Scanning: Nmap will discover ports and their status: open, closed or filtered.
Version detection: in this phase nmap will try to learn the version of the software running in open ports discovered in the previous phase, like what version of apache or ftp.
OS detection: nmap will try to learn the target’s OS.
Traceroute: nmap will discover the target’s route on the network or all routes in the network.
Script Scanning: This phase is optional, in this phase NSE scripts are executed, NSE scripts can be executed before the scan, during the scan and after it, but are optional.
Output: Nmap shows us information on the gathered data.
Script post-scanning: optional phase to run scripts after the scan was finished.
Note: for more information on nmap’s phases visit https://nmap.org/book/nmap-phases.html
Scanning top ports with Nmap:
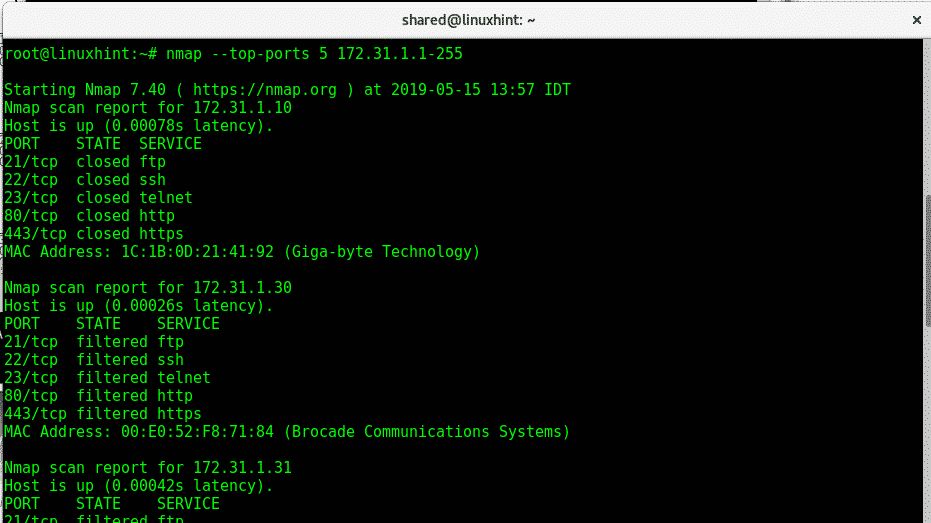
Now let’s use the parameter –top-ports to scan the 5 top ports of the IP range 172.31.1.* including all possible addresses for the last octet. Nmap top ports are based on the most common services ports used. To scan the top 5 ports run:
Where:
Nmap: calls the program
–top-ports 5: limits the scan to 5 top ports, top ports are the most used ports, you can edit the number.
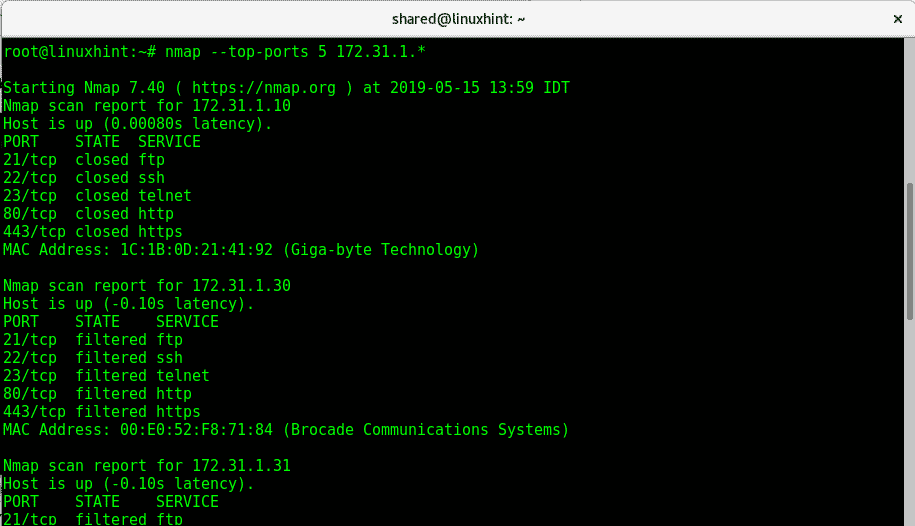
The following example is the same but we use the wildcard (*) to define an IP range from 1 to 255, nmap will scan all them:
Specifying a port with Nmap
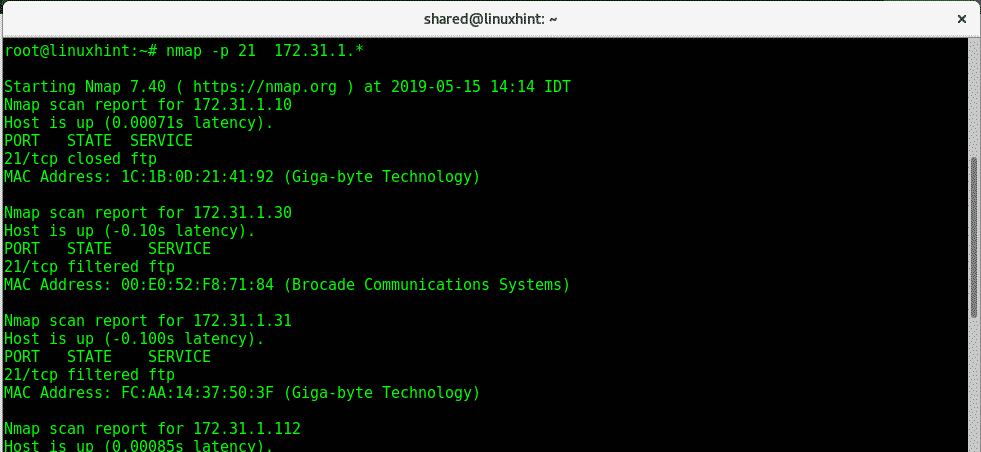
To specify a port the option -p is used, to carry a scan to check a ftp of all IP addresses 172.31.1.* (with wildcard) execute:
Where:
Nmap: calls the program
-p 21: defines port 21
*: IP range from 1 to 255.
Running a fast scan with Nmap:
To run a Fast scan on all ports on devices belonging to an IP you need to apply the -F option:
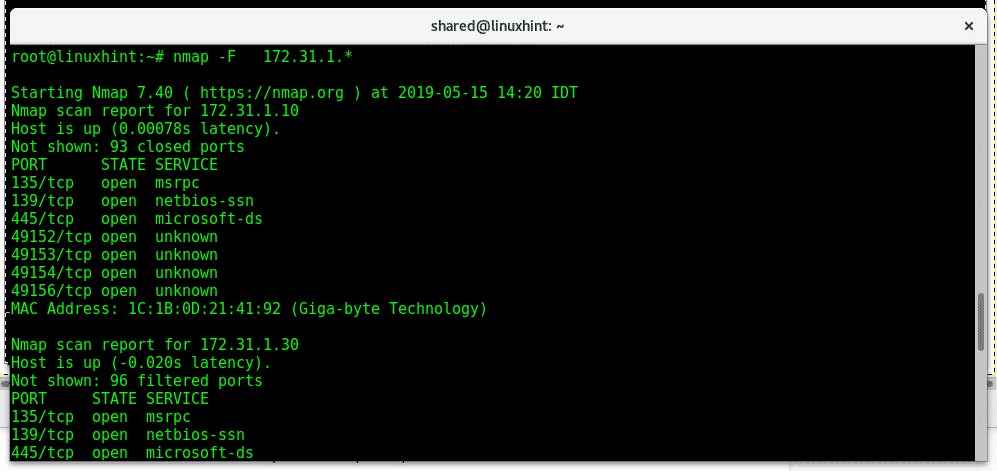
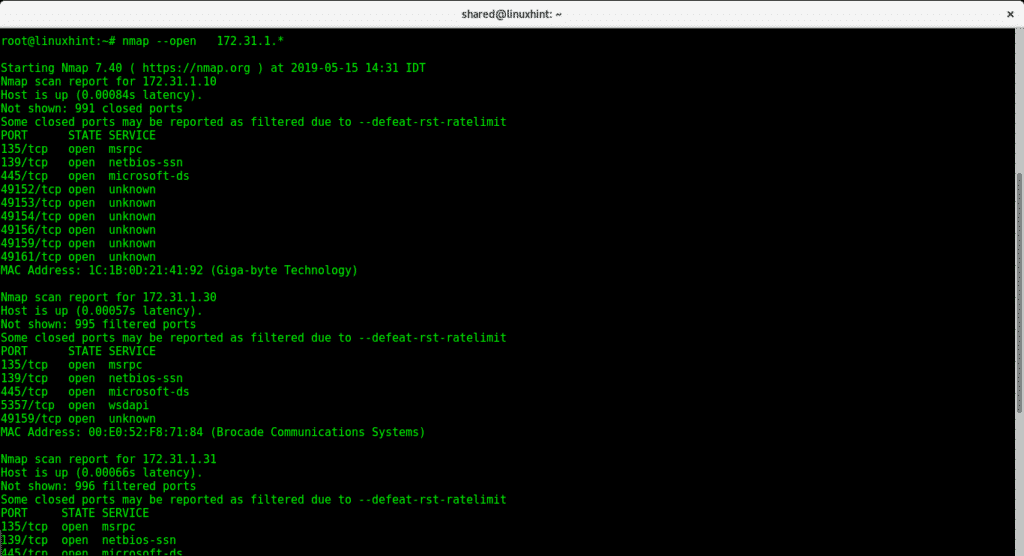
The following command with parameter –open will show all ports opened on devices within an IP range:
Showing IP ranges opened ports with Nmap:
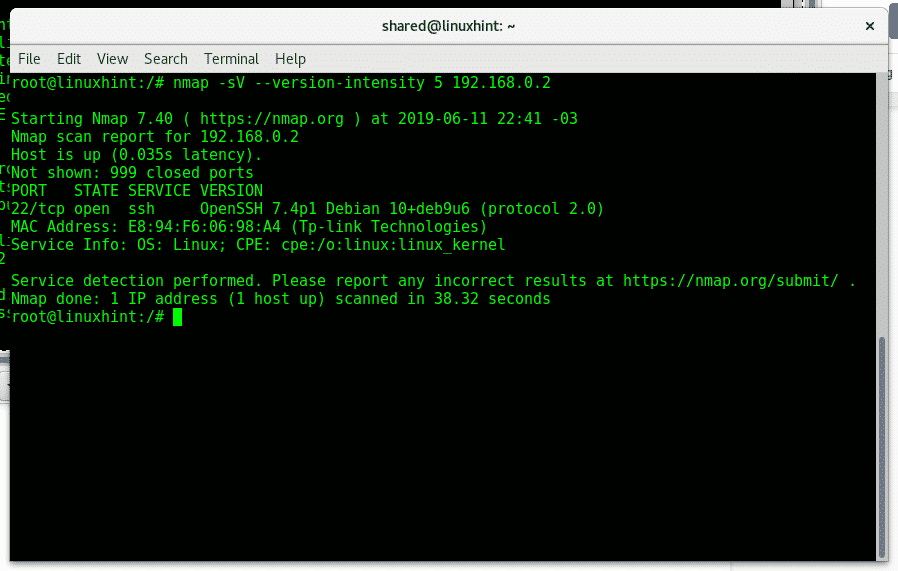
OS detection using Nmap:
To instruct Nmap to detect the target operating system (OS) run:
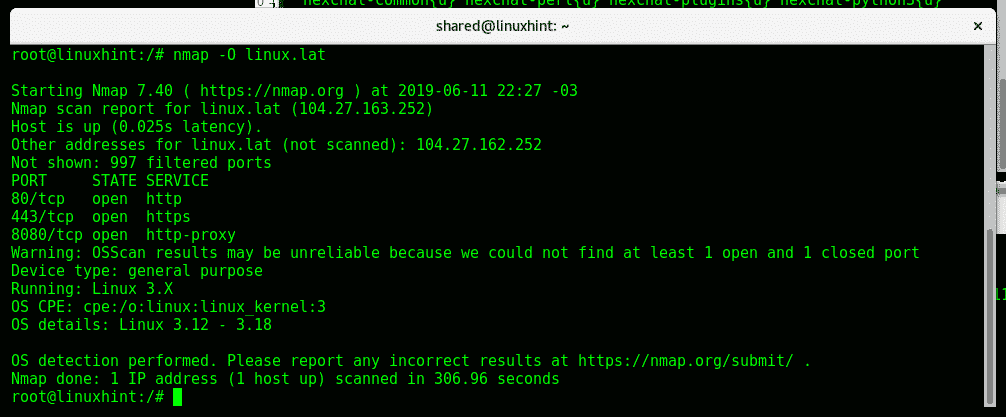
Nmap detected a Linux Operating System and it’s kernel.
Aggressive OS detection using Nmap:
For a more aggressive OS detection you can run the following command:
Saving Nmap results:
To instruct Nmap to save results as txt you can use the -oN option as shown in the image below:
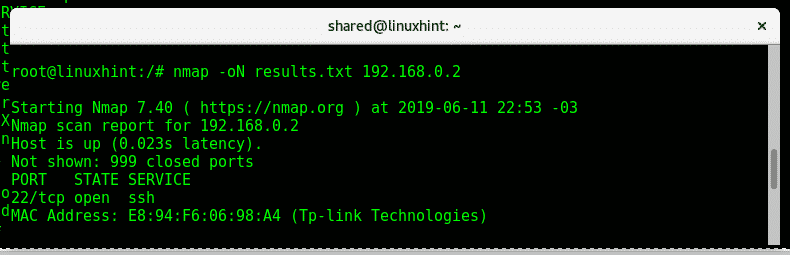
The command above creates the file “result.txt” with the following format:
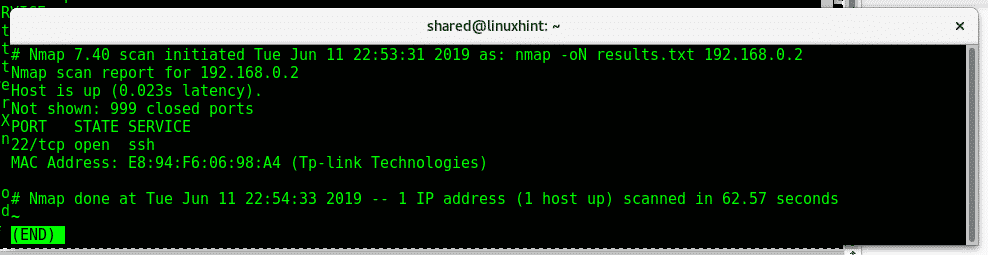
If you want to export results as XML use the options -oX instead.

I hope this tutorial was useful as an introduction to nmap network scanning,
For more information on Nmap type “man nmap”. Keep following LinuxHint for more tips and updates on Linux.
Related articles:
Nmap flags and what they do
Nmap ping sweep
How to scan for services and vulnerabilities with Nmap