Using TextBlob in Industry
Just like it sounds, TextBlob is a Python package to perform simple and complex text analysis operations on textual data like speech tagging, noun phrase extraction, sentiment analysis, classification, translation, and more. Although there a lot more use-cases for TextBlob which we might cover in other blogs, this one covers analysing Tweets for their sentiments.
Analysis sentiments have a great practical usage for many number of scenarios:
- During political elections in a geographical region, tweets and other social media activity can be tracked to produce estimated exit polls and results about the upcoming government
- Various companies can make use of textual analysis on Social media to rapidly identify any negative thoughts being circulated over social media in a given region to identify the problems and resolve them
- Some products even use tweets to estimate about medical tendencies of people from their social activity, like the type of tweets they are making, maybe they are behaving suicidal etc.
Getting Started with TextBlob
We know that you came here to see some practical code related to a sentimental analyser with TextBlob. That is why we will keep this section extremely short for introducing TextBlob for new readers. Just a note before starting is that we use a virtual environment for this lesson which we made with the following command
source textblob/bin/activate
Once the virtual environment is active, we can install TextBlob library within the virtual env so that examples we create next can be executed:
Once you run the above command, that’s not it. TextBlob also need access to some training data which can be downloaded with the following command:
You will see something like this by downloading the data it required:

You can use Anaconda as well to run these examples which is easier. If you want to install it on your machine, look at the lesson which describes “How to Install Anaconda Python on Ubuntu 18.04 LTS” and share your feedback.
To show a very quick example for TextBlob, here is an example directly from its documentation:
text = ”‘
The titular threat of The Blob has always struck me as the ultimate movie
monster: an insatiably hungry, amoeba-like mass able to penetrate
virtually any safeguard, capable of–as a doomed doctor chillingly
describes it–"assimilating flesh on contact.
Snide comparisons to gelatin be damned, it’s a concept with the most
devastating of potential consequences, not unlike the grey goo scenario
proposed by technological theorists fearful of
artificial intelligence run rampant.
”‘
blob = TextBlob(text)
print(blob.tags)
print(blob.noun_phrases)
for sentence in blob.sentences:
print(sentence.sentiment.polarity)
blob.translate(to="es")
When we run the above program, we will get the following tag words and finally the emotions the two sentences in the example text demonstrates:

Tag words and emotions helps us to identify the main words which actually make an effect on the sentiment calculation and the polarity of the sentence provided to the. This is because that meaning and sentiment of the words change in the order they are used so all of this needs to be kept dynamic.
Lexicon based Sentiment Analysis
Any Sentiment can simply be defined as a function of semantic orientation and intensity of words used in a sentence. With lexicon based approach for identifying emotions in a given words or sentences, each word is associated with a score which describes the emotion the word exhibits (or at least tries to exhibit). Usually, most of the words have a pre-defined dictionary about their lexical score but when it comes to human, there is always sarcasm intended, so, those dictionaries are not something we can rely on 100%. The WordStat Sentiment Dictionary includes more than 9164 negative and 4847 positive word patterns.
Finally, there is another method to perform sentiment analysis (out of scope for this lesson) which is a Machine Learning technique but we cannot make use of all words in an ML algorithm as we will surely face problems with overfitting. We can apply one of the feature selection algorithm like Chi Square or Mutual Information before we train the algorithm. We will limit the discussion of ML approach to this text only.
Using Twitter API
To start getting tweets directly from Twitter, visit the app developer homepage here:
https://developer.twitter.com/en/apps
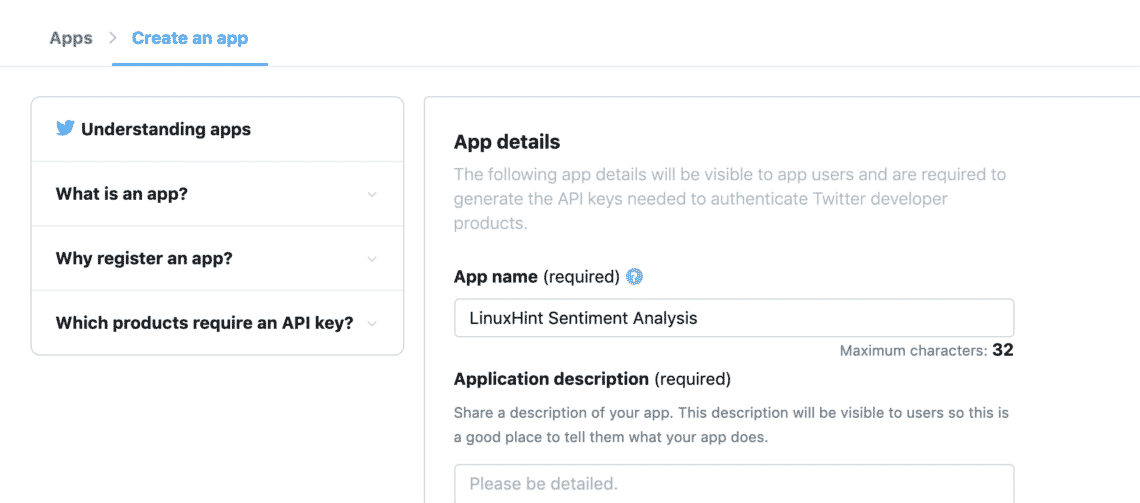
Register your application by completing the form given like this:
Once you have the all the token available in the “Keys and Tokens” tab:

We can make use of the keys to get the required tweets from Twitter API but we need to install just one more Python package which does the heavy lifting for us in obtaining the Twitter data:
The above package will be used for complete all the heavy-lifting communication with the Twitter API. The advantage for Tweepy is that we don’t have to write much code when we want to authenticate our application for interacting with Twitter data and it is automatically wrapped in a very simple API exposed through the Tweepy package. We can import the above package in our program as:
After this, we just need to define appropriate variables where we can hold the Twitter keys we received from the developer console:
consumer_key_secret = ‘[consumer_key_secret]’
access_token = ‘[access_token]’
access_token_secret = ‘[access_token_secret]’
Now that we defined secrets for Twitter in the code, we’re finally ready to establish a connection with Twitter to receive the Tweets and judge them, I mean, analyse them. Of course, the connection to Twitter is to be established using OAuth standard and Tweepy package will come in handy to establish the connection as well:
Finally we need the connection:
Using the API instance, we can search Twitter for any topic we pass to it. It can be a single word or multiple words. Even though we will recommend using as few words for precision as possible. Let’s try an example here:
The above search give us many Tweets but we will limit the number of tweets we get back so that the call doesn’t take too much time, as it needs to be later processed by TextBlob package as well:
Finally, we can print the text of each Tweet and the sentiment associated with it:
print(tweet.text)
analysis = TextBlob(tweet.text)
print(analysis.sentiment)
Once we run the above script, we will start getting the last 10 mentions of the mentioned query and each tweet will be analysed for sentiment value. Here is the output we received for the same:

Note that you could also make a streaming sentiment analysis bot with TextBlob and Tweepy as well. Tweepy allows to establish a websocket streaming connection with the Twitter API and allows to stream Twitter data in real time.
Conclusion
In this lesson, we looked at an excellent textual analysis package which allows us to analyse textual sentiments and much more. TextBlob is popular because of the way it allows us to simply work with textual data without any hassle of complex API calls. We also integrated Tweepy to make use of Twitter data. We can easily modify the usage to a streaming use-case with the same package and very few changes in the code itself.
Please share your feedback freely about the lesson on Twitter with @linuxhint and @sbmaggarwal (that’s me!).