Updating APT Package Repository Cache:
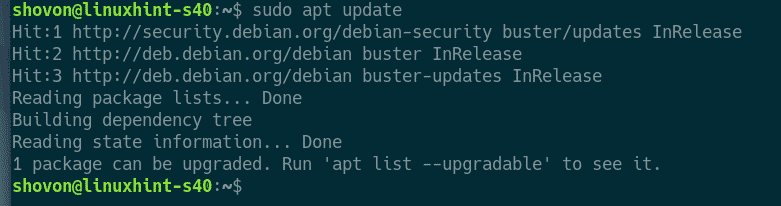
First, update the APT package repository cache with the following command:

The APT package repository cache should be updated.
Installing and Configuring MySQL/MariaDB:
Now, install MariaDB server and client packages from the official package repository of Debian 10 with the following command:

To confirm the installation, press Y and then press <Enter>.
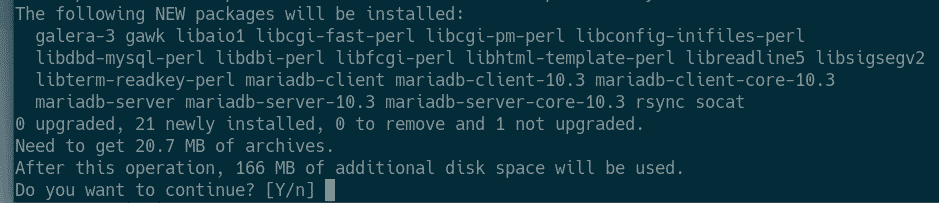
The APT package manager will download and install all the required packages.
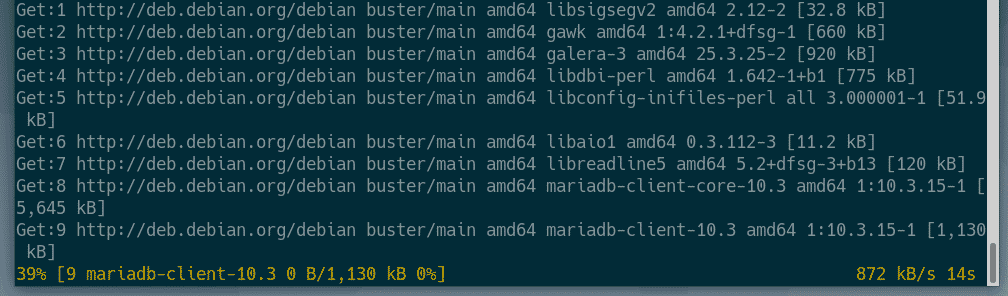
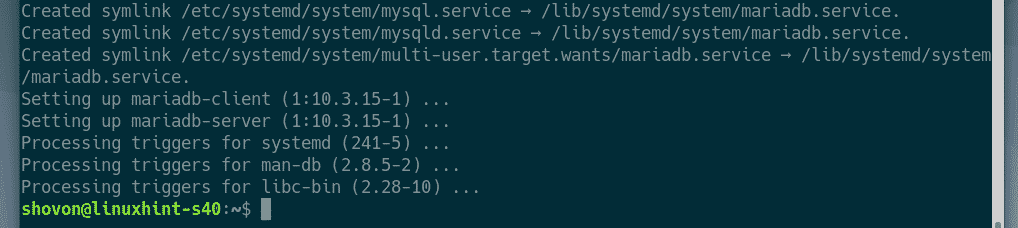
At this point, MariaDB server and client packages will be installed.
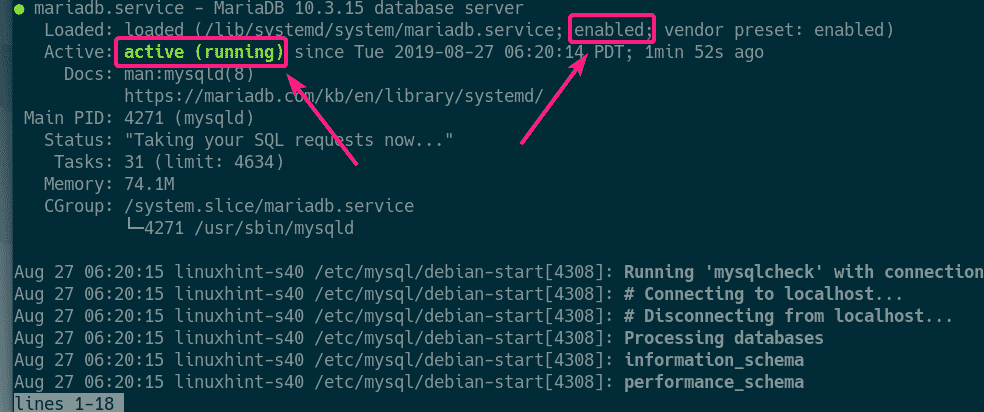
Now, check whether mariadb service is running with the following command:

As you can see, the mariadb service is running. It’s also enabled to automatically start on system boot.
If in any case, mariadb service is not running, then start the service with the following command:
Now, run the following command to set a root password for MariaDB:

Press <Enter>.

Now, press Y and then press <Enter>.

Now, type in your root password and press <Enter>.

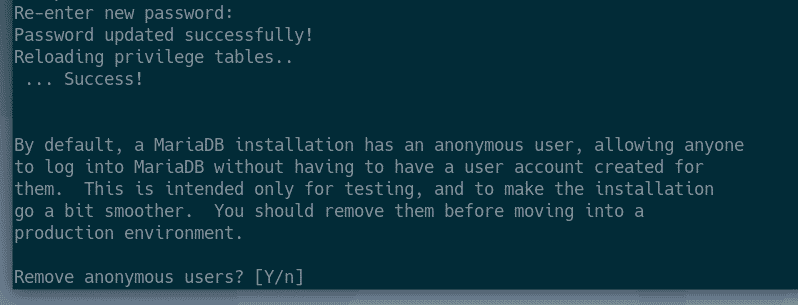
Type in your root password again and press <Enter>.

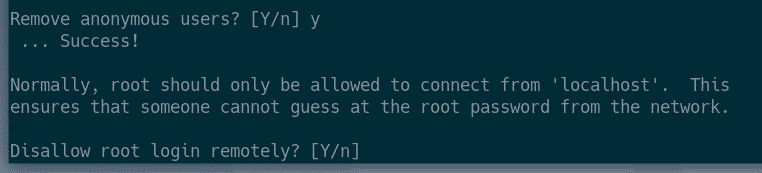
Press Y and then press <Enter> to remove anonymous users.
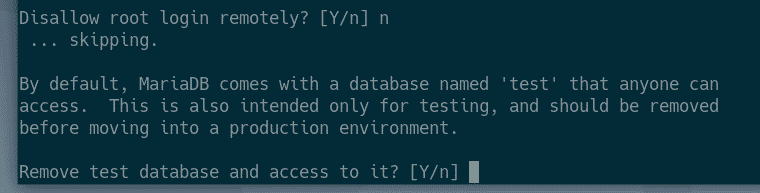
If you don’t want to allow root login remotely, press Y. Otherwise, press N. Then, press <Enter>.
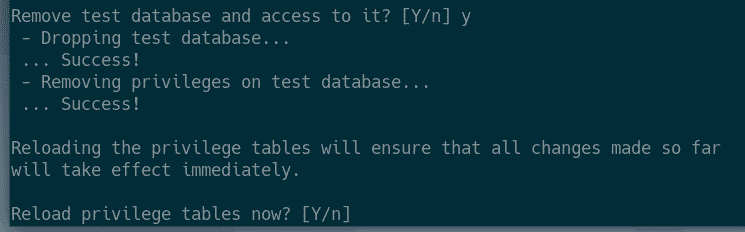
Now, press Y and press <Enter> to remove test database.
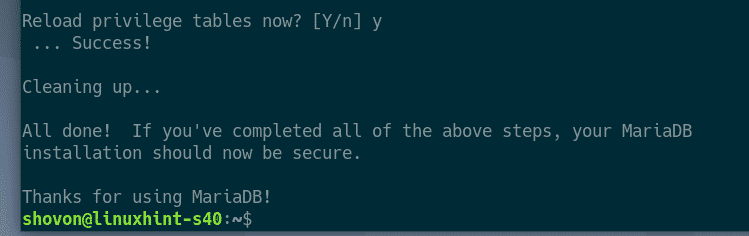
Now, press Y and then press <Enter> to reload the privilege table.
MariaDB should be configured.
Creating MySQL/MariaDB Users and Databases for WordPress:
Now, you have to create a new user and database for WordPress development setup.
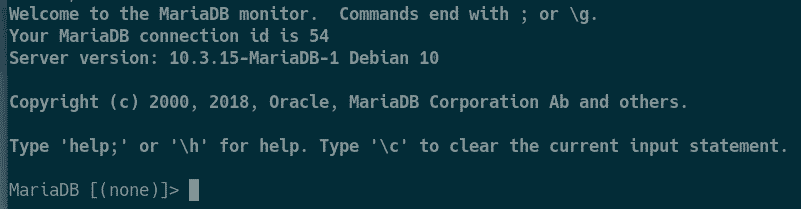
Login to MariDB shell with the following command:

Now, type in the MariaDB root password you’ve already set and press <Enter>.

You should be logged in.
Now, create a new database wp_site1 with the following SQL statement:

Now, create a new user wordpress, set a password for the user (let’s say 123) and grant the user permission to use all available databases with the following SQL statement:

Now, flush the MariaDB privileges for the changes to take effect as follows:

Now, exit out of the MariaDB shell as follows:

Installing Apache Web Server, PHP and Required PHP Libraries:
Now, install Apache 2 web server, PHP and all the required PHP libraries with the following command:
php–zip php–json php–xml

Now, press Y and then press <Enter> to confirm the installation.
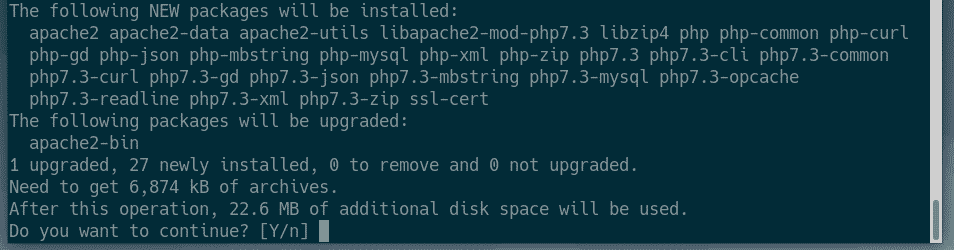
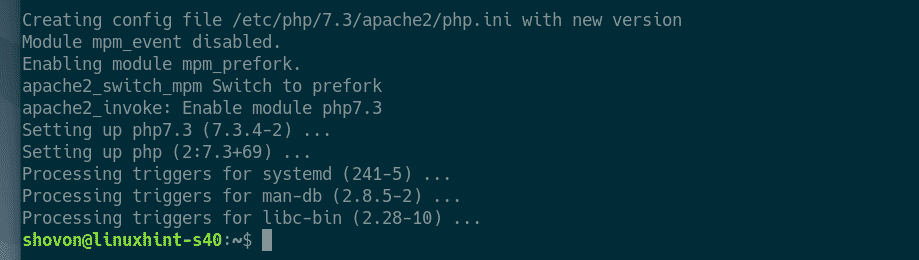
Apache 2 web server, PHP and required PHP libraries should be installed.
Configuring Apache Web Server for WordPress Development:
The default Apache run user on Debian 10 is www-data and the default web root directory is /var/www/html. So, as an ordinary user, you won’t be able to create, modify or remove any files/directories in the web root directory. As you’re setting up a WordPress development server, this is not what you want.
To solve this problem, you should change the Apache run user to your login user and change the owner and group of the webroot /var/www/html to your login user.
To change the Apache run user, edit /etc/apache2/envvars configuration file with the following command:

You have to modify the APACHE_RUN_USER and APACHE_RUN_GROUP environment variables.
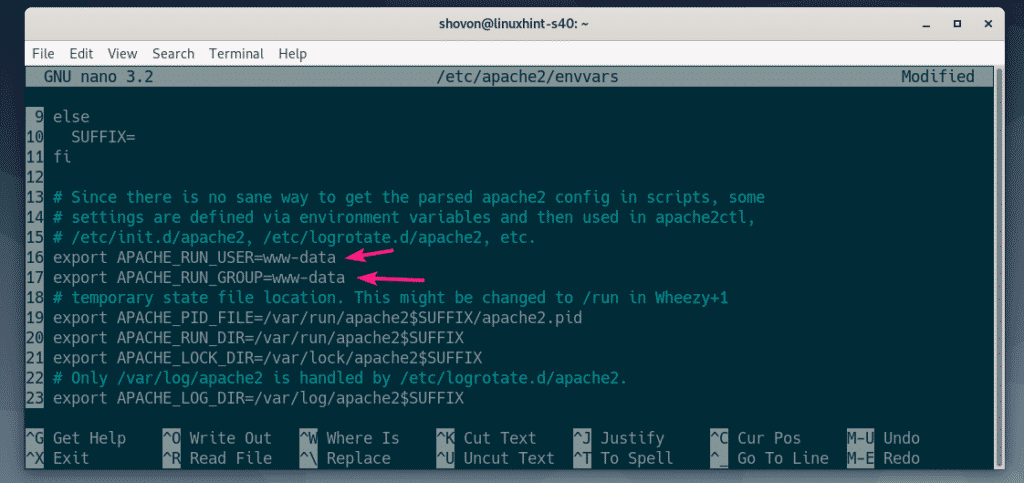
Now, set APACHE_RUN_USER and APACHE_RUN_GROUP environment variables to your login user’s username. If you don’t know what the username is, you can use the whoami command to find it out.
Once you’re done, save the file by pressing <Ctrl> + X followed by Y and <Enter>.

Now, change the owner and group of the /var/www/html directory to your login user with the following command:

To get the WordPress permalink feature to work, you need to enable Apache rewrite module. To do that, run the following command:

For the changes to take effect, restart Apache 2 web server with the following command:

Downloading WordPress:
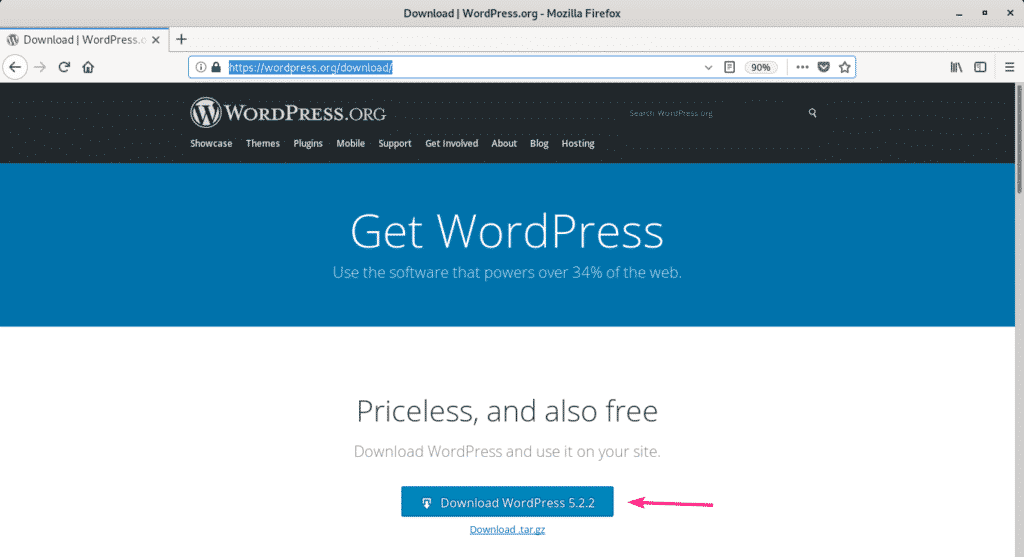
You can download WordPress from the official website of WordPress. Once the page loads, click on the Download WordPress button as marked in the screenshot below.
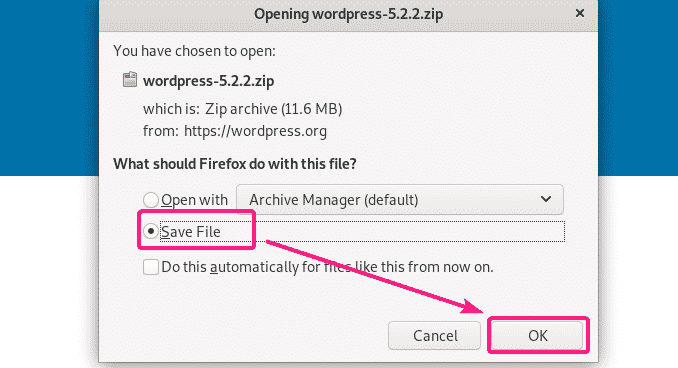
Your browser should prompt you to save the file. Select Save File and click on OK.
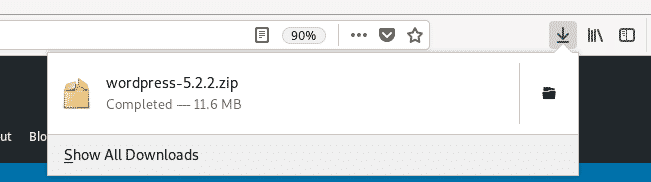
WordPress archive should be downloaded.
Installing and Configuring WordPress on the Development LAMP Server:
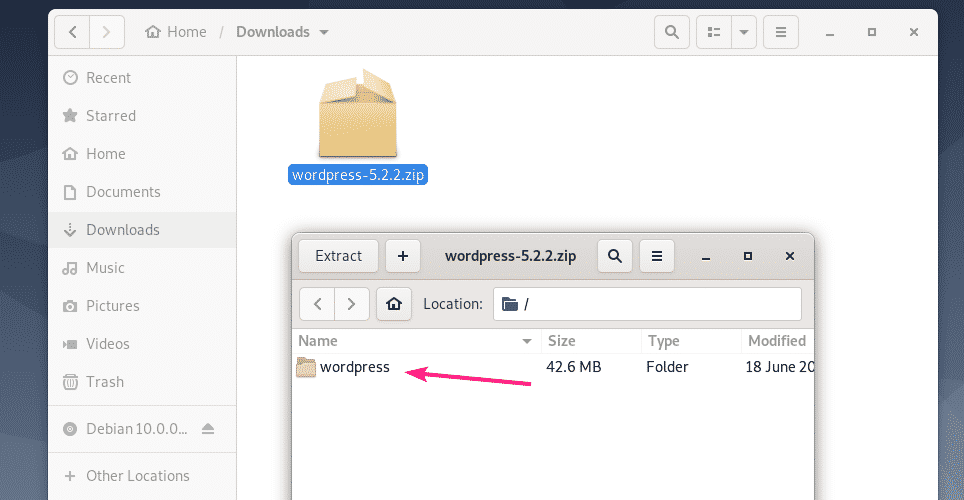
Now, double click on the WordPress archive file. The archive should be opened with Archive Manager. Now, navigate to the wordpress directory from the Archive Manager.
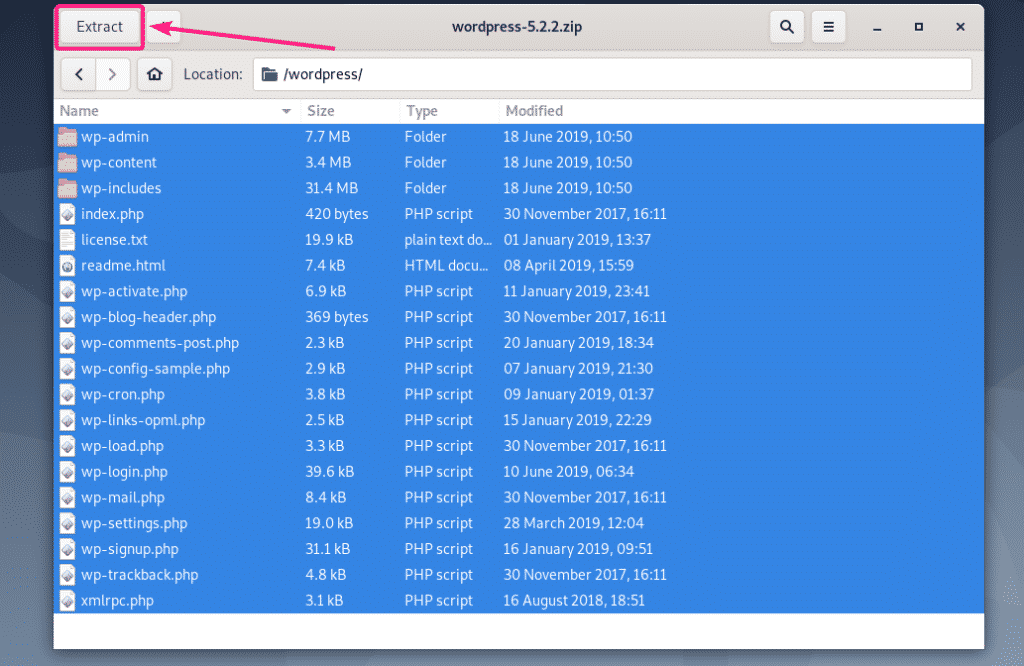
Select all the files and directories and click on Extract.
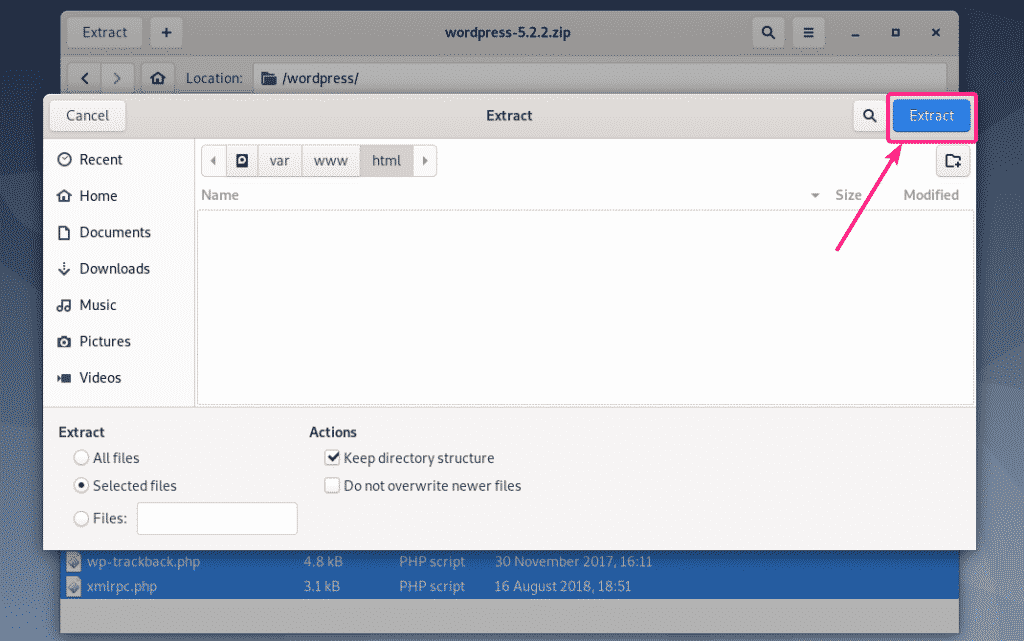
Now, navigate to the /var/www/html directory and click on Extract.
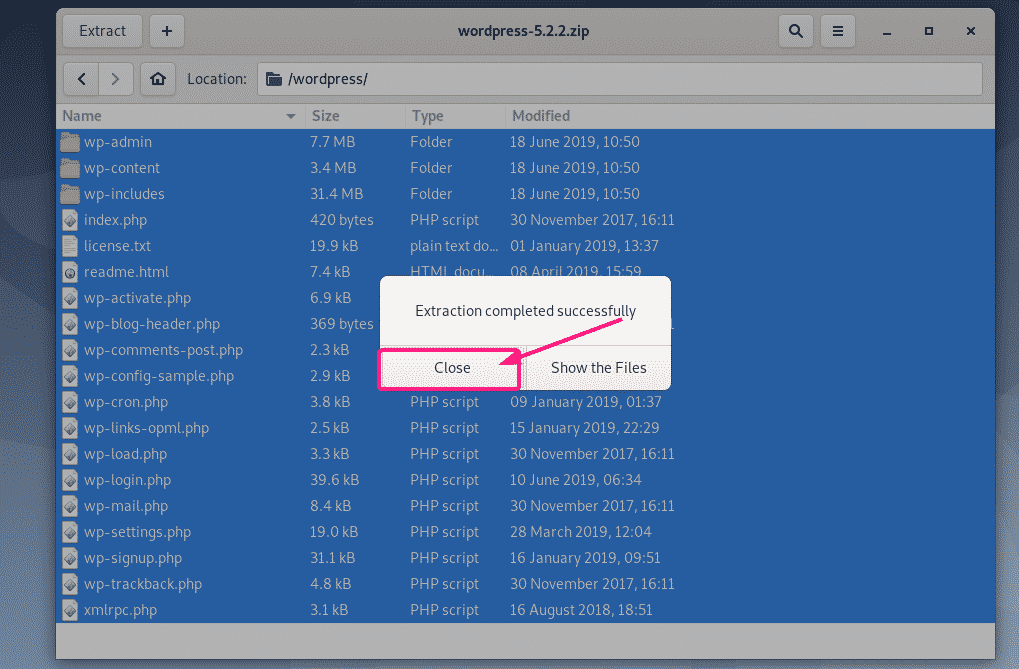
All the required files and directories should be extracted. Now, click on Close and close the Archive Manager.
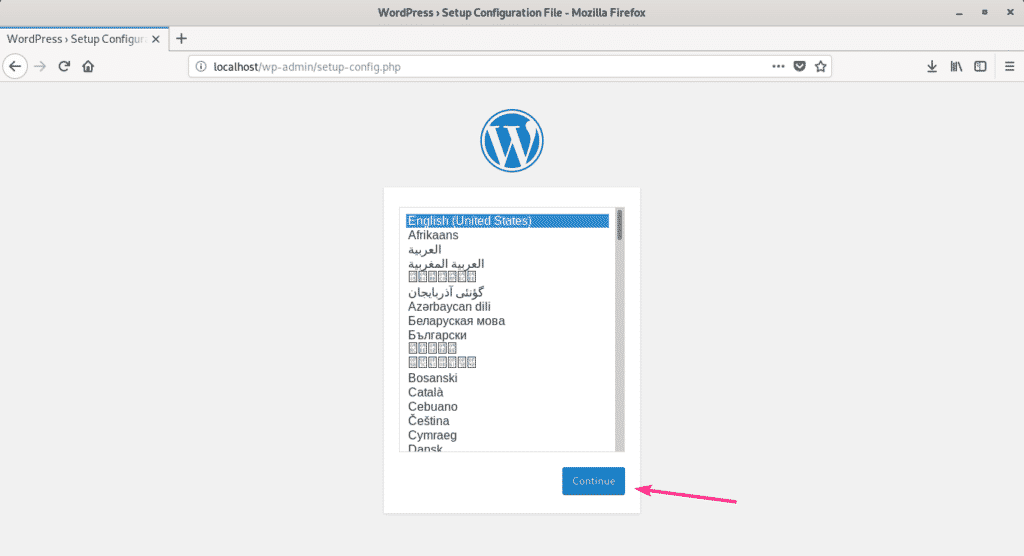
Now, visit http://localhost from your web browser. You should see the WordPress configuration page. Select your language and click on Continue.
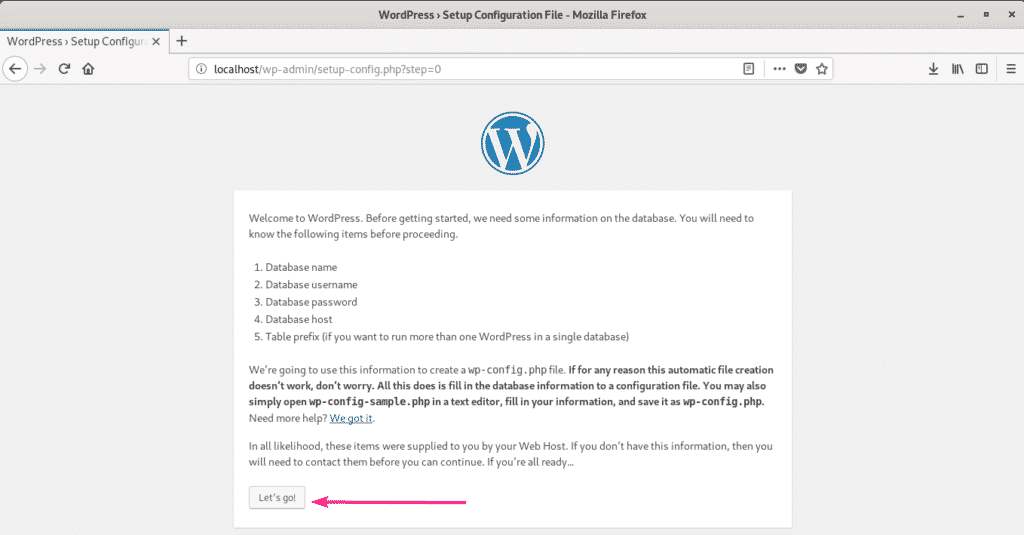
Now, click on Let’s go!.
Now, type in the MySQL/MariaDB database details and click on Submit.

If all goes well, then you should see the following page. Now, click on Run the installation.

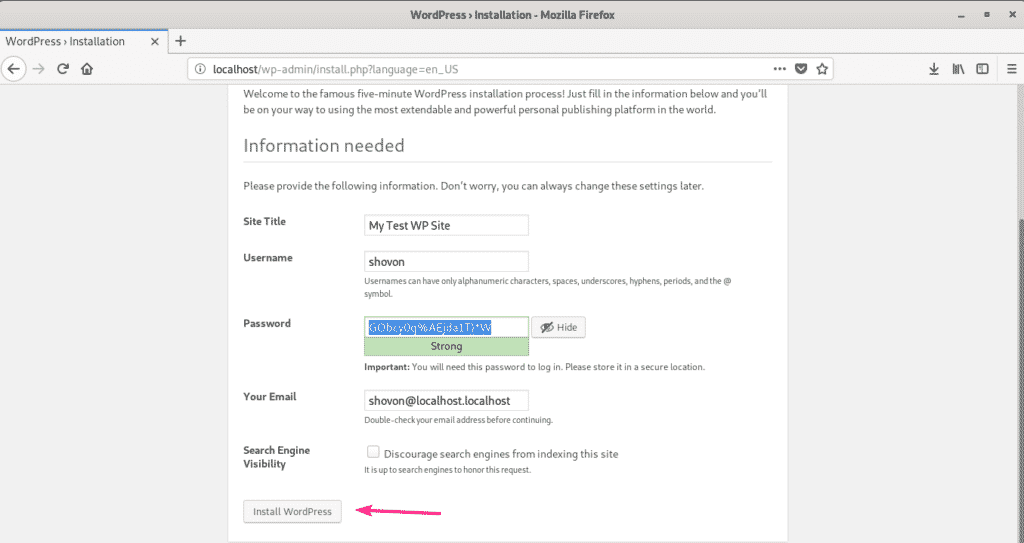
Now, type in your website information and click on Install WordPress. Be sure to note the username and password as you will need them later to manage your WordPress website.
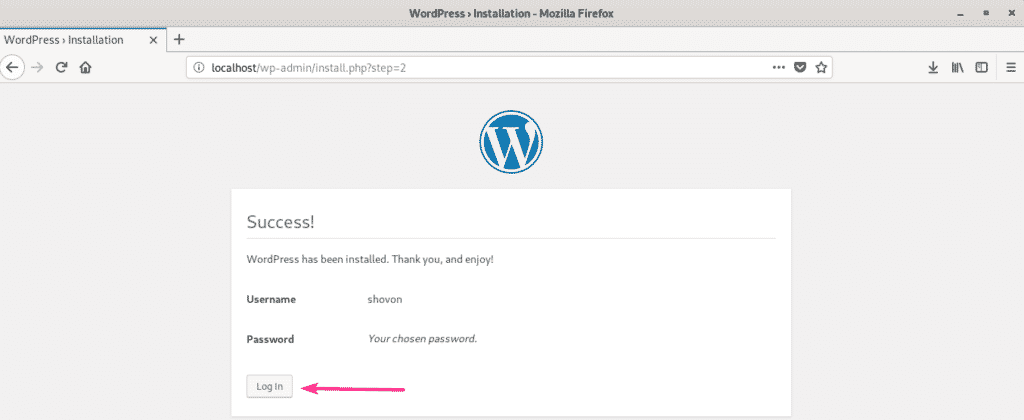
WordPress should be configured. Now, click on Log In.
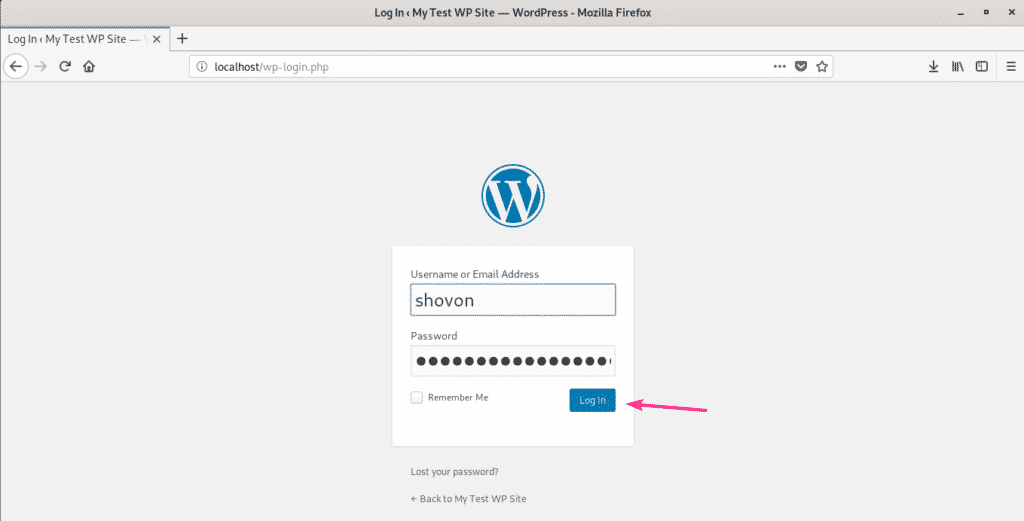
You should be taken to WordPress Admin login page (http://localhost/wp-login.php). Type in your username and password and click on Log In.
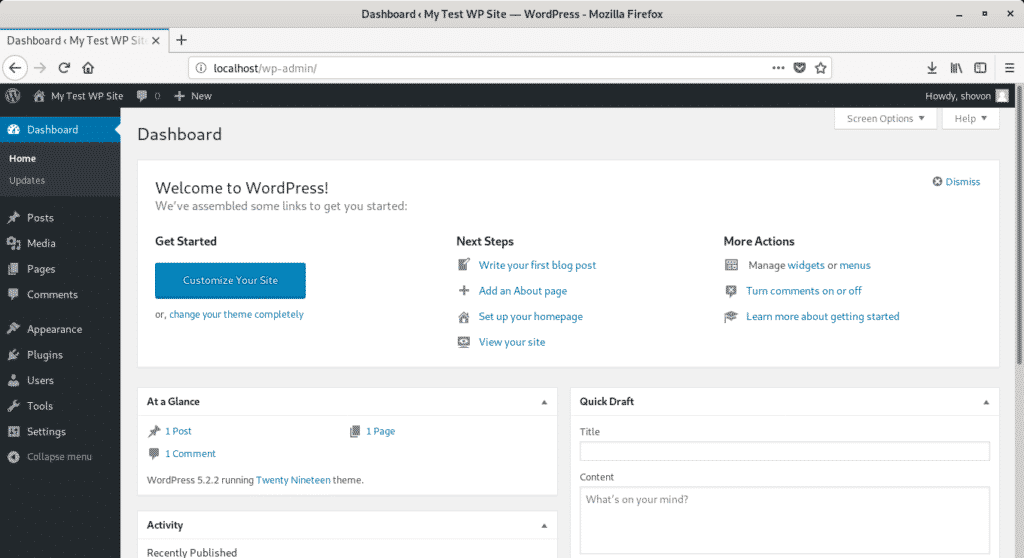
You should be logged in to WordPress Admin. Now, you should be able to set up your WordPress website the way you want.
So, that’s how you install WordPress development environment on Debian 10. Thanks for reading this article.