How to Upgrade to the Latest SQLite3 on CentOS7
SQLite 3 is a lightweight simple file based database system. It is used by many developers. Especially devices that have low hardware specs, microcontrollers, embedded computers use SQLite as a lightweight database system. Android also make extensive use of SQLite database.
In CentOS 7, SQLite 3.7 is already installed. You can’t remove it because all the other packages of CentOS 7 depend on it. CentOS 7 don’t provide any way to update it. Updating the version of SQLite on CentOS 7 is also tricky because of that.
In this article, I will show you how to update SQLite3 on CentOS 7 safely. Let’s get started.
Downloading Latest SQLite3:
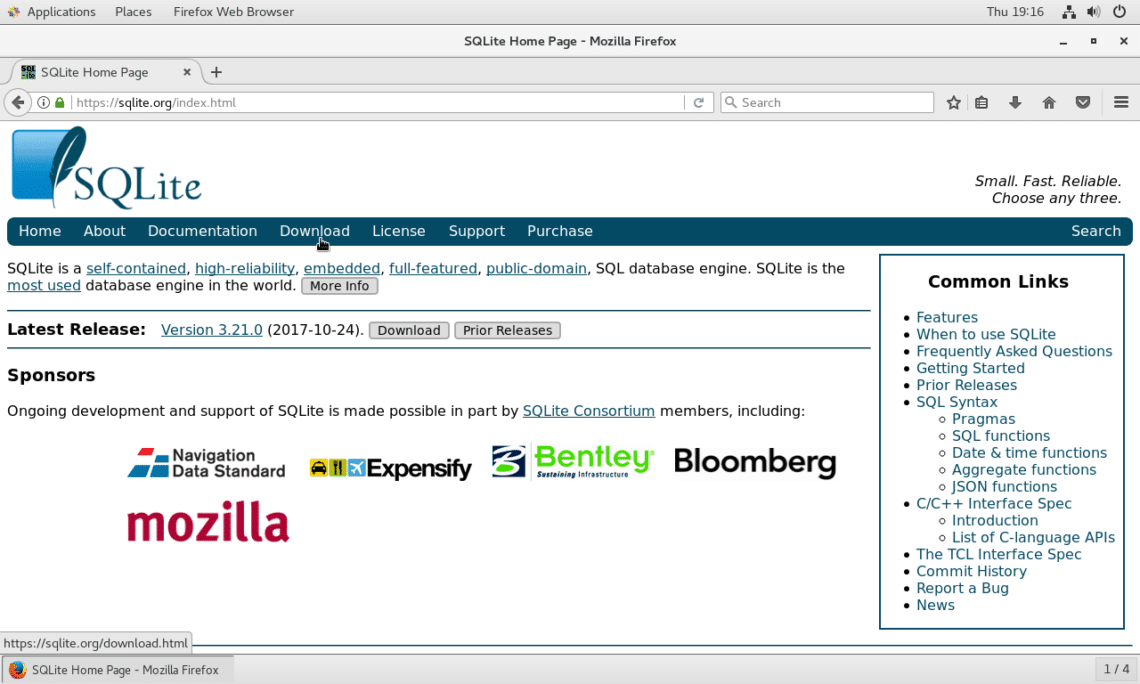
First go to the official website of SQLite at https://sqlite.org. You should see the following page:

Now click on “Download” as shown in the screenshot below.
You should see the following page. It contains download links for the latest version of SQLite3.
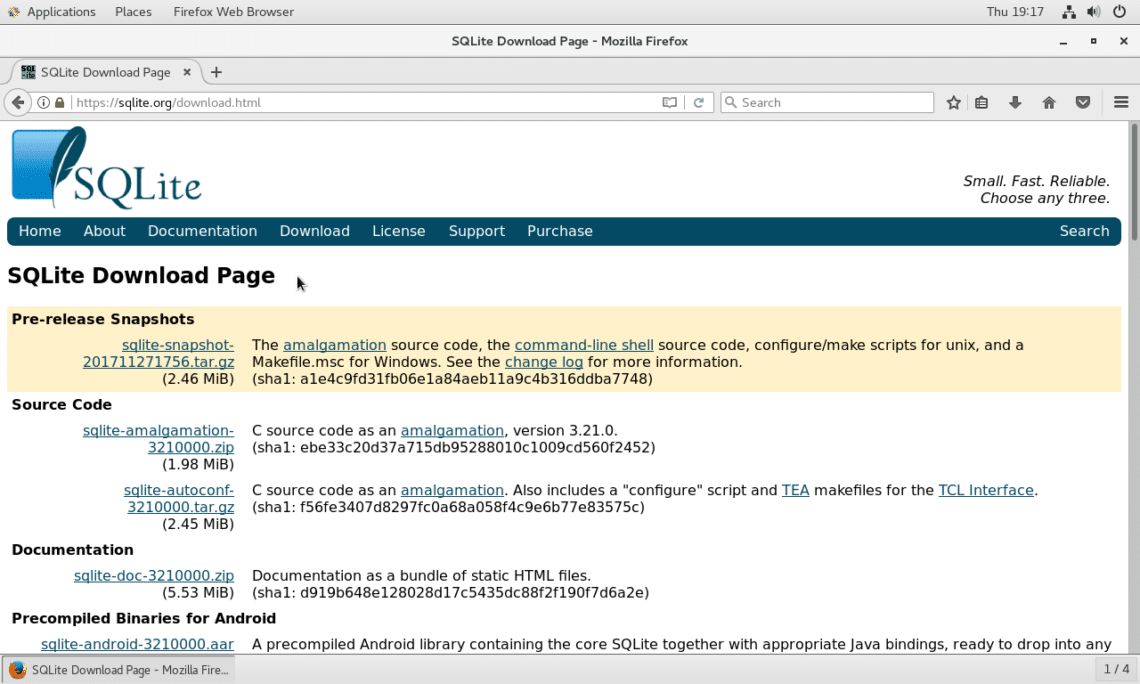
Now scroll down a little bit. You should see the section “Precompiled Binaries for Linux”. From here, you can download precompiled version of latest stable SQLite3 database. Precompiled binaries are ready to use after download, as they don’t require compilation of any sort. Click on the file as shown in the screenshot.

Your browser should prompt you to download the file. Click on “Save File” and click on “OK”. Your download should start.

Upgrading SQLite3:
Now open a Terminal and go to the directory where you downloaded SQLite3. It should be ~/Downloads directory in your USER’s home directory by default.
Run the following command to go to the ~/Downloads directory:
$ cd ~/Downloads

Now let’s list the contents of the ~/Downloads directory with the following command:
$ ls
You can see that the downloaded file is there.

Now we have to extract the zip archive.
To extract the downloaded zip file, run the following command:
$ unzip sqlite-tools-linux-x86-3210000.zip
There are only 3 files inside the zip file as you can see. They are ‘sqlite3’, ‘sqldiff’, ‘sqlite3_analyzer’
We are interested in ‘sqlite3’ file only.

Now we have to locate where the preinstalled sqlite3 program is.
To do that, run the following command:
$ whereis sqlite3
You can see that, the preinstalled SQLite3 program is in ‘/usr/bin/sqlite3’. Take a note of that as we need this path later.

You can remove ‘/usr/bin/sqlite3’ file and replace it with the update one. But I don’t recommend doing that. Because if any problem arises, you won’t be able to go back that easily. I recommend renaming the file. So you will have both of these SQLite3 installed and the updated one will be the default. In case you have any problem, just remove the new one and rename the old one to ‘sqlite3’ you’re done.
Before I rename the file, let’s check the version of the SQLite3 currently installed.
Run the following command:
$ sqlite3 --version
You can see that the version is 3.7.17.

I will rename the installed SQLite3 binary from ‘sqlite3’ to ‘sqlite3.7’.
To do that, run the following command:
$ sudo mv -v /usr/bin/sqlite3 /usr/bin/sqlite3.7
You can see that, the rename operation was successful.

Now we can copy the latest stable sqlite3 binary that we got after we unzipped the downloaded zip archive to /usr/bin/.
To do that, run the following command:
$ sudo cp -v sqlite-tools-linux-x86-3210000/sqlite3 /usr/bin/
You can see the that the copy operation was successful.

Now you can check the version of the installed SQLite3 again with the following command:
$ sqlite3 --version
You can see that the version if 3.21. That is the latest version as of this writing.

You can also use the old version if you want. The old SQLite3 can be accessed as ‘sqlite3.7’ as shown in the screenshot below.

So that’s how you update SQLite3 on CentOS 7. Thanks for reading this article.