How to Upgrade from Ubuntu 17.10 to 18.04
Ubuntu 18.04 Bionic Beaver is not out yet. But many people may want to upgrade from Ubuntu 17.10 Artful Aardvark to Ubuntu 18.04 Bionic Beaver when Ubuntu 18.04 is officially released in April 2018.
In this article, I will show you how to upgrade from Ubuntu 17.10 Artful Aardvark to Ubuntu 18.04 Bionic Beaver. Right now, following this article will let you upgrade to the development branch of Ubuntu 18.04 Bionic Beaver. When Ubuntu 18.04 LTS is officially released, following this article will let you upgrade to the LTS version of Ubuntu 18.04 Bionic Beaver. Let’s get started.
First update the package repository cache of your Ubuntu 17.10 Artful Aardvark operating system with the following command.
The package repository cache should be updated.
Now it’s best to update the packages currently installed on your Ubuntu 17.10 Artful Aardvark operating system to their latest versions. Because there will be less differences between the packages of Ubuntu 17.10 and Ubuntu 18.04.
To update all the currently installed packages of Ubuntu 17.10, run the following command:
As you can see from the screenshot below, all the installed packages of my Ubuntu 17.10 operating system is updated.
Now you have to change the package repository of Ubuntu 17.10 Artful Aardvark to Ubuntu 18.04 Bionic Beaver’s package repository.
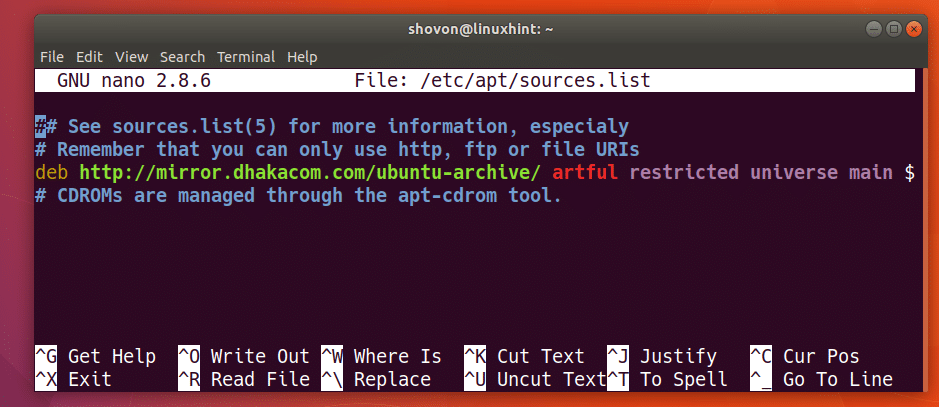
Now open the /etc/apt/sources.list file for editing with the following command:
You should see something like the following window as shown in the screenshot below.
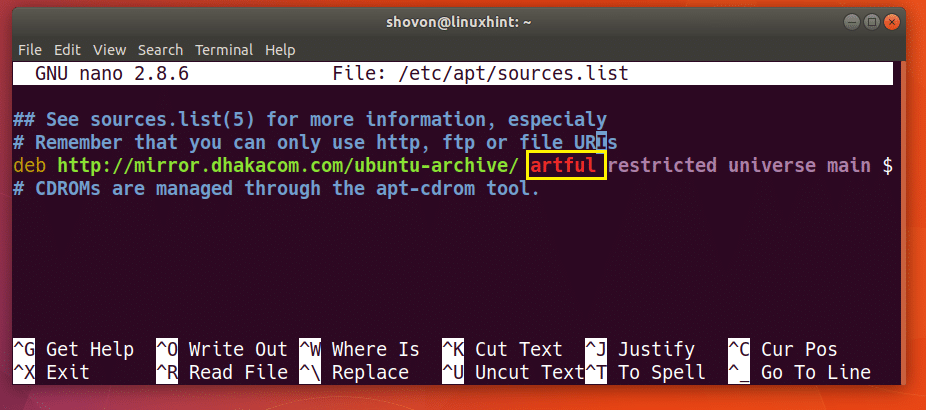
As you can see in the marked section of the screenshot below, the current repository code for Ubuntu 17.10 is artful. To change it to Ubuntu 18.04’s repository, you must replace every instance of artful to bionic. Also change artful-security to bionic-security if you do have these in your sources.list file.
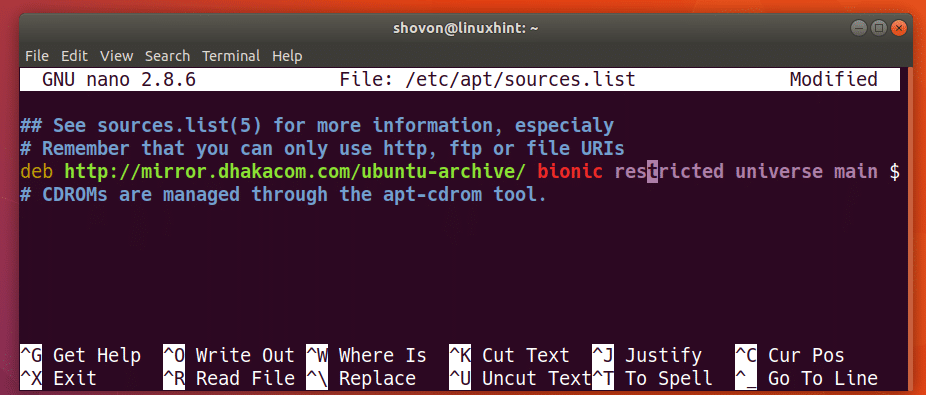
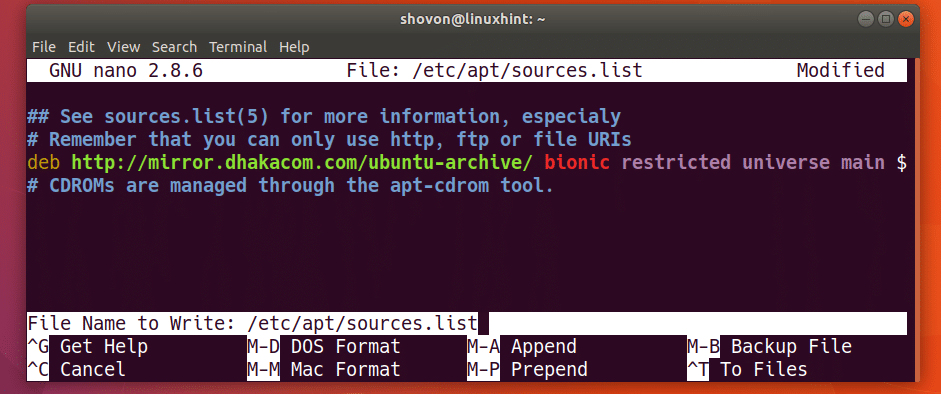
I changed artful to bionic as you can see from the screenshot below.
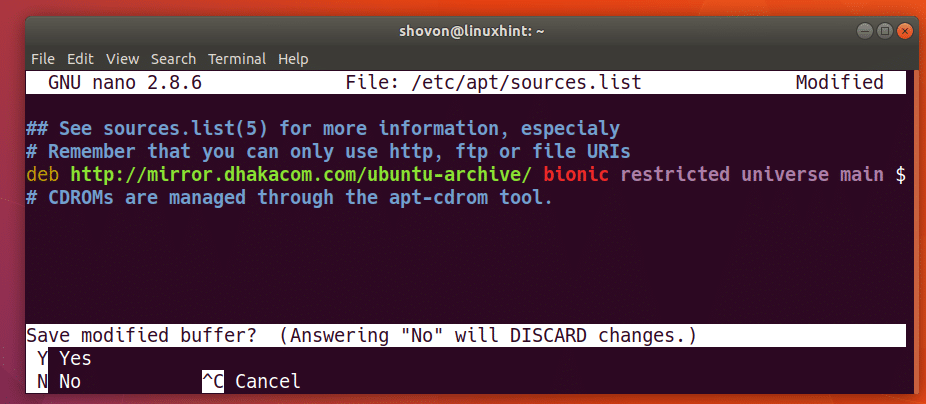
Now press <Ctrl> + ‘x’ and then press ‘y’ and then press <Enter>
Now press <Enter> and the changes should be saved.
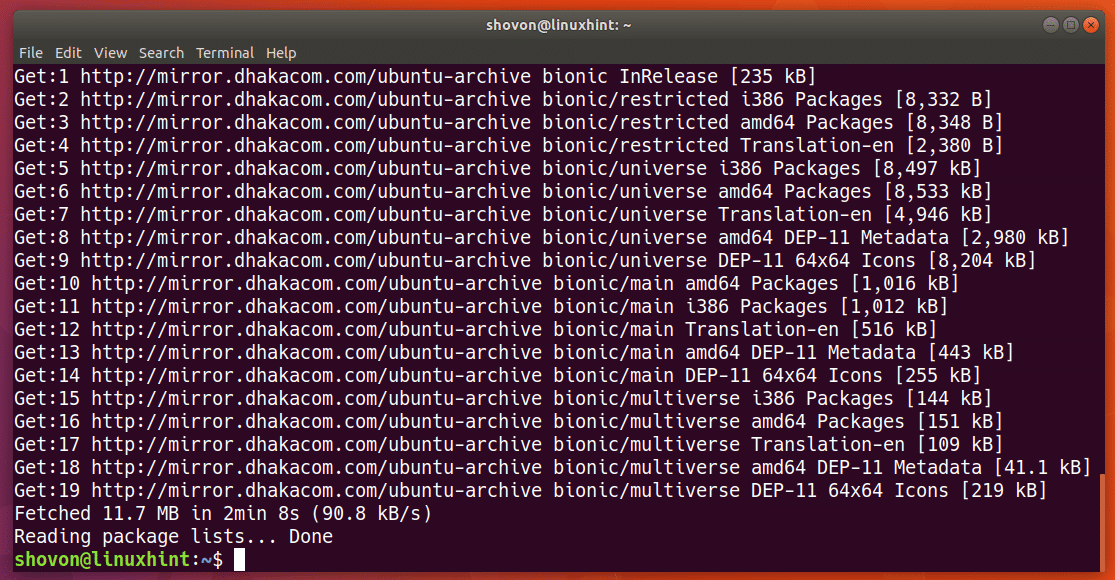
Now run the following command to update the package repository cache of your Ubuntu 17.10 operating system again.
As you can see the package repository cache is being updated.
At this point, the whole repository cache of your Ubuntu 17.10 should be updated with all the packages of Ubuntu 18.04.
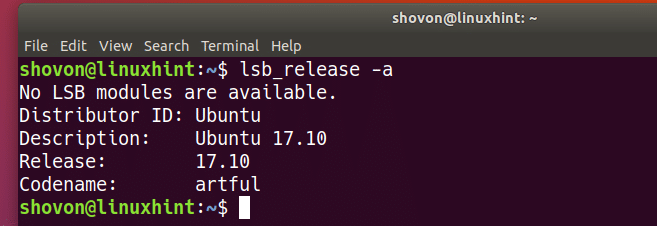
Now run the following command to check information about the current release of your Ubuntu operating system:
As you can see from the screenshot below, that I am running Ubuntu 17.10. I showed you how to check this information because you can check it again after the upgrade is completed.
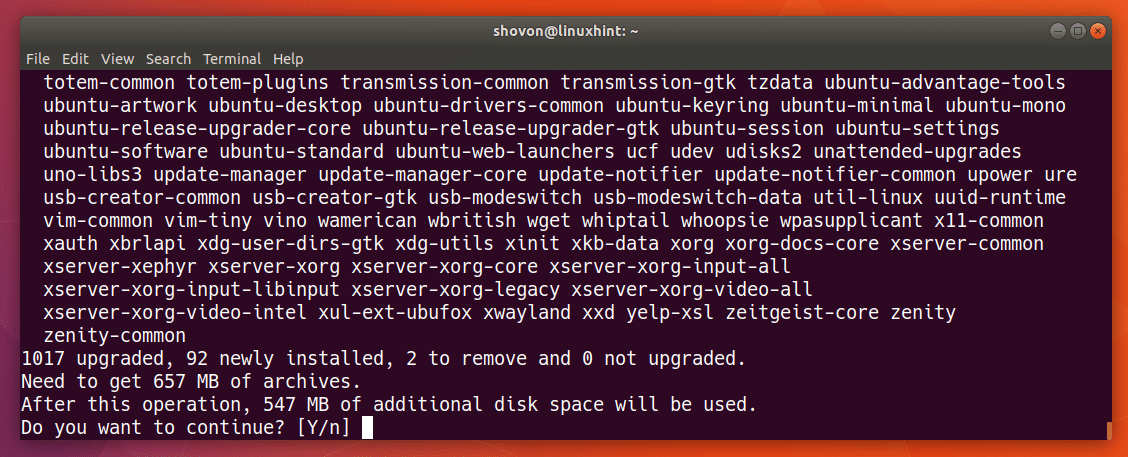
Now to upgrade from Ubuntu 17.10 Artful Aardvark to Ubuntu 18.04 Bionic Beaver, run the following command:
Now press ‘y’ and then press <Enter> to continue.
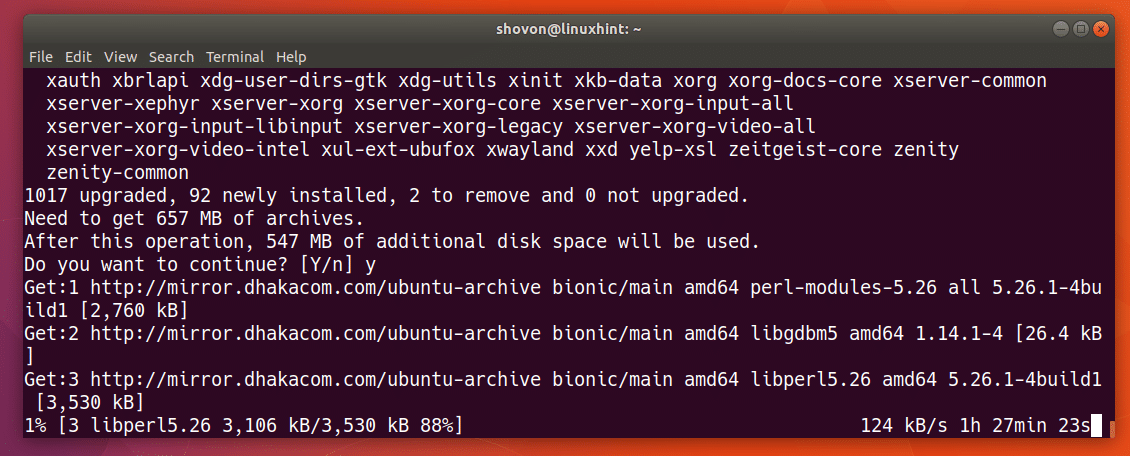
The upgrade process should start. As you can see, a lot of packages are being downloaded. It may take up a lot of bandwidth and should take a while to finish.
Once all the packages are downloaded, you should see a dialog box for unattended upgrades as shown in the screenshot below. Just press the <Left> arrow key and select “<Yes>” by pressing <Enter> if you want to apply automatic updates. If you don’t just select “<No>”. I will select “<No>” as I don’t to enable automatic updates right now.
Once you press <Enter> and select an option, you should see the following window.
Select “install the package maintainer’s version” and press <Enter> to continue.
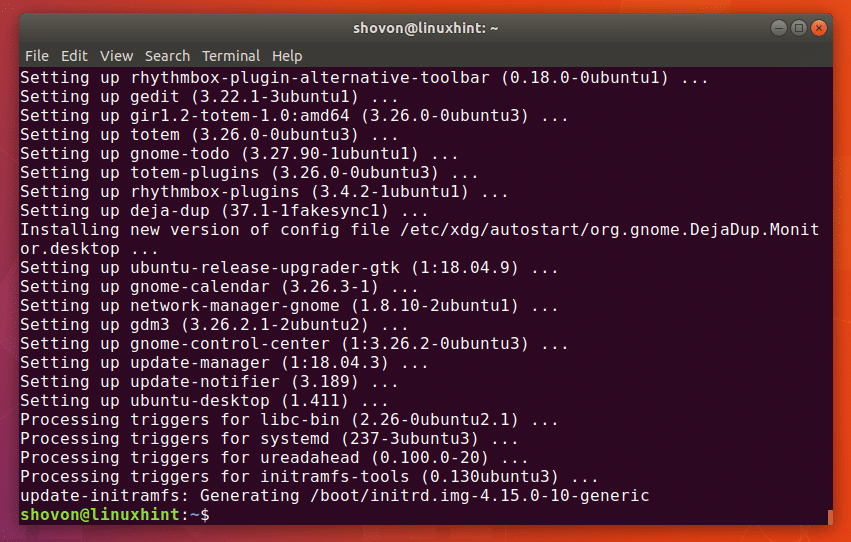
The rest of the upgrade process should finish at this point.
Now it’s best to restart your computer with the following command:
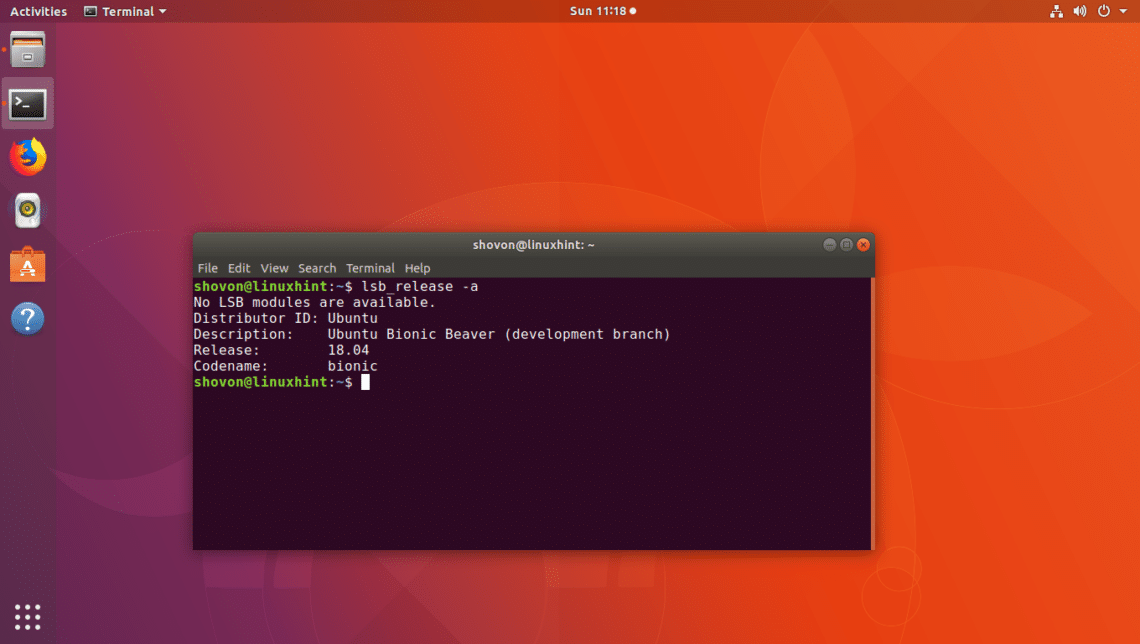
After the reboot, this is how it looks like.
As you can see from the output of lsb_release command, the version of Ubuntu I am using right now is Ubuntu 18.04 Bionic Beaver and it’s a development branch.
I haven’t noticed any differences as of the time of this writing. But I added some screenshots of different parts of Ubuntu 18.04 below.
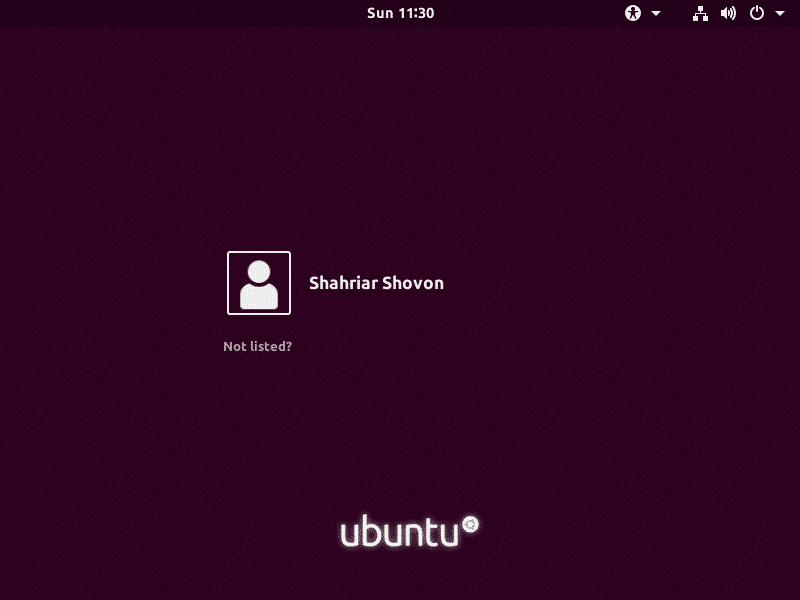
Login Screen of Ubuntu 18.04:
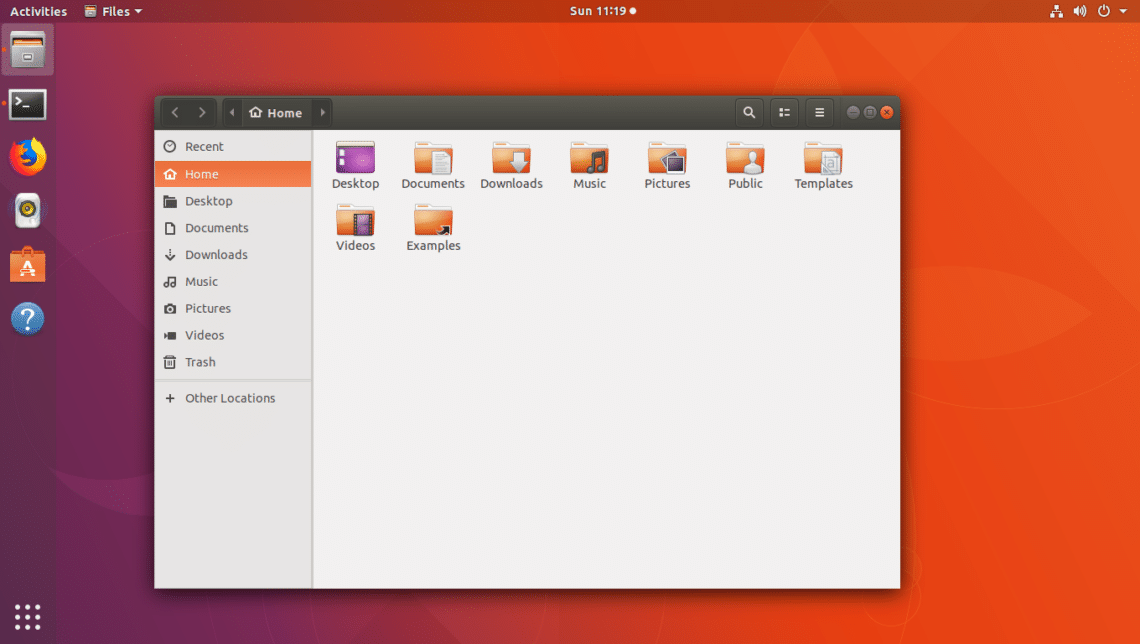
Nautilus File Manager of Ubuntu 18.04:
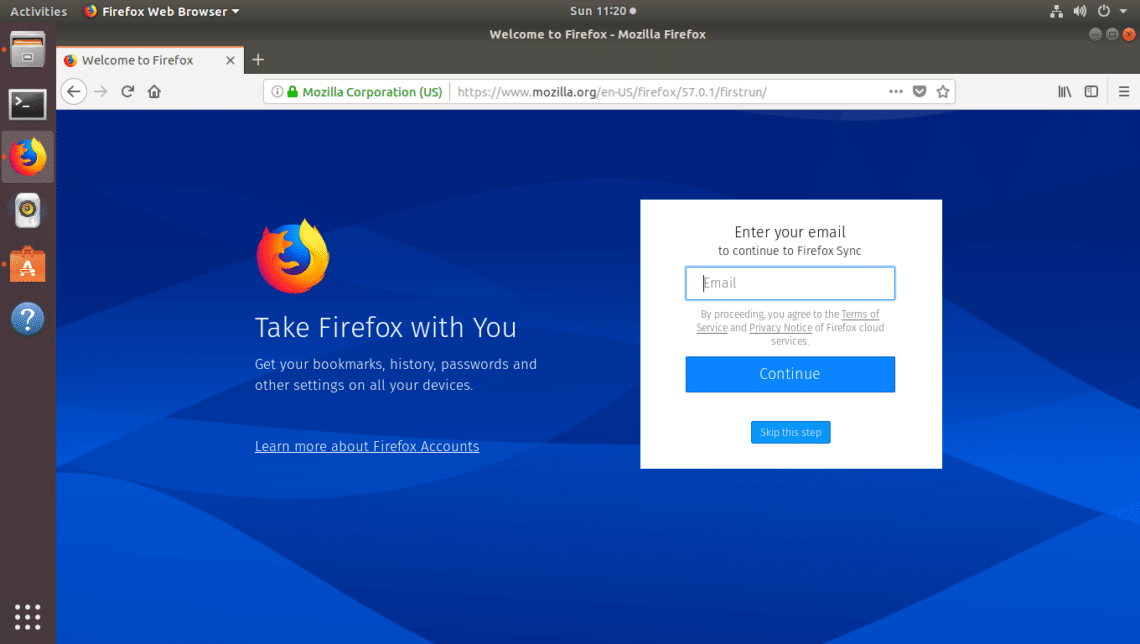
Firefox Web Browser on Ubuntu 18.04:
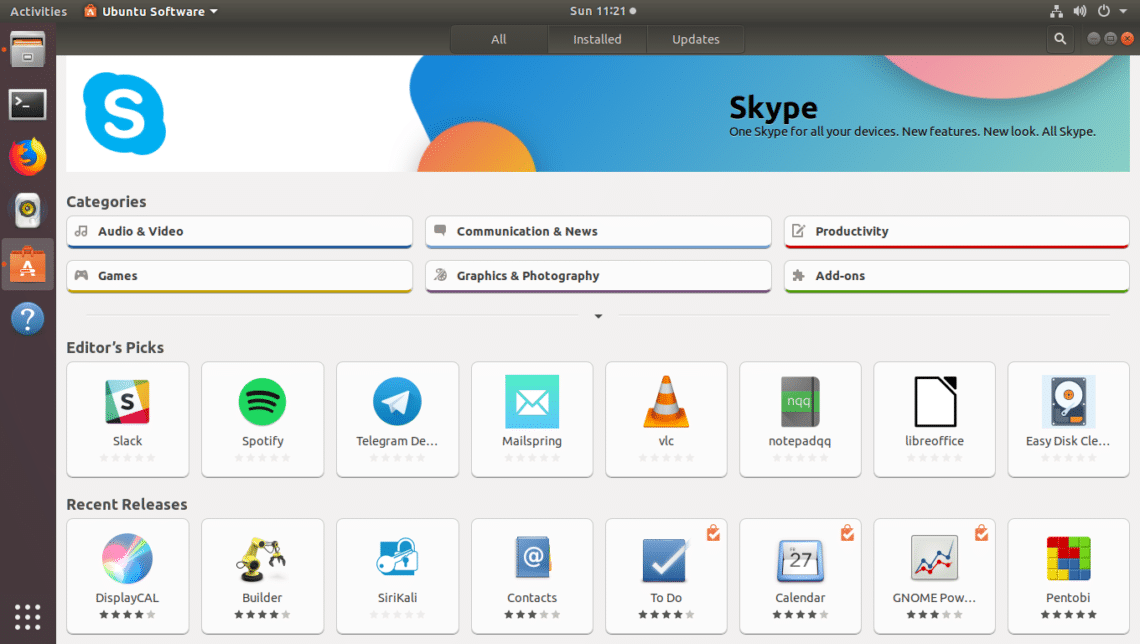
Software Center of Ubuntu 18.04:
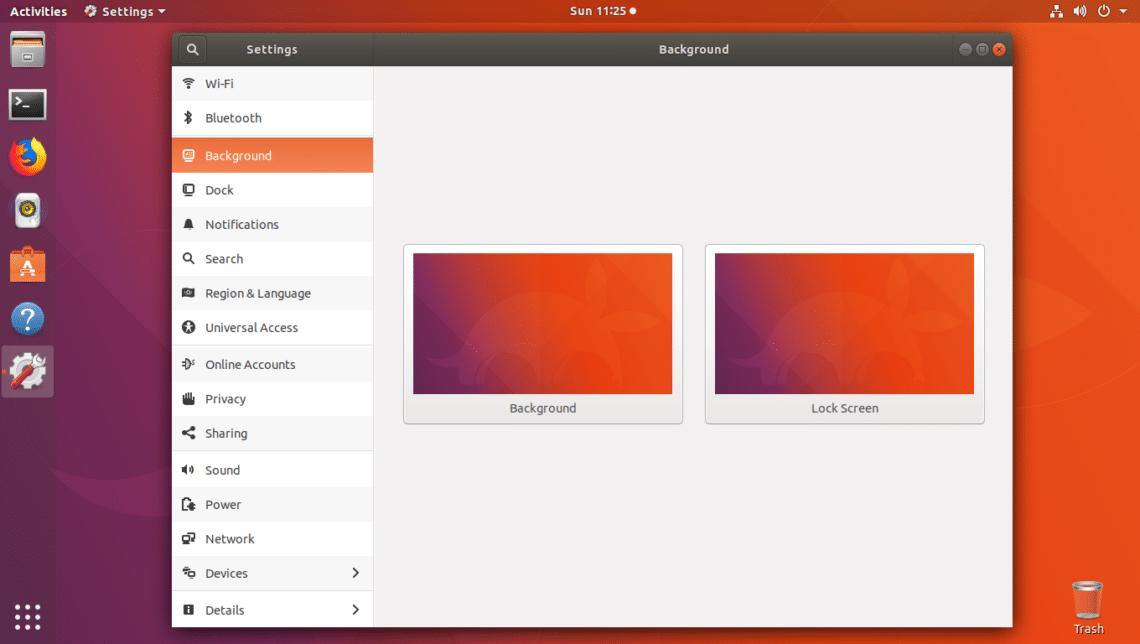
Settings of Ubuntu 18.04:
This is how you upgrade from Ubuntu 17.10 Artful Aardvark to Ubuntu 18.04 Bionic Beaver. Thanks for reading this article.
amzn_assoc_placement = “adunit0”;
amzn_assoc_tracking_id = “linuxhint-20”;
amzn_assoc_ad_mode = “search”;
amzn_assoc_ad_type = “smart”;
amzn_assoc_marketplace = “amazon”;
amzn_assoc_region = “US”;
amzn_assoc_default_search_phrase = “ubuntu usb”;
amzn_assoc_default_category = “All”;
amzn_assoc_linkid = “a5bac6c577b8fe42641b1a13150bc4ea”;
amzn_assoc_design = “in_content”;
amzn_assoc_title = “Ubuntu USB Sticks”;


