Vimrc location
There are two places where the vimrc is situated.
System vimrc: /etc/vimrc

User vimrc: ~/.vimrc
Vim reads both of them when launching and modifies the environment accordingly. The system vimrc file forces the Vim configuration for all the users in the system. That’s why it’s never a good practice to use the system vimrc for any changes UNLESS it’s necessary.
For all sorts of purpose, use the user vimrc. It’s the safest way to play around and customize whenever you feel like it. A matter of fact – most of the advanced Vim users use the user vimrc for modifying Vim behavior on the go.
Vimrc syntax
As mentioned earlier, vimrc is nothing more than a script powered by vimscript. If you’re interested in vimscript, there are tons of tutorials all over the internet.
At first, create a vimrc file at the home directory.

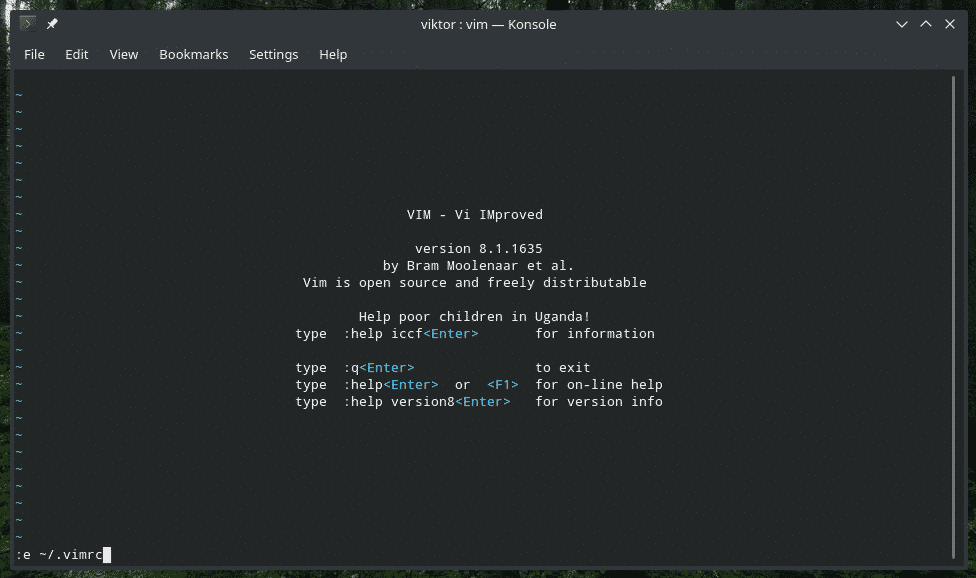
Next up, open the file with the help of Vim.
Or, inside Vim, use the following command.
Vim syntax highlighting
I prefer having this option at the very first on my vimrc file.

Want some cool-looking color schemes? Vim offers some preinstalled color scheme. Check out all the available color schemes of Vim.

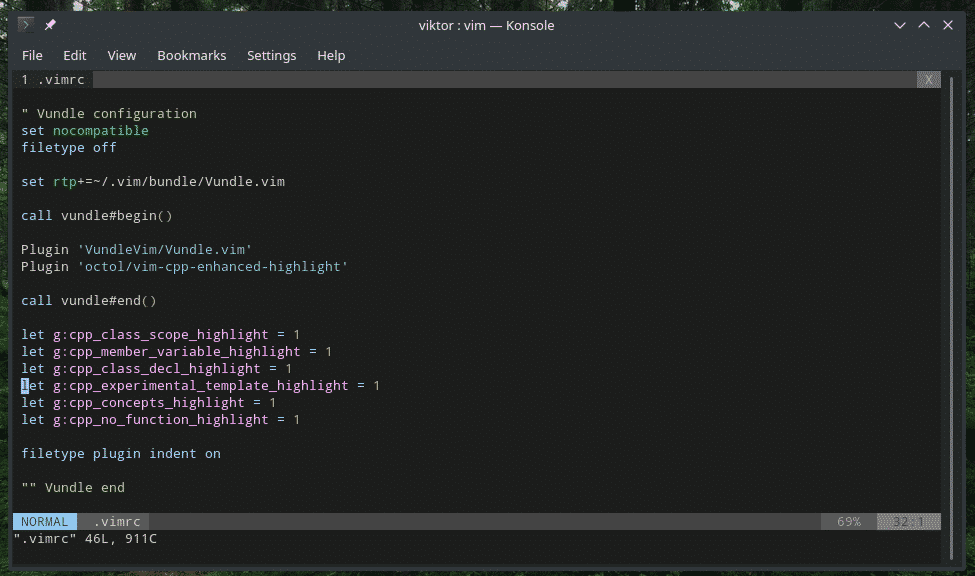
To enable a syntax highlighting by default, declare it in vimrc.

Tabs and spaces
Proper indentation is really important for any text editing, especially with programming. As a matter of fact, a big chunk of Vim users uses this editor for programming purposes. Python heavily depends on proper indentation. Bash scripts also require precise indentation.
So, you want to have a proper indentation system to set your code in the right path.
Set the size of the Tab. Note that this option will only change the visual appearance of Tab, not the actual character.

Here, the size of per Tab will be equal to 4 spaces. Don’t forget to set the number of effective tabs when you’re editing. Essentially, Vim will insert 4 spaces when you hit <TAB>.

When you’re navigating through <TAB> space, the cursor will jump from one end to another. If you want to turn the <TAB> space into normal spaces, use the following one.

At this point, <TAB> is effectively a shortcut for telling Vim to “insert 4 spaces” where the cursor is.
UI tweaks
Here are some awesome tweaks to elevate your Vim sessions to another level.
At first, line number. It doesn’t sound like much but line number can help easier navigation through the text file, especially in programming when you’re debugging a program.

When working with Vim, there’ll be the necessity of running a multitude of commands. Sometimes, some plugin disables this feature. The following one will show the command in the bottom bar, no matter what.

Puzzled where your cursor is? Use this command for highlighting the line where the cursor is.


The next declaration enables Vim to identify specific file types and load the filetype-specific indent files.

Who doesn’t love autocompletion? It makes life a LOT easier, especially when you’re in need of running a lot of commands. Vim happens to be heavily dependent on various commands. Why not have the autocomplete menu?


Vim loves redrawing the screen, especially during things it shouldn’t, for example, when running a macro. The next option will tell Vim not to bother redrawing the screen during those important tasks, leading to a smoother and faster macros.

If you’re programming, there will be a LOT of brackets, right? Major IDEs highlight the matching brackets for easier coding. Vim can also do that by default. Just tell Vim to behave that way.

Searching
Searching is one of the basic functions that we need to use on a regular basis. Vim offers one of the finest ways of searching within a text file. To improve your search experience, add these into your vimrc file.
set hlsearch

The first option is to start highlighting as soon as you start typing for search. The next option tells Vim to highlight the search results.
Once you search, Vim keeps the highlight for the rest of the session unless you enter “:noh” or “:nohlsearch”. How about binding this function with a key combo?

This binds the command “:nohlsearch” with ,<spacebar> combo.
Folding
This one greatly improves the quality of life for programmers. It allows folding code blocks for easier navigation through the code.

The next option is to open most folds by default.

If the value is set to 0, then all the folds would be closed. For value 99, all the folds would be open. So, 10 ensures that only heavily nested blocks are folded.
It would be nice to have a shortcut for opening/closing folds, right? Let’s bind it to the spacebar.

This next option tells Vim to fold based on indentation. For Python programmers, this is like a blessing.

There are other values for the “foldmethod” variable: syntax, diff, manual, marker, expr etc. For further information on these, consult the Vim help.

Movement
If you’re using Vim, I assume that you’re already familiar with the basic cursor movement. In this section, we’ll just check out some useful key binding to lessen the work.
nnoremap k gk

These 2 lines enable to move around visually. Traditionally, if there would a very big line, you would have to go right/left to reach the desired location. Now, the long line will be visually wrapped. “j” will no longer skip the “fake” part of the visual line.
Plugin manager
This is the core of my daily Vim experience. The world of Vim is so much colorful, thanks to the solid pathway for Vim plugin development. Vim has been around for more than a decade. With such a long time at hand, Vim plugin ecosystem is extremely mature, stable and reliable.
The popularity of Vim plugins is so widespread that there need to be even plugin managers to properly manage them! In this tutorial, I’ll be showing the installation and configuration of Vundle on vimrc. If you’re not familiar with Vim plugin or want further information, check out the usage of Vim plugin.
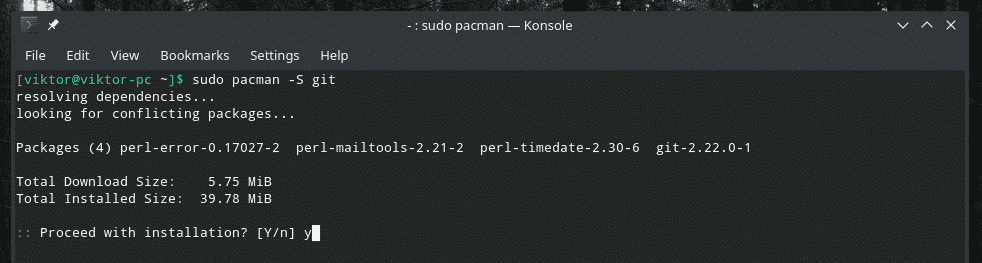
Git is essential if you’re interested in Vundle and other Vim plugins. Install Git in your system.
Now, set Vundle in your system.

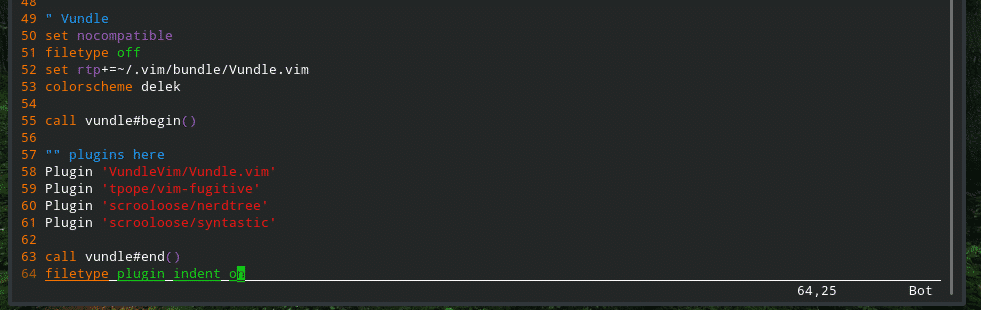
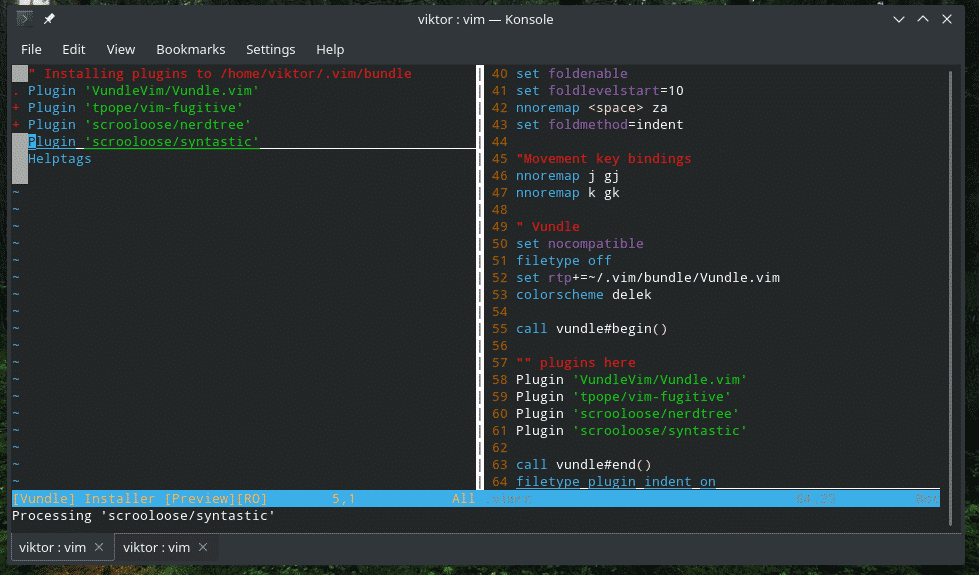
It’s time to make the vimrc tweaks to enable Vundle and other plugins.
filetype off
set rtp+=~/.vim/bundle/Vundle.vim

These are required by Vundle to operate properly.
Now, it’s time to put some plugins. There are numerous Vim plugins out there. Use Vim Awesome to find out your favorite one.
call vundle#end()
filetype plugin indent on
Saving vimrc
Once you’re complete, save the vimrc file, reload Vim and you’re good to go!


Comments
If you followed the entire guide, you’ll notice that there are plenty of commenting out there. While comments are really not necessary for a vimrc file, it can actually benefit the user in properly maintaining the script. If you come to your vimrc after a couple of months and forget what these codes are for, you’re in big trouble. Commenting helps to keep everything together with proper documentation and hints.
Final thoughts
These are just some simplistic Vim enhancements. There are plenty of ways you can customize Vim in your own way. Just make sure not to put any line in your vimrc that you don’t understand.
Enjoy!