Setting up Shared folders in VirtualBox
If you have virtual machines installed inside VirtualBox, chances are you wish to share data between the VM and the host operating system. VirtualBox’s Shared Folder feature enables you to share a folder between your host operating system and the guest operating system.
We will be using a Windows 10 host system and share a folder with Ubuntu 18.04 as guest. Everything from read and write permissions to volume management is surprisingly easy and simple to set up in either cases. A linux and a non-linux OS offers a nice generality too, making the following steps widely applicable.
We will be sharing a folder named D:VboxShare from the host system with the same name on the guest for the sake of simplicity. You can have the shared folder show up with a different name on your guest OS, if you like.
Start your VM and click on Devices options on the VirtualBox window, top row.
In the bottom of the Devices submenu you will get an option saying Insert Guest Additions CD Image… click on it and it will mount an iso file provided by Oracle to extend the capabilities of the VM, including the Shared Folder feature.
Upon clicking, one of two things may happen. If you are using stock Ubuntu, you will be prompted that there’s an autorun.sh script inside the CD image and it requires your sudo password to execute or you may notice just a CD image being mounted on your file system, in which case please see the note below.
Coming back to the ideal case where the autorun.sh script starts on its own, in that case you would need to allow your guest OS to run the script. Click on “Run” when the following window pops up:

You can go ahead and give in your sudo password when you see this prompt:

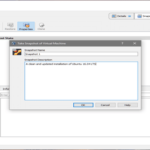
Finally, you will see the result of the installation (this will only take a few seconds) :
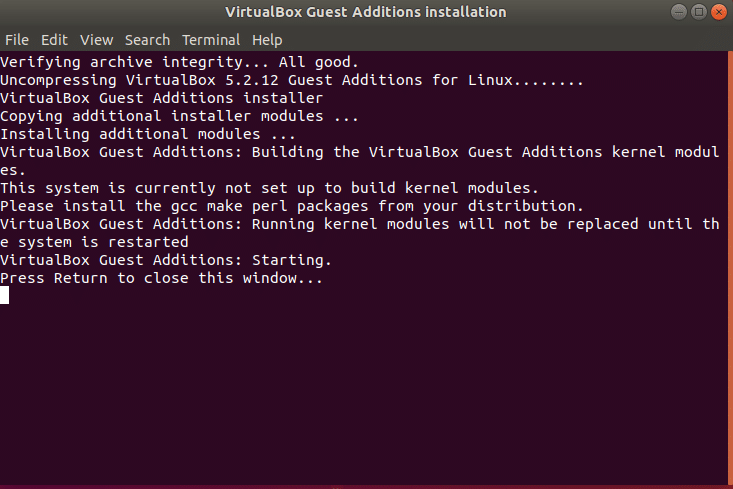
You will notice that the script asks you to install gcc, make and perl so it can install necessary kernel modules. We will do that next.
Note: If the autoinstallation prompt doesn’t show up
Chances are that you are using a distribution like Lubuntu, and you will notice a new CD image being mounted on the path /media/<yourUsername>/Vbox_GA_version_number where the version number would depend on the version of VirtualBox. This CD image may also show up on your desktop screen. If that happens simply open up the terminal, traverse to that directory and run the autorun.sh script as root user. To do that use the following commands:
$ sudo ./autorun.sh
Of course, you would need to use your username instead of the <username> shown in the command. Also the mounted media /VBox_GAs_x.x.xx will have different name depending on what version of VirtualBox you are using.
Back to installation
Now it’s time to ensure that the Guest Addition software has all the necessary base packages to install kernel modules on the guest OS. As mentioned earlier, these packages are make, gcc and perl. Let’s install them.
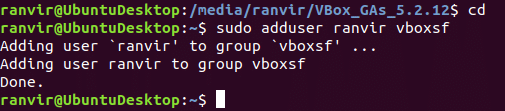
Now, as a final point of minutiae, you need to understand that the files shared by VirtualBox can only be access by members of vboxsf group created by the earlier by the autorun.sh script. To make those files accessible to your regular UNIX user account, that account needs to be a member of the vboxsf group. Make that happen by running the command:
Adding the Shared Folder
We are now ready to share folders from the host machine. To do that click on Devices, again, from the VirtualBox menu option of the VM window. (Top row, outside the VM)

You will see the following options there, Devices → Shared Folders → Shared Folder Settings …
Upon clicking on it you will see something similar to this:

Click on the first folder icon on the right most column. Then enter the path to that folder as seen from your host operating system. In our case, it is a Folder in D: drive. Then Folder Name variable will decide what name that shared folder will have inside the VM. You may also want to select Auto-mount option so that the folder is mounted without manual intervention. Making it a permanent member would ensure that you have the sharing enabled every time you boot that VM.

If the data in the folder is sensitive, or if you use your VM for testing malicious software, you might want to select Read-only option as well. In doing so, you ensure that the VM can’t modify the contents of the folder.
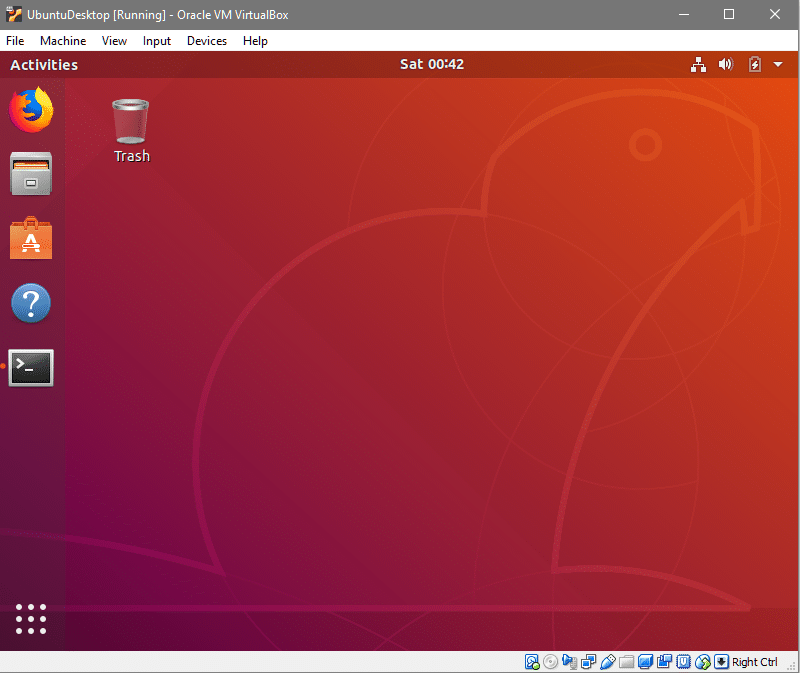
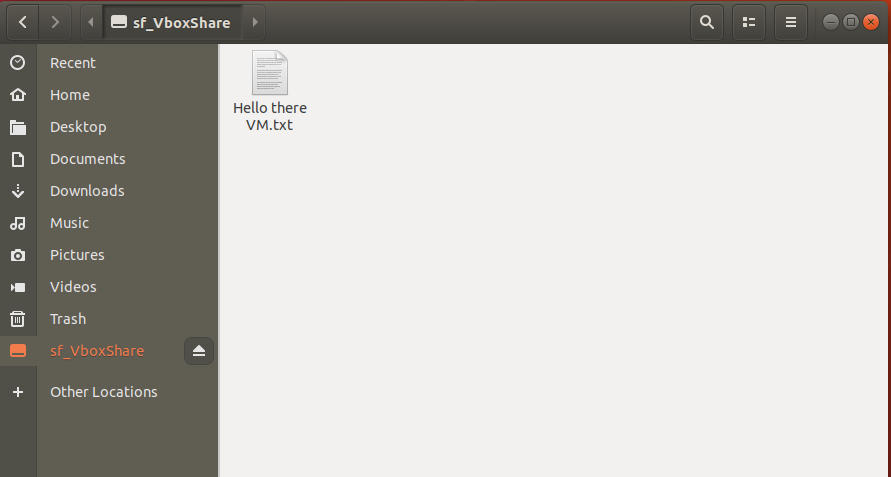
Now we reboot our system so that all the modification we made in the last few steps would actually show up as a Shared Folder on our User’s desktop (or at /media/<sf_VBoxShare)
Conclusion
Let us know if there are any other bugs, issues or set up in your shared folders. If there’s an edge case that you want us to cover of if you still have some lingering doubts about the steps covered above.
You can reach us on Twitter, Facebook or subscribe to us via email.