Apache Solr
Apache Solr is one of the most popular NoSQL databases which can be used to store data and query it in near real-time. It is based on Apache Lucene and is written in Java. Just like Elasticsearch, it supports database queries through REST APIs. This means that we can use simple HTTP calls and use HTTP methods like GET, POST, PUT, DELETE etc. to access data. It also provides an option to get in form of XML or JSON through the REST APIs.
In this lesson, we will study how to install Apache Solr on Ubuntu and start working with it through a basic set of Database queries.
Installing Java
To install Solr on Ubuntu, we must install Java first. Java might not be installed by default. We can verify it by using this command:
When we run this command, we get the following output:

We will now install Java on our system. Use this command to do so:
sudo apt-get update
sudo apt-get install oracle-java8-installer
Once these commands are done running, we can again verify that Java is now installed by using the same command.
Installing Apache Solr
We will now start with installing Apache Solr which is actually just a matter of a few commands.
To install Solr, we must know that Solr doesn’t work and run on its own, rather, it needs a Java Servlet container to run, for example, Jetty or Tomcat Servlet containers. In this lesson, we will be using Tomcat server but using Jetty is fairly similar.
The good thing about Ubuntu is that it provides three packages with which Solr can be easily installed and started. They are:
- solr-common
- solr-tomcat
- solr-jetty
It is self-descriptive that solr-common is needed for both containers whereas solr-jetty is needed for Jetty and solr-tomcat is needed only for Tomcat server. As we have already installed Java, we can download the Solr package using this command:
As this package brings a lot of packages with it including Tomcat server as well, this can take a few minutes to download and install everything. Download the latest version of Solr files from here.
Once the installation has completed, we can unzip the file using the following command:
Now, change your directory into the zip file and you will see the following files inside:

Starting Apache Solr Node
Now that we have downloaded Apache Solr packages on our machine, we can do more as a developer from a node interface, so we will start a node instance for Solr where we can actually make collections, store data and make searchable queries.
Run the following command to start cluster setup:
We will see the following output with this command:
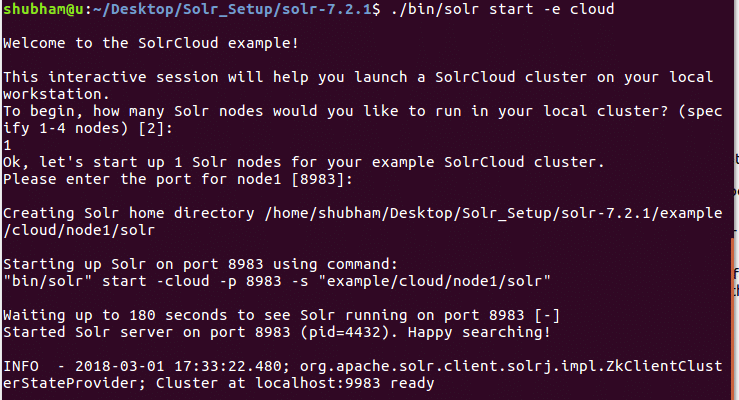
Many questions will be asked but we will setup a single node Solr cluster with all of the default configuration. As shown in the final step, Solr node interface will be available at:
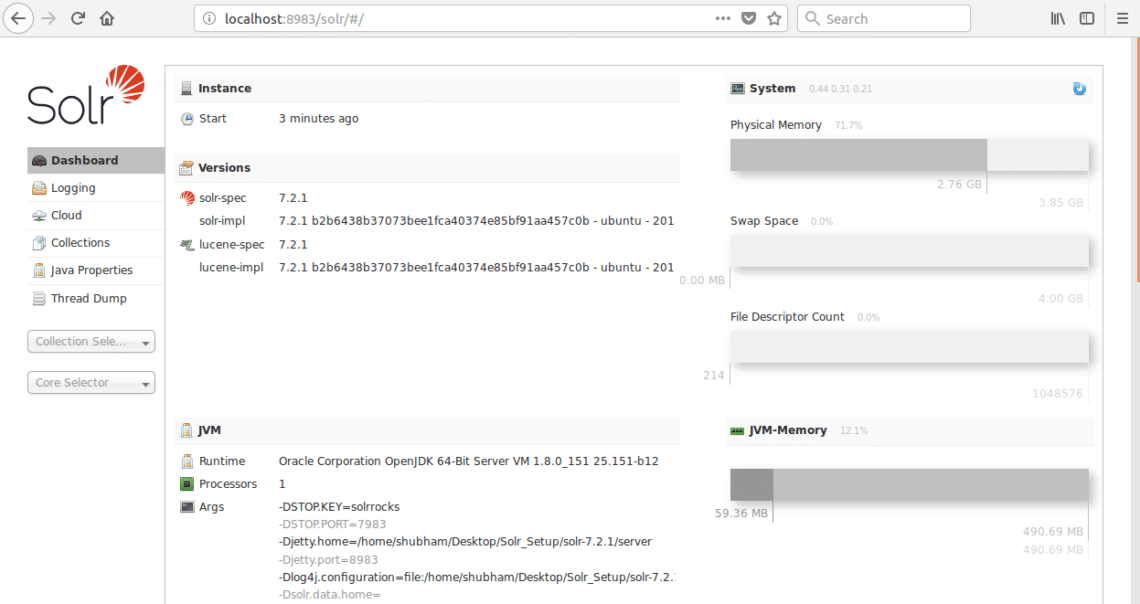
where 8983 is the default port for the node. Once we visit above URL, we will see the Node interface:
Using Collections in Solr
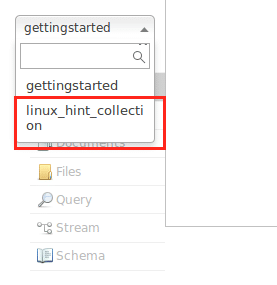
Now that our node interface is up and running, we can create a collection using the command:
and we will see the following output:

Avoid the warnings for now. We can even see the collection in Node interface as well now:
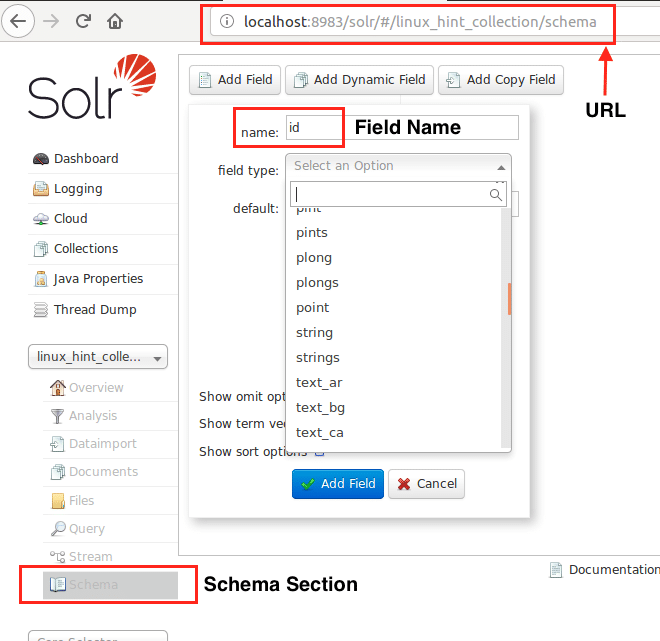
Now, we can start by defining a schema in Apache Solr by selecting the schema section:
We can now start inserting data into our collections. Let’s insert a JSON document into our collection here:
‘http://localhost:8983/solr/linux_hint_collection/update/json/docs’ –data-binary ‘
{
"id": "iduye",
"name": "Shubham"
}’
We will see a success response against this command:

As a final command, let us see how we can GET all data from Solr collection:
We will see the following output: