Most users prefer to put shortcuts to various applications on the desktop to allow them to quickly launch applications without having to look or search for them every time they need to use them. On Windows, many application installers prompt the user to add a shortcut to the application on the desktop. If the user didn’t accept the option, the shortcut can be created simply by navigating the application’s .exe file, right-clicking on it and selecting Send To, and then Desktop (create shortcut). Doing the same on Linux is slightly more complicated.
Most of the popular Linux desktop environments like KDE Plasma, XFCE, Cinnamon etc. also provide the users the ability to add their favorite application shortcuts on their desktop. On the other hand, GNOME (Ubuntu’s desktop) does not provide this option by default. Fortunately, Canonical ships an extension with Ubuntu out-of-the-box which allows the user to add desktop shortcuts.
To check whether desktop icons are set to show or not, follow the given steps:
Gnome Tweaks
Open GNOME Tweaks. If you do not have GNOME Tweaks installed, you can install it by running the following command in the terminal:
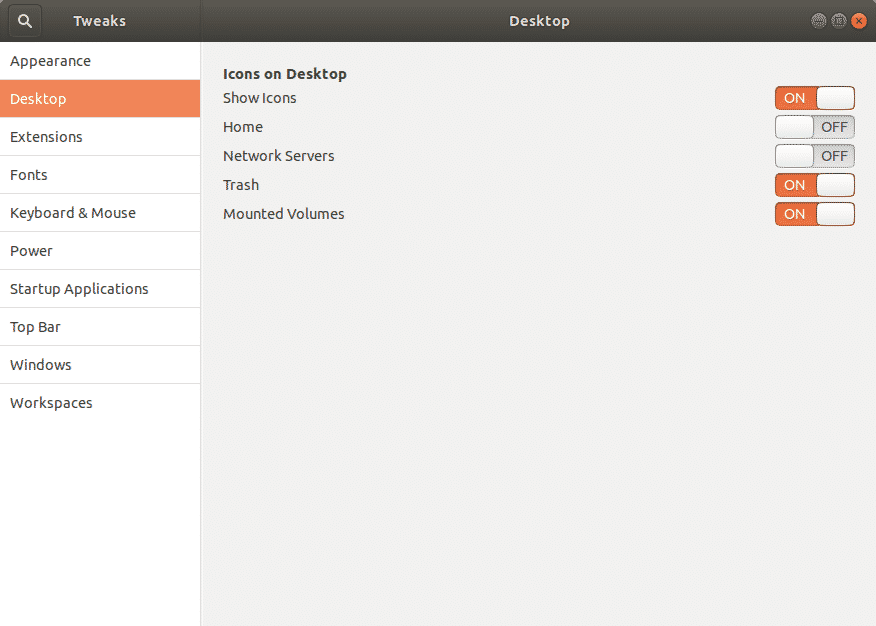
Ubuntu Desktop Tab
On Ubuntu 18.04 LTS, click the Desktop tab. Make sure that the Icons on Desktop option is enabled as shown below:
On later versions of Ubuntu, the desktop icons setting can be found under the Extensions tab of GNOME Tweaks. If for some reason this extension is not installed, follow the steps in next section to install it.
Install Ubuntu Gnome Extensions
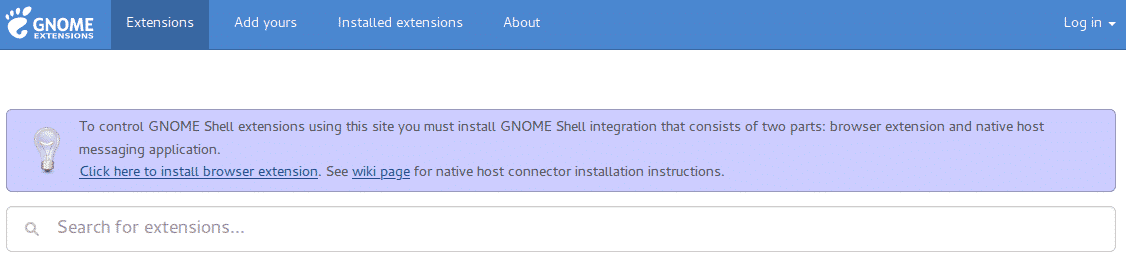
Launch Firefox or Chrome, and browse to this link: https://extensions.gnome.org/
Click the Click here to install browser extension link to install the GNOME Shell Integration extension for your browser
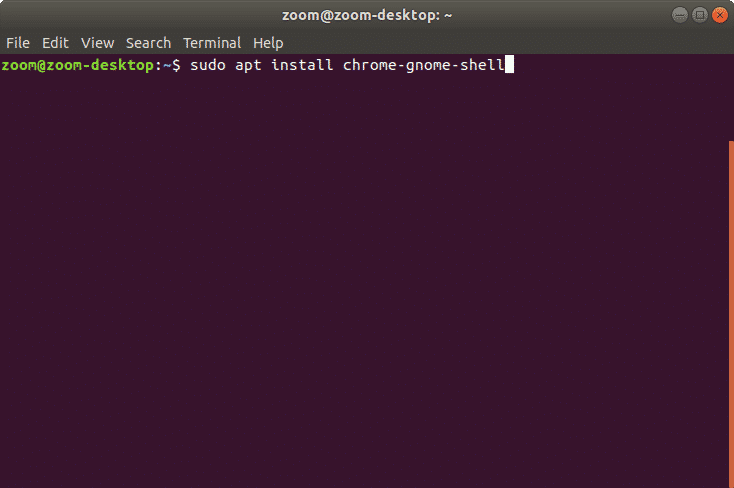
Open the Terminal and run the following command:
(This works for Firefox too!)
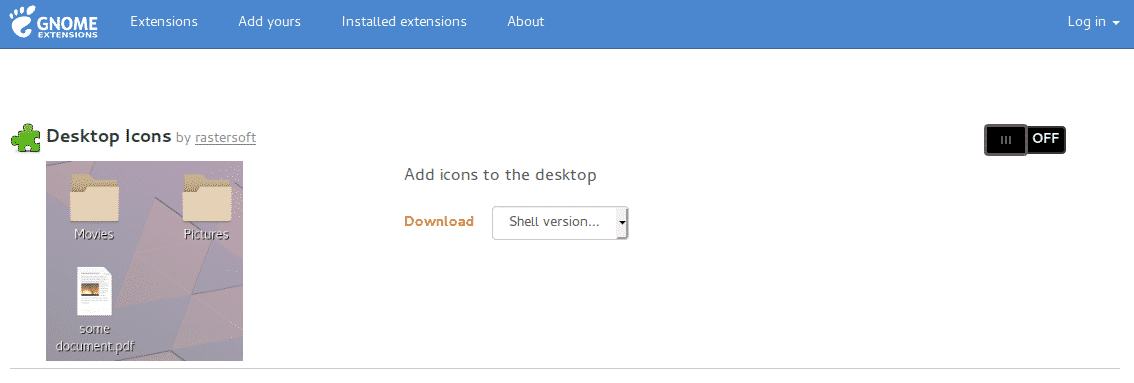
Restart the browser and navigate to this link: https://extensions.gnome.org/extension/1465/desktop-icons/
Click the toggle button to set it to on, and in the following prompt, click Install
We can now move on to creating the shortcuts. The method varies if the application was installed or just ran from an extracted archive.
Creating Desktop Shortcuts For an Installed Application
In the case of an installed application, follow the given steps to create shortcuts:
Launch the Files app. Press Ctrl+L to make the address bar editable. Copy and paste the following path in the address bar: /usr/share/applications
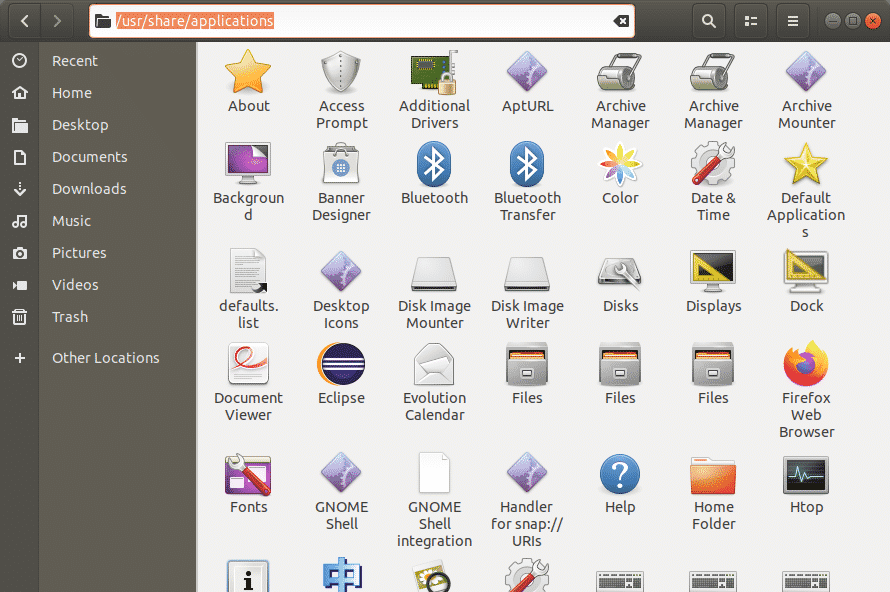
: /usr/share/applications contains the .desktop files of all of the applications installed on the system. Locate and copy the .desktop file of the desired application. Paste the .desktop file of the application to your desktop. Double click the copied .desktop file
On the prompt, click on Trust and Launch – this will update the icon and its label with the application’s icon and title, and launch the application
Creating Desktop Shortcuts For Tar Archive Application
In the case of an application that was extracted through an archive (such a .tar.gz file, or obtained through a cloned git repository), it will probably not have a .desktop file. In this case, you will first have to create this file manually. To do this, follow these steps:
Open up the terminal by using the shortcut Ctrl+Alt+T or search for the terminal by opening the dash.
Type the following command: gedit ApplicationName.desktop
(Replace ApplicationName with the name of the desired application)
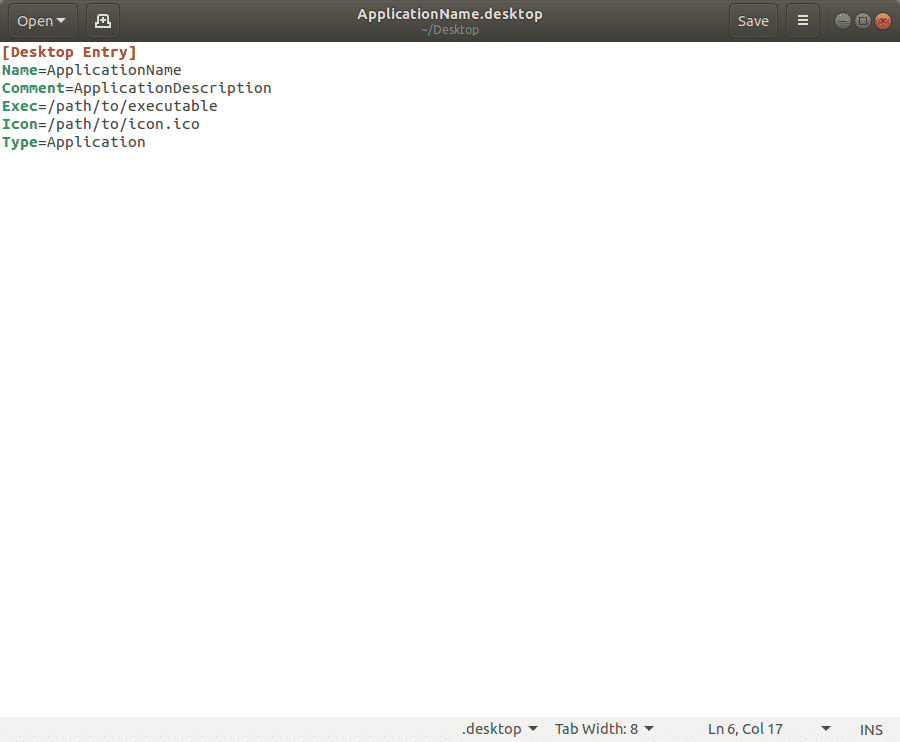
Copy the following lines in the editor window:
Name=ApplicationName
Comment=ApplicationDescription
Exec=/path/to/executable
Icon=/path/to/icon.ico
Type=Application
The editor window should look something like this:
The configuration lines are described below:
- Declares that this file is a Desktop Entry
- The name of the application for which you are creating this file (update this accordingly)
- A brief description of the application (update this accordingly)
- Path to the executable of the application (update this accordingly). The full path to the executable should be given in case it isn’t specified in the $PATH variable, otherwise just the name of the application would suffice. To check the list of paths in the $PATH variable, type ‘echo $PATH’ in the terminal
- Path to the icon of the application (update this accordingly)
- The type of shortcut that you are creating – leave this as Application
Now, double click this newly created .desktop file and on the prompt, click on Trust and Launch – this will update the icon and its label with the application’s icon and title, and launch the application.
Alternatives
Other than creating desktop shortcuts to quickly launch your favourite applications, various other alternatives can be opted for depending on a user’s preference.
Using the Applications Menu
This menu shows all the applications installed in Ubuntu in a vertical grid. To launch an application, simply find its icon in this menu and click it.
Using the Terminal
Installed applications can be launched directly from the Terminal as well simply by entering the name of the application in the console.
Pinning applications to the launcher
Most users prefer to have their most used applications placed on the launcher. To pin applications to the launcher, search for the desired application by searching for it and then launching it. Right-click the icon of the launched application in the dock and select the option ‘Add to favourites’ to lock the application to the launcher.
Using the Run Command
To launch an application using the run command, hit ALT+F2. This opens the Run Command Window. Type the name of the application in the text box and hit enter to launch.