Installing vsftpd:
First, update the CentOS 8 package repository cache with the following command:
 ‘
‘
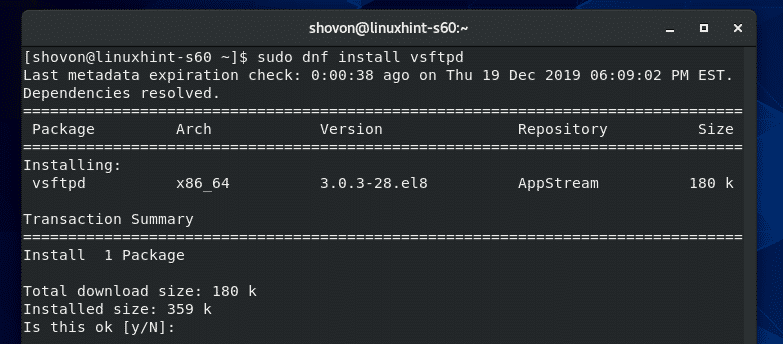
Now, install vsftpd with the following command:

Now, press Y and then press <Enter> to confirm the installation.
vsftpd should be installed.

Managing vsftpd Service:
Once vsftpd is installed, check the status of the vsftpd service with the following command:
As you can see, vsftpd service is inactive (not running) and disabled (won’t automatically start on system boot).

You can start the vsftpd service with the following command:

Also, add vsftpd service to the system startup of CentOS 8 with the following command:

Now, check the status of the vsftpd service again.
As you can see, the vsftpd service is active (vsftpd is running) and enabled (will automatically start on system boot).

If you change any vsftpd configuration file, then you will have to restart the vsftpd service. You can do that with the following command:
If you want to stop the vsftpd service for some reason, run the following command:
Allow Firewall Access to the FTP Server:
To allow firewall access to the FTP ports 20 and 21, run the following command:

Now, for the firewall changes to take effect, run the following command:

Now, you should be able to access the FTP server installed on CentOS 8 from another computer on the network.
Accessing the FTP Server:
In order to access the FTP server installed on your CentOS 8 machine, you will need the IP address of your CentOS 8 machine.
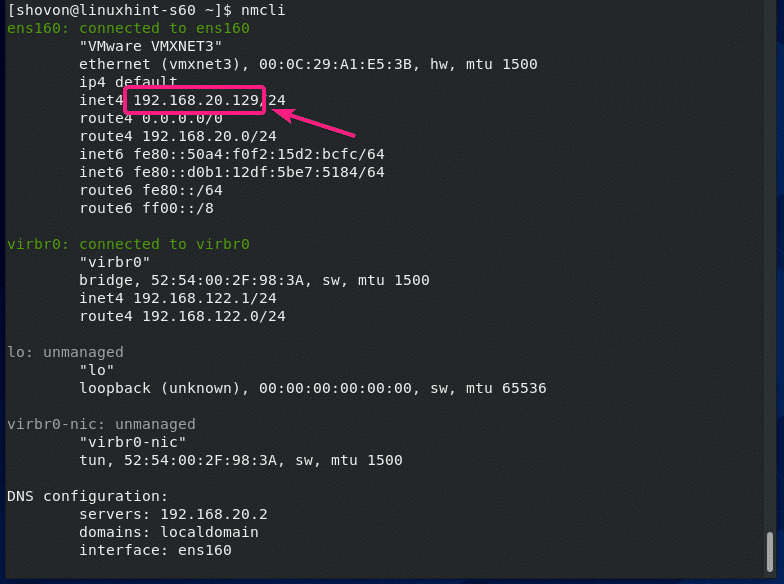
You can find the IP address of your CentOS 8 machine, run the following command:
In my case, the IP address is 192.168.20.129. It will be different for you. So, make sure to replace it with yours from now on.
Now, you can access the FTP server from any FTP client. You can use one of the command line FTP clients, ftp and lftp. Or you can use a graphical FTP client, FileZilla. I will use lftp FTP client in this article.
You can install lftp FTP client on CentOS/RHEL with the following command:
On Ubuntu/Debian, you can install lftp FTP client with the following command:
Once lftp is installed, you can connect to your FTP server with the following command:
Note: By default, vsftpd is configured in a way that lets you access the HOME directories of your CentOS 8 users, i.e your login user. The <Username> is your login username and the password is the password of that login user.
In my case, the lftp command is:

Now, type in the password of the user that you’re trying to login as and press <Enter>.

You should be logged in.

Now, you should be able to list the files/directories, upload and download files etc.

Once you’re done testing, exit out of the lftp program as follows:

Adding a New FTP Users:
In the default configuration, adding a new FTP user is the same as creating a new CentOS 8 user.
You can create a new CentOS 8 user bob with the following command:

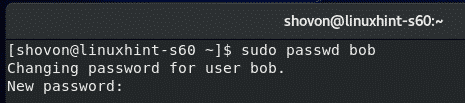
Also, set a password for the user bob as follows:

Now, type in a new password and press <Enter>.
Re-type the password and press <Enter>.
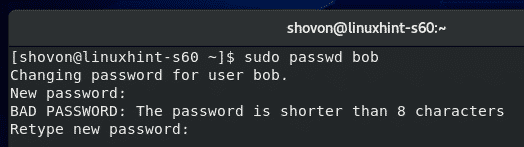
The password should be set.

Now, you should be able to login as the user bob.

Deny FTP Access to Users:
By default, usernames added to the file /etc/vsftpd/user_list are denied access to the FTP server.
So, if you want to deny access to some user, put their username in the /etc/vsftpd/user_list file. Remember to put one username per line.
First, open the /etc/vsftpd/user_list file with vi as follows:

Then, add your desired username at the end of this file and save the file.

Once you’re done, restart the vsftpd service as follows:

Configuring vsftpd FTP Server:
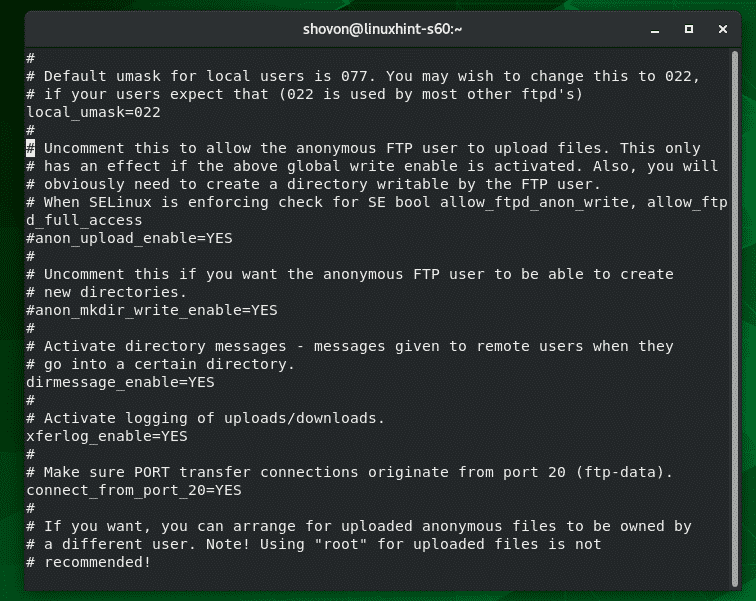
The default configuration file of vsftpd is /etc/vsftpd/vsftpd.conf.
You can open the vsftpd.conf file for editing with vi text editor as follows:

This is how the vsftpd.conf file looks like.
The format of each configuration option is,
You can find what options vsftpd.conf file supports from the man page of vsftpd.conf.
To open the vsftpd.conf man page, run the following command:

Now, scroll down a little bit and you should find all the vsftpd.conf supported option name, what they do, what values are allowed for the option and the default value for the option.

Once you’ve changed the vsftpd.conf file, make sure to restart the vsftpd service for the changes to take effect.

So, that’s how you install and configure vsftpd FTP server on CentOS 8. Thanks for reading this article.