Installing Git and Apache HTTP Server:
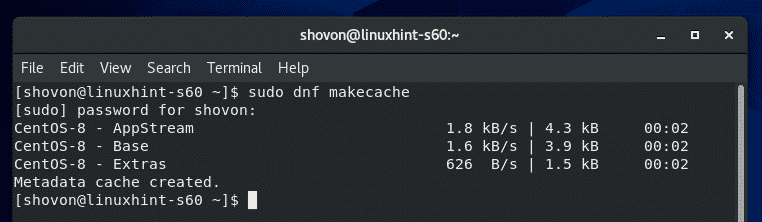
First, update the CentOS 8 package repository cache with the following command:
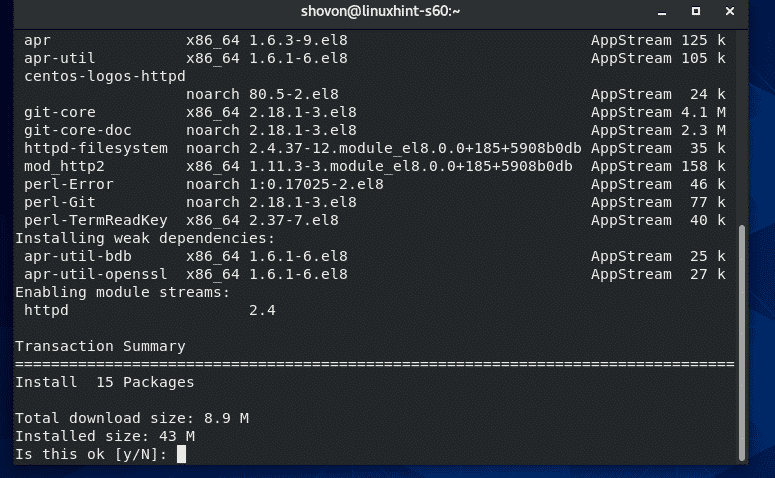
Now, install Git, Apache HTTP server and Apache tools with the following command:

Now, press Y and then press <Enter> to confirm the installation.
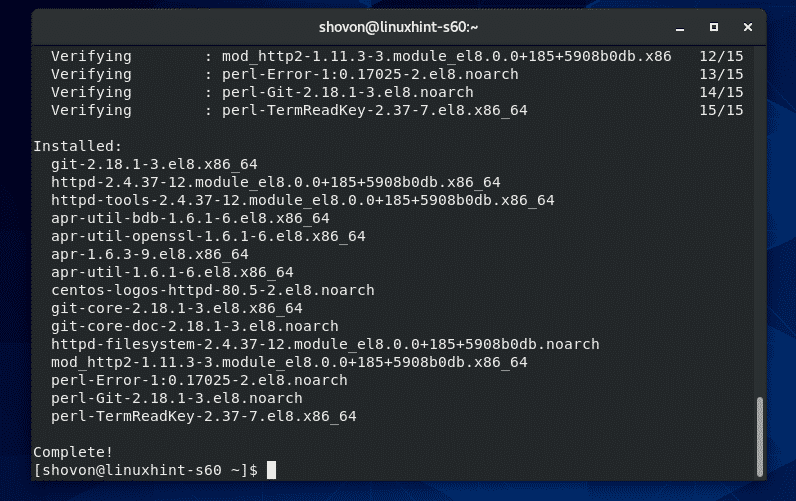
Git, Apache and required Apache tools should be installed.
Configuring Apache HTTP Server:
In this section, I am going to show you how to configure Apache server for accessing Git repositories over HTTP protocol.
First, create a new configuration file /etc/httpd/conf.d/git.conf with the following command:

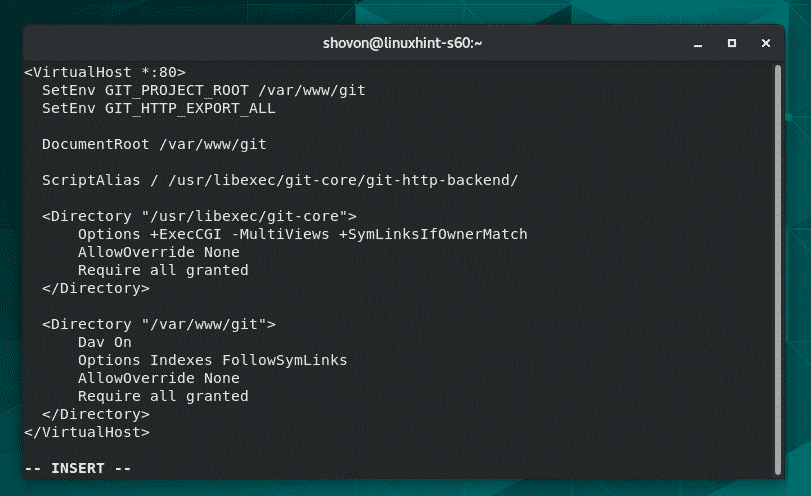
Now, add the following lines to the configuration file /etc/httpd/conf.d/git.conf:
SetEnv GIT_PROJECT_ROOT /var/www/git
SetEnv GIT_HTTP_EXPORT_ALL
DocumentRoot /var/www/git
ScriptAlias / /usr/libexec/git-core/git-http-backend/
<Directory "/usr/libexec/git-core">
Options +ExecCGI -MultiViews +SymLinksIfOwnerMatch
AllowOverride None
Require all granted
</Directory>
<Directory "/var/www/git">
Dav On
Options Indexes FollowSymLinks
AllowOverride None
Require all granted
</Directory>
</VirtualHost>
The final configuration file should look as follows. Now, save the configuration file.
Now, create the GIT_PROJECT_ROOT directory /var/www/git with the following command:

Now, configure SELinux for the /var/www/git directory with the following command:
"/var/www/git(/.*)?"

For the SELinux changes to take effect, run the following command:

Now, restart the Apache HTTP server service with the following command:

Also, add the Apache HTTP server service to the CentOS 8 system startup with the following command:

Now, allow the HTTP port (80) through the filewall with the following command:

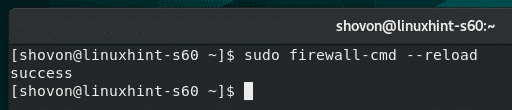
For the changes to take effect, reload the firewall as follows:
Writing a Script for Creating HTTP Accessible Git Repositories Easier:
To make creating HTTP accessible Git repositories easier, I’ve written a simple shell script which you can use to save a lot of your valuable time.
If you want to use my script, create a new file in the path /usr/sbin/git-crate-repo with the following command:

Then type in the following lines of codes in the newly created file /usr/sbin/git-crate-repo.
GIT_DIR="/var/www/git"
REPO_NAME=$1
mkdir -p "${GIT_DIR}/${REPO_NAME}.git"
cd "${GIT_DIR}/${REPO_NAME}.git"
git init –bare &> /dev/null
touch git-daemon-export-ok
cp hooks/post-update.sample hooks/post-update
git config http.receivepack true
git config http.uploadpack true
git update-server-info
chown -Rf apache:apache "${GIT_DIR}/${REPO_NAME}.git"
echo "Git repository ‘${REPO_NAME}‘ created in ${GIT_DIR}/${REPO_NAME}.git"
This is what the final shell script looks like. Once you’re done, save the file.

Now, add executable permission to the shell script /usr/sbin/git-create-repo with the following command:

Create HTTP Accessible Git Repositories:
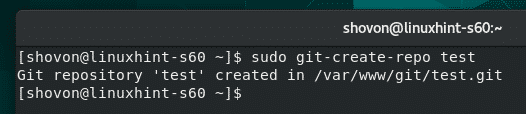
Now, you can create a new HTTP accessible Git repository (let’s call it test) with the following command:

A new HTTP accessible Git repository test should be crated.
Accessing the Git Repositories from the Git server:
To access the Git repositories that you’ve created on your CentOS 8 Git server, you need is that IP address of the CentOS 8 Git server and the Git repository name.
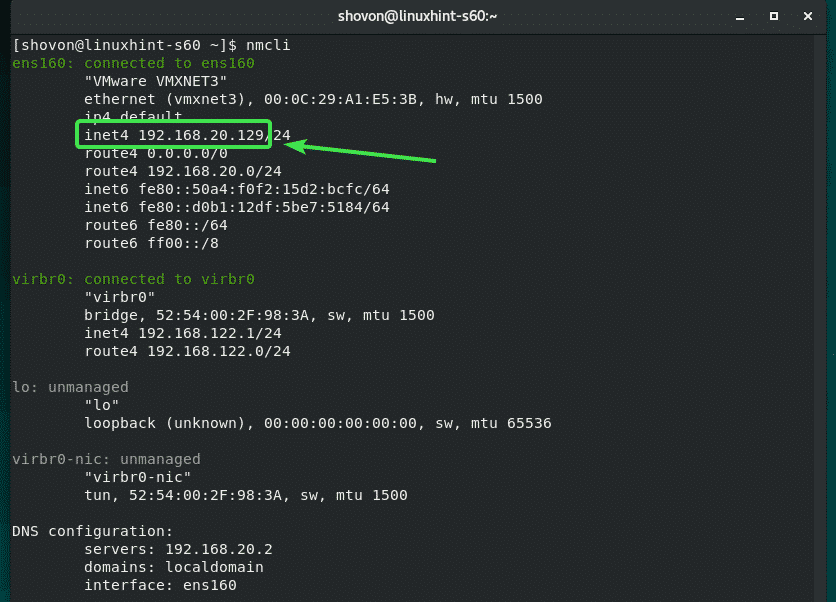
The Git server administrator can find the IP address of the Git server with the following command:
In my case, the IP address is 192.168.20.129. It will be different for you. So, make sure to replace it with yours from now on.
Once the Git server administrator finds the IP address, he/she can send it to the users/developers who will be using Git repositories hosted on the Git server. Then the users/developers can access their desired Git repositories.
For example, if bob wants to clone the Git repository test from the Git server, he may do so as follows:

The Git repository test should be cloned from the Git server.

A new directory test/ should be created in the current working directory of bob.

Now, bob can navigate to the test/ directory as follows:

Now, bob creates a new file message.txt in the Git repository.

Bob commits the changes.

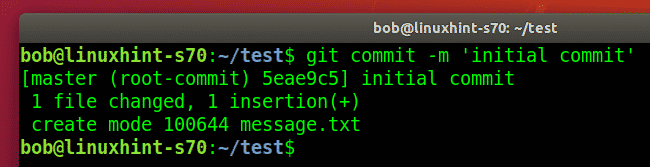
Bob confirms whether the changes were committed to the repository.
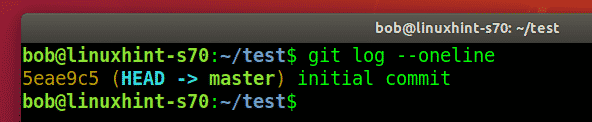
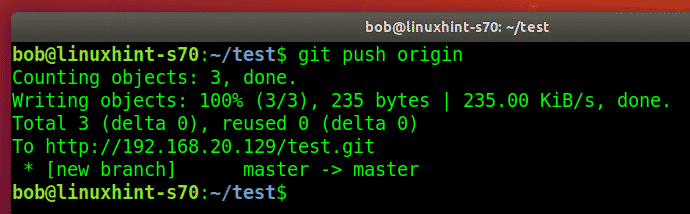
Now, bob uploads the changes to the Git server.
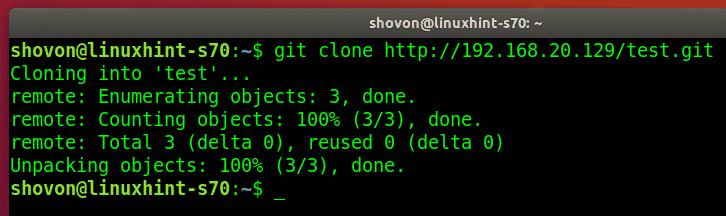
Another developer (let’s say shovon) who wants to contribute to the test Git repository can also clone the test repository from the Git server.
Shovon navigates to the test/ directory.

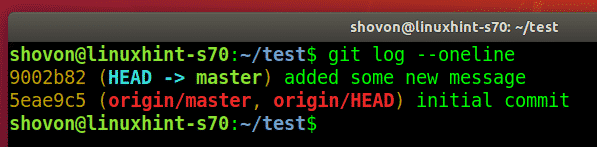
Shovon finds the commit that bob made.

Now, shovon changes the message.txt file.

Commits the changes.


Shovon confirms whether the changes were committed to the repository.
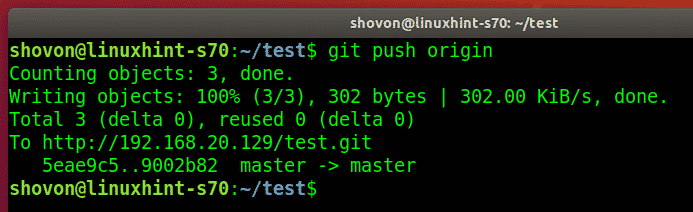
Shovon uploads the changes to the Git server.
Now, bob pulls the changes from the Git server.
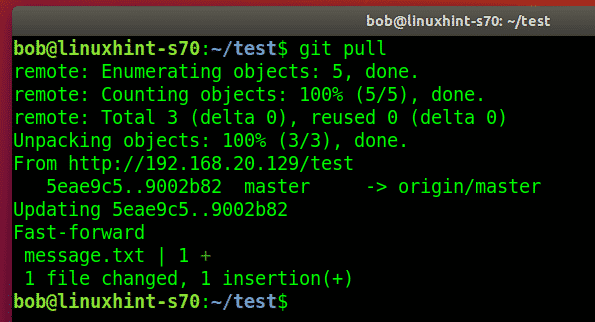
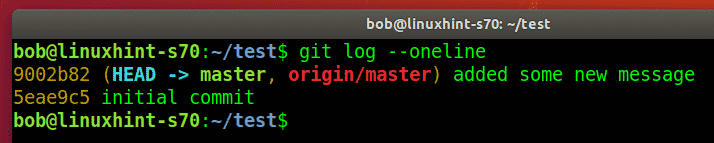
Bob finds the new commit.
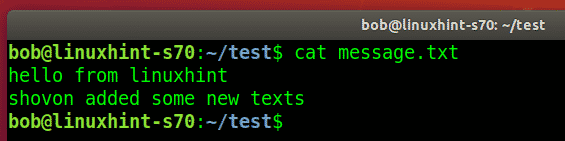
Bob finds the changes that Shovon made to the message.txt file.
This is how you can use Git repositories from the Git HTTP server.
Adding User Authentication to Git Server:
If you want to add user authentication to server wide Git repositories or specific Git repositories, then check the article Configure Git Server with HTTP on Ubuntu.
So, that’s how you configure Git Smart HTTP Server on CentOS 8 and use Git repositories from the Git server. Thanks for reading this article.