The best way to solve this problem is to cache the Ubuntu packages that’s being downloaded. So, when anyone on the network downloads an Ubuntu package, it will be cached on the server and everyone will be able to use the cached version instead of redownloading the same package. This will save a lot of internet bandwidth as well as increase the package download speed rapidly.
Apt-Cacher-Ng is a package cache server which caches Ubuntu packages automatically and serves them when the same package is requested more than once.
In this article, I am going to show you how to configure Ubuntu 18.04 LTS desktop or server as an Ubuntu package cache server with Apt-Cacher-Ng. So, let’s get started.
Requirements:
You need an Ubuntu 18.04 LTS server or desktop machine with internet connectivity.
Configuring the Network:
You should configure a static IP on the Ubuntu machine which you’re going to configure as a package cache server.
In order to do that, you need to know the network interface name of your Ubuntu machine.
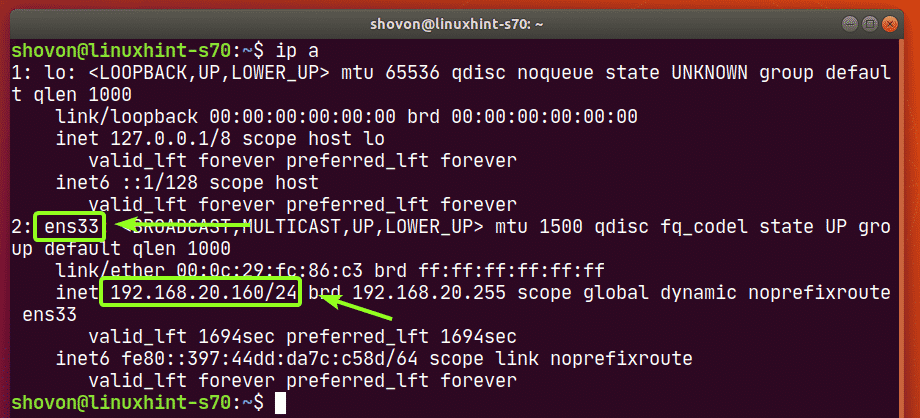
You can find the network interface name of your Ubuntu machine with the following command:
Here, the network interface name is ens33. Currently, the IP address assigned to this network interface is 192.168.20.160. Here, the /24 after the IP address means, it’s a Class C IP address. So, the subnet mask will be 255.255.255.0
You can find the default route with the following command:
As you can see, the default route is 192.168.20.2.
Of course, this IP information will be different for you. So, make sure to change them as needed.
Ubuntu 18.04 LTS desktop uses Network Manager for managing the network interfaces. So, if you want to configure Ubuntu 18.04 LTS desktop as an Ubuntu package cache server, then read the article Configure Static IP on CentOS 8 to set up a static IP address.
Ubuntu 18.04 LTS server uses Netplan by default for managing the network interfaces. So, if you want to configure Ubuntu 18.04 LTS server as an Ubuntu package cache server, then read the Setting Up Static IP Address with Netplan section of the article Install Netplan on Ubuntu to set up a static IP address.
Installing Apt-Cacher-Ng:
Apt-Cacher-Ng is available in the official package repository of Ubuntu 18.04 LTS. So, it’s easy to install.
First, update the APT package repository cache with the following command:
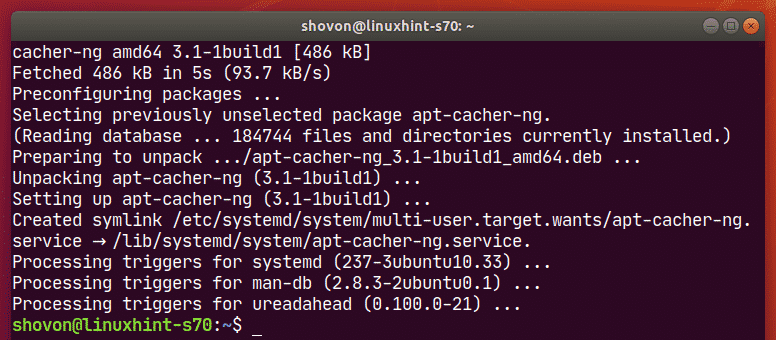
Now, install Apt-Cacher-Ng with the following command:
Apt-Cacher-Ng should be installed.
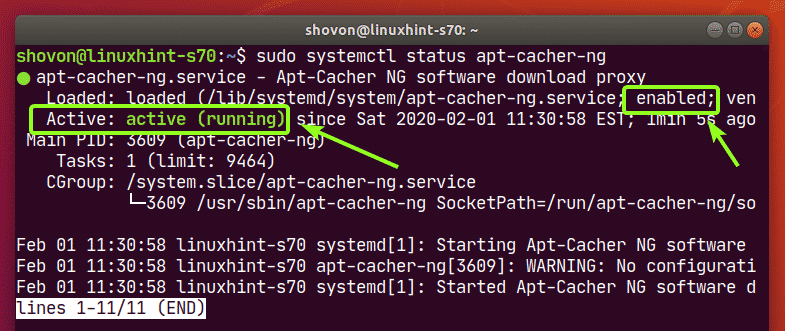
Now, check the status of the apt-cacher-ng service as follows:
apt-cacher-ng service is active (running) as you can see in the screenshot below. It’s also enabled (will automatically start on system startup). So, that’s good.
For Ubuntu package caching, no further configuration of Apt-Cacher-Ng is required. You can now configure the other Ubuntu machines on the network to use the Apt-Cacher-Ng package cache server.
Configuring Ubuntu Package Manager with Proxy:
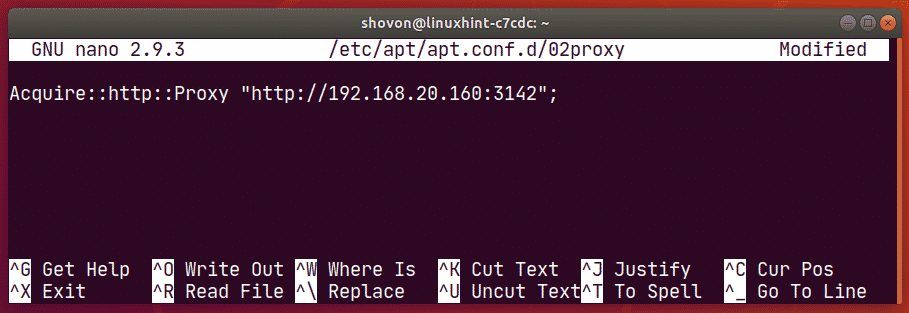
Now, on another Ubuntu machine on the network, create a new file /etc/apt/apt.conf.d/02proxy as follows:
Now, type in the following line and save the file by pressing <Ctrl> + X followed by Y and <Enter>.
Acquire:http:Proxy “http://192.168.20.160:3142″;
Make sure to change the IP address to the IP address of your Apt-Cacher-Ng cache server.
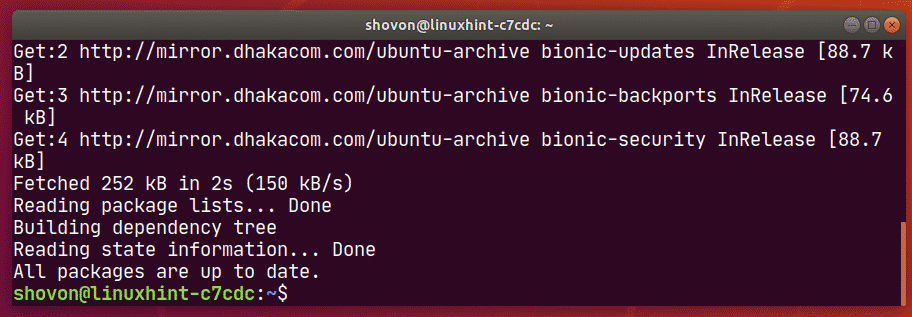
Now, update the APT package repository cache with the following command:
The APT package repository cache should be updated without any problems.
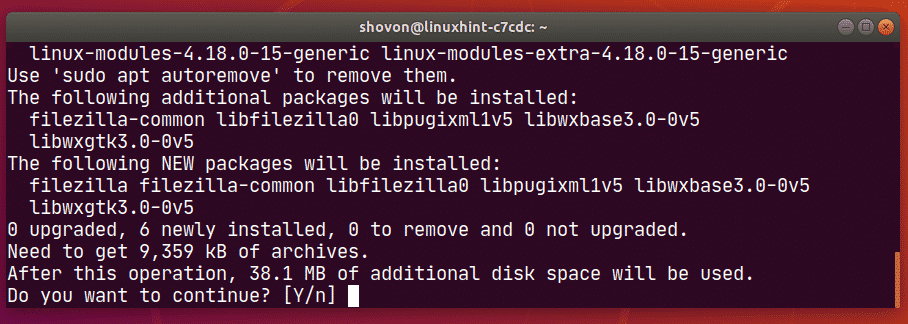
Now, let’s try to install filezilla from the official Ubuntu package repository.
Press Y and then press <Enter> to confirm.
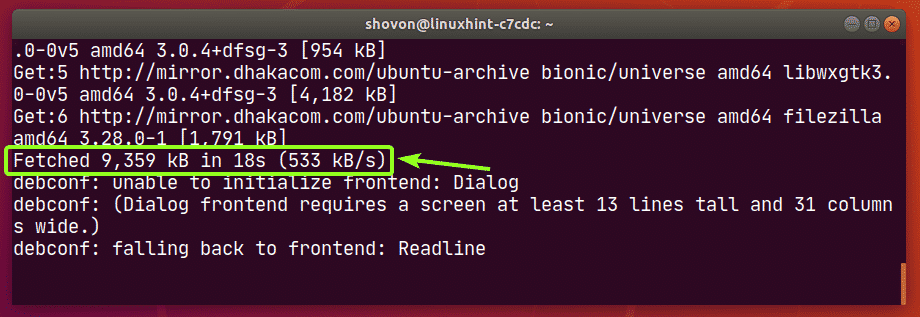
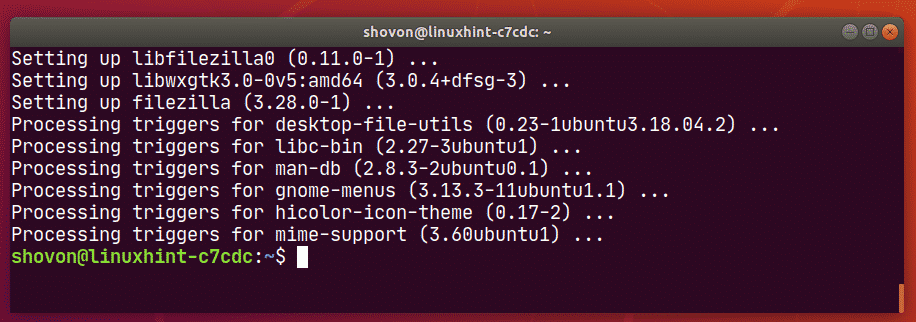
Filezilla and all the dependency packages should be downloaded and installed without any problem.
As you can see, it took about 18 seconds to download 9359 KB of packages.
Now, let’s configure another Ubuntu machine on the network to use the package cache server. The process is the same as before.
Create a new file /etc/apt/apt.conf.d/02proxy as follows:
Type in the following line and save the file.
Acquire:http:Proxy “http://192.168.20.160:3142″;
Now, update the APT package repository cache as follows:
Now, let’s try to install filezilla again from the Ubuntu official package repository.
Press Y and then press <Enter> to confirm the installation.
Filezilla and all the dependency packages should be downloaded and installed.
As you can see, it took less than a second to download the same packages that I’ve downloaded earlier. So, the cache server is working very well.
The first time APT attempted to download the packages, the package cache server downloaded the packages from the internet, send them to the Ubuntu machine that requested them and cached them.
When another Ubuntu machine requested the same packages, the package cache server send the Ubuntu machine the cached version of it. The cache server didn’t have to re-download the same packages as they are already cached. That’s why the download speed increased and it almost downloaded the packages instantly.
Checking Apt-Cacher-Ng Status:
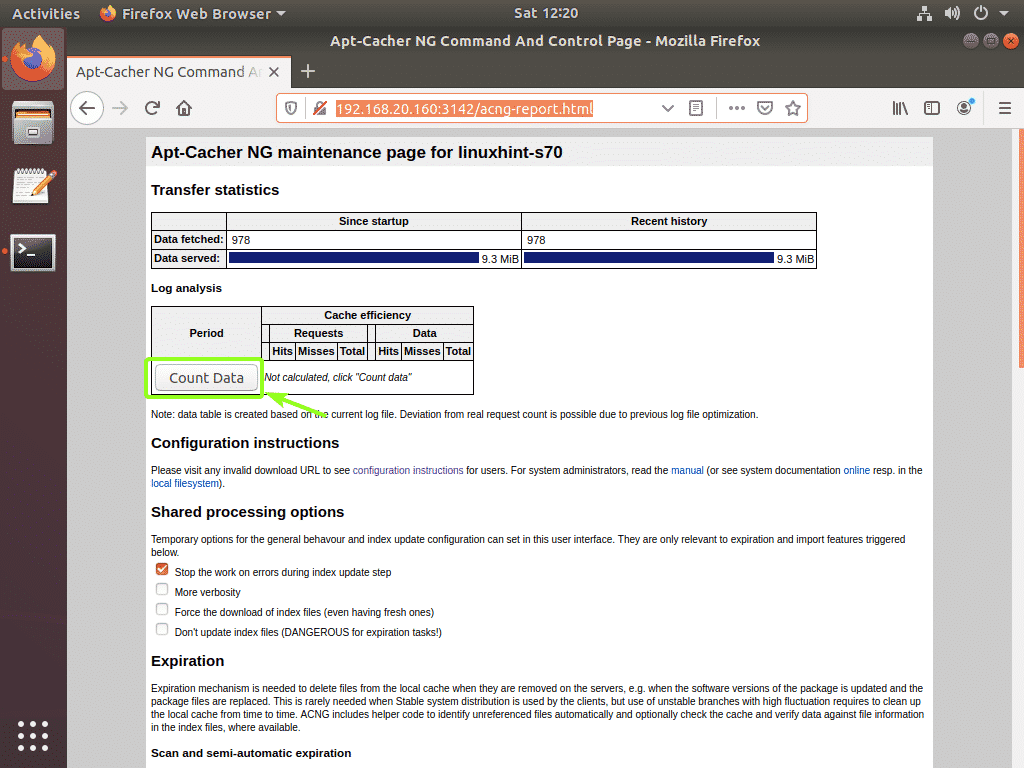
You can visit the Apt-Cacher-Ng report page http://192.168.20.160:3142/acng-report.html to see the package caching status of Apt-Cacher-Ng.
Once you visit the page, click on Count Data.
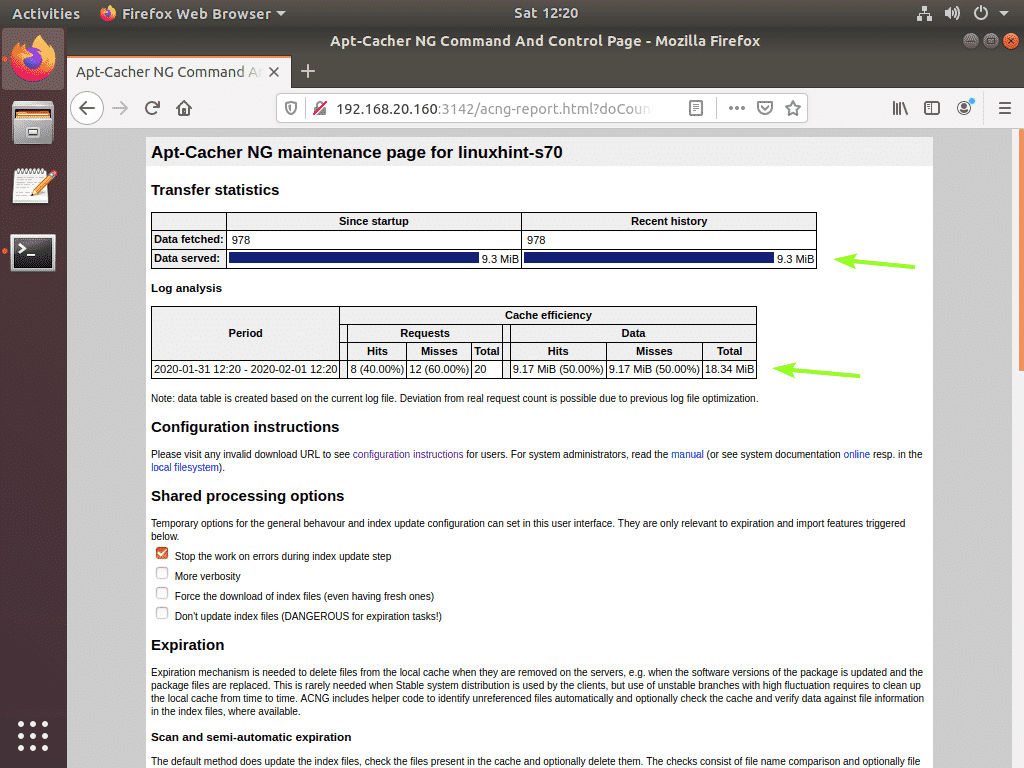
As you can see, the Apt-Cacher-Ng status page shows the package download and cache status nicely in a tabular format.
So, that’s how you configure Ubuntu 18.04 LTS server or desktop as an Ubuntu package cache server. Thanks for reading this article.

