Vim Configuration Files:
Vim can be configured system wide (globally) via the /etc/vim/vimrc.local file on Ubuntu/Debian based operating systems. On CentOS 7 and RHEL 7, the system wide configuration file for Vim is in /etc/vimrc.
You can open the system wide configuration file of Vim as follows:
Ubuntu/Debian:
CentOS 7 and RHEL 7:
You can also do user specific configuration of Vim. All you have to do is to create a .vimrc file in the HOME directory of the user than you want to configure Vim for and add the required Vim configuration options there.
You can create a .vimrc file for your login user with the following command:
Then, open .vimrc file with vim with the following command:
For simplicity, I will refer to both system wide Vim configuration file and user specific Vim configuration file as vimrc file. You can use either the system wide Vim configuration file or the user specific Vim configuration file to configure Vim depending on what you want to do.
Showing Line Numbers:
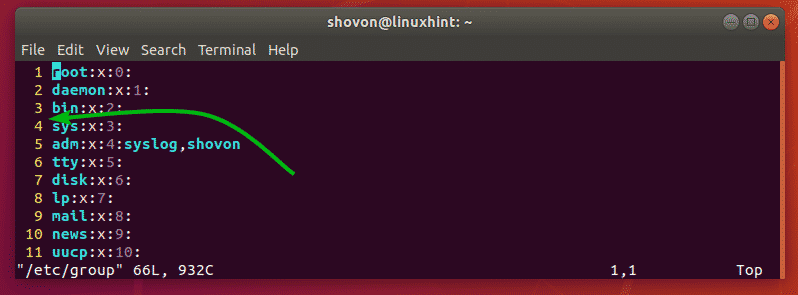
By default, Vim does not show line numbers. Line number is very important for programming.
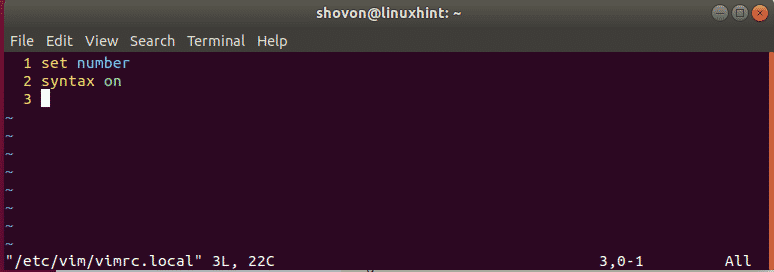
To show line numbers, open Vim configuration file (global or user specific depending on your choice) and type in the following Vim command:
Now, type in :wq! and press <Enter> to save the configuration file.

Now, Vim should show line numbers.
Enable Syntax Highlighting:
Vim may not have syntax highlighting enabled by default. But you can easily enable syntax highlighting though the vimrc file by adding the following line of Vim command to the file.
Changing Syntax Highlighting Color scheme:
Vim has many syntax highlighting color schemes by default. You can change between them if you don’t like the color scheme that is currently set.
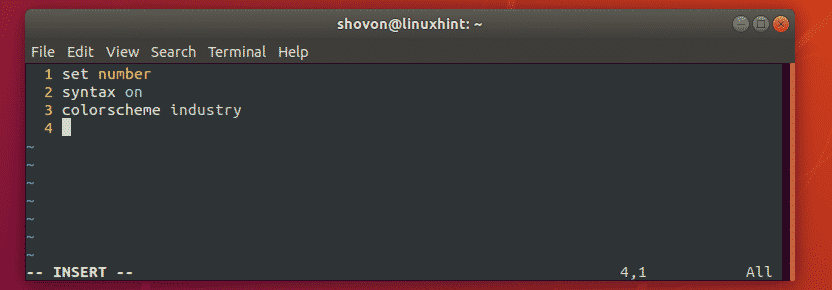
To change the color scheme, type in the following vim command to the vimrc file.
Now, replace COLOR_SCHEME_NAME to one of the following keywords:
default, blue, darkblue, delek, desert, elford, evening, industry, koehler, morning, murphy, pablo, peachpuff, ron, shine, slate, torte, zellner
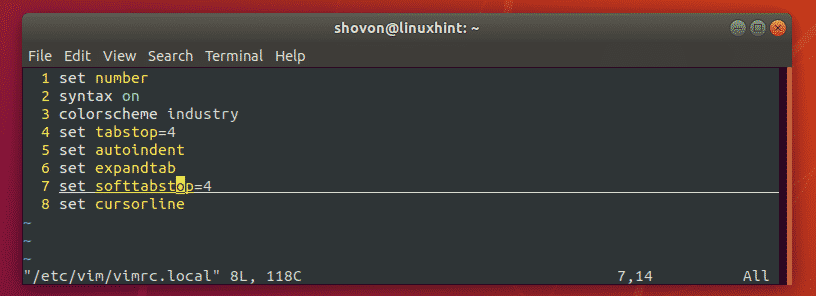
The syntax highlighting color scheme should be changed. I set it to industry as you can see in the screenshot below.
Setting Tab Size:
You can also configure the tab size in Vim though the vimrc file. If you think the default tab size is too big for you or is not enough, then this is a good news for you.
For me the tab size of 4 is enough. Python developers often use the tab size of 2.
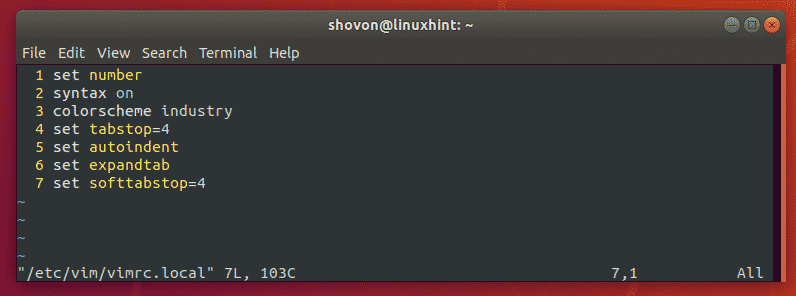
To set the tab size to 4 (let’s say), open your vimrc file and type in the following vim command:

For tab size 2, you would type in the following Vim command in your vimrc file.
Enabling Automatic Indentation:
You can enable automatic indentation to automatically insert tabs or spaces when you write codes with Vim.
To enable automatic indentation in Vim, type in the following Vim command to the vimrc file.

Replacing Tabs with White Spaces:
When you insert tabs into your codes and save it and send it to someone else, he/she must use the same tab size as you did. Otherwise, the code would look very ugly. In Vim, there is a solution. Vim can automatically replace tabs to spaces. For example, let’s say, your tab size is set to 4. So, when you insert tab into your code, Vim will automatically replace it with 4 white spaces. So, when you send the code to your friend, it will be the same nevertheless of the tab size in his/her editor.
To replace tabs with white spaces, type in the following Vim command in your vimrc file.

Removing Multiple Spaces on Single Backspace:
If you’re using expandtab to replace tabs to white spaces automatically on Vim, then you may have noticed that pressing <Backspace> once removes only a single white space. That means, if you’ve set tabstop to 4, then you have to press <Backspace> 4 times to remove all 4 white spaces.
Luckily, Vim has remedies for that. You can type in the following line on your vimrc file to remove the number of white spaces that was replaced by for the tab by pressing <Backspace> just once.
NOTE: As I set tabstop to 4, I also set softtabstop to 4. So, 4 white spaces for each tab will be removed all together with a single press of the <Backspace> key.
Highlight the Current Line:
You can highlight the line you’re currently on in Vim. To do that, open your vimrc file and type in the following Vim command:
Other vimrc Commands:
You can add Vim functions and other commands on the vimrc file to configure Vim. You may take a look at the Vim official documentation at http://vimdoc.sourceforge.net/ to learn more about it.
You may also read the article A Good Vimrc at https://dougblack.io/words/a-good-vimrc.html to find the most common Vim commands that you can use.
So, that’s how you configure Vim text editor with vimrc file. Thanks for reading this article.