How to Customize GNOME 3 Desktop Environment on Ubuntu 17.10
Ubuntu 17.10 Artful Aardvark comes with GNOME 3 Desktop pre-installed. GNOME 3 is a customizable desktop environment. You can tweak it to fit your everyday need. The icons, theme, cursor theme and many other things can be changed.
In this article, I will show you how to customize the GNOME 3 Desktop Environment on Ubuntu 17.10 Artful Aardvark. Let’s get started.
Installing Required Tools:
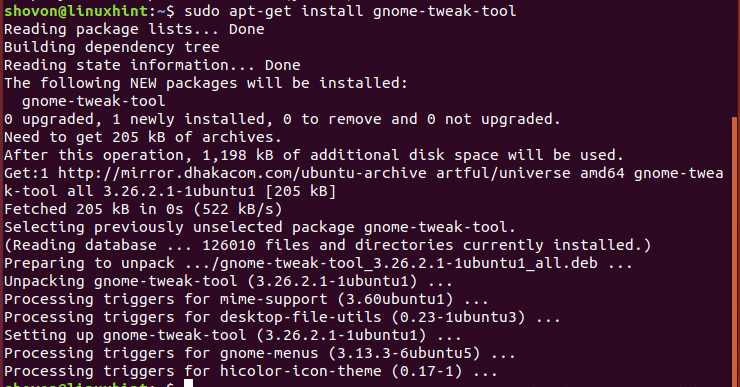
In this article, I will use GNOME Tweak Tool to customize the GNOME 3 Desktop Environment on Ubuntu 17.10 Artful Aardvark. If you don’t have it installed already, you can install GNOME Tweak Tool using the following command:
$ sudo apt-get update $ sudo apt-get install gnome-tweak-tool

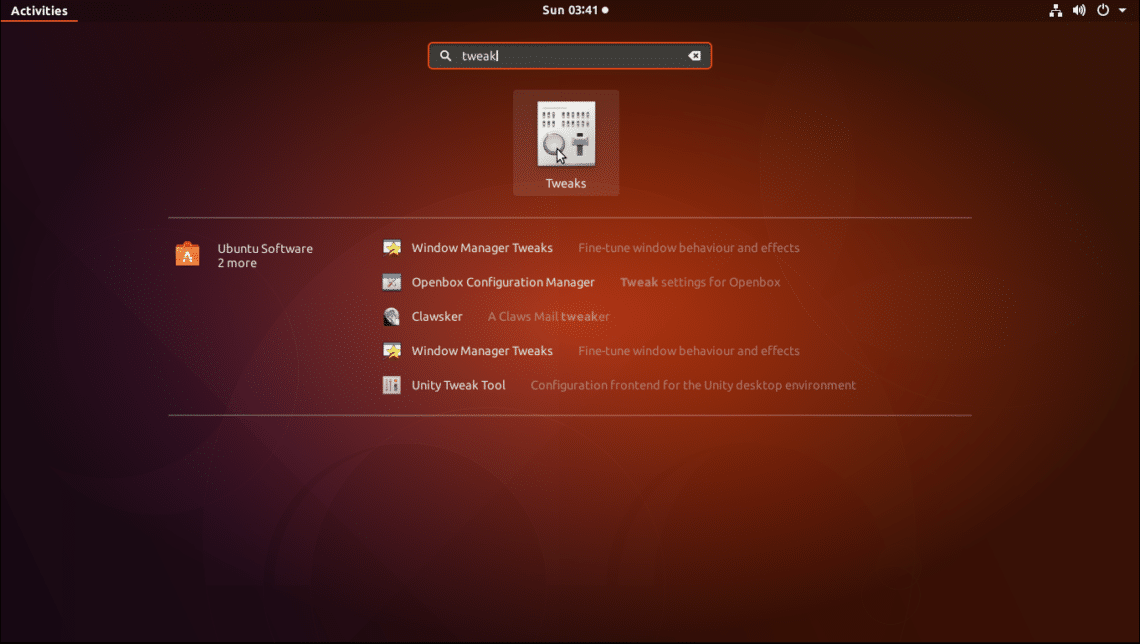
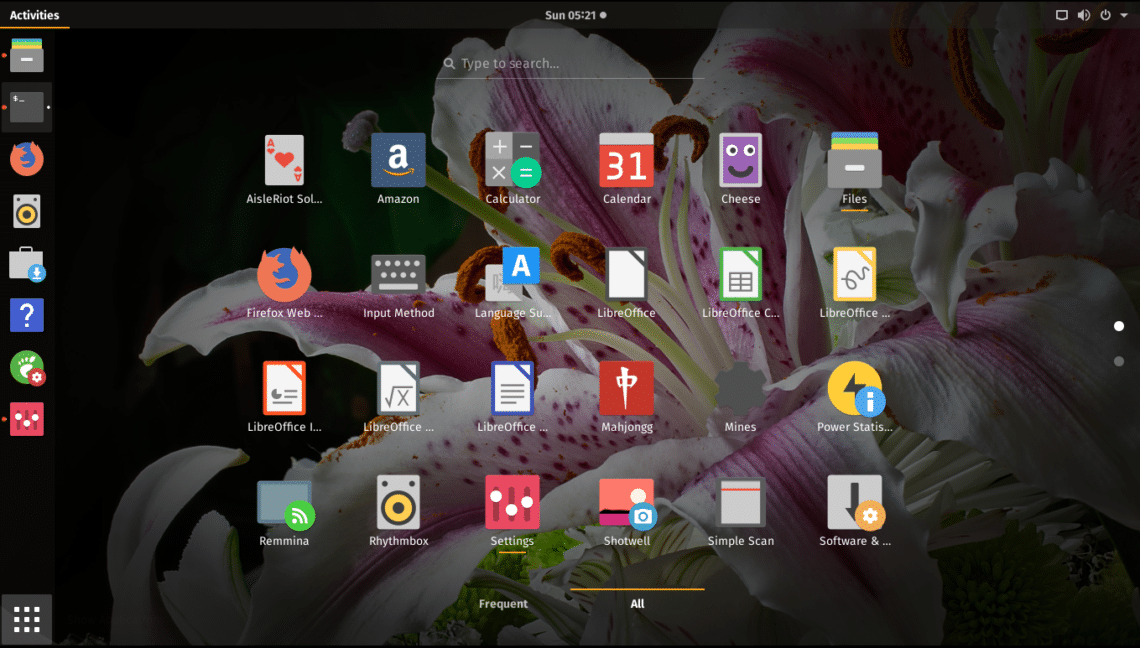
Once it’s installed, you can start GNOME Tweak Tool from GNOME 3 Application Menu. Just click on Show Applications icon ![]() on the bottom left.
on the bottom left.
Now search for “tweak” and click on the Tweaks icon as shown below.
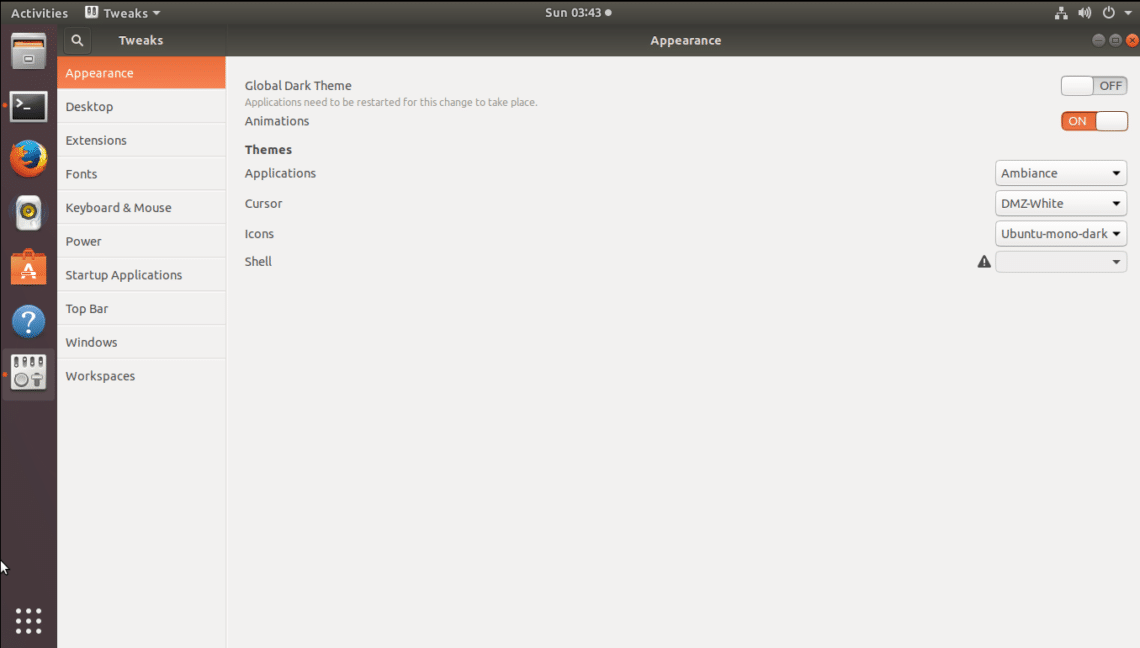
GNOME Tweak Tool should start.
Change the Position of the Titlebar Buttons:
On Ubuntu 17.10, the default placement of the Titlebar buttons has changed. On earlier versions of Ubuntu, the buttons were on the left side of the Titlebar. In Ubuntu 17.10, the buttons are in the right side of the Titlebar.
If you prefer the Titlebar buttons to be on the left of the Titlebar as in Ubuntu 16.04, open GNOME Tweak Tool and go to Windows.
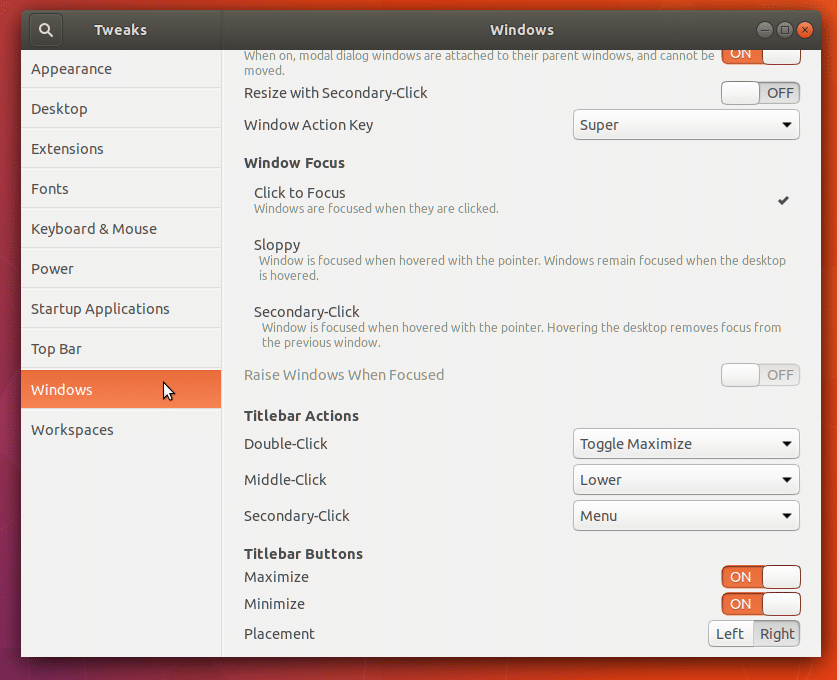
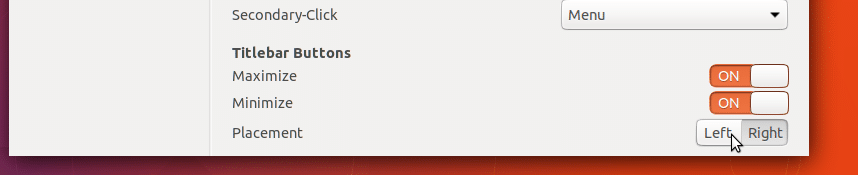
Then on the bottom right, on “Titlebar Buttons” section, flip the Placement Switch to Left. By default, it’s Right.
Before:
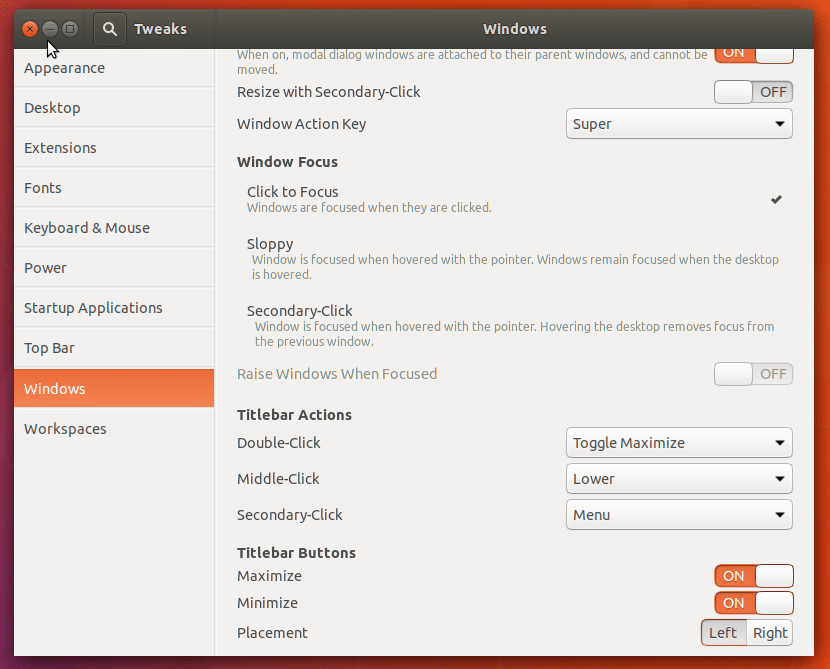
After:

All the Titlebar buttons should show up on the left side of the Titlebar from now on.
Show and Hide Icons from Desktop:
You can show and hide icons from your Ubuntu 17.10 GNOME 3 desktop. You can also display specific icons like Home, Network, Trash, Mounted Volumes.
By default, some icons are shown in the desktop. If you don’t like icons on the desktop, open GNOME Tweak Tool and go to Desktop.
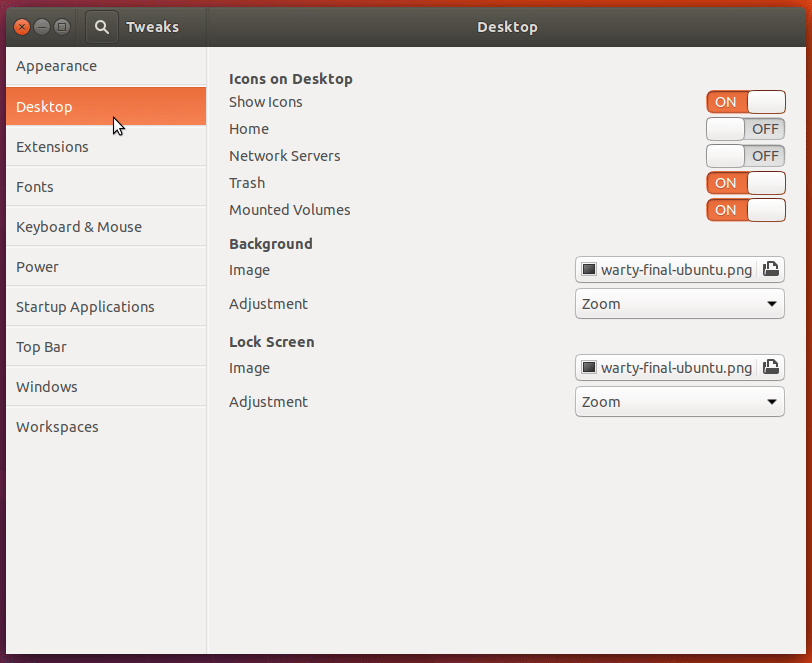
On the “Icons on Desktop” section, flip the “Show Icons” switch to “OFF”. It’s on by default.
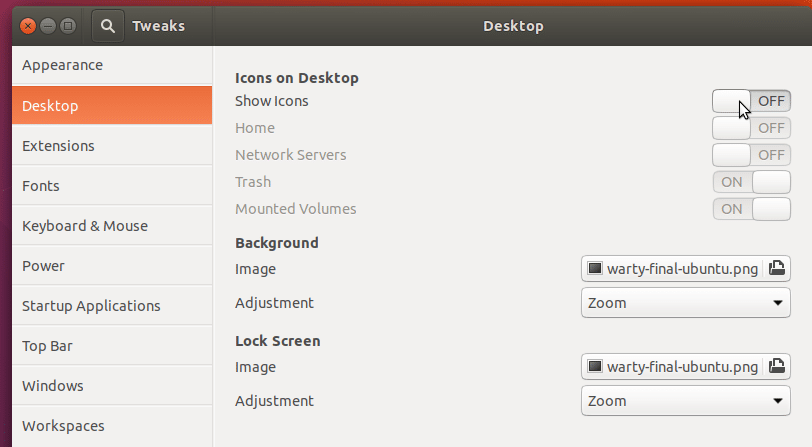
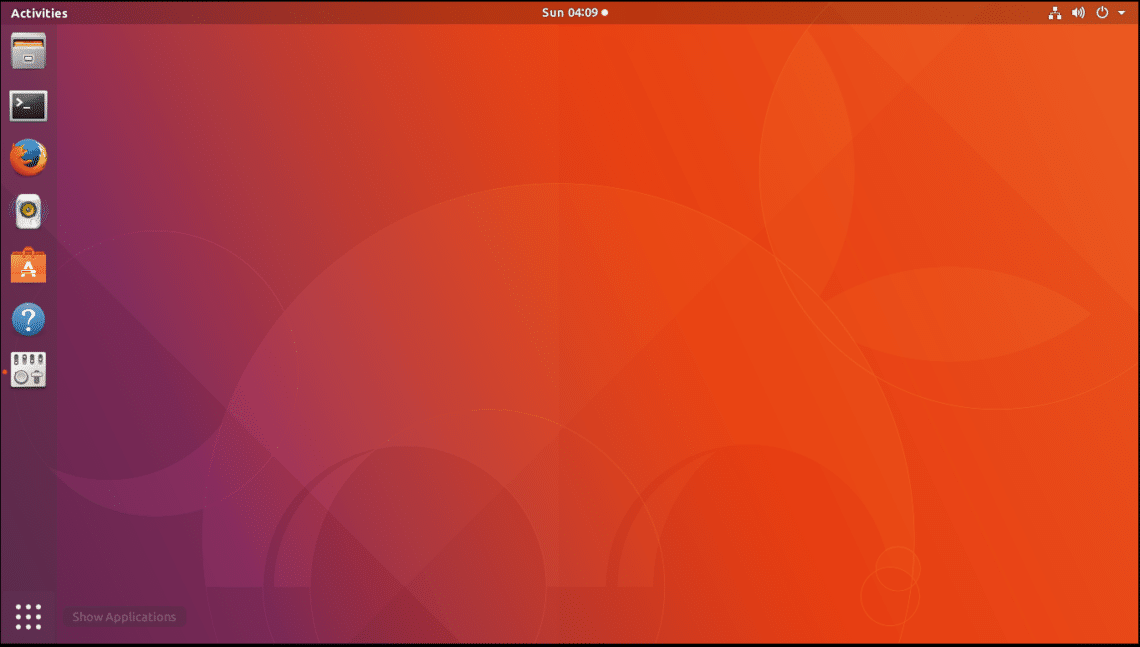
You can see that; all the icons are gone from the desktop.
Changing Cursor Theme:
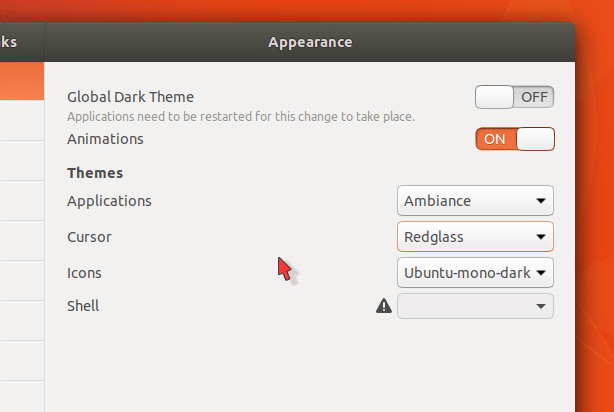
You can change the default cursor of Ubuntu 17.10 Desktop. Open GNOME Tweak Tool and go to “Appearances”.

On the “Themes” section, click on the “Cursor” selector. A list of cursors that are installed on Ubuntu 17.10 should pop-up. Select any of them, and your cursor should change.

Installing new Cursor Theme:
You can also install a new Cursor Theme. Go to https://www.gnome-look.org/p/1148692 and download the Mac OS X cursor theme. This is the one I will use for the demonstration but you may use a different one.

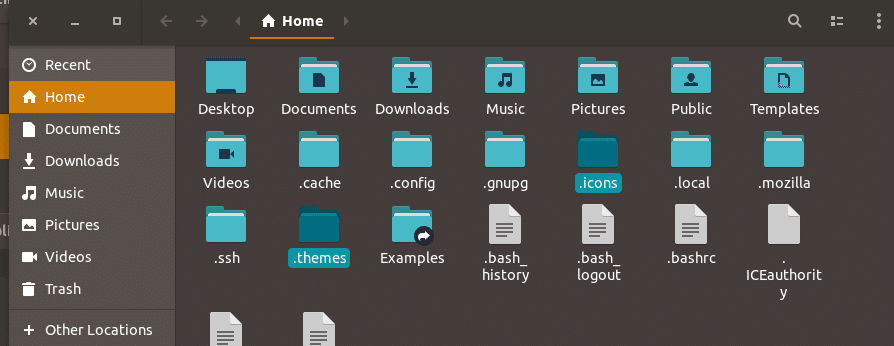
Once the download is complete, go to the HOME directory, and from the Nautilus menu, click on “Show Hidden Files”. You should be able to see all the hidden files now.
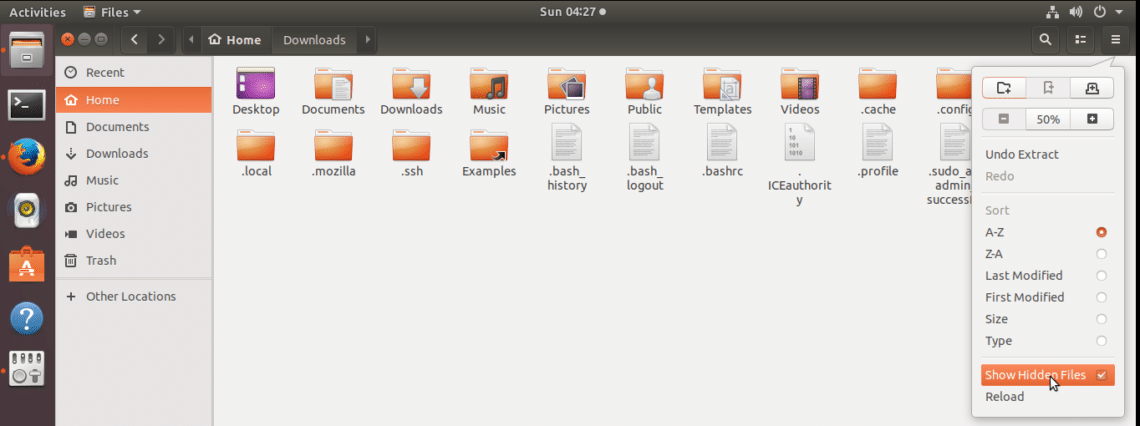
Create a new directory, ‘.icons’ in the HOME directory.
![]()
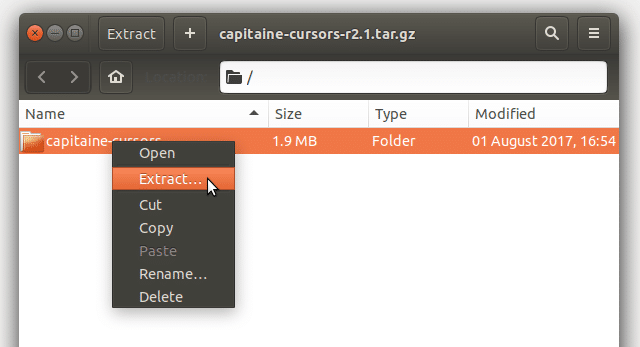
Now open the downloaded archive by double clicking it.
![]()
Right click on the directory inside the compressed file as shown in the screenshot and click on “Extract”.
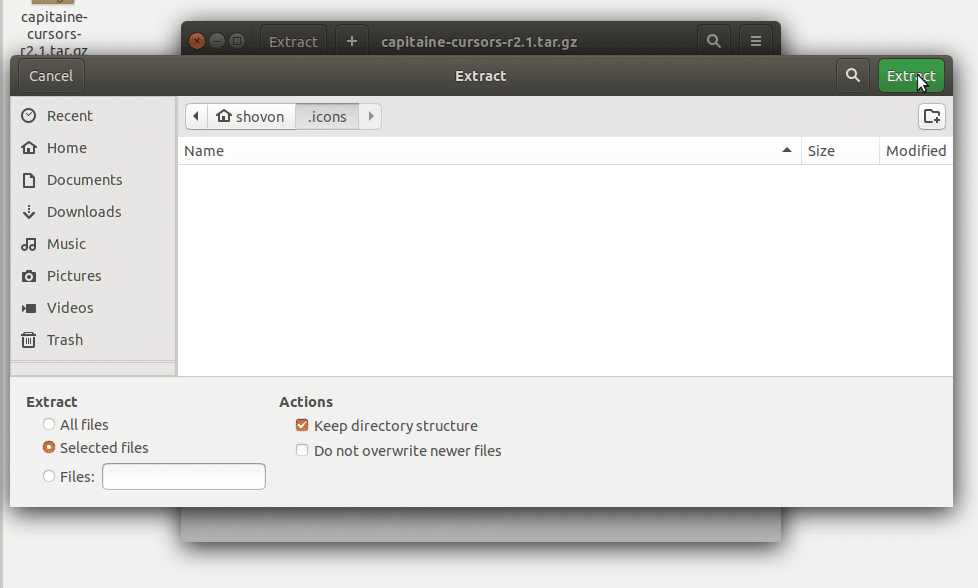
Now select the “.icons” folder you just created in the HOME directory and click on the green “Extract” button.
Now close GNOME Tweak Tool if it’s opened and open it again. Go to “Appearances” and select the new cursor theme from there.
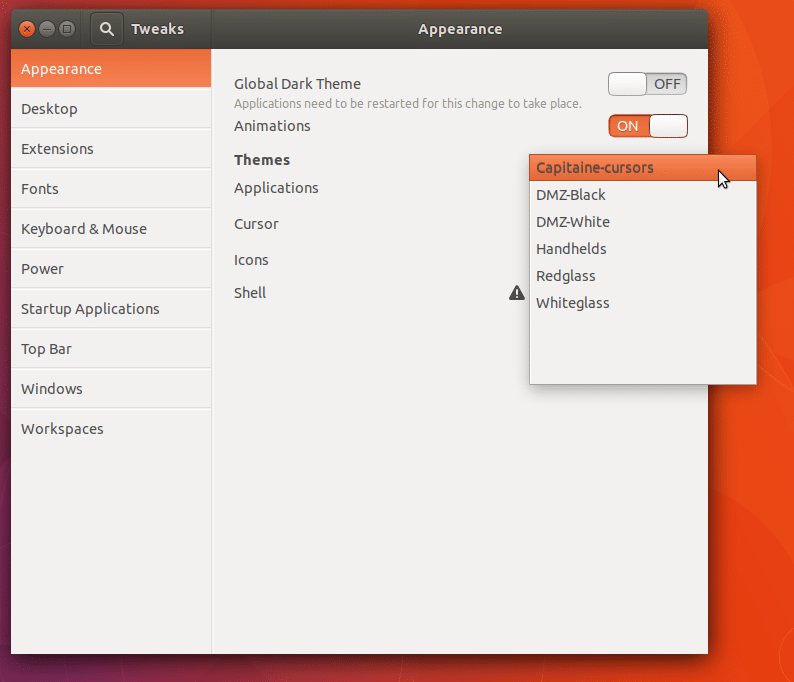
You can see that the cursor has changed.
Changing GNOME 3 Desktop Theme:
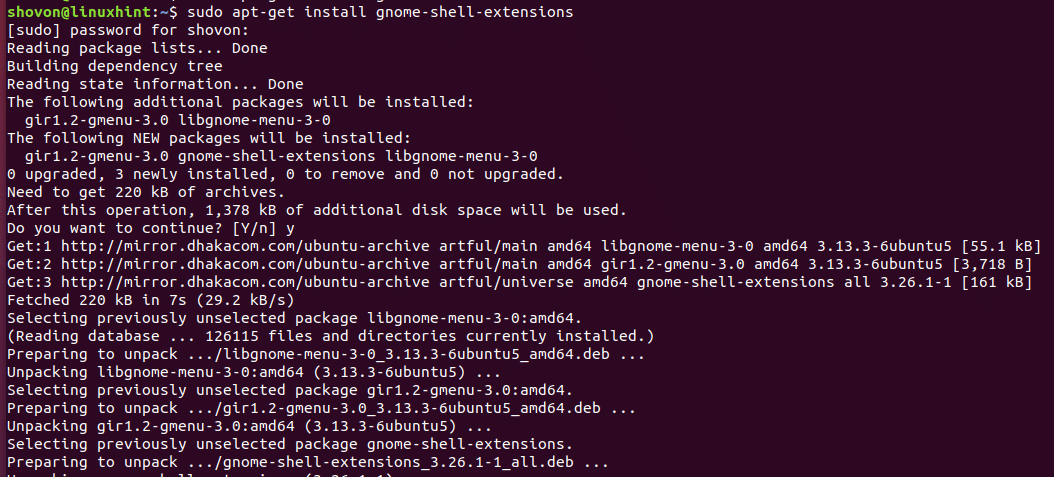
First, we have to enable “User Theme” GNOME Shell Extension to use custom GNOME Shell Themes. To do that, install the following package from the command line:
$ sudo apt-get install gnome-shell-extensions
Once the installation is complete, restart your computer.
Once your computer starts, open GNOME Tweak Tool and go to “Extensions”.
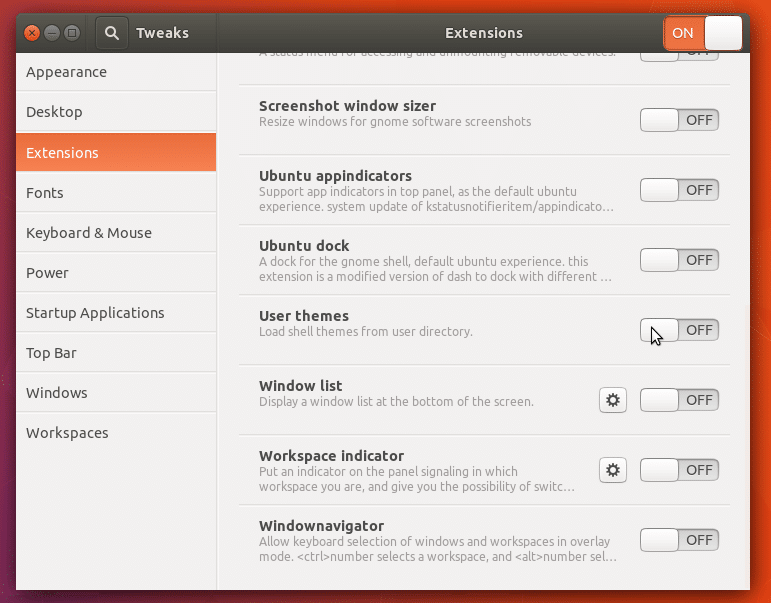
From here scroll down a little bit till you find “User themes” and enable “User themes” by flipping the switch as shown below.
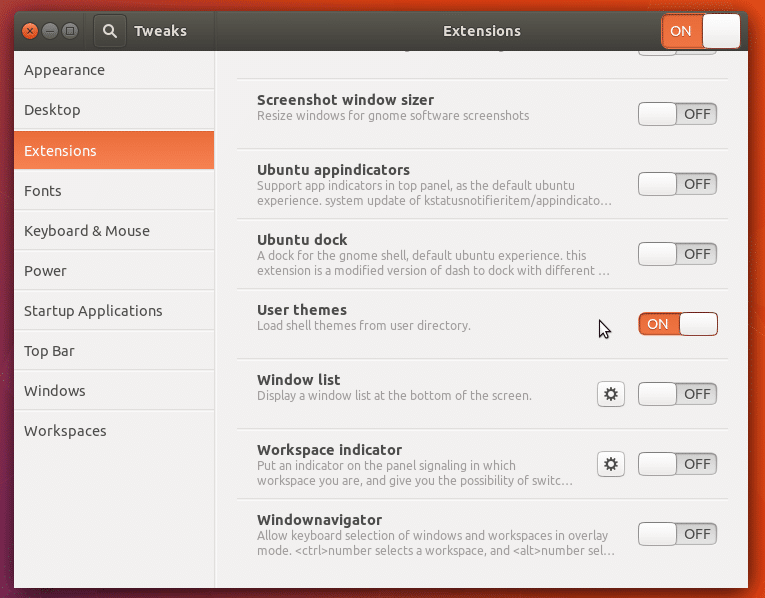
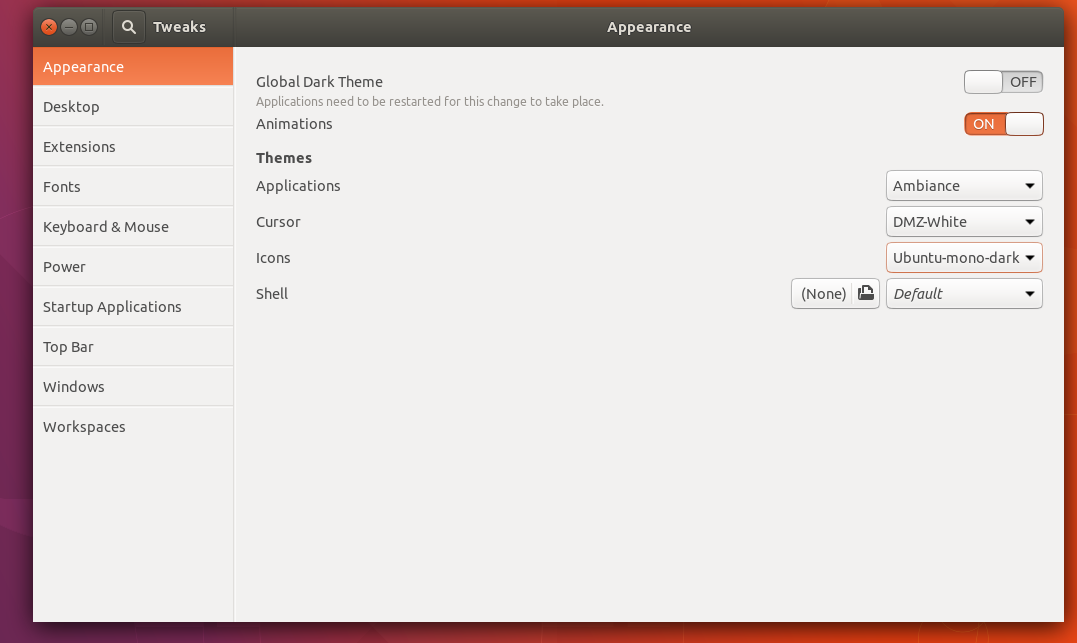
Once you enable “User themes”, close GNOME Tweak Tool and open it again. Go to “Appearances” tab and you should see the following window:

Did you notice any change? Take a look, the Shell in “Themes” section is enabled now.
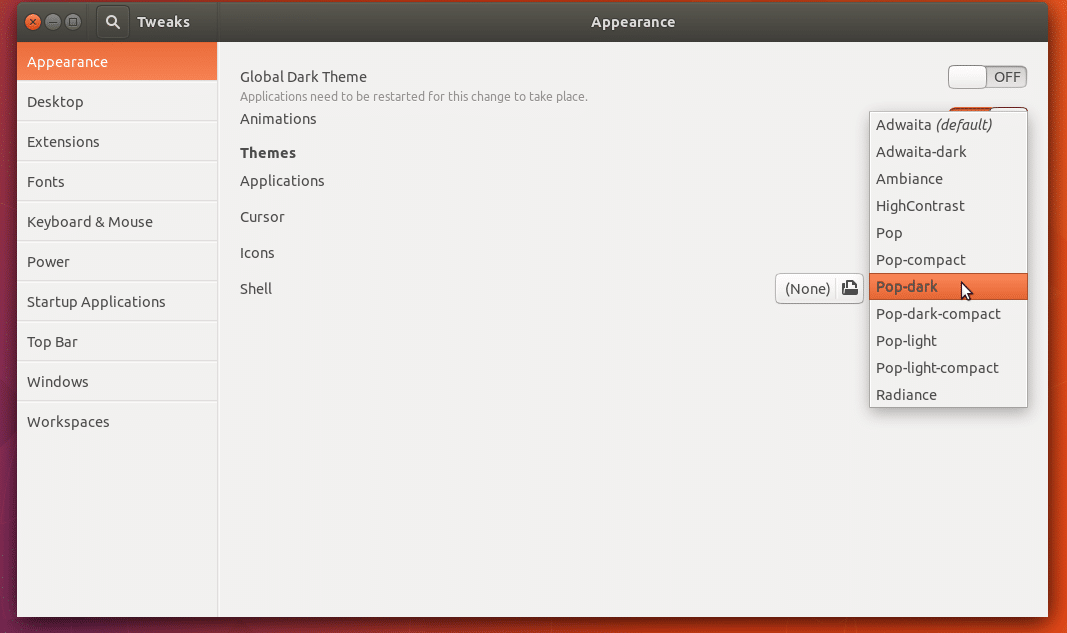
Now find a theme of your choice. I will install Pop GTK Icon theme in this article.
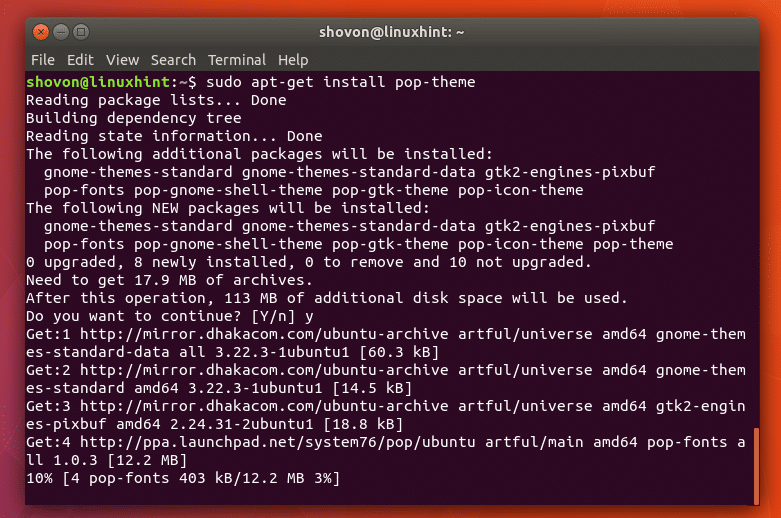
To install Pop GTK icon theme, run the following commands:
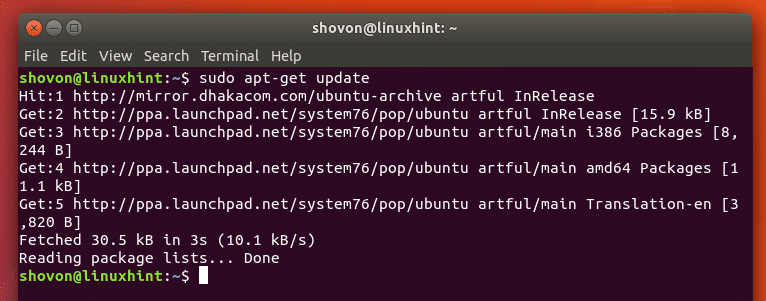
$ sudo add-apt-repository ppa:system76/pop

$ sudo apt-get update $ sudo apt-get install pop-theme
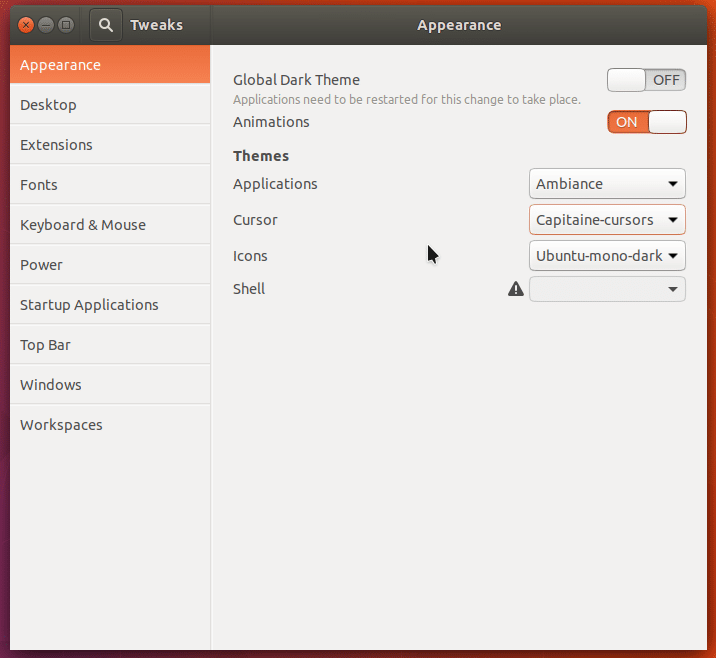
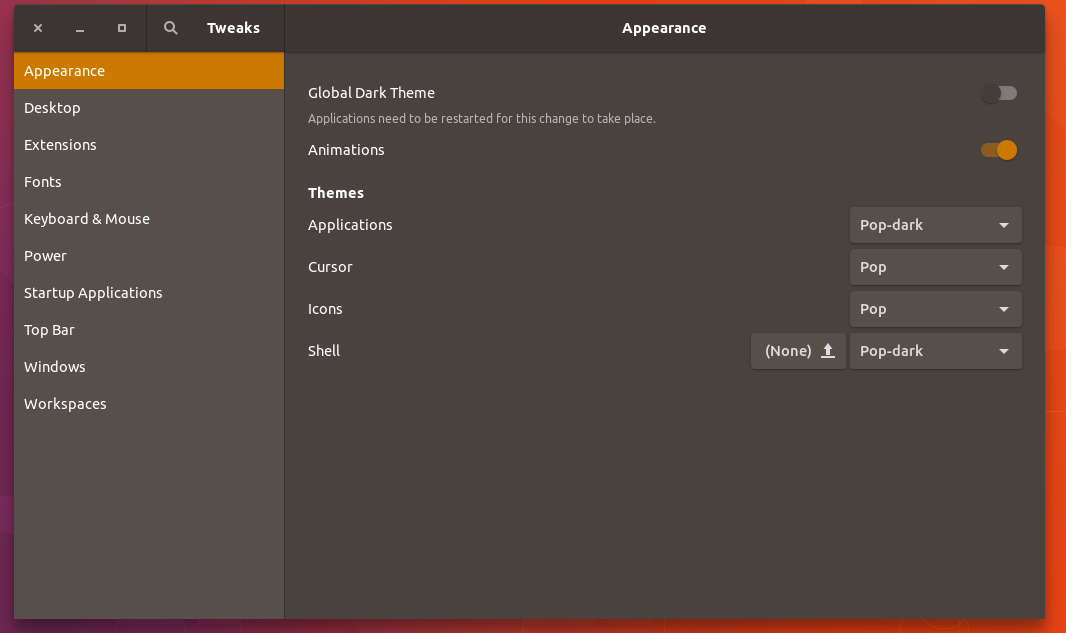
Once the installation is complete, open your GNOME Tweak Tool and change the “Applications”, “Cursor”, “Icons” and “Shell” themes to Pop as shown in the screenshot.
Before:
After:

Installing Icons and Themes from Compressed Archives:
You may find some icons and themes developers distribute their work as compressed archives. If this happens, then you can just extract these icons or themes and put them in either “.icons” or “.themes” directory inside your HOME directory. If these directories don’t exist already, just create them.
If what you’re installing is an icon or cursor, put the extracted directory in the “.icons” directory inside HOME directory.
If what you’re installing is a theme, put the extracted directory in the “.themes” directory inside HOME directory.
Then just open GNOME Tweak Tool and select the Theme, Icons or Cursor you installed from the list.
It’s not possible to show everything because there are so many themes and icons out there. But I can assure you, if the theme you’re trying to install is compatible with the version of GNOME Shell you’re using, it will work.
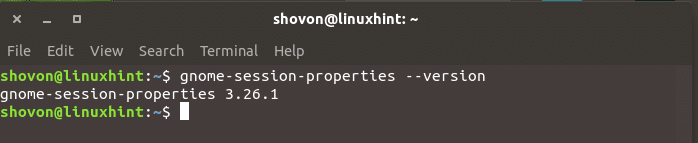
Run the following command to find out what version GNOME Shell you’re using:
$ gnome-session-properties --version
This is how you customize GNOME 3 Desktop Environment on Ubuntu 17.10 using GNOME Tweak Tool. Thanks for reading this article.