What can you change in the GNOME desktop?
You can change everything but the wisest is to use tools and change only what the tool allows. If you are developing your own window manager, you will need to manipulate the files under ‘etc/gnome‘. As a regular user or administrator, you should use the tools and your home directory.
The most common change is to change the theme and adding or removing extensions. The possibilities with these are vast.
How can you change the GNOME desktop?
GNOME is configured using a database file in ‘etc/dconf/db/ibus‘, this file has a special format that is not humanly readable. The format is a database as you may guess from the name and path. The standard way to tweak this is the dconf editor. The dconf editor is useful for changing values that affect the behaviour of your desktop.
When you start dconf, it comes with a warning. Heed the warning, you can make GNOME behave very strange. You can also use it as a command line tool.
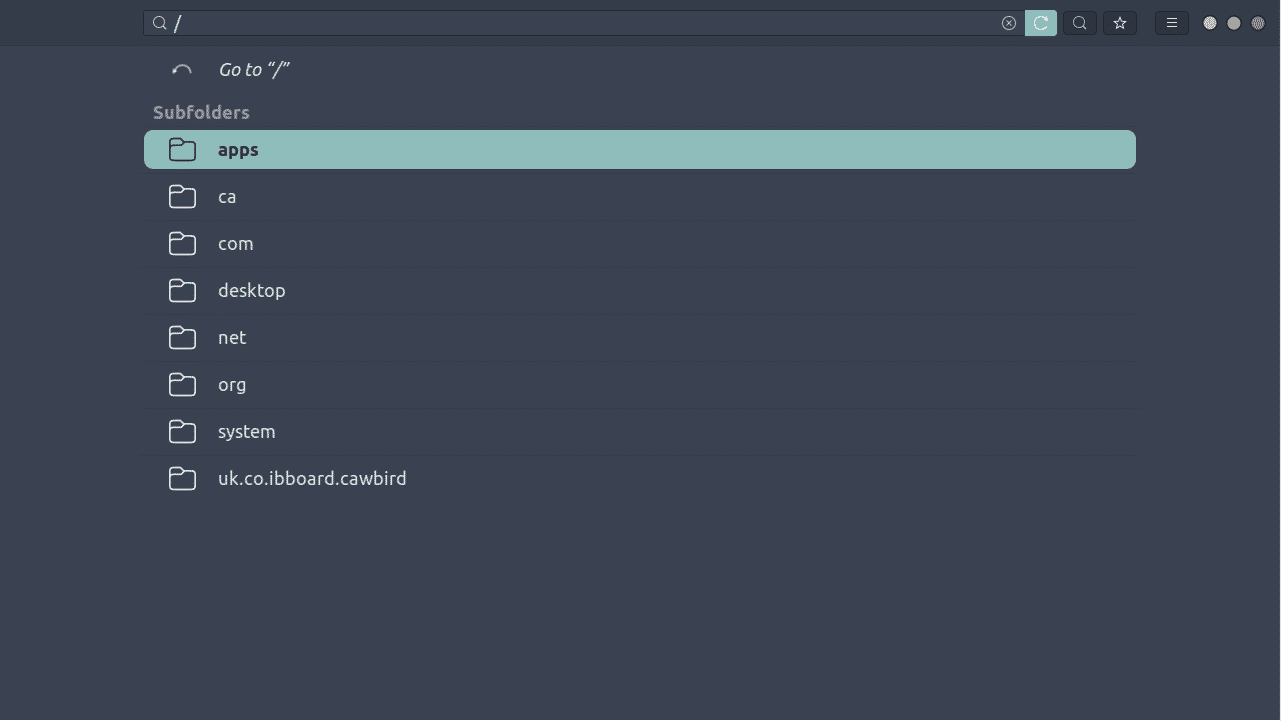
If you don’t want to use the graphical interface, maybe you want to use a script, you can use the gsettings command line tool. You also have files in your home directory, at ~/.config/dconf/user.[xxxx]. The value will vary. Inside the file you have the database. Reading it with a text editor shows garbage, after the GVARIANT string. To see values, use the the dump command. The result will come out as a below.
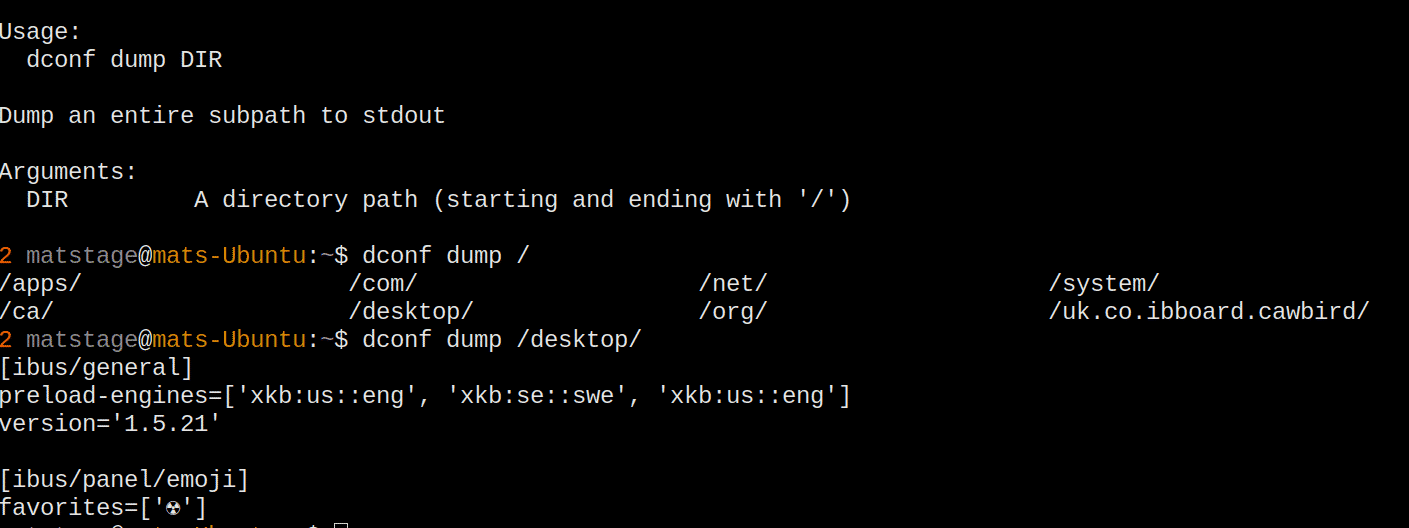
Figure 2: Dumping dconf using dump parameters.
When you use dbus-launch and gsettings together you can set your applications behaviour. To check it, use the list command or if you want all keys, the list-recursively version.
These are advanced changes, the more common user changes are the ways you can add and remove extensions and using the standard settings tools.
GDM configuration
The main way you change gdm is to use a regular file in ‘etc/gdm3‘ and ‘/etc/dbus-1/system.d/gdm.conf’. There are a number of files there, they are organised in directories.
The directories have clear names, making it easy to understand what they are for.
When the tools cannot be used for your personal settings, use ~/.xsession.
Desktop Theme and Looks
Your desktop have colours and fonts, these are controlled with theme files. When you have small changes to make,, you can use ‘Appearances’ and change the view a piece at a time. From this point, you can also install theme files. The files are ‘~/.gtkrc-2.0’ which the appearance application changes this file. When you are comfortable, create your own file named ‘~/.gtkrc-2.0.mine’, this file overrides the stuff from the earlier file.
Many themes will be available, or stored, in the themes directory.
In this directory, you can unpack themes here to use them for you.
Applications that run at start
Applications that start during login are set for the whole system using the below directory.
The corresponding file in your home directory, the file is ‘~/.config/autostart/’. for each application, there need to be a *.desktop file. The file itself is quite simple while it still has options for which file to execute and working directory. Many other options are available but this needs a deeper discussion how it works. Most of the times, you will uses ‘Tweaks’ to add an existing application. Tweaks will the create the file.
Adding Extensions
Most extensions add a little icon in your top bar and gives you some drop down information from there. The code is a JavaScript project that call the gnome-shell executable. You can find extensions in both a global directory and a user directory. The global directory is ‘usr/share/gnome-shell/extensions’, this directory is important to know since you may have the same extensions installed twice. Once by using apt, and then once by your regular user. Your user directory is ‘~.local/share/gnome-shell/extensions/’, this is where you install extensions when you use your browser to install.
Conclusion
When you start tweaking your GNOME desktop, it is worthwhile to know where the files are, so you are prepared to check and adapt to changing needs. It is also fun to tweak the desktop ton your own liking, when you have your own ideas you should figure out what the tools are doing to secure that you can check if there are any problems with the tools or certain things just cannot be changed with the tools.