You can easily interact with PostgreSQL database with Python programming language. All you have to do is install the Python module psycopg2 with PIP and you are good to go.
In this article, I will show you how to access PostgreSQL database with Python on Linux. I am going to use Debian 9 Stretch as my operating system and Python 3 programming language. The PostgreSQL database version I am going to use is PostgreSQL 9.6. So Let’s get started.
Pre-requisites:
You must have
- Any modern Linux distribution such as Ubuntu/Debian/CentOS etc installed.
- Python programming language installed.
- PIP or PIP3 installed depending on the version of your Python.
- PostgreSQL installed.
You can find many articles on linuxhint.com that may help you set up PostgreSQL and install Python+PIP on your favorite Linux distribution. Just search for it.
Creating a PostgreSQL Database and User:
In this section, I will show you how to create a PostgreSQL database and user on Linux. We will be connecting to this database from Python later in this article.
First find out your login username with the following command:
As you can see, my login username is shovon. Yours will be different. Make sure you take a note of it as you will need it later.

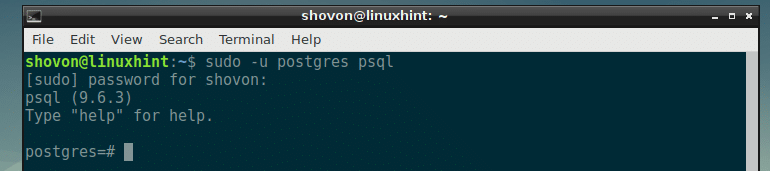
Now start the PostgreSQL interactive terminal with the following command:

The PostgreSQL interactive terminal should start.
Now create a PostgreSQL database pyapp with the following SQL command:

The pyapp database should be created.

Now you have to create a new PostgreSQL user. Also, make sure that the username is the same as your login username.
Make a new PostgreSQL user with the following SQL command:
NOTE: replace your_login_username and your_password with your own login username and password.

The PostgreSQL user should be created.

Now grant the newly created user all the privileges to the newly created database pyapp with the following SQL command:

All the privileges for the pyapp database are granted to your login user.

Now exit out of the PostgreSQL terminal with the following command:

Now let’s see whether we can login to our newly created database pyapp using our login username with the following command:

Now type in the password that you set earlier for your PostgreSQL user and press <Enter>.

You should be logged in.

Installing psycopg2 with PIP and PIP3:
Now it’s time to install psycopg2 Python module.
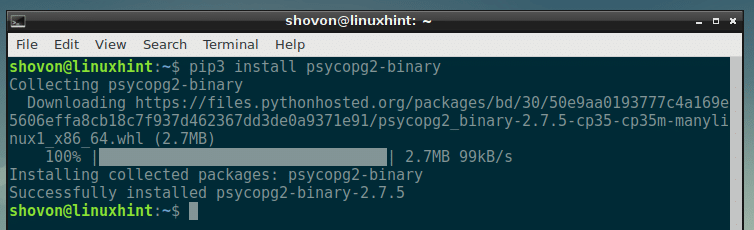
If you’re using Python 3, then run the following command to install psycopg2:

If you’re using Python 2, then run the following command to install psycopg2:
psycopg2-binary PIP module should be installed.
Creating the Project Directory:
Now create a project directory, pyapp with the following command:

And navigate to the directory with the following command:

This is where I will create all the Python script to access PostgreSQL database.
Connecting to the PostgreSQL Database:
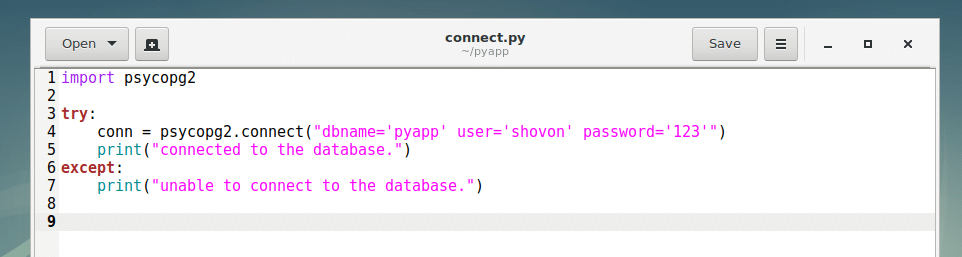
First, create a python program connect.py in your project directory.
Now type in the following lines and save the file.
Now run the script connect.py with one of the following command:
For Python 3:
For Python 2:
As you can see, I am connected to the database.

Here on line 1, the psycopg2 module is imported. In line 4, psycopg2.connect() method is used to connect to the PostgreSQL database. A try-except block is used to catch errors if in case something goes wrong and connection to the database fails.
Executing SQL Commands:
In this section, I will create a simple table users using Python psycopg2
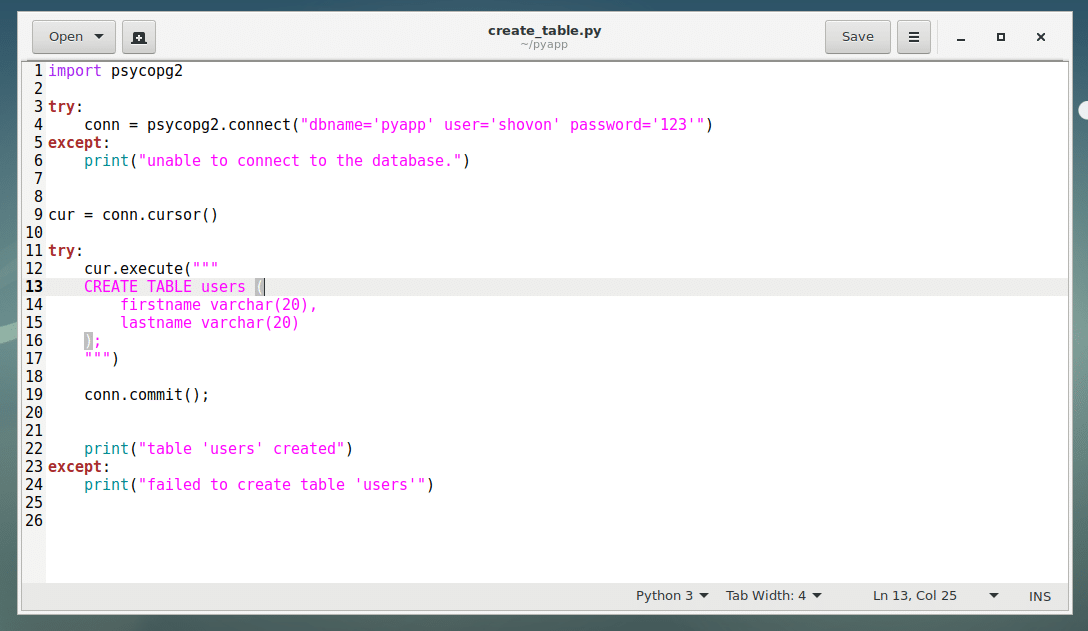
Type in the following code to a new Python script create_table.py and save it.
Now run the script:
As you can see, the table users is created.

With psycopg2, if you want to execute a SQL command, first you have to create a cursor.
On line 9, I created a cursor with conn.cursor() method and stored it to cur variable. Here conn is the variable where I stored the database connection from psycopg2.connect() method.
Then you execute SQL command with the cursor as cur.exec(“YOUR_SQL_GOES_HERE”), which I did on line 12-17 to create an users table.
If your SQL command makes changes to the database you’re connected to, then you have to call conn.commit() method to make the changes permanent as I did in line 19.
Inserting Data to PostgreSQL Database:
Now that you have users table ready, let’s insert some data into the table.
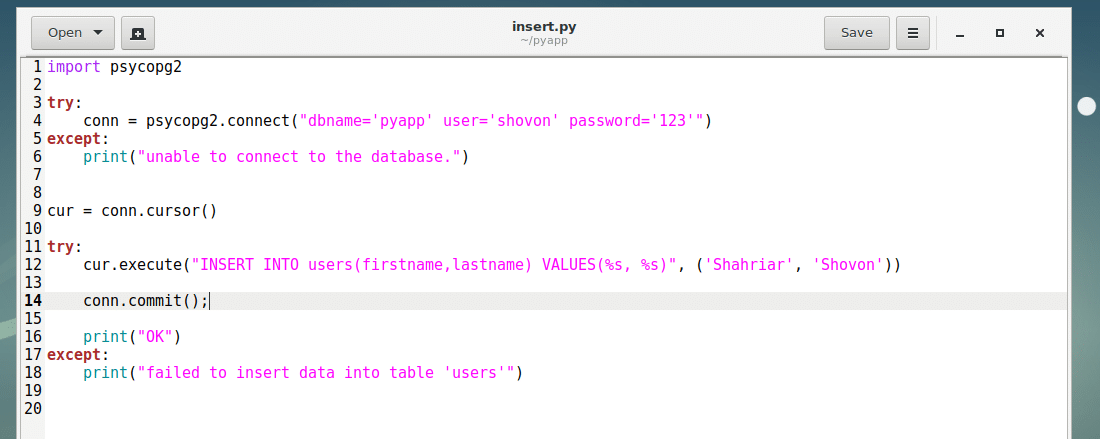
Create a new file insert.py into your project’s directory and type in the following codes and save the file.
Now run the Python script insert.py as follows:
The data should be inserted.

As you can see in the PostgreSQL terminal.

In the insert.py script, line 12 cur.execute() method runs the SQL query to insert into the users table. The %s’s are replaced by the strings from the tuple, the second parameter of the cur.execute() method.
The first occurrence of %s is replaced by the first element of the tuple, the second %s is replaced by the second element of the tuple and so on. You can also mix data types if you want. For example, %d represents integer.
Fetching Data from PostgreSQL Database:
Now you can fetch the data that you inserted into the PostgreSQL database.
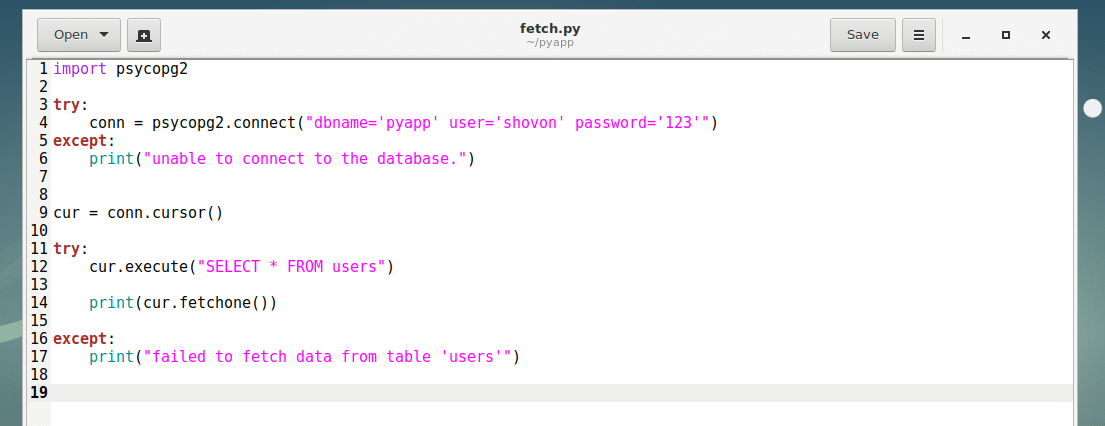
First create a new Python script fetch.py and type in the following lines of code. Then save the file.
Now run the script fetch.py with the following command:
As you can see, the data I inserted is fetched. It’s returned as a tuple, which is kind of like an array.

In the fetch.py script, everything is similar as in other scripts. Here, cur.fetchone() method is used to return the first row of the table. If you have many rows, then you can keep calling cur.fetchone() to iterate through the list. When all the rows are returned, cur.fetchone() will return None.
Thanks for reading this article.