In this article, I am going to show you how to use dnsmasq to configure a local DNS server, caching DNS server and DHCP server. So, let’s get started.
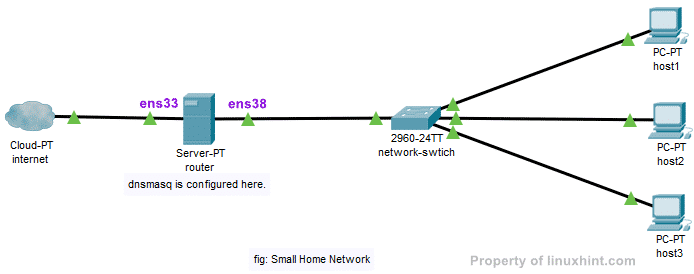
Network Topology:
This is the network topology of this article. Here, I will configure router as a DNS and DHCP server with dnsmasq. router has 2 network interfaces, one (ens33) connects to the internet and the other (ens38) connects to a network swtich. All the other hosts (host1, host2, host3) on the network uses the DHCP server configured on the router for automatic assignment of IP addresses and the DNS server for name resolution.
Configuring Static IP:
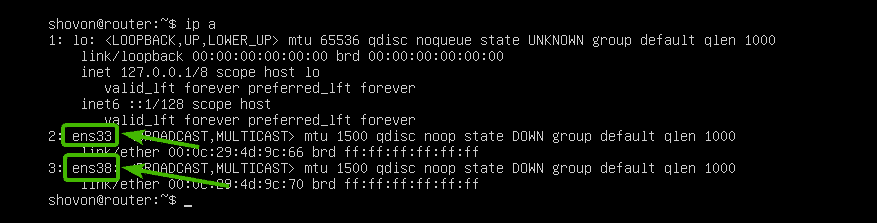
In my network topology, you saw, my router has two interfaces ens33 and ens38. ens33 connects router to the internet and ens38 is connected to a network-switch, which other computers on the network connects to. I will have to use DHCP to get an IP address for the ens33 interface from my ISP for internet connection. But, the ens38 interface have to be configured manually.
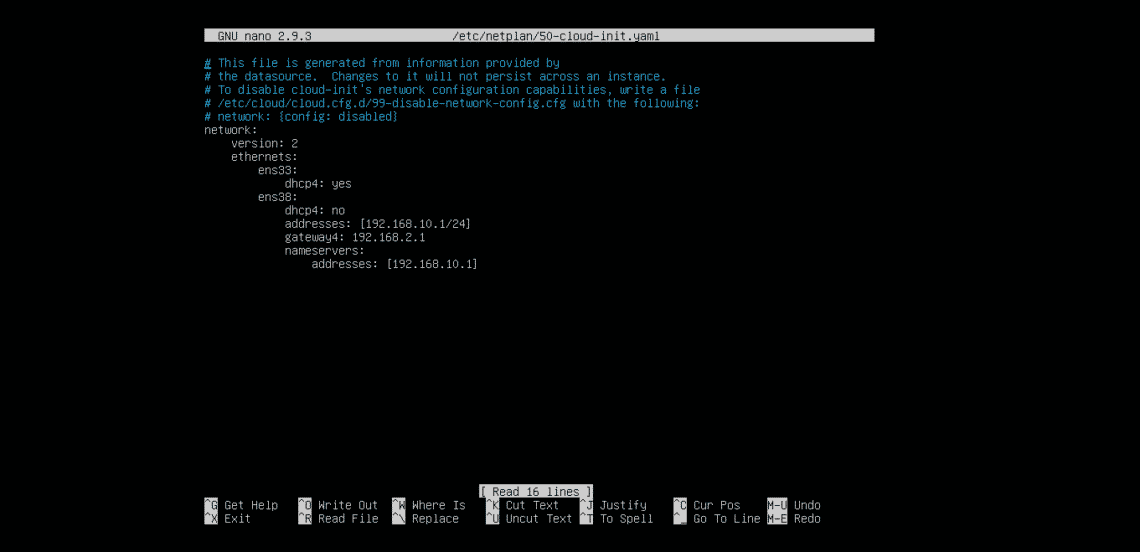
Let’s use the network 192.168.10.0/24 for ens38 interface and other computers on the network. If I do use the network 192.168.10.0/24, then the IP address of the ens38 interface of the router should be 192.168.10.1/24. This is the IP address of the dnsmasq DNS server and DHCP server.
NOTE: Your network interface name may be different. You can find out what it is for you with the ip a command.
On Ubuntu Server 18.04 LTS, you can use netplan to configure the network interfaces. The default netplan configuration file is /etc/netplan/50-cloud-init.yaml.
First, open the configuration file /etc/netplan/50-cloud-init.yaml with the following command:

Now, type in the following lines and save the file by pressing <Ctrl> + x followed by y and <Enter>.
Now, reboot your router with the following command:

Once the router boots, IP addresses should be assigned as expected.

Installing dnsmasq:
dnsmasq is available in the official package repository of Ubuntu. So, you can easily install it using the APT package manager.
Ubuntu uses systemd-resolved by default to manage DNS servers and DNS caching. Before you install dnsmasq, you must stop and disable systemd-resolved services. Otherwise, you won’t be able to run dnsmasq at all.
To stop the systemd-resolved service, run the following command:

To disable the systemd-resolved service, run the following command:

By default, the /etc/resolv.conf file is linked to another systemd configuration file as you can see in the screenshot below. But, we don’t want it anymore.

So, remove the /etc/resolv.conf link with the following command:

Now, create a new /etc/resolv.conf file and set the google DNS server as the default DNS server with the following command:

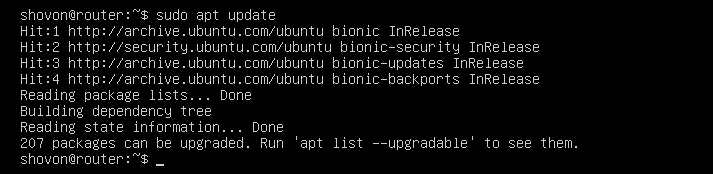
Now, update the APT package repository cache with the following command:
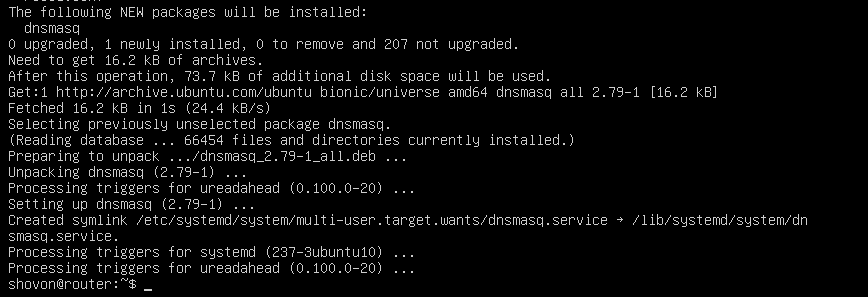
Now, install dnsmasq with the following command:

dnsmasq should be installed.
Configuring dnsmasq DNS Server:
The configuration file of dnsmasq is /etc/dnsmasq.conf. In order to configure dnsmasq as a DNS server, you have to modify this file.
The default /etc/dnsmasq.conf file contains a lot of documentation and commented out options. So, I think it’s better to rename the /etc/dnsmasq.conf file to /etc/dnsmasq.conf.bk and create a new one.
You can rename the configuration file with the following command:

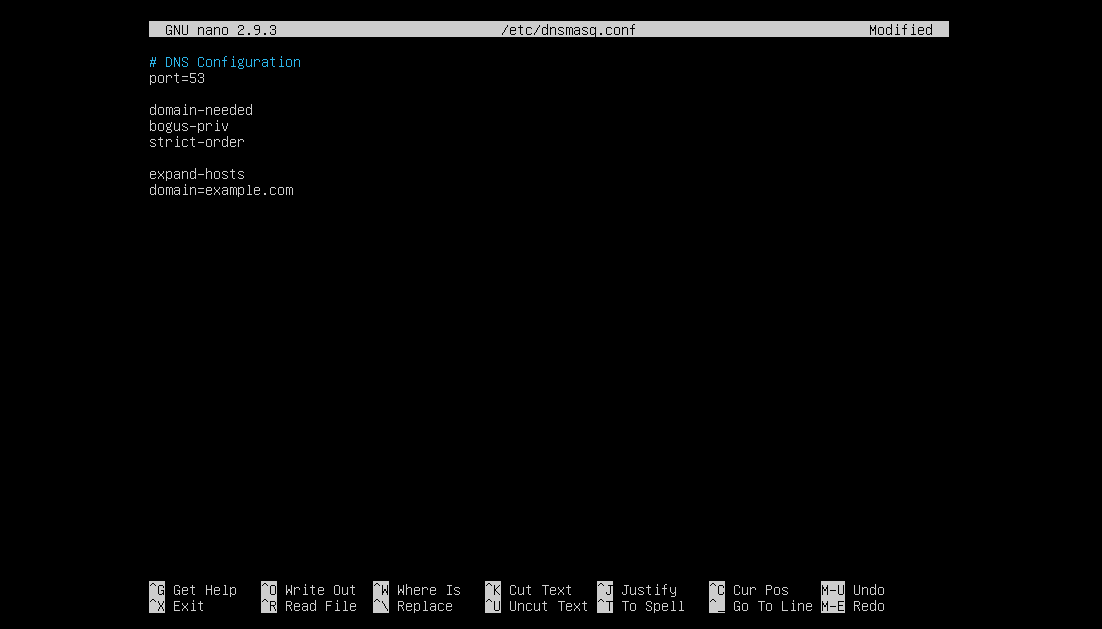
Now, create the configuration file /etc/dnsmasq.conf as follows:

Now, type in the following lines and save the file by pressing <Ctrl> + x followed by y and <Enter>.
port=53
domain-needed
bogus-priv
strict-order
expand-hosts
domain=example.com
NOTE: Change example.com to your own domain name.
Now, restart dnsmasq service with the following command:

No, errors. Great!
Now, you have to set 192.168.10.1 as the default DNS server address in the /etc/resolv.conf.
To do that, open /etc/resolv.conf file with the following command:

Now, type in nameserver 192.168.10.1 before the line nameserver 8.8.8.8 as shown in the screenshot below. Then save the file.

That’s it.
Adding DNS Records:
Now, you can add your DNS entries to the /etc/hosts file.
First, open the /etc/hosts file with the following command:
Now, type in your DNS entries in the following format:
I’ve added 4 entries router.example.com (192.168.10.1), host1.example.com (192.168.10.51), host2.example.com (192.168.10.52) , and host3.example.com (192.168.10.53) as marked in the screenshot below. You can add as many DNS entries as you want.
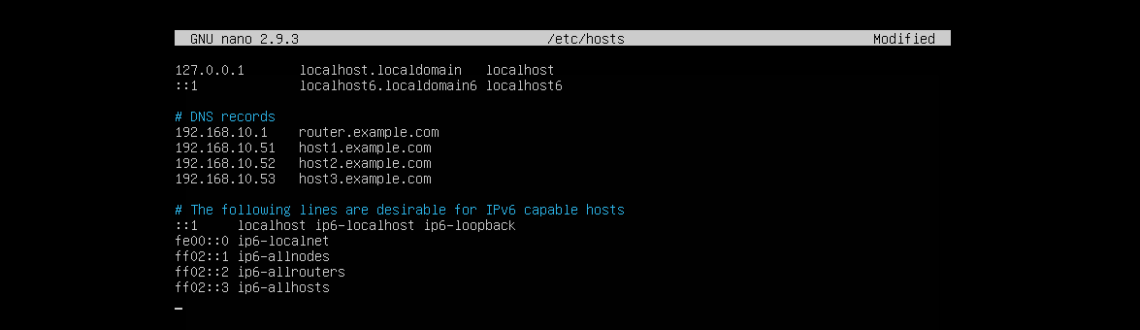
Once you’re done, save the file by pressing <Ctrl> + x followed by y and <Enter>.
Now, restart the dnsmasq service with the following command:

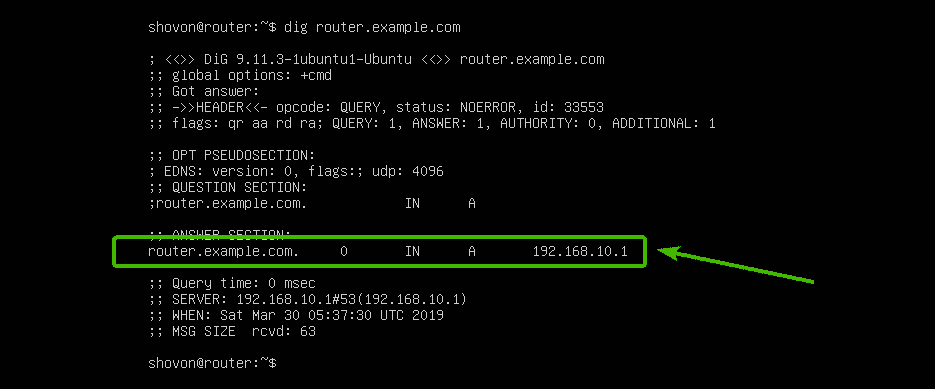
Testing DNS Server:
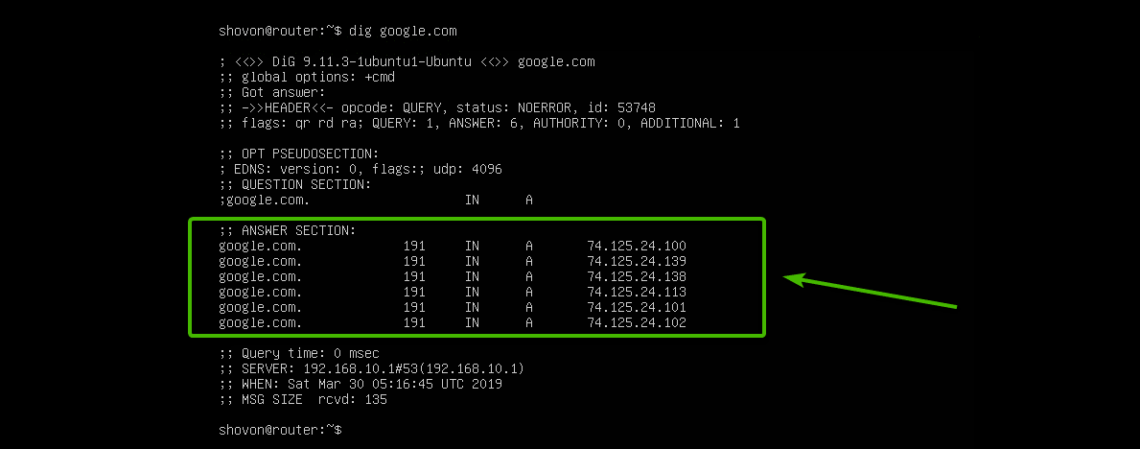
As you can see, the local DNS resolution works.
Internet name resolution also works.
Configuring DHCP Server:
To configure DHCP server, open the dnsmasq configuration file /etc/dnsmasq.conf again as follows:

Now, add the marked lines to the end of the file. Then save the file.
dhcp-range=192.168.10.50,192.168.10.240,255.255.255.0,24h
dhcp-option=option:router,192.168.10.1
dhcp-option=option:dns-server,192.168.10.1
dhcp-option=option:netmask,255.255.255.0
dhcp-host=00:0C:29:A5:BD:4A,192.168.10.51
dhcp-host=00:0C:29:A5:BD:5B,192.168.10.52
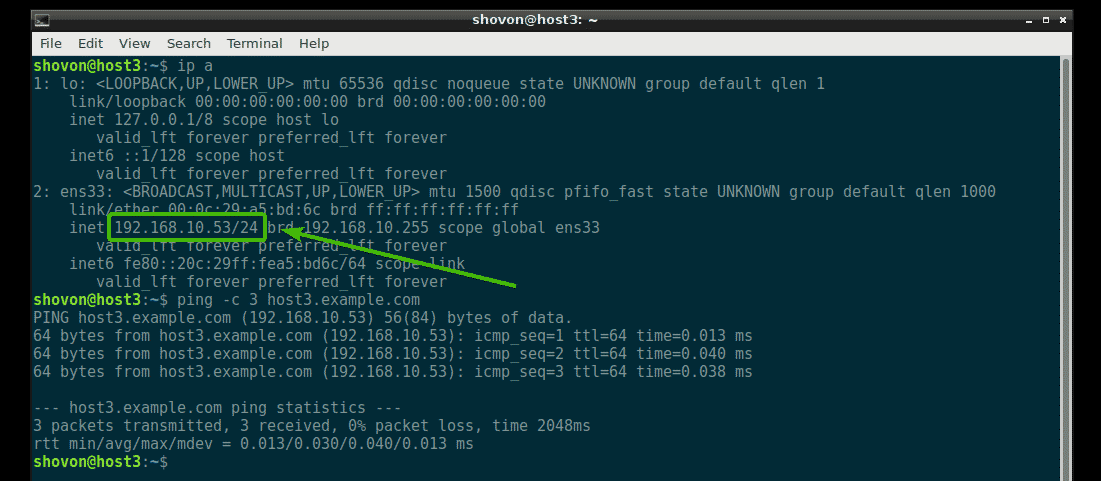
dhcp-host=00:0C:29:A5:BD:6C,192.168.10.53
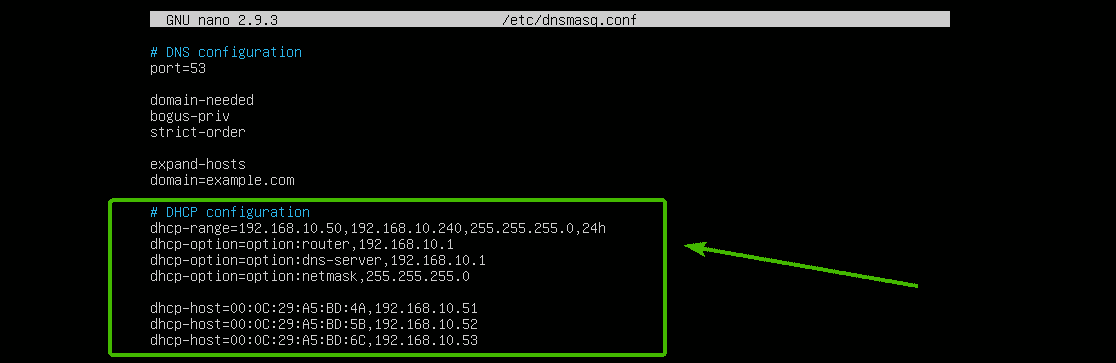
Here, dhcp-range is used to set the range of IP addresses that the DHCP server will assign to hosts.
dhcp-option is used to set the gateway (option:router), DNS server address (option:dns-server), and netmask (option:netmask)
dhcp-host is used to set specific IP addresses to hosts depending on the specified MAC addresses.
Now, restart dnsmasq service with the following command:

Testing DHCP Server:
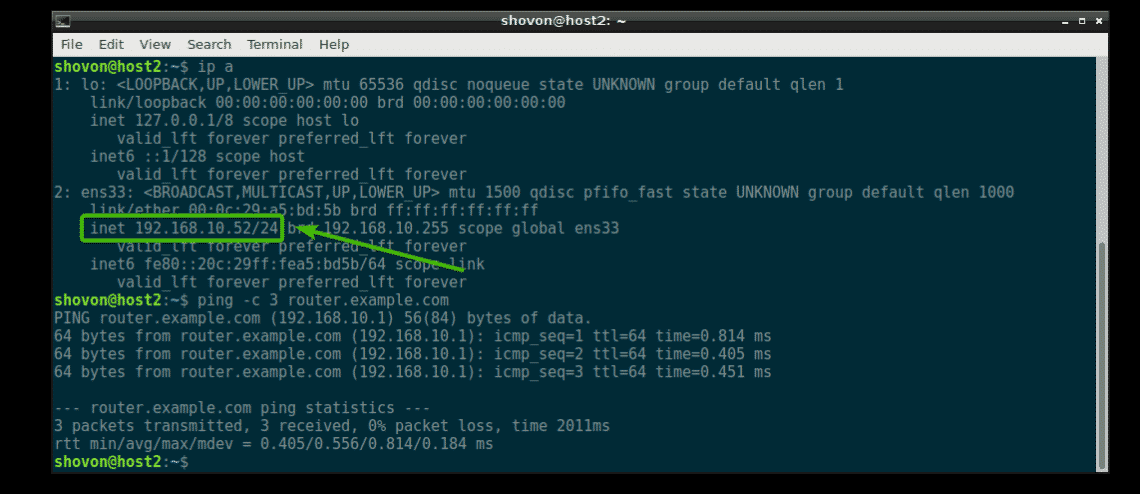
As you can see, the computer host1 got the IP address 192.168.10.51/24 from the DHCP server.

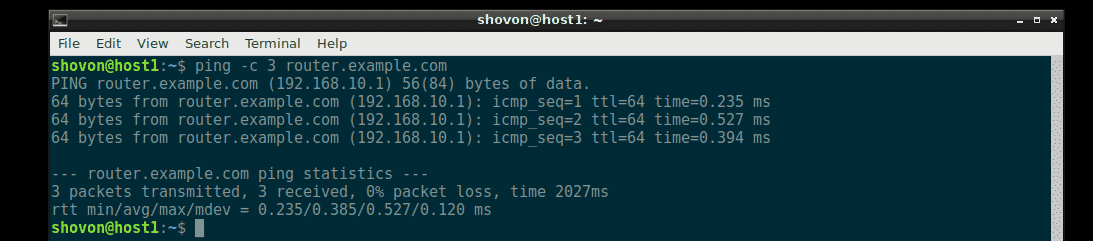
DNS resolution also works from host1.
The same way, host2 and host3 also gets the correct IP address from the DHCP server and DNS resolution works on each one of them.
Where to Go Next:
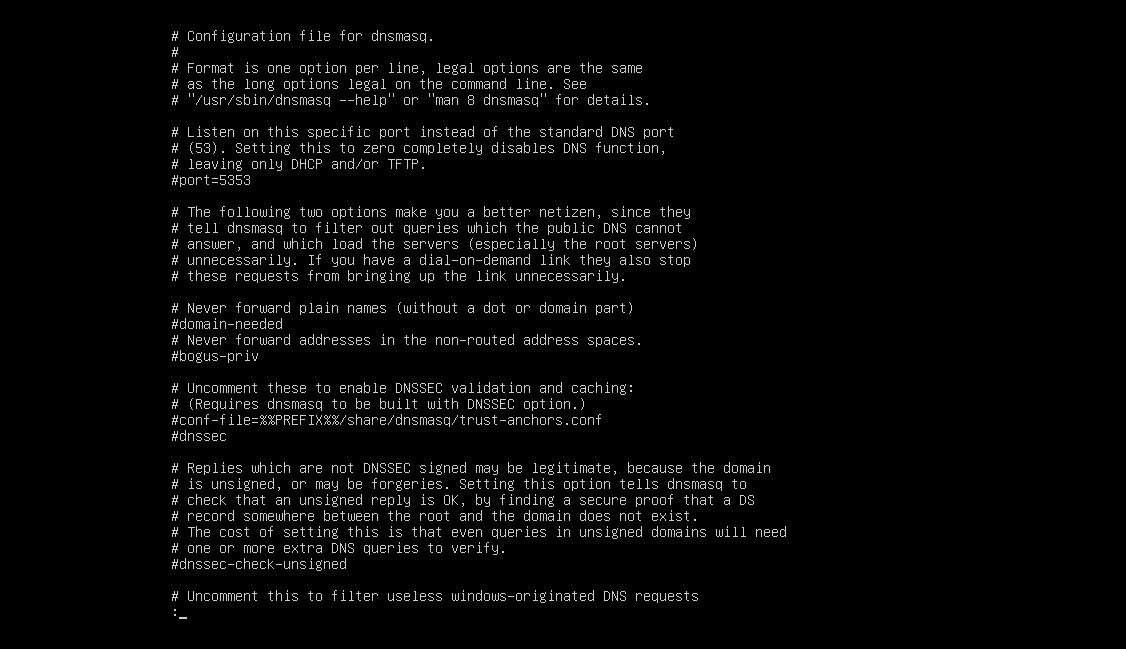
If you want to learn more about dnsmasq, then checkout the default configuration file /etc/dnsmasq.conf (now renamed to /etc/dnsmasq.conf.bk). It has detailed description of all the configuration options of dnsmasq.

Default dnsmasq configuration file of Ubuntu Server 18.04 LTS.
So, that’s how you configure dnsmasq on Ubuntu Server 18.04 LTS. Thanks for reading this article.