Enabling Hardware Virtualization:
If you want to use VMware Player 15 on your CentOS 8 machine, you must enable hardware virtualization VT-x/VT-d or AMD-v from the BIOS of your computer.
Upgrading the System:
In order to correctly install and get VMware Player to work, you must update your CentOS 8 machine.
First, update the package repository cache with the following command:

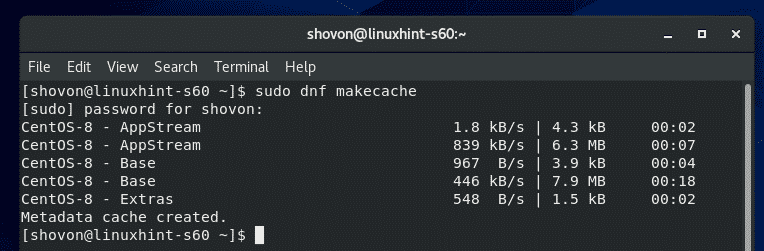
The package repository cache should be updated.
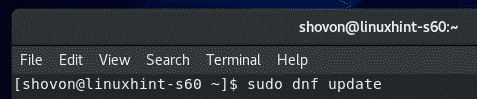
To confirm the update, press Y and then press <Enter>.
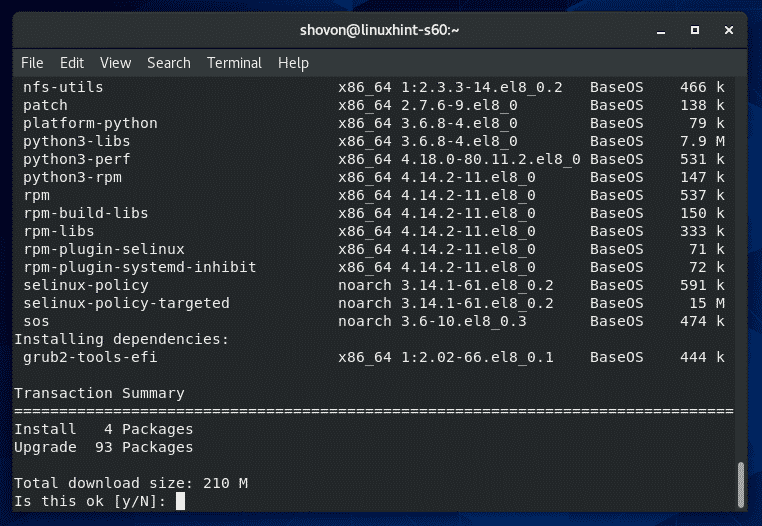
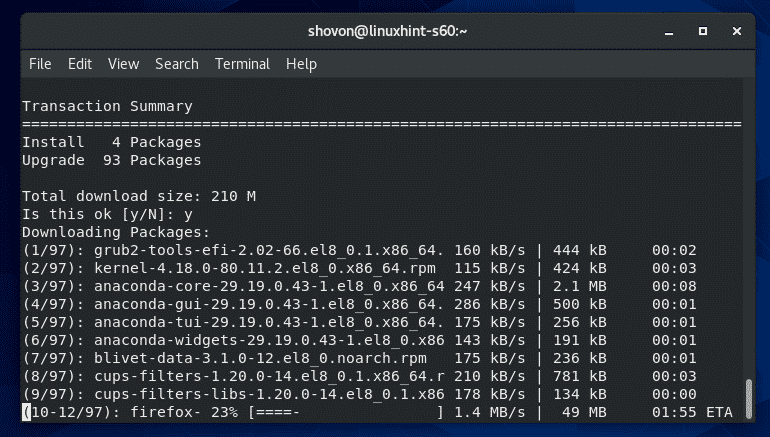
The DNF package manager should start downloading all the updates.
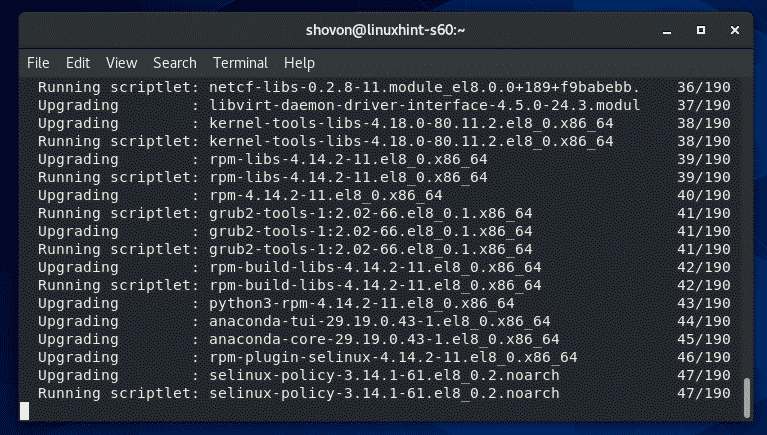
DNF package manager is installing the updates.
At this point, all the updates should be installed.
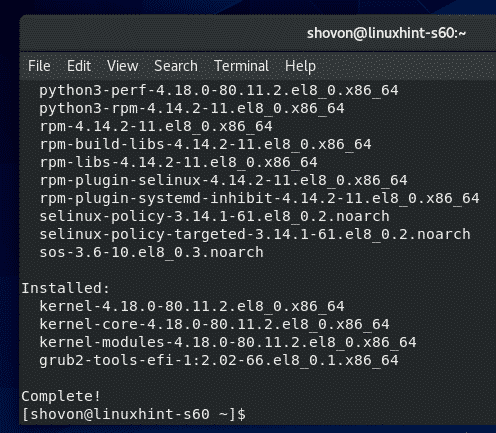
Now, restart your CentOS 8 machine with the following command:
Installing Required Tools for Building VMware Kernel:
You must have all the required build tools installed on your CentOS 8 machine for VMware Player to be able to build VMware kernel modules.
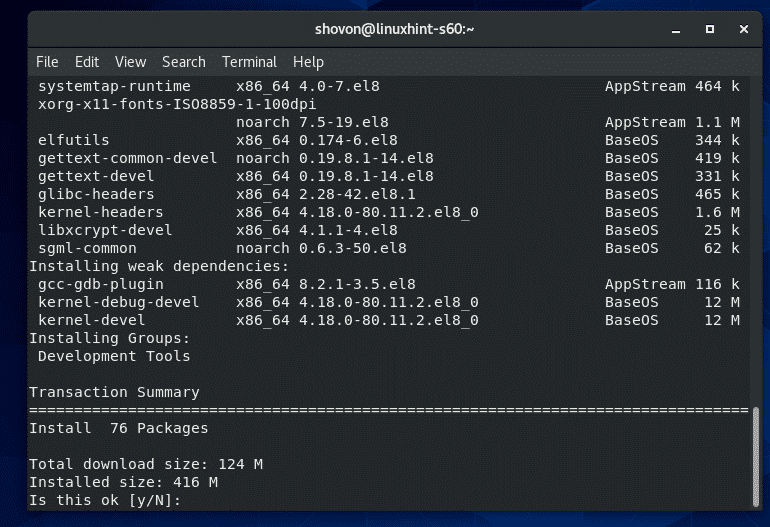
You can install all the required build tools with the following command:

To confirm the installation, press Y and then press <Enter>.
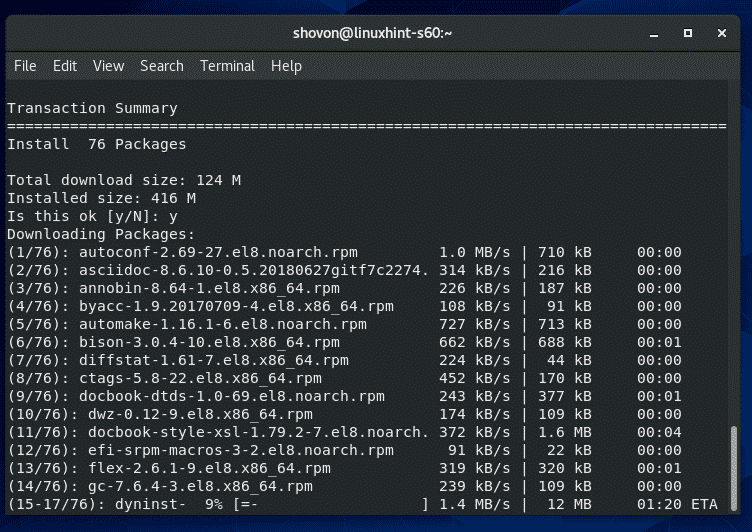
DNF package manager will automatically download and install all the required packages.
At this point, all the build tools should be installed.

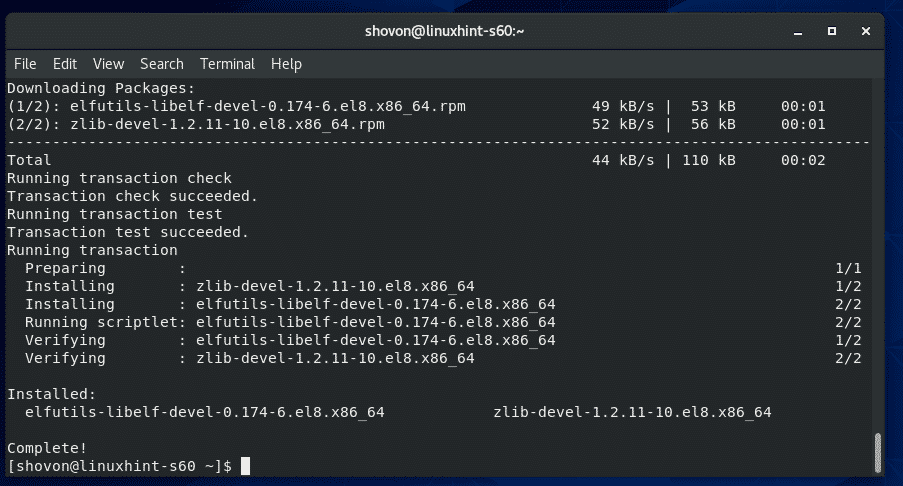
You also need the Linux kernel headers and elfutils-libelf-devel packages installed in order for VMware Player to build VMware kernel module correctly.
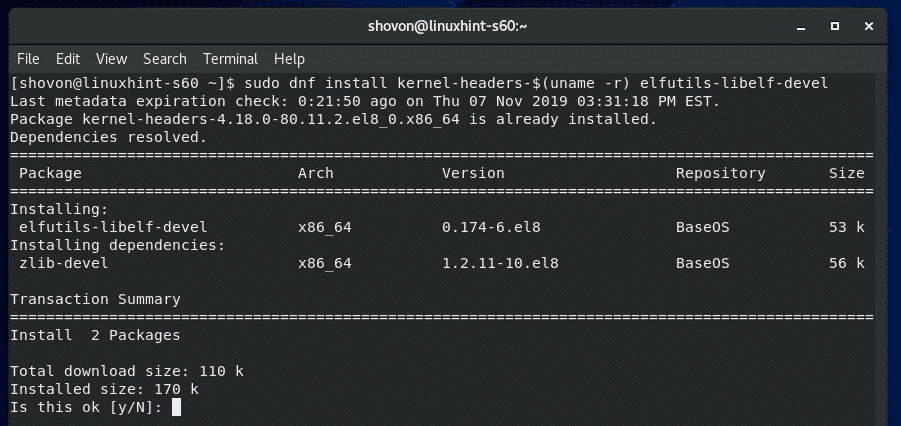
You can install Linux kernel headers and elfutils-libelf-devel packages with the following command:

To confirm the installation, press Y and then press <Enter>.
Linux kernel headers and elfutils-libelf-devel packages should be installed.
Downloading VMware Player:
VMware Player is not available in the official package repository of CentOS 8. But, you can easily download VMware Player from the official website of VMware and install it on CentOS 8.
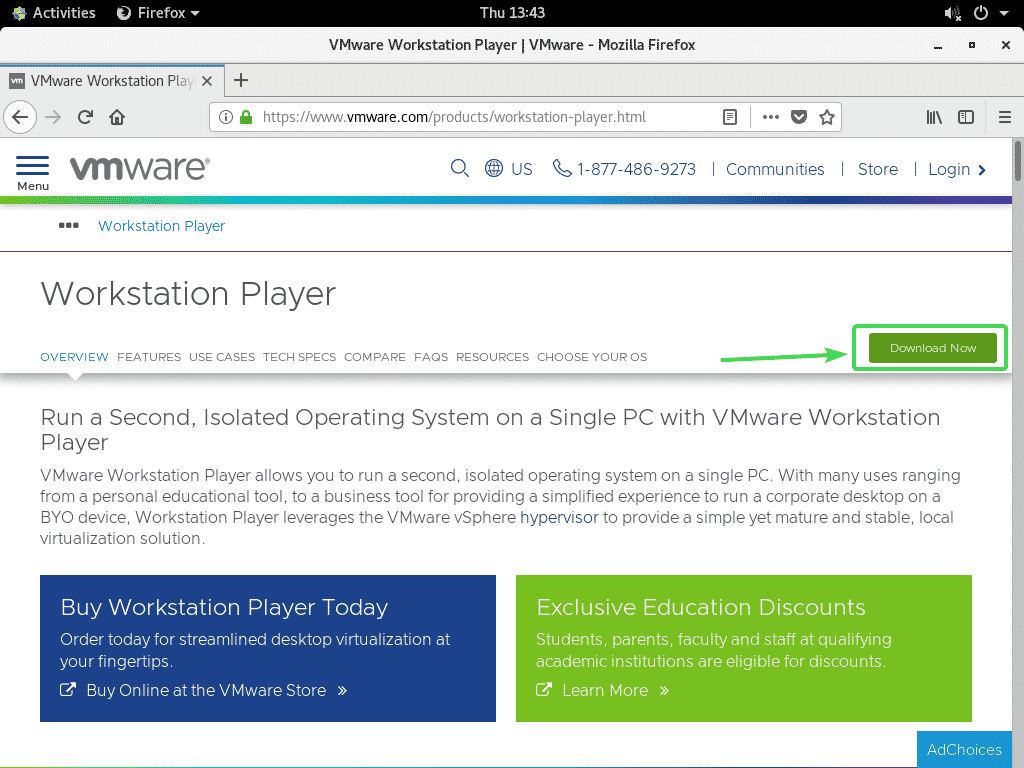
To download VMware Player, first, visit the official website of VMware Player. Once the page loads, click on Download Now.
Now, click on the Download button for VMware Workstation Player for Linux 64-bit as marked in the screenshot below.

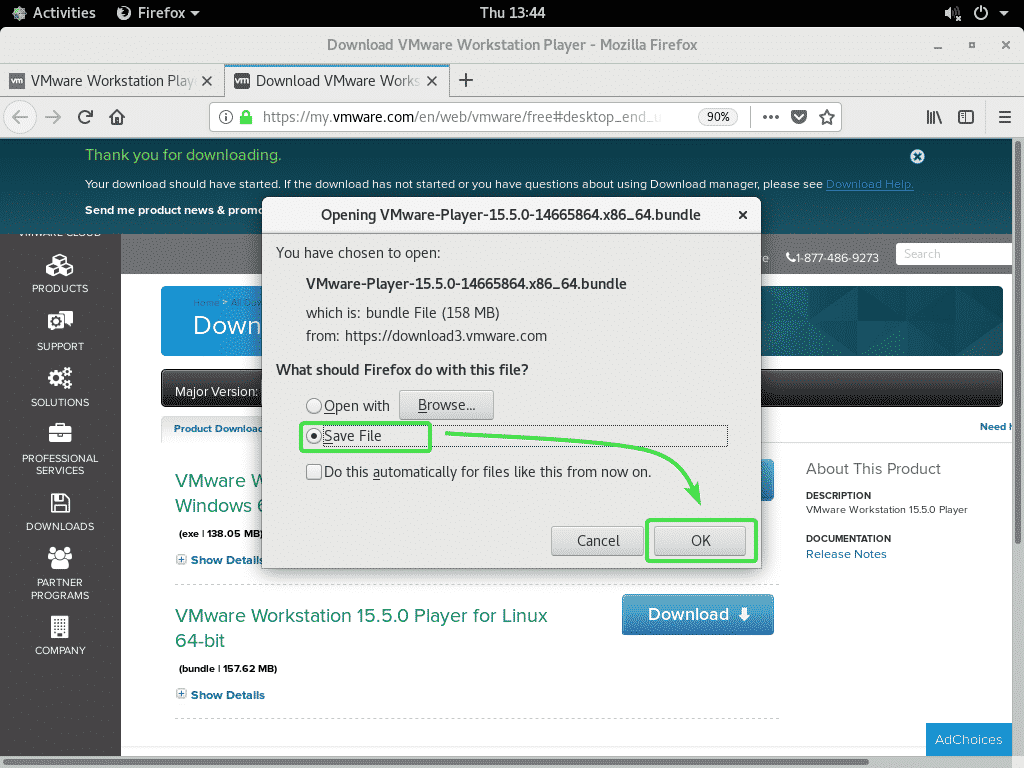
Your browser should prompt you to save the VMware Player 15 installer file. Select Save File and click on OK.
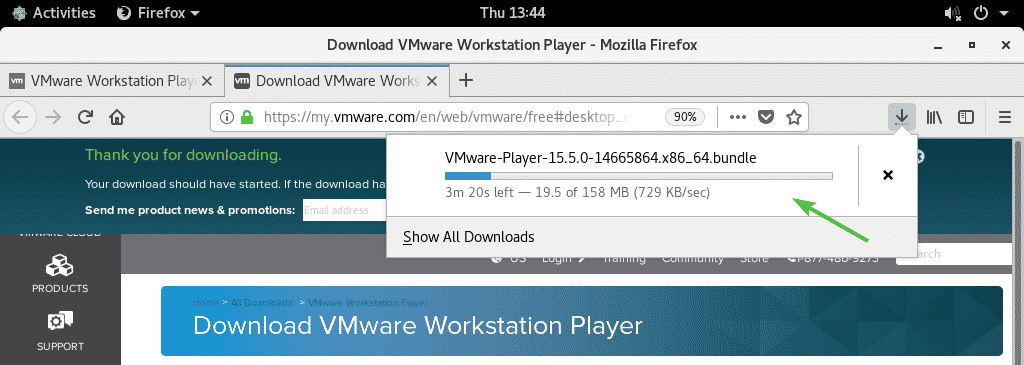
Your browser should start downloading VMware Player 15 installer file. It may take a while to complete.
Installing VMware Player:
Once VMware Player 15 installer is downloaded, navigate to the ~/Downloads directory of your computer as follows:
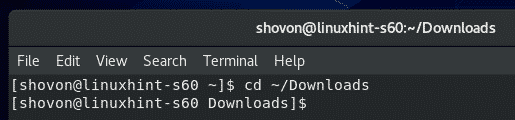
VMware Player 15 installer file VMware-Player-15.5.0-14665864.x86_64.bundle should be there.

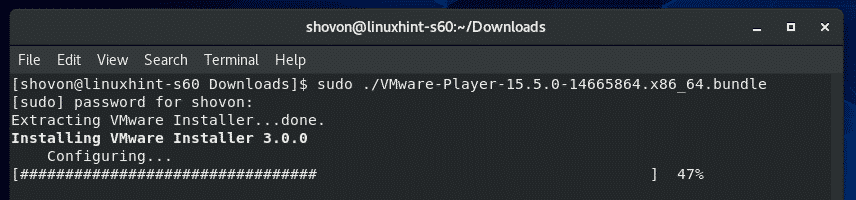
Now, run the installer with super user privileges as follows:

The installer should start installing VMware Player 15.
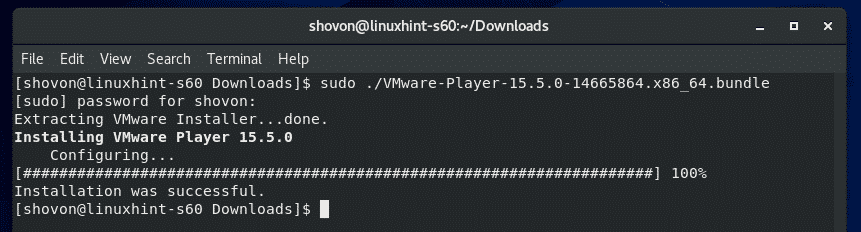
At this point, VMware Player 15 should be installed.
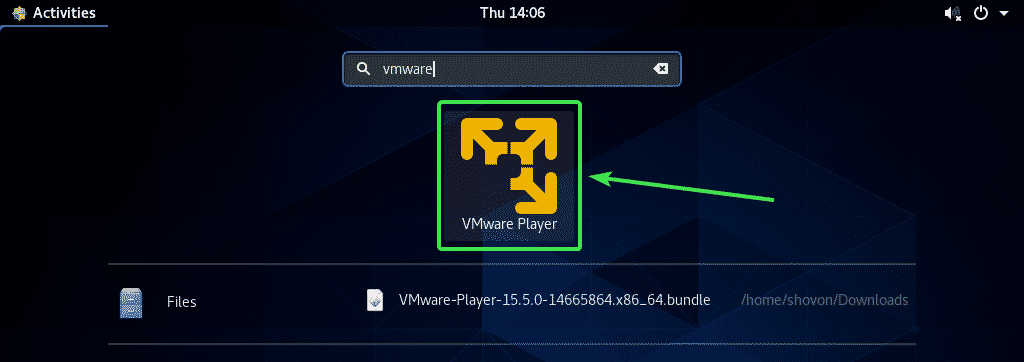
Starting VMware Player:
Once VMware Player 15 is installed, you can start VMware Player from the Application Menu of CentOS 8.
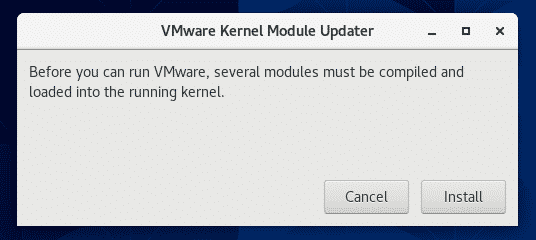
The first time you run VMware Player, you may see the following message. Just click on Install.
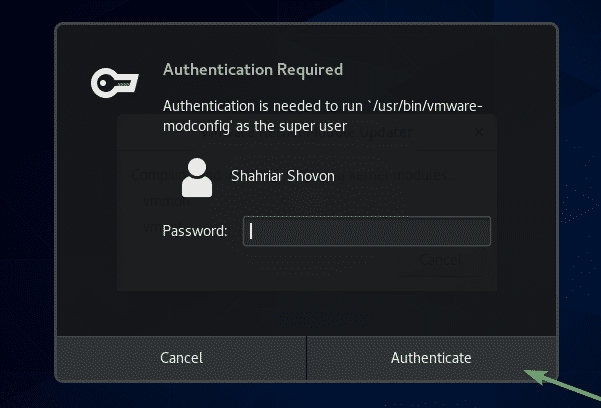
Now, type in your login password and press Authenticate.
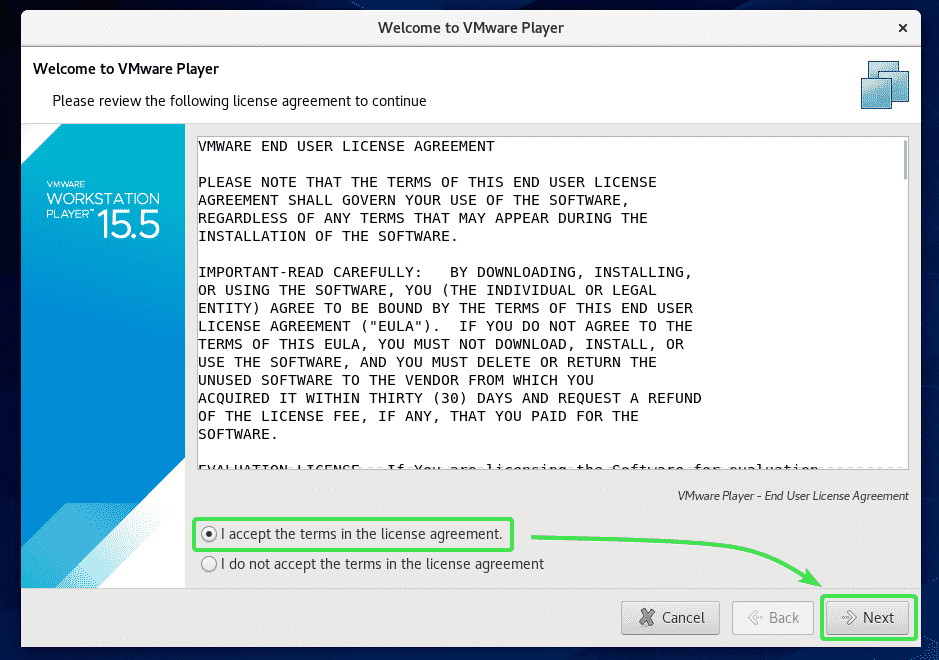
Now, select I accept the terms in the license agreement and click on Next to accept the VMware Player End User License Agreement (EULA).
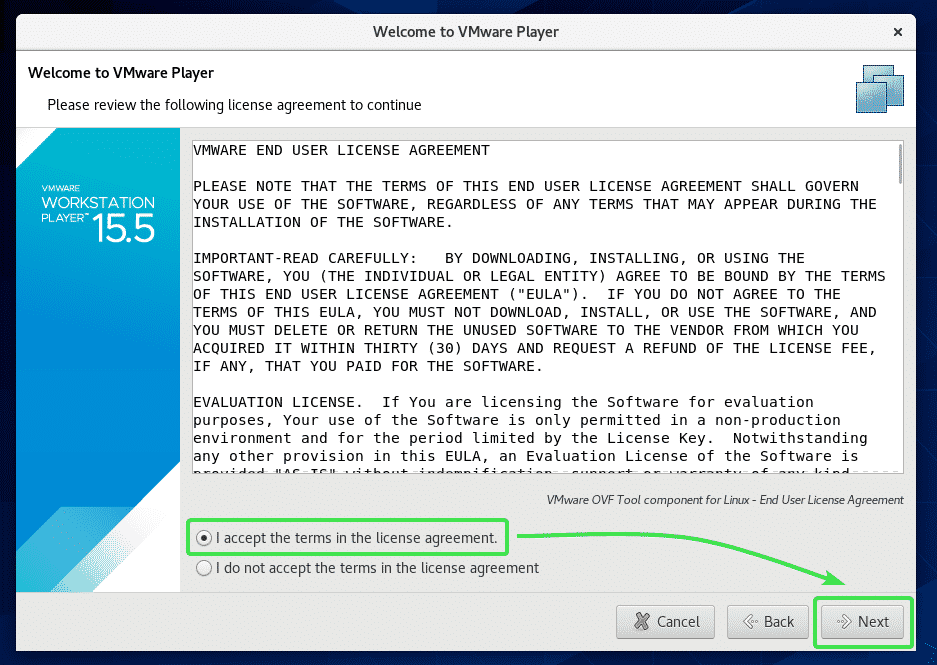
Now, select I accept the terms in the license agreement and click on Next to accept the VMware OVF Tool component for Linux End User License Agreement (EULA).
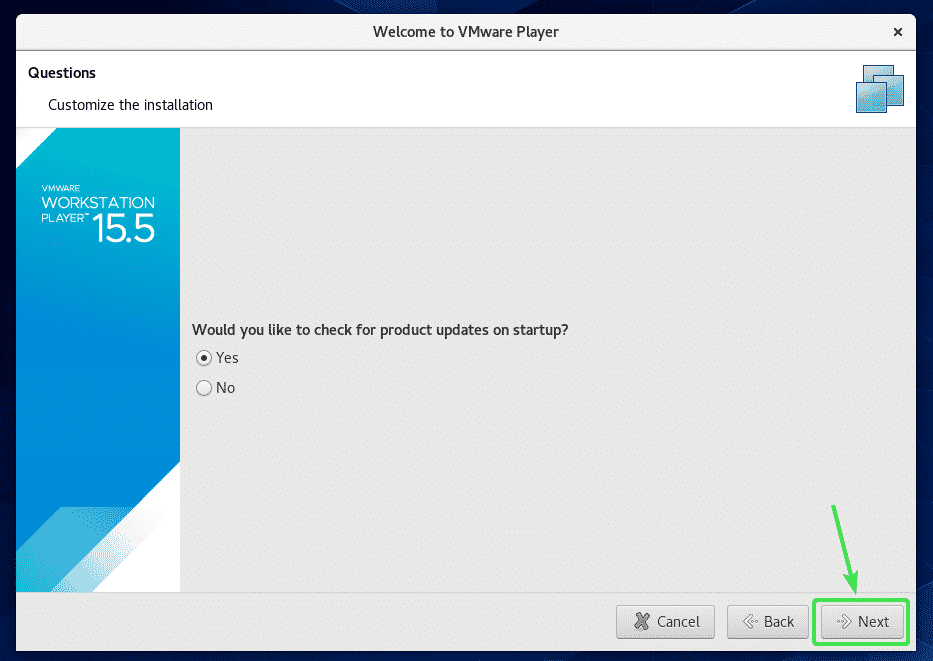
If you want VMware Player to check for updates every time you start VMware Player, select Yes. Otherwise, select No.
Then, click on Next.
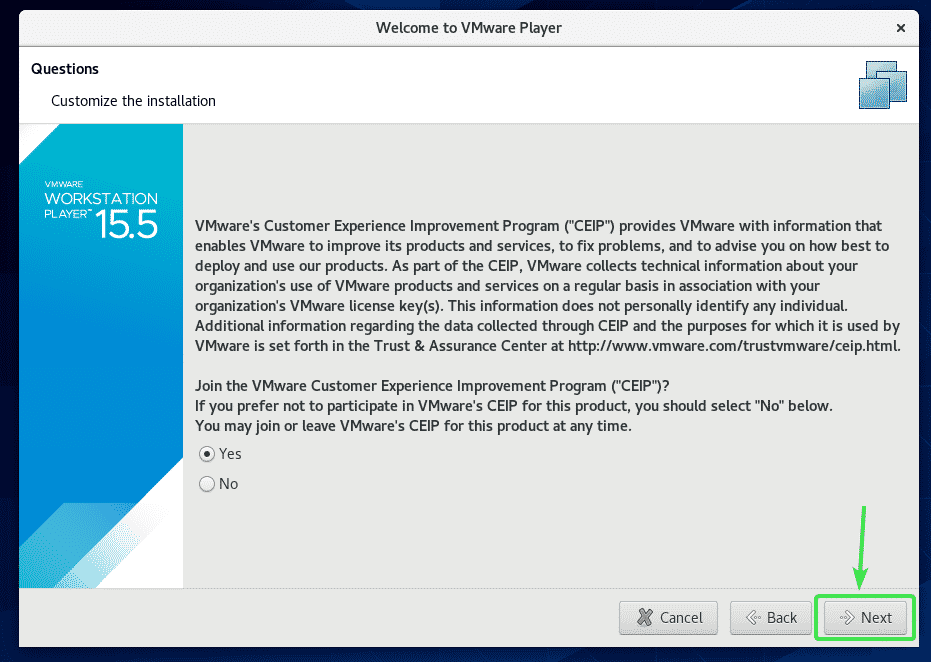
If you want to join VMware Customer Experience Improvement Program (CEIP), then select Yes. Otherwise, select No.
Then, click on Next.
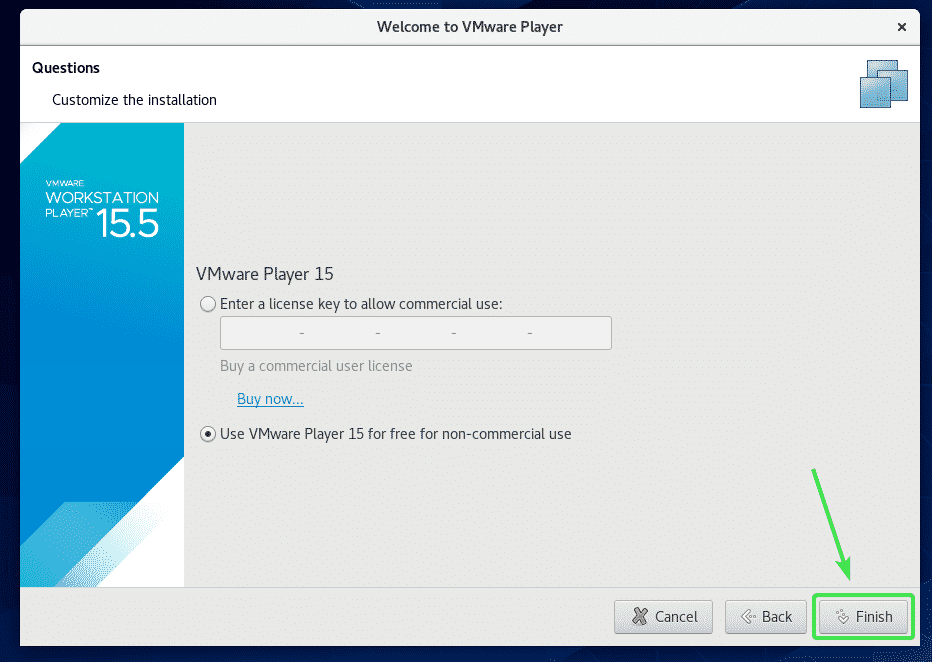
If you want to use VMware Player for non-commercial purpose, then select Use VMware Player 15 for free for non-commercial use.
If you want to use VMware Player 15 for commercial use, then you will have to buy a license from VMware, select Enter a license key to allow commercial use and type in the license key there.
Once you’re done, click on Finish.
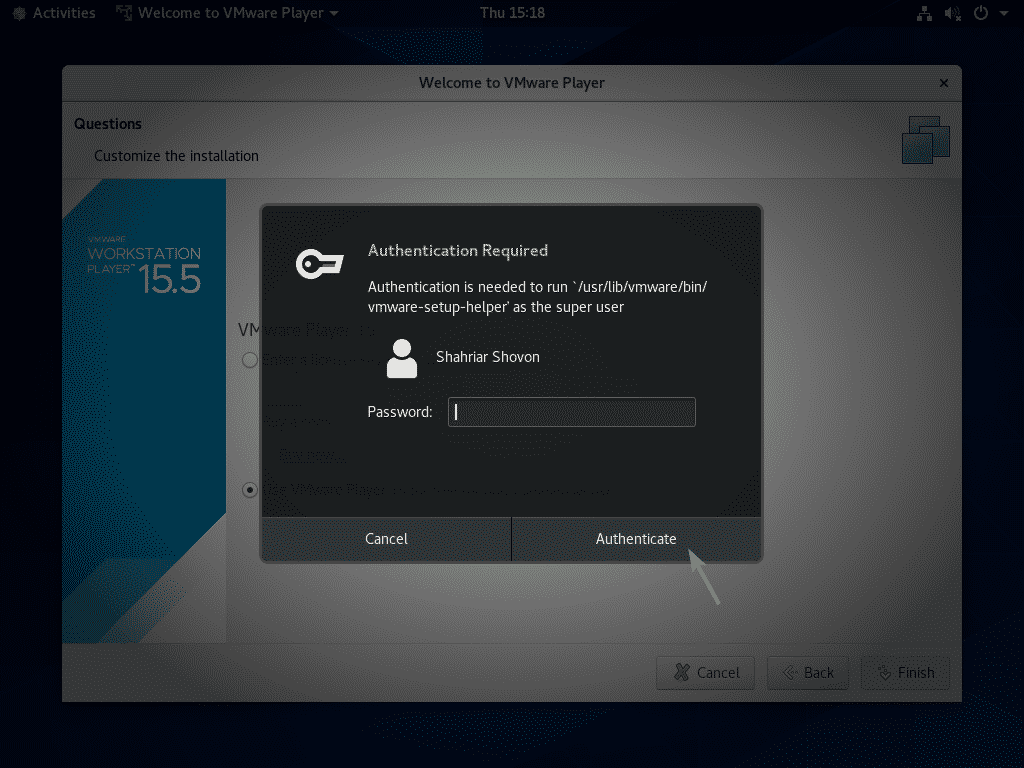
Now, type in your login password and click on Authenticate.
Now, click on OK.
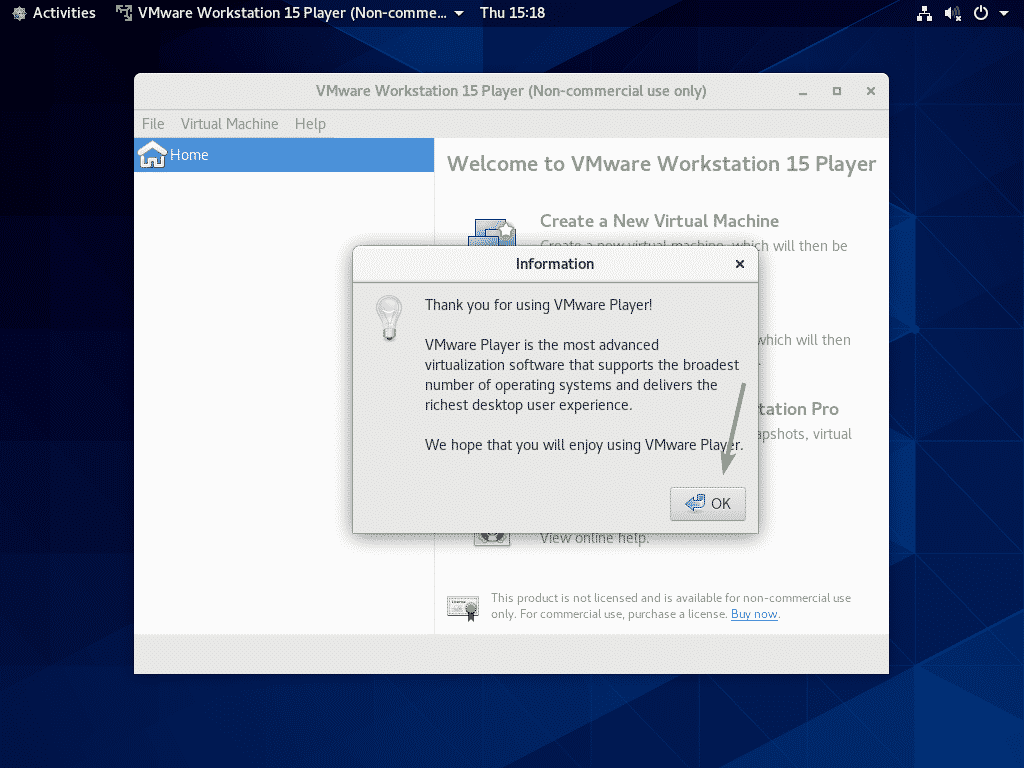
VMware Player 15 is now ready for use. You can create new virtual machines, open existing virtual machines and many more.

VMware Player is a very basic hypervisor program. If you need more advanced features like snapshots, VM cloning etc., then you will have to upgrade to VMware Workstation Pro.
So, that’s how you install VMware Player 15 on CentOS 8. Thanks for reading this article.