Installing ProFTPd Server:
ProFTPD FTP server packages are available in the official package repository of Ubuntu 18.04 LTS. So, you can easily download and install it using the APT package manager.
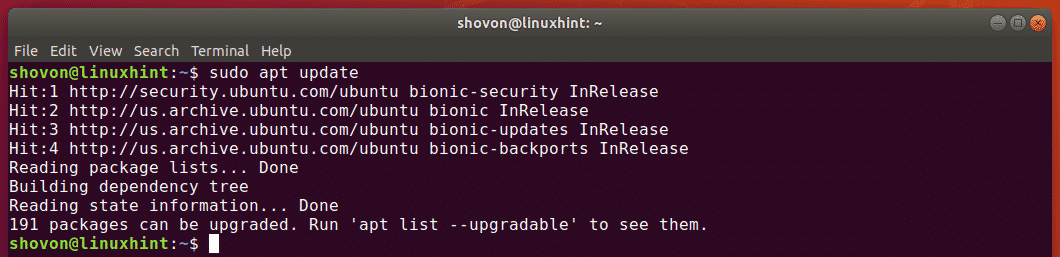
First, update the APT package repository cache with the following command:
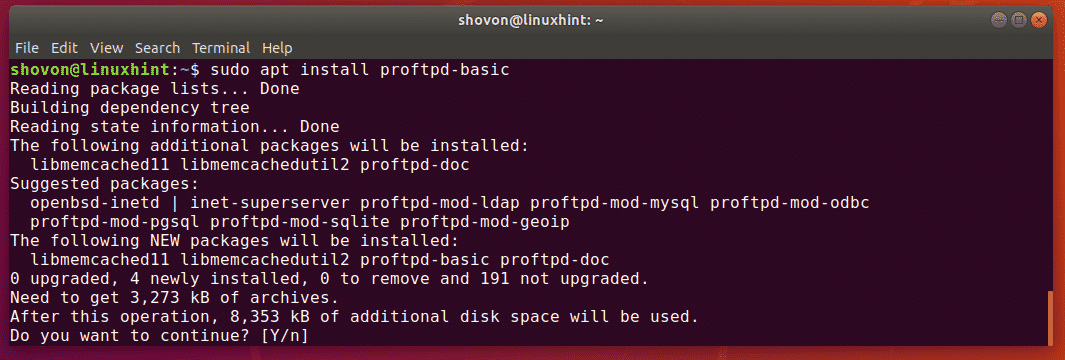
Then, install ProFTPd with the following command:

Now, press y and then press <Enter> to continue.
ProFTPd should be installed.
The configuration files of ProFTPd is in the /etc/proftpd directory. The main configuration file is proftpd.conf. Other configuration files are included in the proftpd.conf file.

The ProFTPd service is proftpd. Whenever you make changes to the configuration files of ProFTPd, you should restart the proftpd service for the changes to take effect.
You can restart proftpd service with the following command:
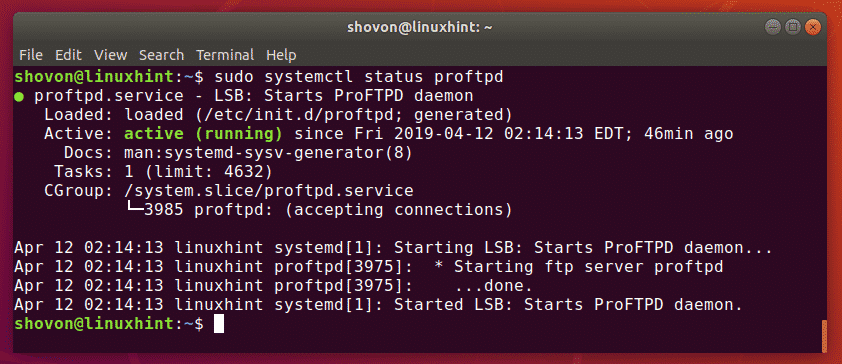
You can check whether the proftpd service is running correctly with the following command:
As you can see, the proftpd service is running correctly.
Testing ProFTPD Server:
The default configuration of the ProFTPd server on Ubuntu is good enough. You can easily log in to the FTP server using the existing users on your Ubuntu machine.
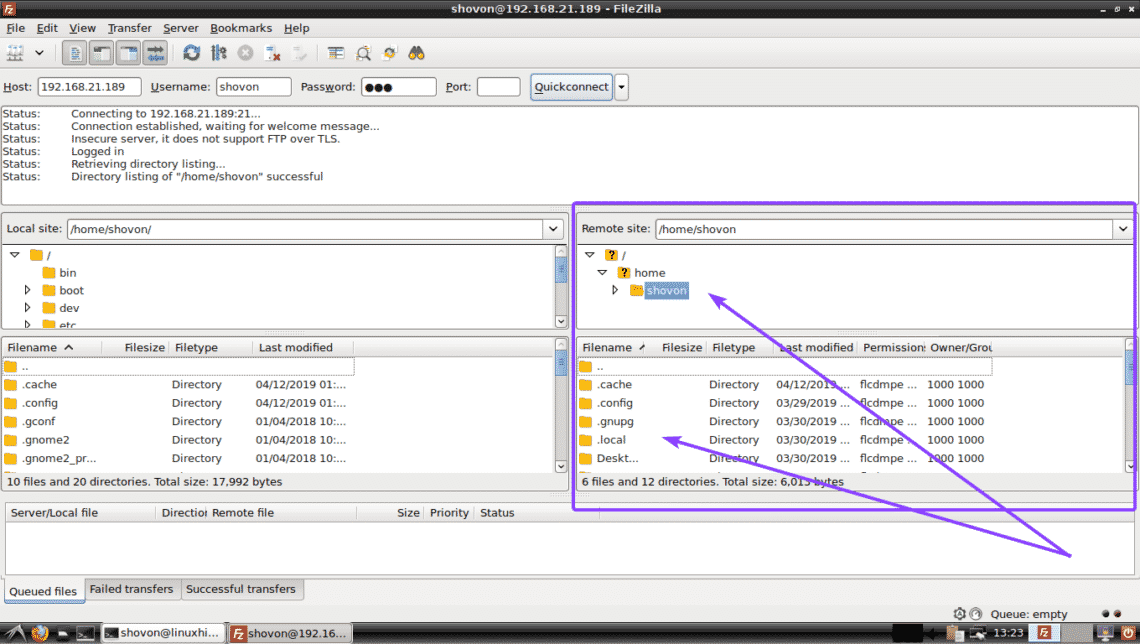
To test whether it is working, I am going to try to login to the FTP server as my default login user using the FileZilla FTP client.
First, find out the IP address of your server with the following command:
As you can see, the IP address of my Ubuntu machine is 192.168.21.189. It will be different for you. So, make sure to replace it with yours from now on.

Now, open your preferred FTP client and try to connect to your FTP server.

As you can see, I am connected to my FTP server. I can access my home directory without any problems. So, ProFTPd is working.
Adding New FTP Users:
As ProFTPd lets the existing users of your Ubuntu machine to login in to your FTP server, to add new FTP users, all you have to do is to add new login users in your Ubuntu machine.
You can create a new user ftp2 on your Ubuntu machine with the following command:

Now, set a password for the newly created user ftp2 with the following command:
Now, type in a new password and press <Enter>.

Now, re-type the password and press <Enter>.

The password should be set.

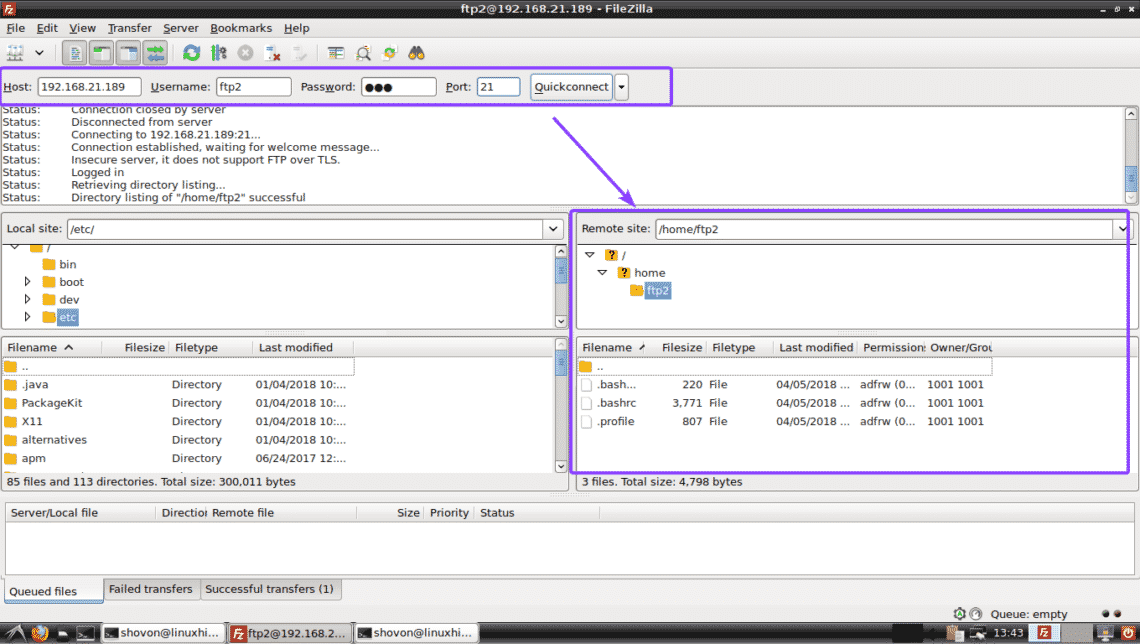
Now, ftp2 user should be able to log in to the FTP server as you can see in the screenshot below.
Disabling SSH Access to FTP Users:
For security reasons, you may not want your FTP user to login to your FTP server via SSH.
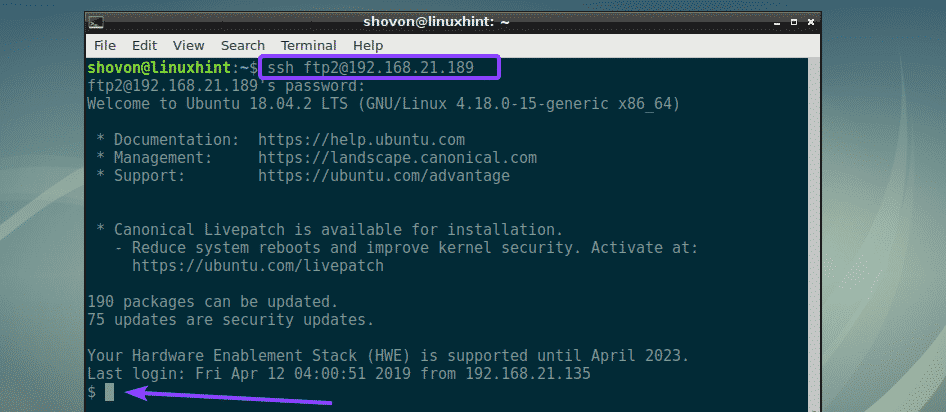
By default, all the users you create on your server are allowed to have SSH access as you can see in the screenshot below.
To disable SSH access, you have to change the default login shell to /bin/false.
First, open /etc/shells configuration file of your server with the following command:

Now, add /bin/false at the end of the file and save the file by pressing <Ctrl> + x followed by y and <Enter>.

Now, change the shell of the user (let’s say, ftp2) to /bin/false with the following command:

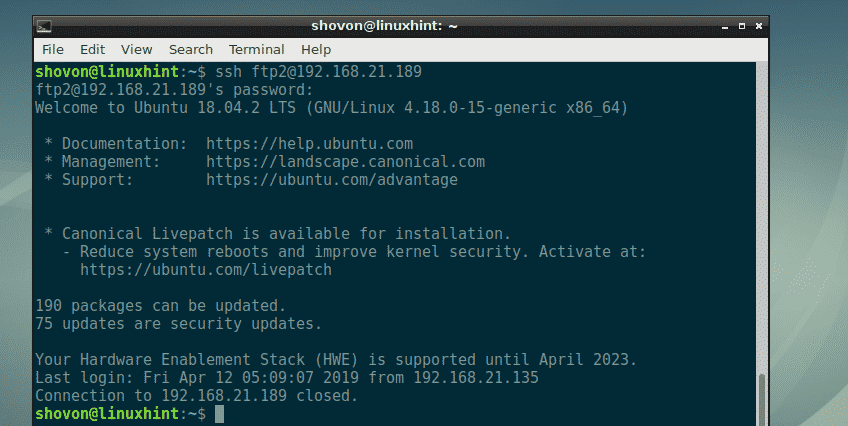
As you can see, ftp2 user can no longer login via SSH. But, FTP access will still work.
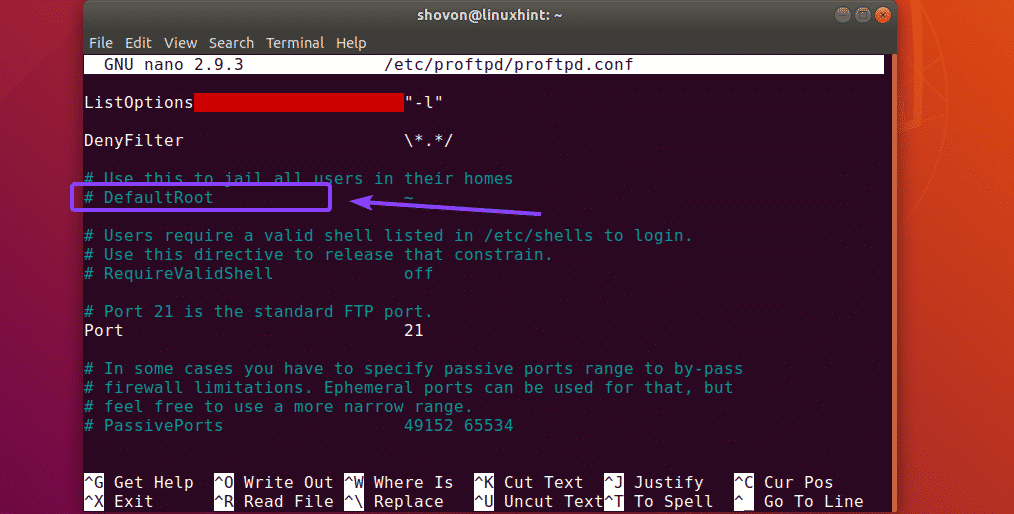
Chroot Users into Their Home Directories:
By default, the FTP users can navigate to the root directory as well. Even though they can’t make any changes to files and directories they don’t have permissions to. But, it’s still a bad idea to let them explore the root directory freely. This is where chroot jail comes in. It’s a built in feature of ProFTPd. It is disabled by default.
To enable chroot jail, first, open the ProFTPd configuration file /etc/proftpd/proftpd.conf with the following command:

Now, find the line as marked in the screenshot below.
Now, uncomment the line by removing the # symbol. The final configuration file should look as follows. Now, save the file by pressing <Ctrl> + x followed by y and <Enter>.
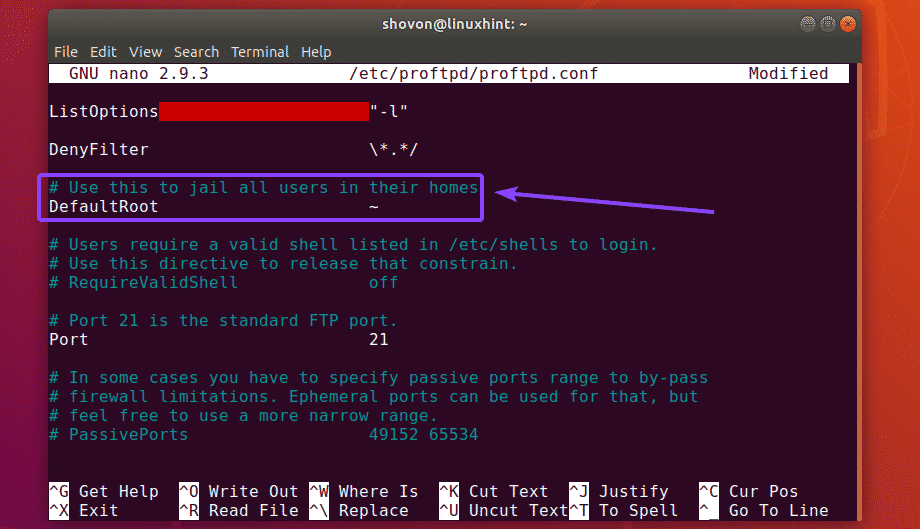
Now, restart the proftpd service with the following command:

Now, the FTP users will only be able to explore their own home directories.
Securing ProFTPD with TLS:
ProFTPd can be configured with TLS for secure FTP connections.
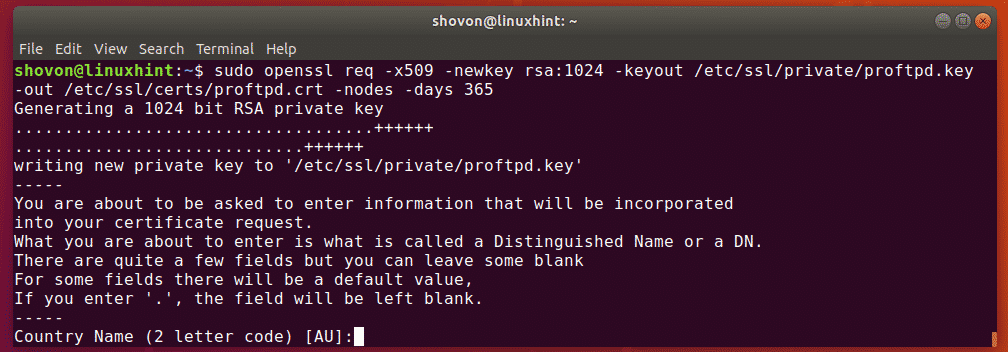
First, make sure you have openssl software package installed on your Ubuntu 18.04 LTS. It should be installed by default. But in case you don’t have it installed, you can install it with the following command:
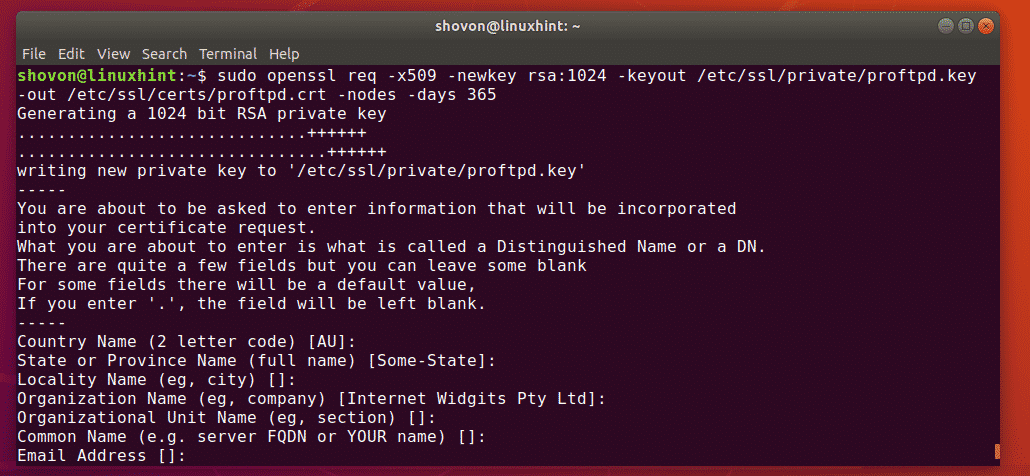
Now, generate SSL certificates for ProFTPd with the following command:
-out /etc/ssl/certs/proftpd.crt -nodes -days 365

OpenSSL will ask you some questions. Just type in the answer and press <Enter>.
Once you’re done, two files will be generated. /etc/ssl/private/proftpd.key and /etc/ssl/certs/proftpd.crt.
Now, let only the file owner read and write permission to the generated files.
$ sudo chmod 600 /etc/ssl/certs/proftpd.crt

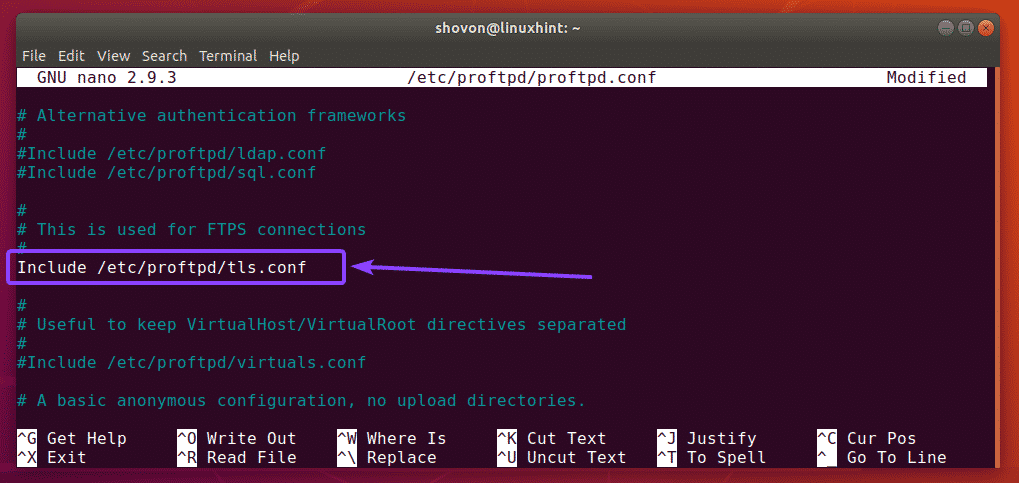
Now, open the /etc/proftpd/proftpd.conf configuration file with the following command:

Now, find the line as marked in the screenshot below and uncomment it by removing the # symbol. Then, save the file.
Now, open the /etc/proftpd/tls.conf configuration file with the following command:

Now, uncomment (by removing the # symbol) the lines as marked in the screenshot below.
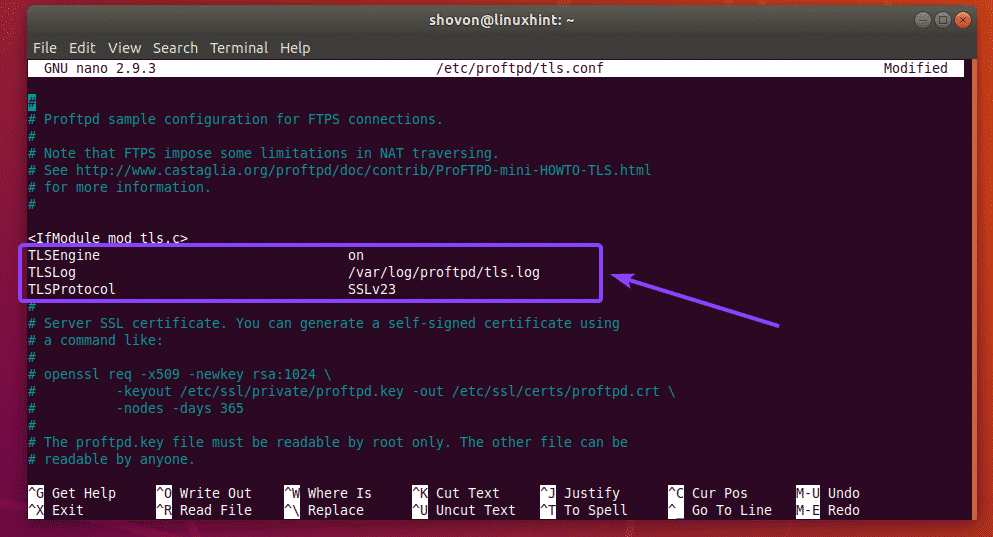
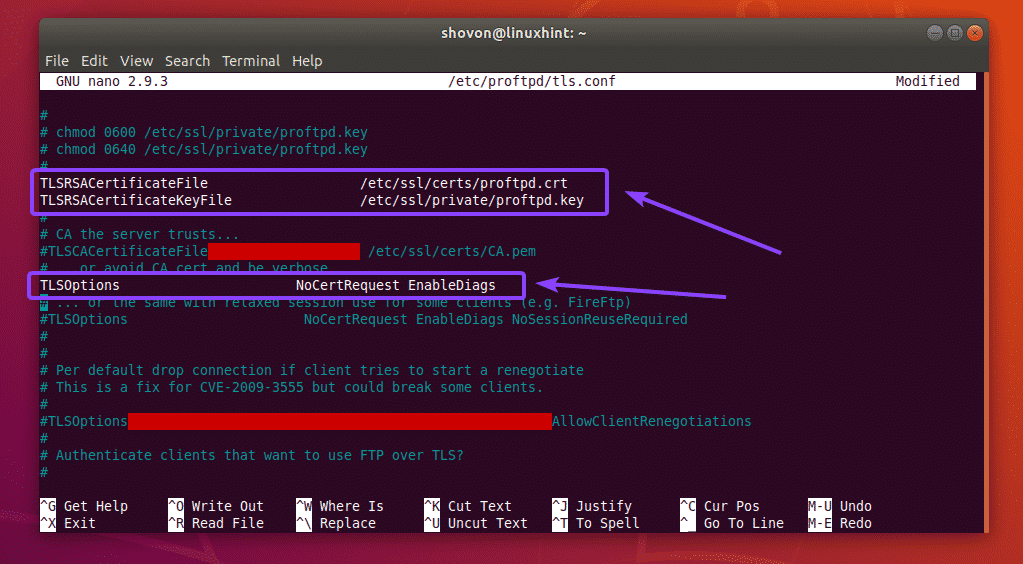
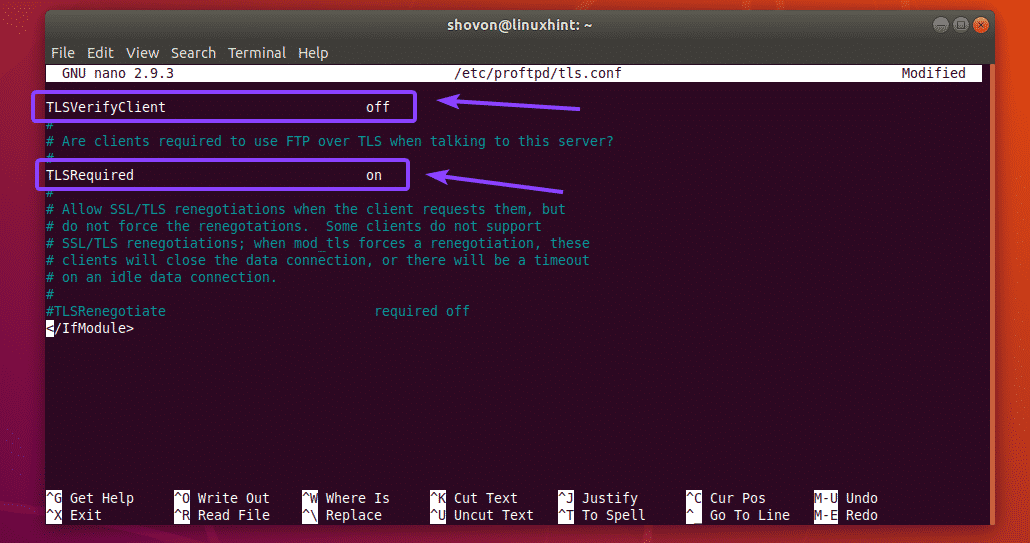
Once you’re done, save the configuration file.
Then, restart the proftpd service with the following command:

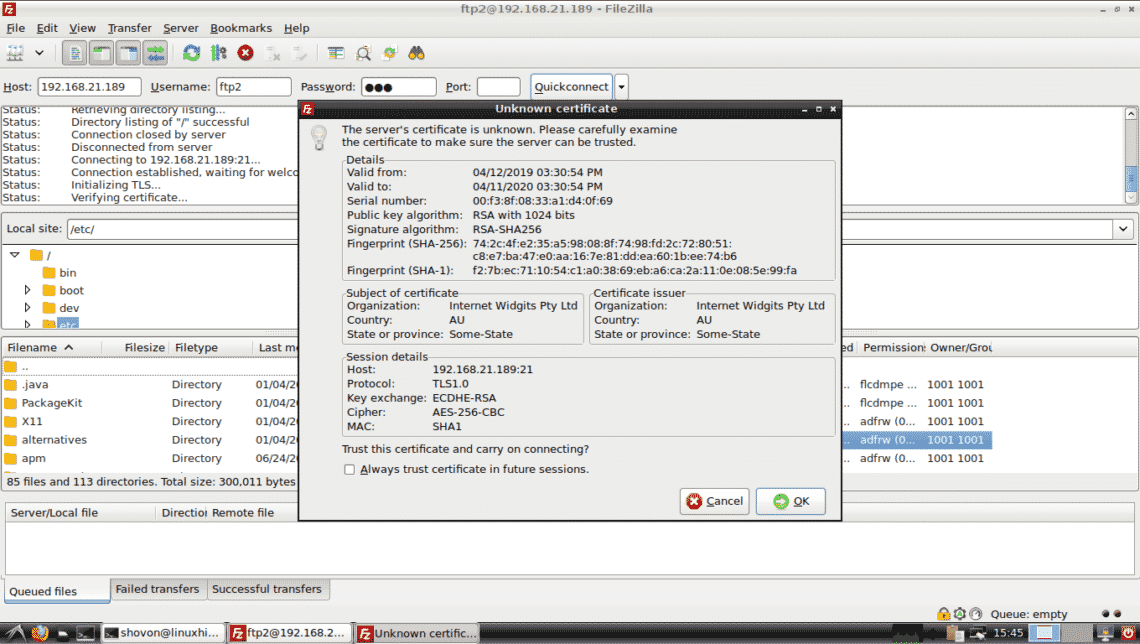
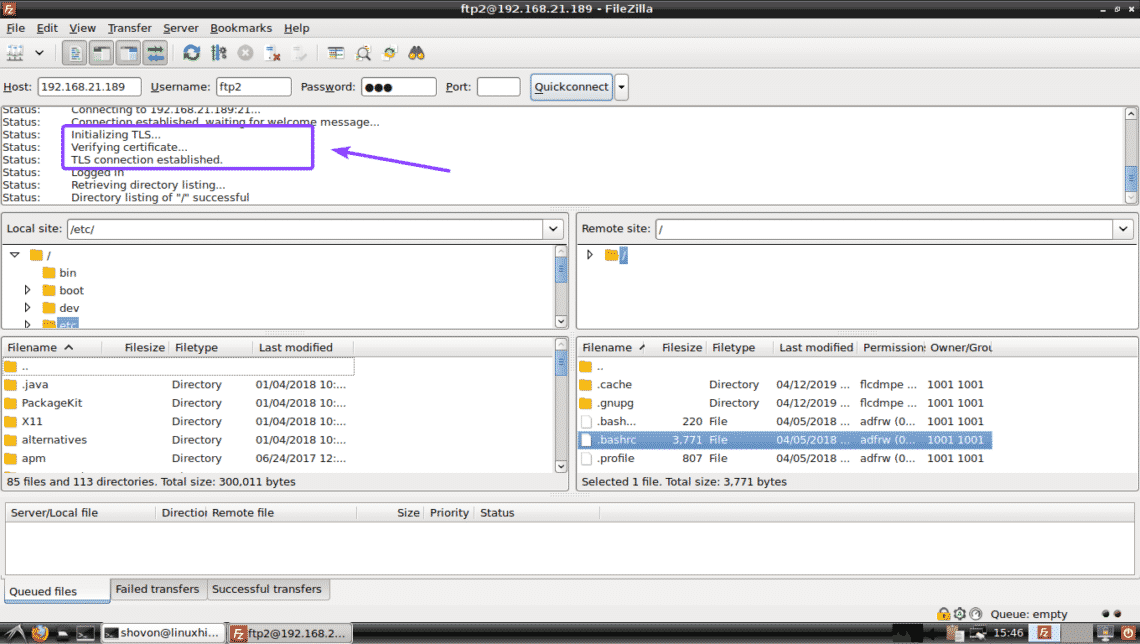
The next time you try to connect to the FTP server, you will see the following prompt. You have to accept the certificate in order to connect to the FTP server.
Once you do, you should be connected. As you can see, TLS connection is established. So, it worked.
That’s how you configure an FTP server with ProFTPd on Ubuntu 18.04 LTS. Thanks for reading this article.