In this article, I will show you many ways to install AWS CLI tool on your Ubuntu 18.04 LTS operating system. Let’s get started.
Installing AWS CLI Using APT Package Manager:
AWS CLI is available in the official package repository of Ubuntu 18.04 LTS. So it is very easy to get it installed.
First update the package repository cache with the following command:

The package repository cache should be updated.

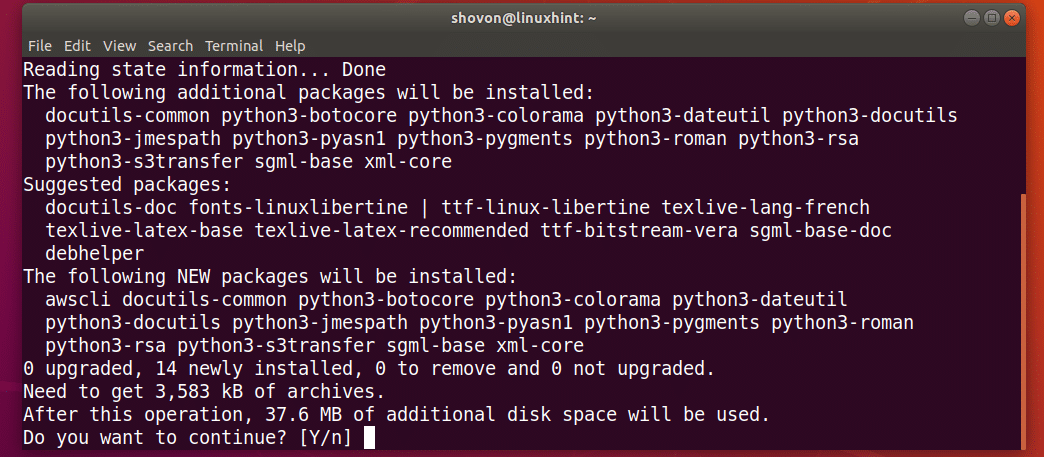
Now install AWS CLI with the following command:

Now press y and then press <Enter> to continue.
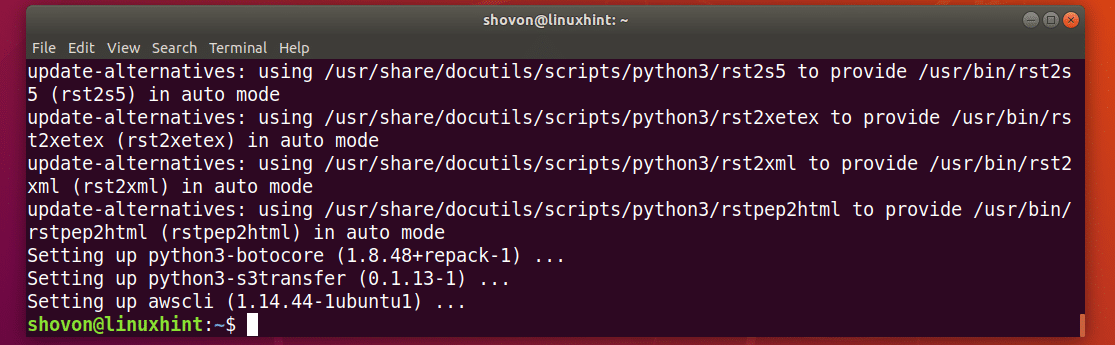
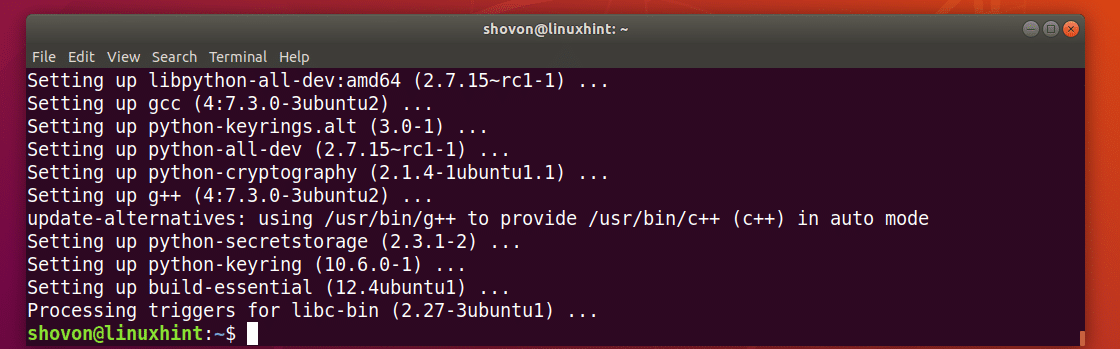
AWS CLI should be installed.
Now check whether AWS CLI is working with the following command:
As you can see, AWS CLI is working correctly.

Installing AWS CLI using Python PIP:
AWS CLI is a Python module. The advantage of installing AWS CLI as Python module is that you always get up to date version of AWS CLI. It is easy to update AWS CLI if installed as Python module. You also don’t need super user privileges to install AWS CLI as a Python module. AWS CLI can also be installed in a Python virtual environment.
AWS CLI is available for Python 2.x and Python 3.x. You need Python PIP for installing AWS CLI on Ubuntu 18.04 LTS. Python PIP is not installed by default on Ubuntu 18.04 LTS. But it is easy to install.
Run the following command to install Python PIP:
For Python 2.x:

For Python 3.x:
Press y and then press <Enter> to continue.
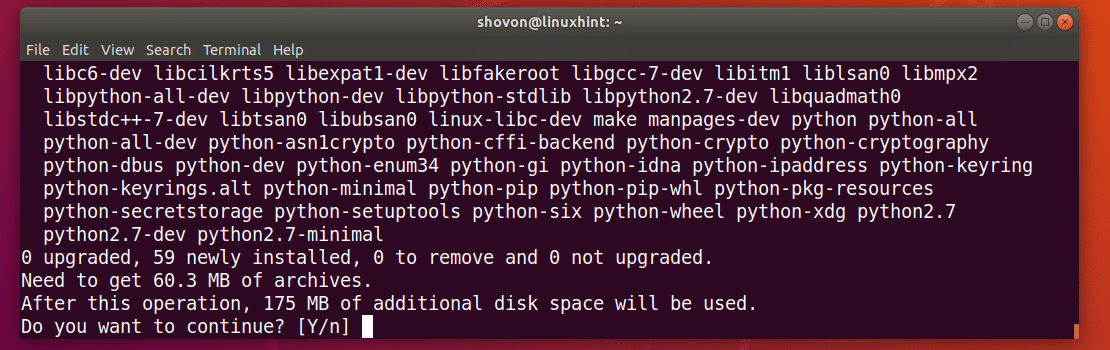
Python PIP should be installed.
Now install AWS CLI using PIP with the following command:
Python 2.x PIP:

Python 3.x PIP:
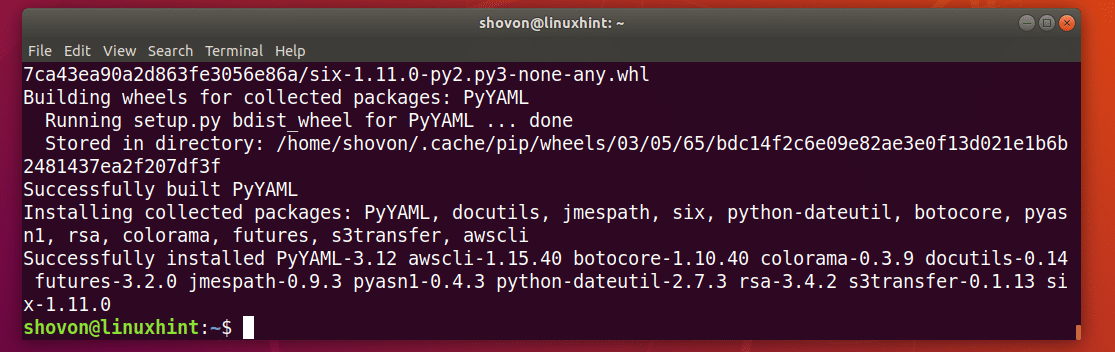
AWS CLI Python module should be installed.
Now you can run AWS CLI with the following command:
Python 2.x Command:
Python 3.x Command:
As you can see, AWS CLI is working correctly.

Basics of AWS CLI:
I wanted to show you how AWS CLI works practically. But I don’t have a credit card, so I can’t verify my AWS account. But don’t worry, I will give you enough information that you can use to get started with AWS CLI on Ubuntu 18.04 LTS.
I am using the Ubuntu 18.04 LTS packaged version AWS CLI program, not the Python module in this section, but the commands are similar.
Login to AWS Account Using AWS CLI:
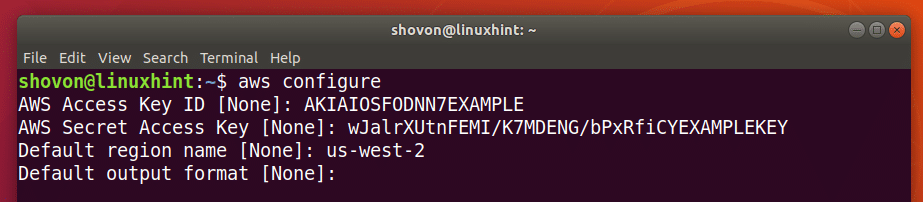
First you have to configure the AWS CLI client with your AWS account’s credentials. To do that, run the following command:
Ubuntu Packaged AWS CLI:
AWS CLI Python Module:

Now type in your AWS Access Key ID and press <Enter>. An Access Key ID can be created from the AWS Management Console.

Now type in your AWS Secret Access Key ID and press <Enter>. A Secret Access Key ID can be created from the AWS Management Console.

Now type in your default region name. It’s something like us-west-2.

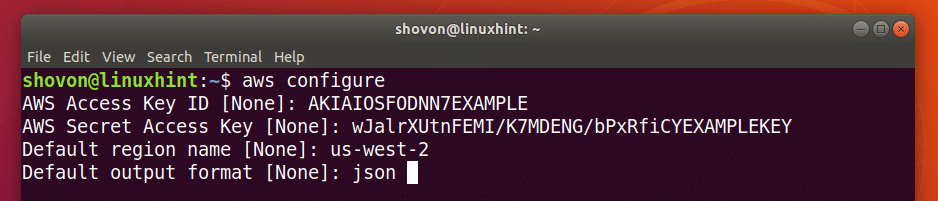
Now type in your default output format. You may choose between the default, in which case just press <Enter>.
Or JSON (JavaScript Object Notation) format, in which case, type in json and press <Enter>.
Now you can manage your Amazon Web Services using AWS CLI.
The configuration files of AWS CLI is stored in ~/.aws/config and ~/.aws/credentials file as you can see from the screenshot below.
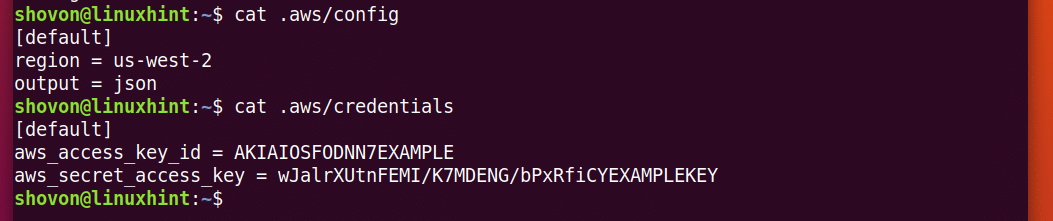
Now if you want to use different login information, all you have to do is delete ~/.aws/config and ~/.aws/credentials file with the following command and run aws configure again.
Getting Help with AWS CLI:
You need to know how to get help with the AWS CLI. Then you will be able to figure it out yourself. Again AWS has a great guide and online documentation on AWS CLI that you can use.
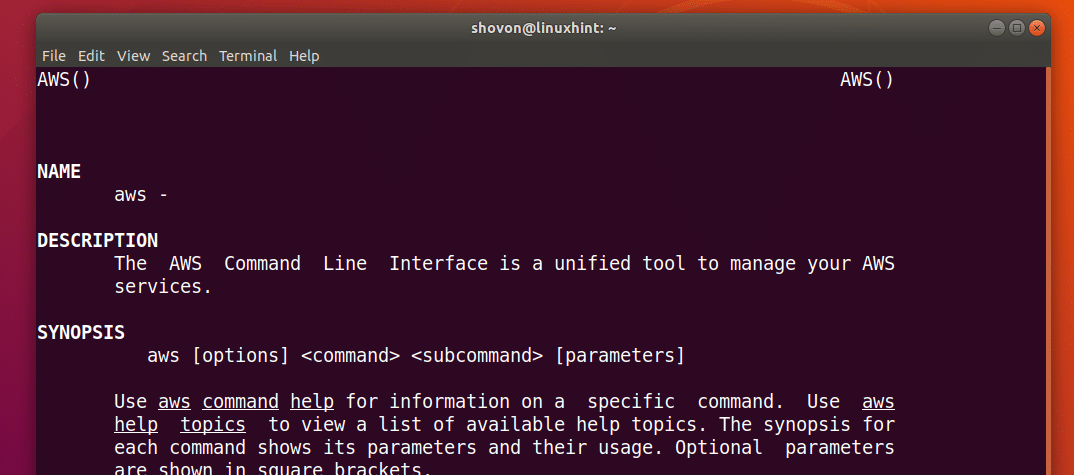
You can run the following command to get help on AWS CLI:
Or
$ python -m awscli help
Or
$ python3 -m awscli help
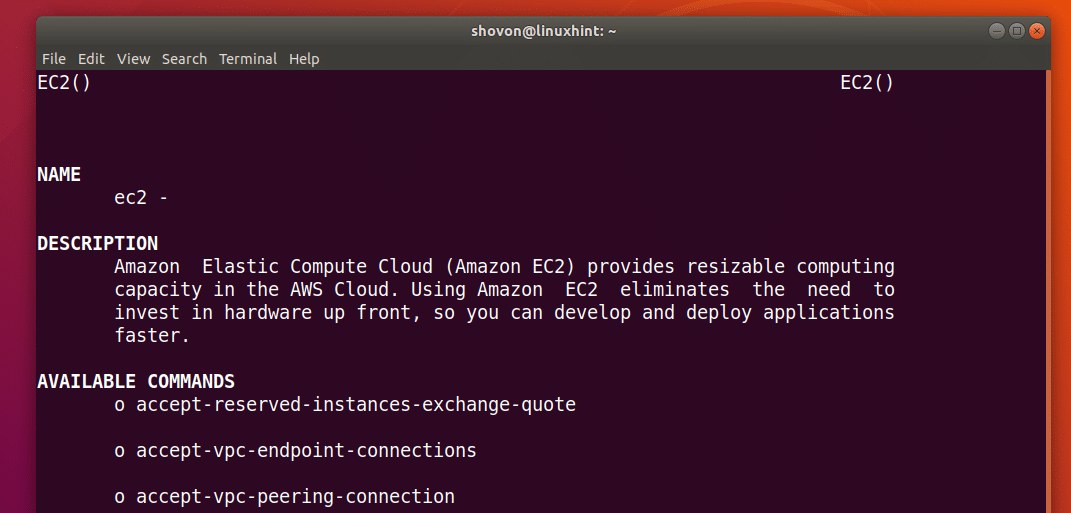
AWS has different services such as EC2, S3 etc. You can get help on specific services as follows:
Or
$ aws s3 help
For more information, you can check AWS CLI’s online documentation at https://docs.aws.amazon.com/cli/latest/userguide/cli-chap-welcome.html
You can also download the PDF manual on AWS CLI from https://docs.aws.amazon.com/cli/latest/userguide/aws-cli.pdf
That’s how you install AWS CLI on Ubuntu 18.04 LTS. Thanks for reading this article.