With the adjustable price, AWS offers the best platform for almost any use case – data warehousing, directories to content delivery, deployment tools and much more!
Another important factor of the cloud platform is the security. With AWS, the security is on the strongest level. Broad security certification and accreditation, strong data encryption at rest and in-transit, hardware security modules and strong physical security – every single features guarantee a perfect solution for the IT infrastructure.
Now, for enjoying the feature of the AWS, there’s already a powerful console tool available, known as the AWS CLI. It puts all the controls of multiple AWS services within a single tool. As the name suggests, it’s a console tool.
As of enterprise Linux, CentOS/RHELE is the best choice as it comes up with a large community and professional support. Today, let’s check out setting up the AWS CLI tool on CentOS/RHEL.
Setting up the system
For installing AWS CLI, we need to set up the “pip” first. PIP is essentially the package manager for Python. Using the tool, it’s possible to download and install various Python tools directly on your system.
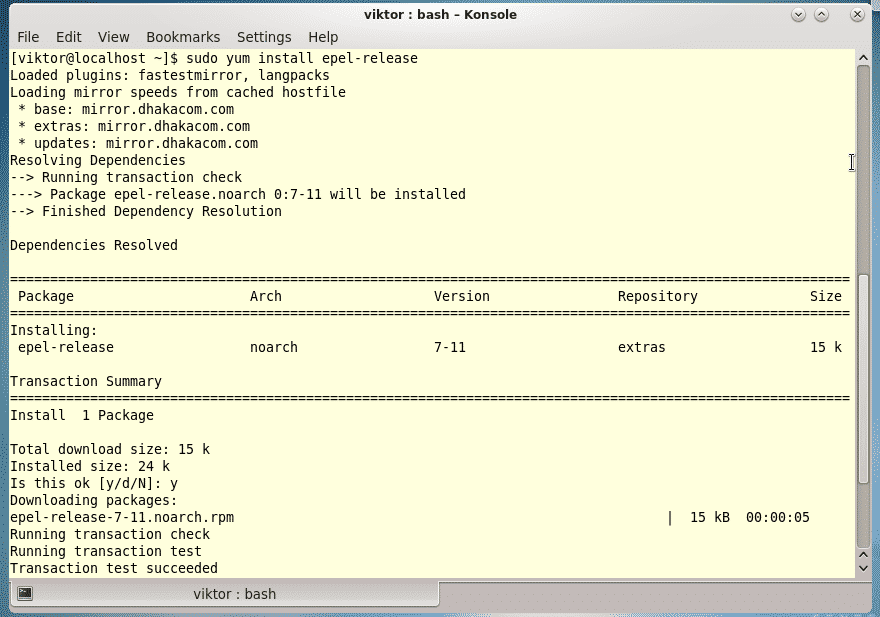
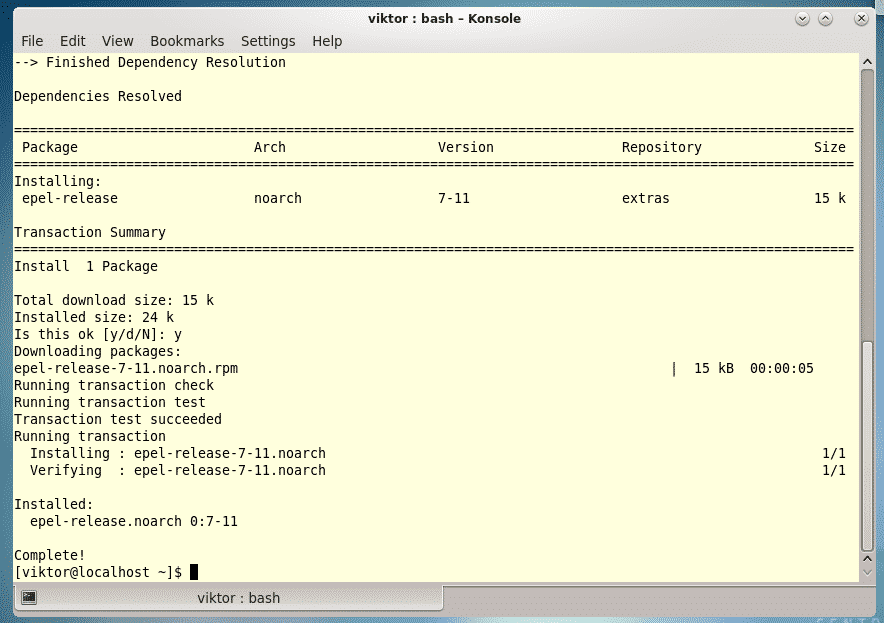
PIP is available on the EPEL repository, not the default one. Make sure that your system supports the EPEL repo.
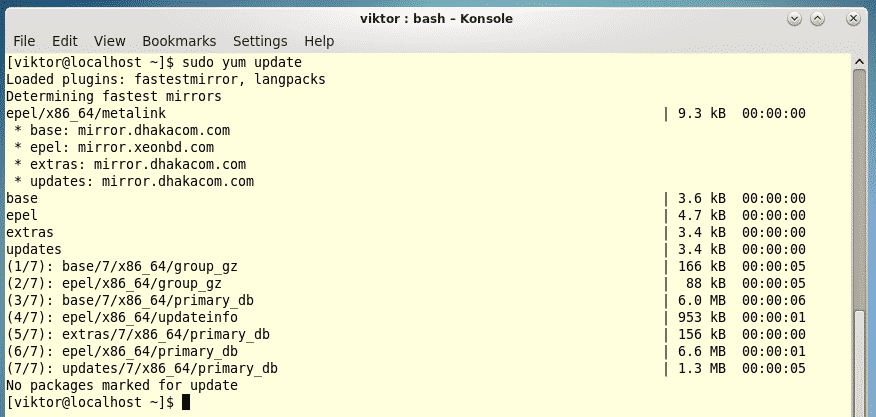
Make sure that the “yum” database cache up-to-date –
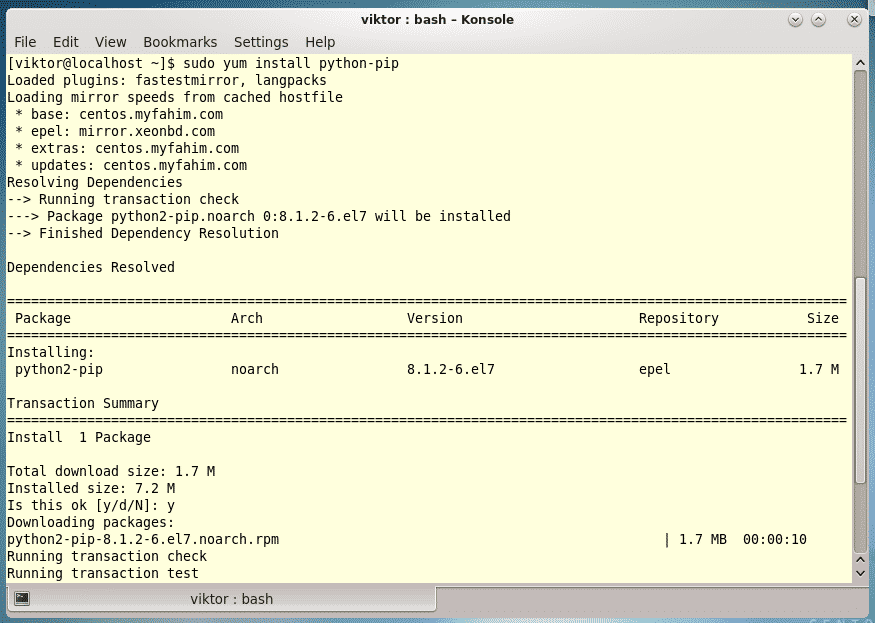
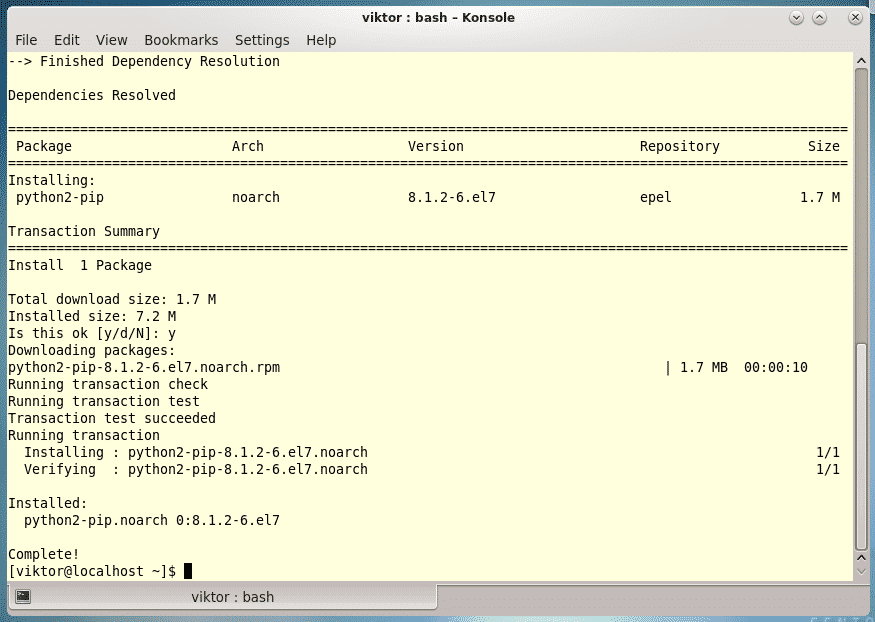
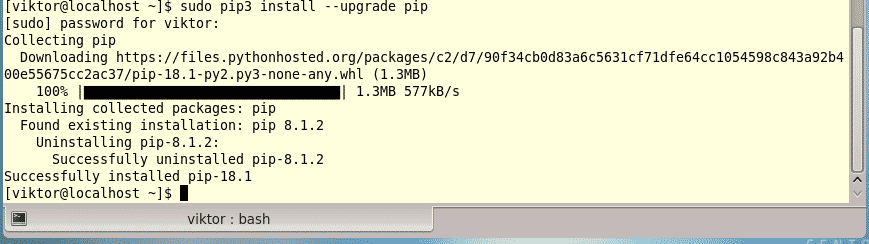
Now, it’s time to install “pip”!
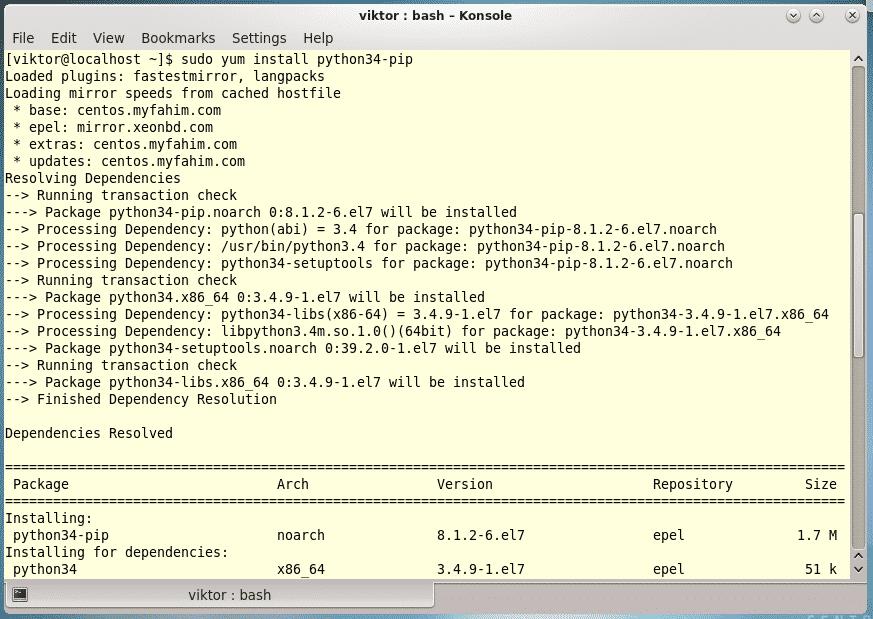
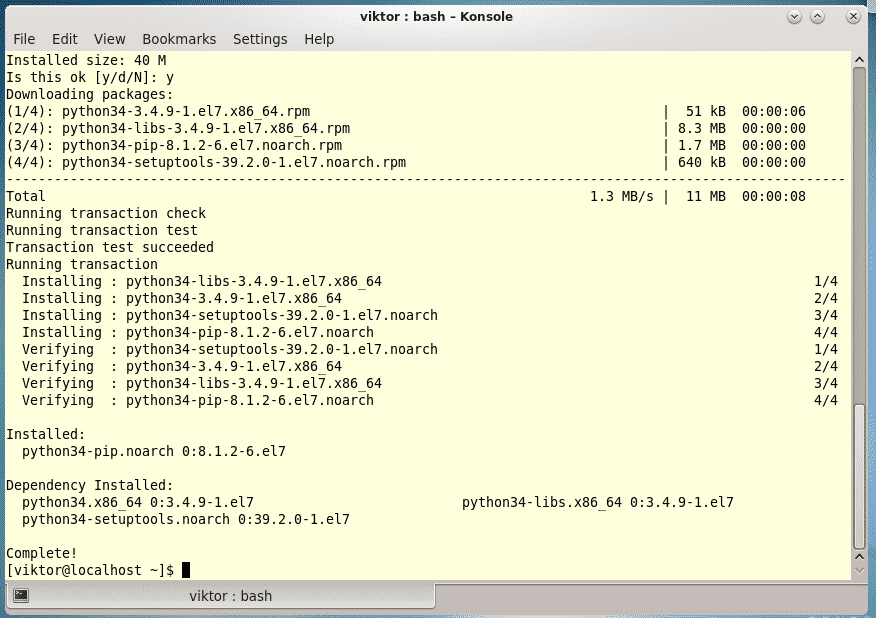
Note – The best way of enjoying the software is using Python 3. Python 2.7 is going to become obsolete at one point and Python 3 is going to prevail for sure. Learn how to set up Python 3 on CentOS.
For Python3, you need the “pip3”. It’s specifically for Python 3 platform. Install “pip3” with the following command –
Installing AWS CLI
-
Using “pip” direclty
Update the “pip” or “pip3” first.
# OR
Once the PIP tool is installed, we can install the AWS CLI tool. Just run the following command –
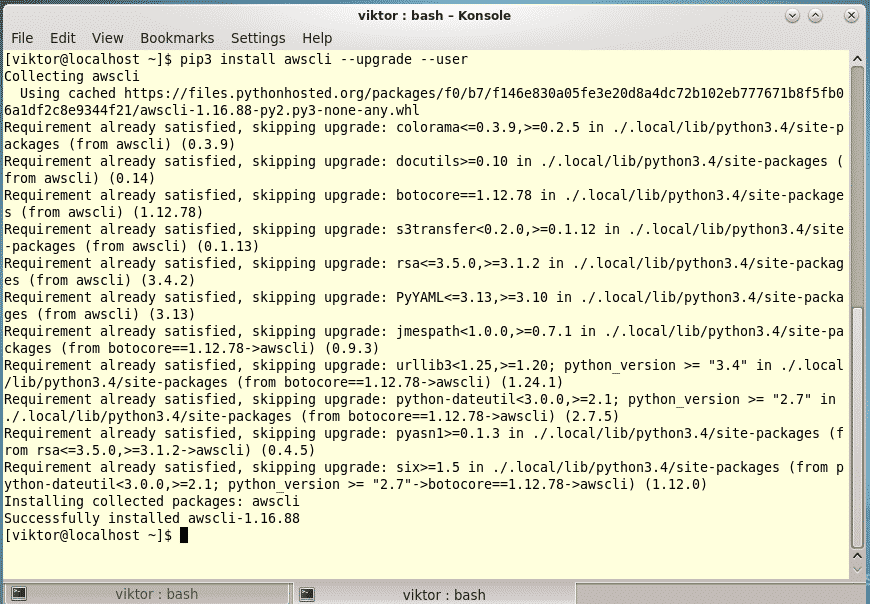
In the above command, we force the “pip3” to install “awscli”, “upgrade” any outdated component necessary and install the tool in the user’s subdirectories (avoiding file conflicts of the system library).
-
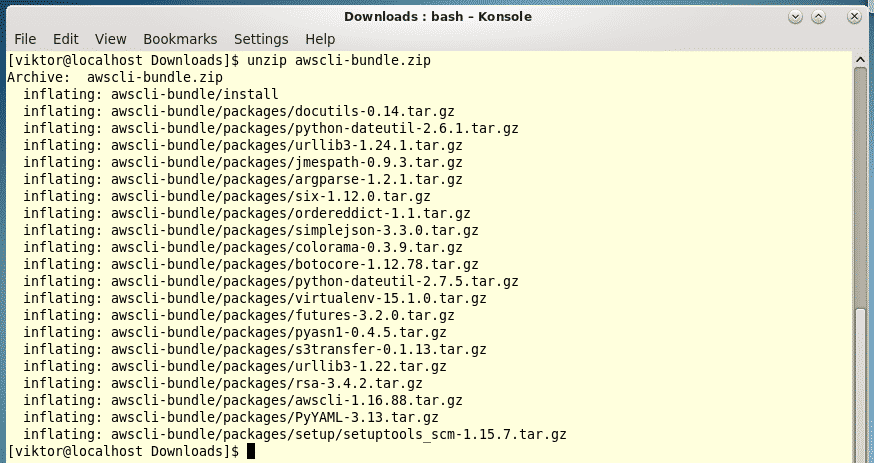
Using the “bundle” installer
This method also uses the “pip” or “pip3” tool from Python, so everything should work just fine as before.

Extract the downloaded file –
Now, run the install executable –
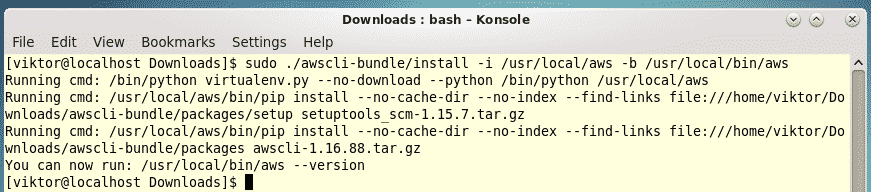
If your user account doesn’t have the permission for performing “sudo” commands, then you should follow the following steps.
unzip awscli-bundle.zip
./awscli-bundle/install -b ~/bin/aws
Now, it’s time to make sure that the environment variables are perfectly set to be able to find out the AWS CLI.
As you can see, “~/bin” is in the PATH environment variable. If not, consider running the following command –
Verifying the installation
Now, the installation is complete. However, we always should make sure that whatever you’ve installed is working properly.
Run the following command –

Voila! AWS CLI is installed correctly!
Uninstalling AWS CLI
Depending on your installation process, you can easily uninstall the tool from your system.
-
“pip” or “pip3”
Run the following command –
pip uninstall awscli
-
Bundle installer
Run the following commands –
sudo rm -rf /usr/local/aws
sudo rm /usr/local/bin/aws
Enjoy!