Install and Configure DenyHosts on Ubuntu
DenyHosts is a python script which allows or denies access to SSH server using /etc/hosts.allow and /etc/hosts.deny file of Linux, Mac or BSD based operating systems.
In this article, I will show you how to install DenyHosts on Ubuntu and how to configure it. Let’s get started.
Installing DenyHosts
To get DenyHosts to work, you must have SSH server installed on your Ubuntu machine. SSH server is available on the official package repository of Ubuntu.
First update the package repository cache using the following command:
To install SSH server, run the following command.
Install DenyHosts UbuntuInstall DenyHosts UbuntuInstall DenyHosts Ubuntu

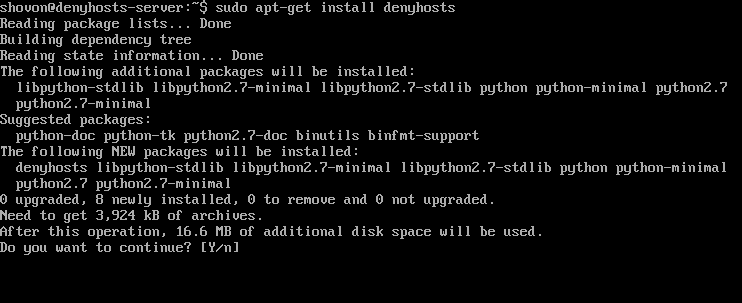
DenyHosts is available on the official Ubuntu package repository as well. To install DenyHosts, run the following command.
Press ‘y’ and then press <Enter> to continue.
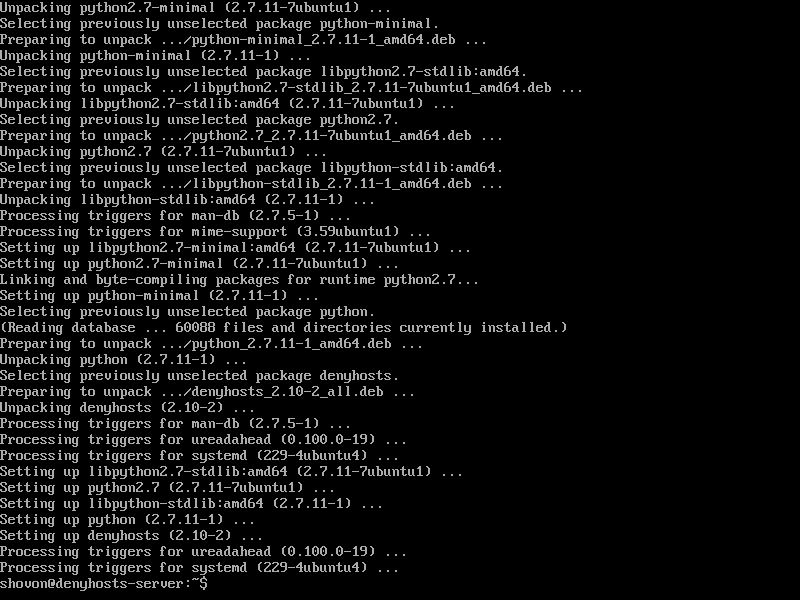
DenyHosts should be installed.
Configuring DenyHosts
The configuration file of DenyHosts in Ubuntu is /etc/denyhosts.conf
To edit the configuration file of DenyHosts, run the following command:
Or
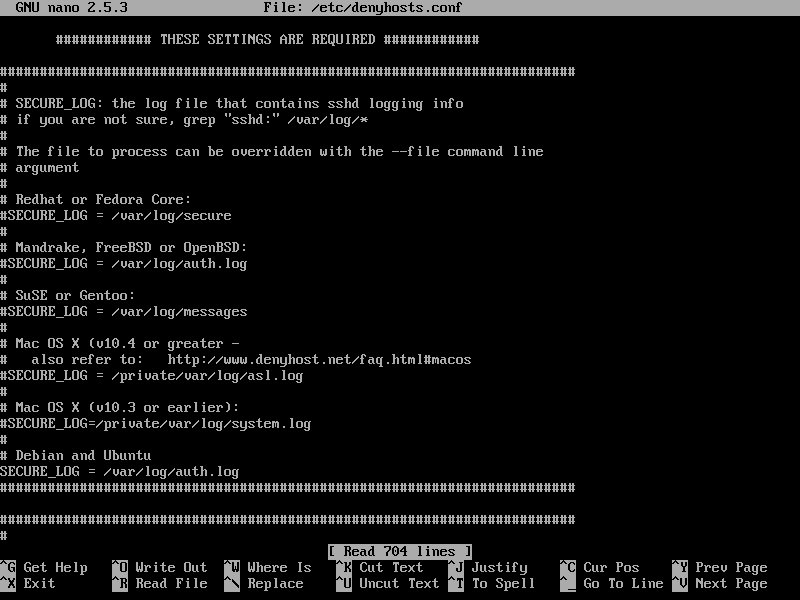
This is how the configuration file of DenyHosts looks like.
Now let’s look at some of the properties in DenyHosts configuration file and how they work.
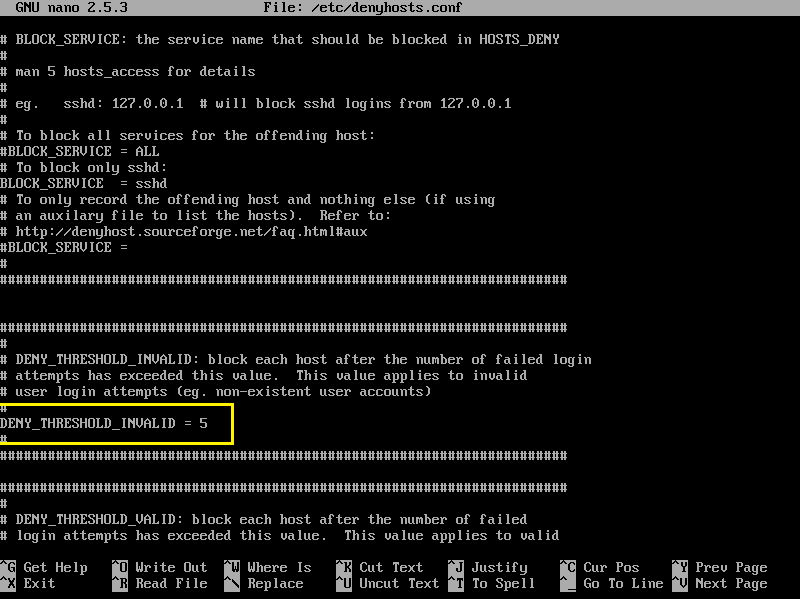
DENY_THRESHOLD_INVALID
This option is responsible for blocking SSH logins for user accounts that do not exist on the system. The default value is 5. What that means is, let’s say someone is trying to login to the SSH server as different guessed usernames. If the attempt is in total more than 5 times, then the IP address of the computer trying to establish a connection will be appended to the /etc/hosts.deny file, thus the computer won’t be able to connect to the SSH server till it’s removed from the /etc/hosts.deny file.
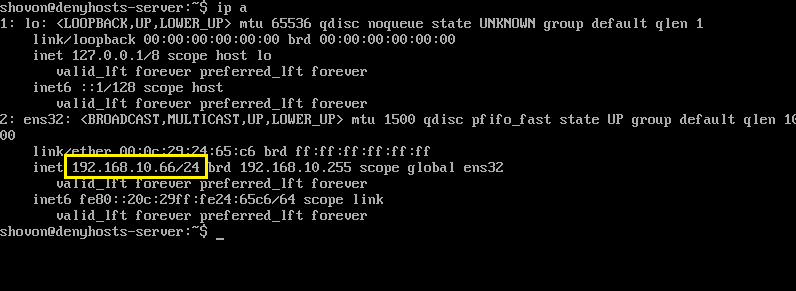
You can see from the screenshot below that the IP address of my denyhosts-server is 192.168.10.66
The IP address of the other computer I will try to connect to the denyhosts-server is 192.168.10.92
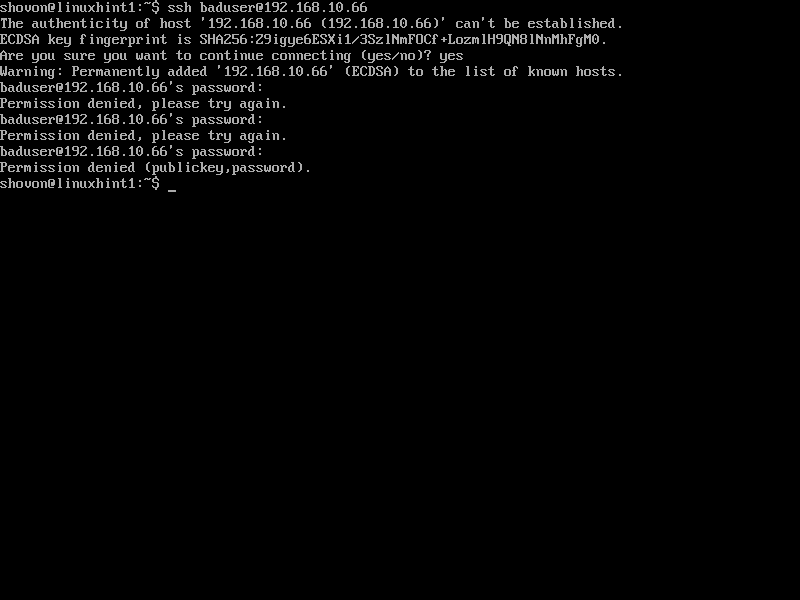
Now I am going to try to connect to the server as baduser. Note that the user baduser does not exists in the denyhosts-server.
As you can see, I had tried to login 3 times and each attempt failed.
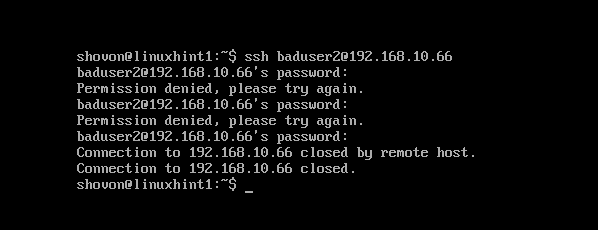
I am trying serveral more times. As you can see, on the 6th attempt, I get ‘Connection closed by remote host’ message. It means my IP address has been blocked by DenyHosts.
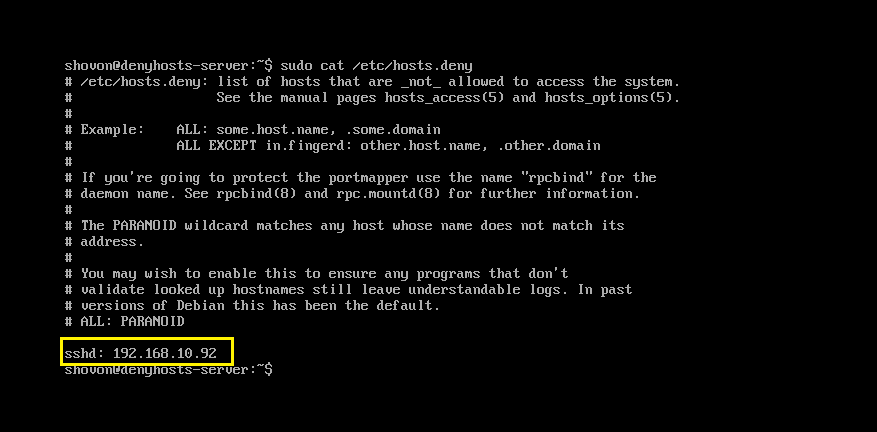
Now if you read the contents of the /etc/hosts.deny file with the following command:
You should see the IP address of the computer you tried to login as non-existent user baduser there. So DenyHosts is working perfectly.
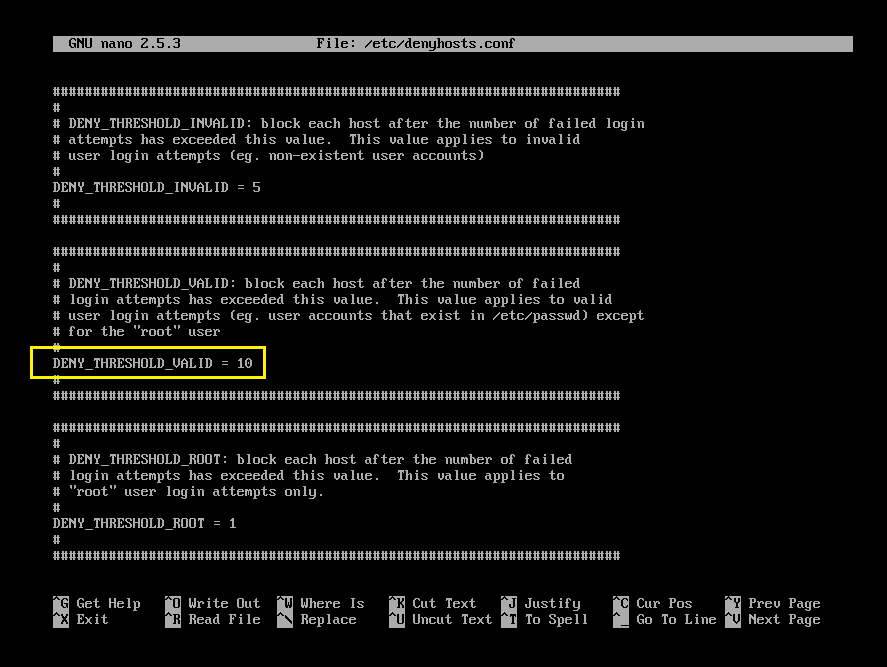
DENY_THRESHOLD_VALID
This option is same as DENY_THRESHOLD_INVALID. The only difference is that, DENY_THRESHOLD_VALID applies to existing users on the denyhosts-server machine. That is, if login attempts for existing users fail 10 times (the default value), the IP address of the machine trying to establish a connection will be appended to the /etc/hosts.deny file. So the machine trying to connect won’t be allowed to connect to the server anymore.
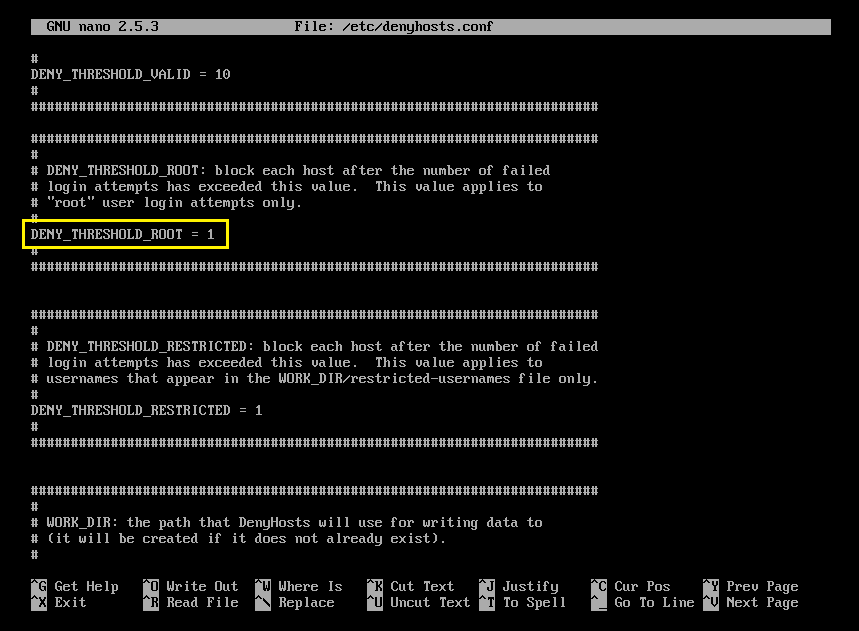
DENY_THRESHOLD_ROOT
Same as the other two options. But it applies to only invalid root login. The default value is 1. It means, if someone tries to connect to the denyhosts-server as root and fails once, his/her IP address will be appended to the /etc/hosts.deny file. So he/she won’t be able to connect to the server anymore.
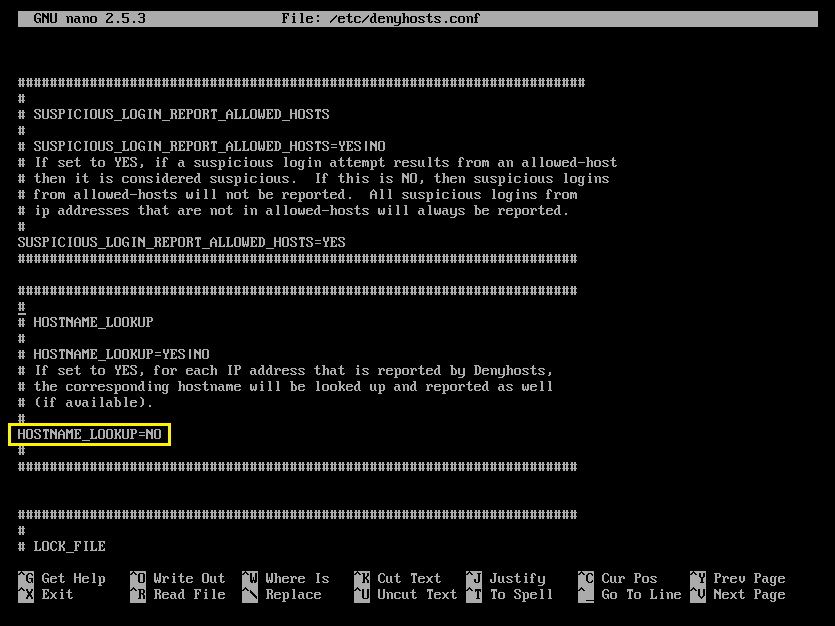
HOSTNAME_LOOKUP
By default, on Ubuntu, DenyHosts won’t resolve hostnames. That is, the IP addresses won’t be converted to hostnames. But if you need to resolve hostnames to IP address and so on, set HOSTNAME_LOOKUP to YES and save the file.
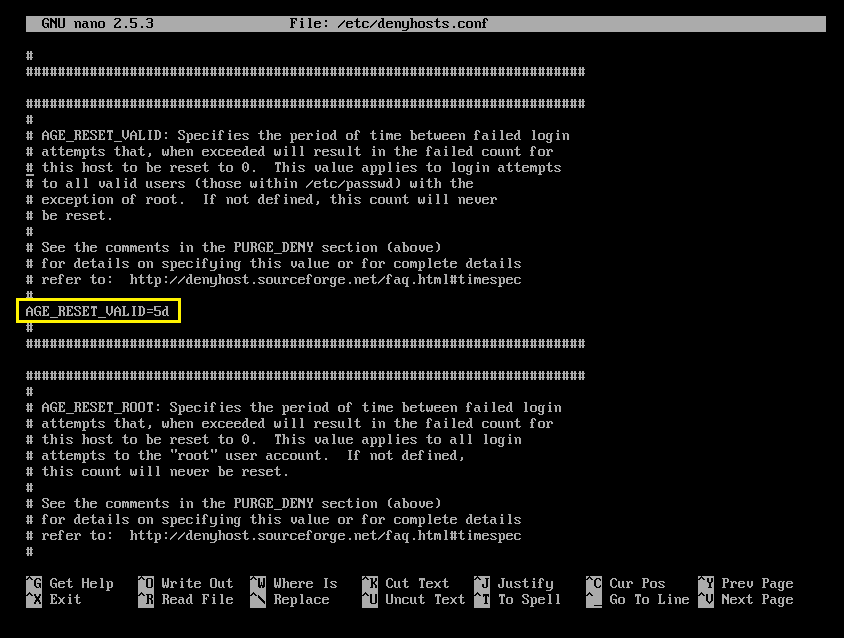
AGE_RESET_VALID
AGE_RESET_VALID tells DenyHosts after how much time the failed login attempts for existing user will be reset to 0. The default value is 5 days. That is, if someone tries to login on day 1, and then wait for 5 days and try to login again, DenyHosts won’t put them on the /etc/hosts.deny file.
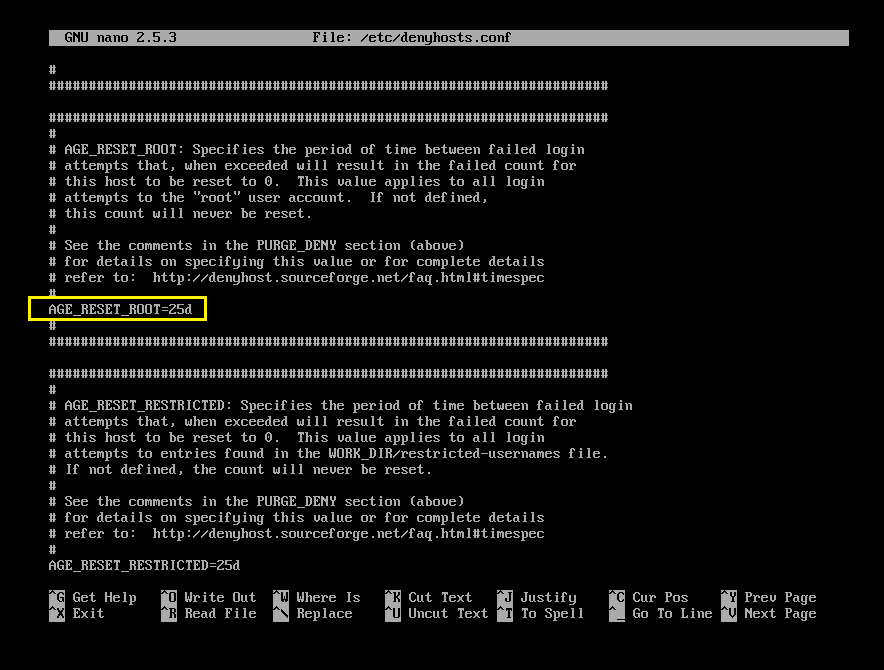
AGE_RESET_ROOT
Same as AGE_RESET_VALID but only applies to invalid root logins. The default value is 25 days.
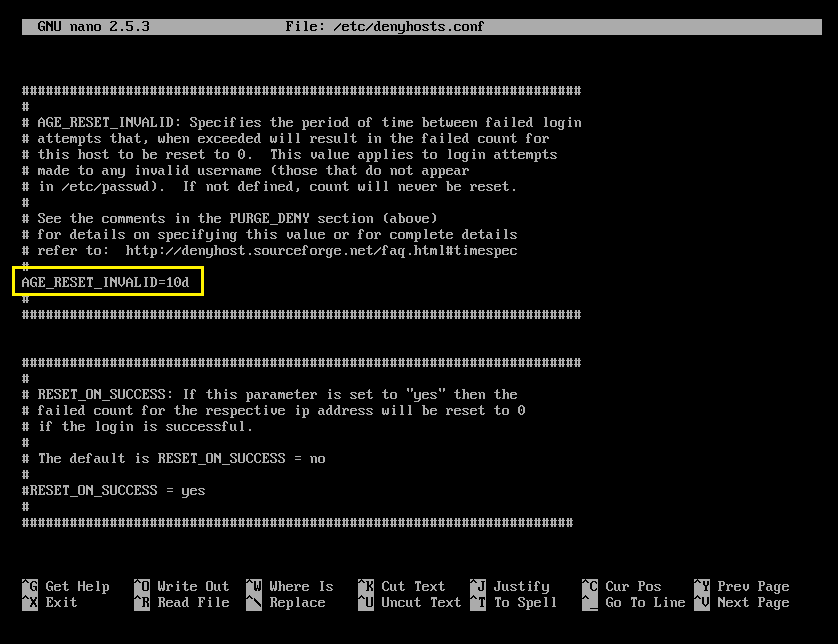
AGE_RESET_INVALID
Same as AGE_RESET_VALID, but applies to only failed login attempts of non-existing users of the denyhosts-server machine.
There are more options. But these are out of the scope of this article. Please take a look at the official website of DenyHosts at http://denyhosts.sourceforge.net for more information.
That’s how you install and Configure DenyHosts on Ubuntu. Thanks for reading this article.


