The Linux console is a graphics less text based interface for monitoring or administering a Linux based operating system. Most of the people thinks it’s not possible to display an image file (for example JPG, PNG etc.) in the Linux console. Well from now on, just know that it is not impossible. You can use FIM to view image files on the text based Linux consoles.
You can even play videos and read PDF documents using Framebuffer tool FBI with other programs like mplayer and fbgs on your text based Linux consoles. I am not going to cover these as it is out of the scope of this article.
In this article, I will show you how to install and use FIM on Ubuntu 18.04 LTS. Let’s get started.
Installing FIM
FIM is available in the official package repository of Ubuntu 18.04 LTS. So it’s very easy to install.
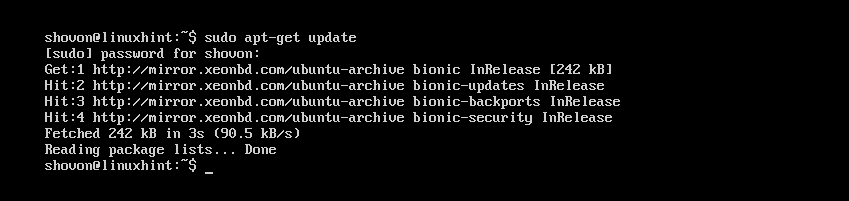
First update the apt package repository cache of your Ubuntu 18.04 LTS machine with the following command:

The apt package repository cache should be updated.
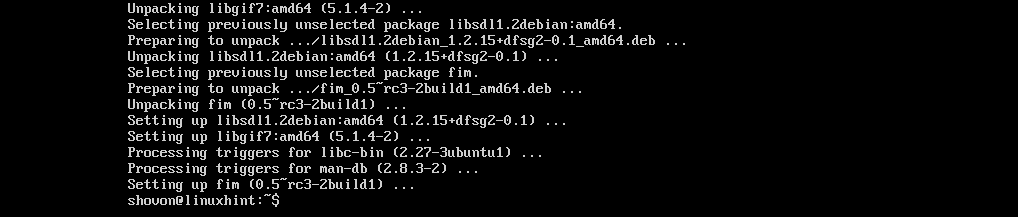
Now run the following command to install FIM:

Now press y and then press <Enter> to continue.

FIM should be installed.
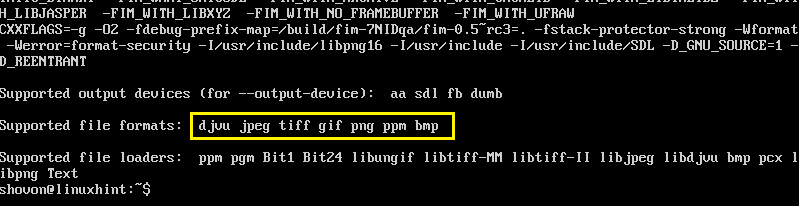
Now you can check whether FIM is working with the following command:
It should show you a lot of things. But as you can see from the marked section of the screenshot below, the FIM version on my machine is 0.5-RC3.

You may scroll down a little bit and you should have a list of file extensions that FIM can display as marked in the screenshot below. As you can see in the Supported file formats section, FIM supports DJVU, JPEG, GIF, TIFF, PNG, PPM and BMP image files.
Using FIM to Display Images
In this section, I will show you how to display images using FIM.
Displaying a Single Image:
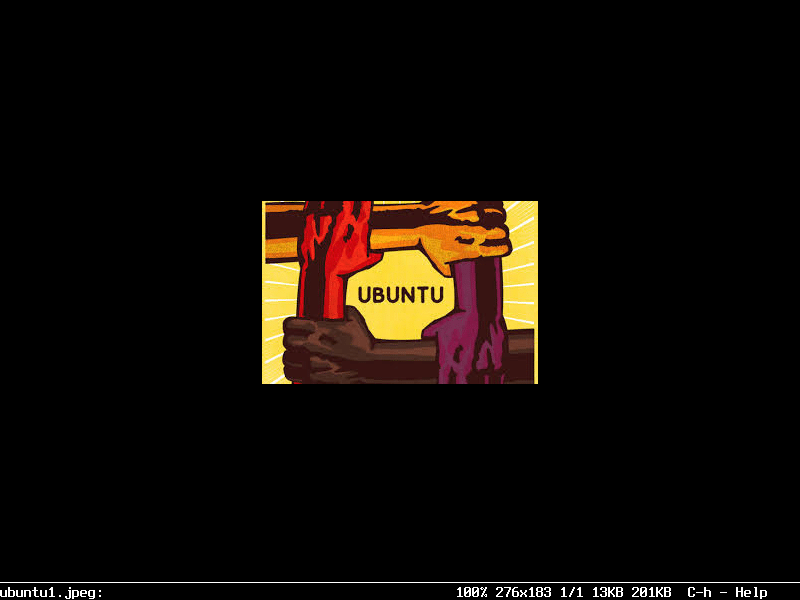
Let’s say you’re using a Linux text based console and you have a JPEG image file ubuntu1.jpeg in the ~/Downloads directory of your users HOME directory.
Now to view ~/Downloads/ubuntu1.jpeg image file with FIM, run the following command:

As you can see from the screenshot below, the image file ubuntu1.jpeg is displayed in the Linux console.
You can quit the FIM window by pressing the q button on your keyboard.
Opening Multiple Image Files and Navigating Between Them
You can also open multiple image files at once and navigate between them. All you have to do is whitespace separate the file names as arguments of the fim command.
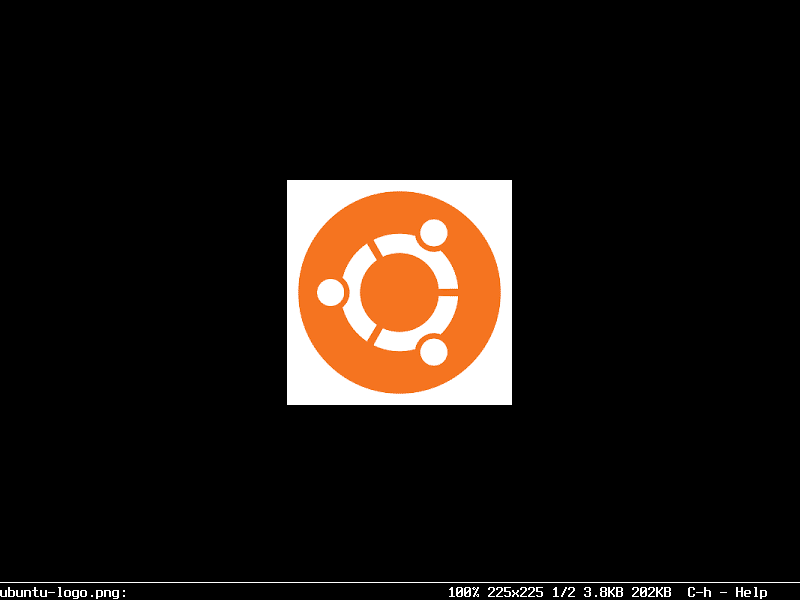
For example, if you want to open ~/Downloads/ubuntu1.jpeg and ~/Downloads/ubuntu-logo.png image files with FIM, you would run the following command:
NOTE: The image file types need not to be the same, and the files can reside in different directories.

Once you run the command, the first image on the list should show up.

Now press n to go to the next image. You can also press the p keyboard button to go back to the previous image.

NOTE: You can keep pressing n or p to keep going forward or backward respectively. If you’re at the end, then pressing n should start from the beginning (the first image file). If you’re at the beginning, pressing p should go to the end (the last image file).
Opening All the Images of a Directory
You can also open all the images of a directory with fim command. To do that, run the following command:

The image files should open up. Just as before, press n and p to go forward and backward respectively. Also press q to quit fim.

Run FIM Without sudo
If you want to run fim without sudo, then add your login user to the video group with the following command:

Now reboot your computer.

You should be able to run fim without sudo as you can see from the screenshot below.

FIM running without sudo:
This is how you install and use FIM on Ubuntu 18.04 LTS. Thanks for reading this article.