Install and Setup Gnome Tweak Tool on Fedora 27
GNOME Tweak Tool is used to configure many aspects of the GNOME 3 Desktop Environment. In Fedora 27, GNOME Tweak Tool is available in the official package repository.
In this article, I will show you how to install and do basic configuration of GNOME 3 Desktop Environment of Fedora 27 with GNOME Tweak Tool. Let’s get started.
Installing GNOME Tweak Tool:
You can check what version of Fedora you’re using with the following command:
I am running Fedora 27 as you can see from the screenshot below.

Latest versions of Fedora use dnf package manager instead of yum.
Now update the package metadata cache of dnf with the following command:

The dnf metadata cache should be updated.

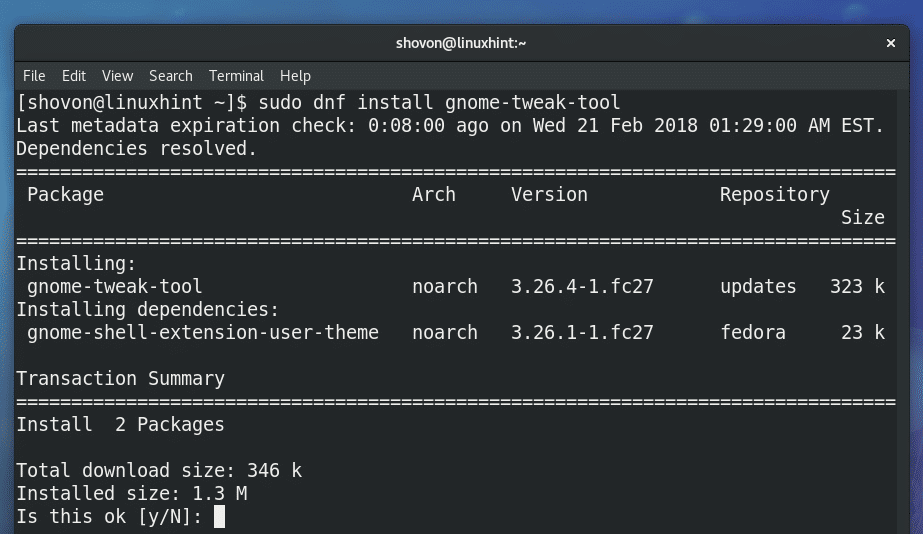
Now you can install GNOME Tweak Tool with the following command:

Now press ‘y’ and then press <Enter> to continue.
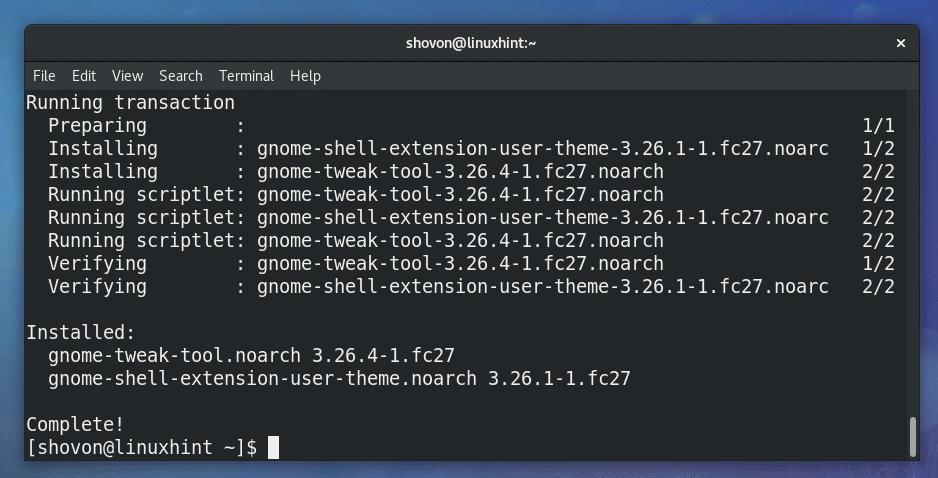
GNOME Tweak Tool should be installed.
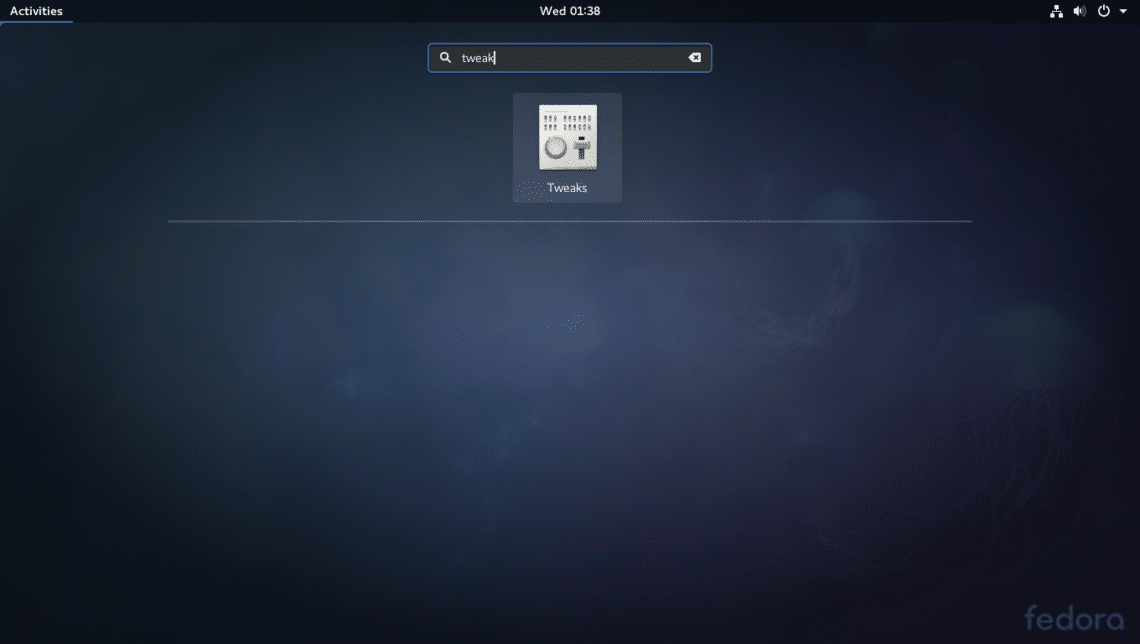
Now you can go to the Activities of GNOME 3 Desktop and look for GNOME Tweak Tool there. You should be able to find it as you can see from the screenshot below.
Once you click on the GNOME Tweak Tool icon, you should see the following window.
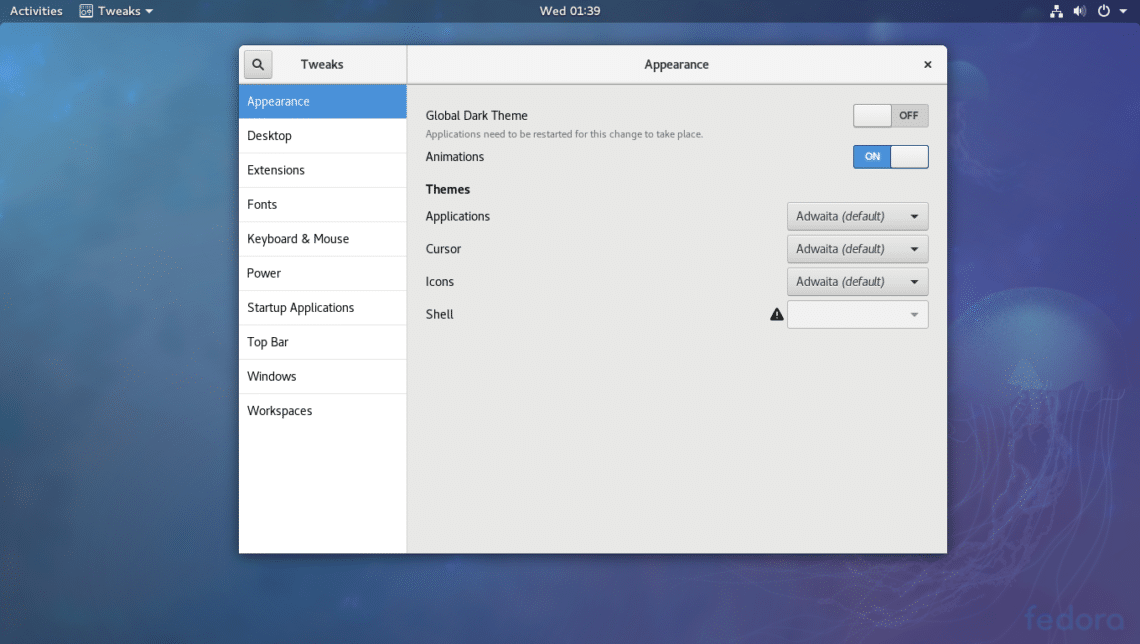
Enable Dark Theme System Wide:
GNOME 3 Desktop has 2 system wide themes. Light and Dark Global Themes. The default Global Theme is set to Light. But you can easily change it to Dark.
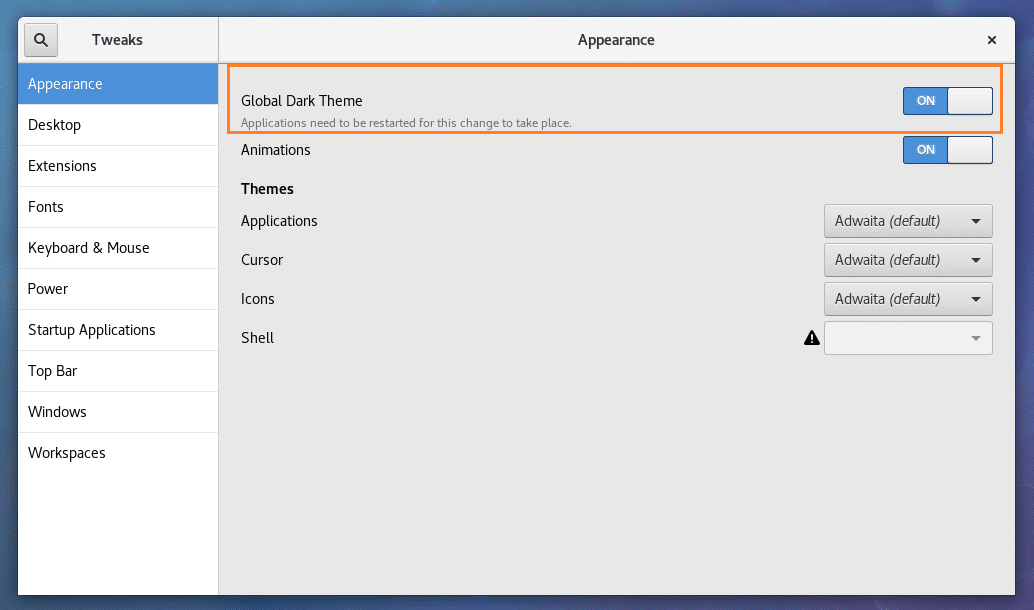
To set Global Dark Theme, open GNOME Tweak Tool and click on Appearance and toggle Global Dark Theme as marked in the screenshot below.
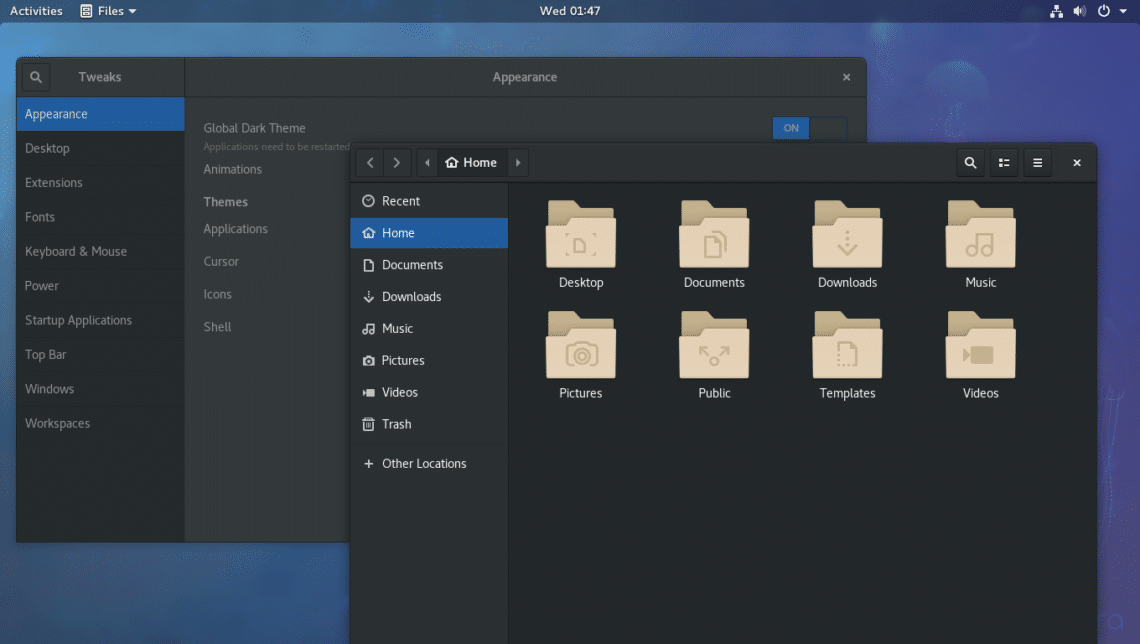
Now open any GNOME 3 base app and you should see the dark theme applied to it as shown in the screenshot below.
Enable Desktop Icons:
By default, Desktop icons are disabled on GNOME 3 desktop. But you can enable Desktop icons if you need to using GNOME Tweak Tool.
To enable Desktop icons, open GNOME Tweak Tool and go to Desktop section and you should be able to see Show Icons toggle button as marked in the screenshot below.
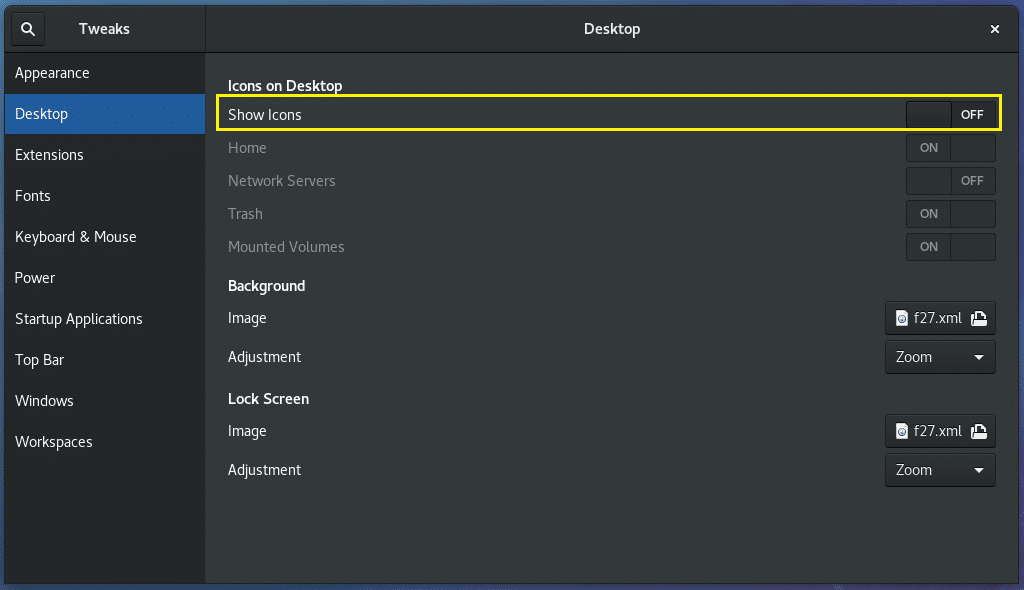
Click on the toggle button and Desktop icons should be enabled as marked in the screenshot below.
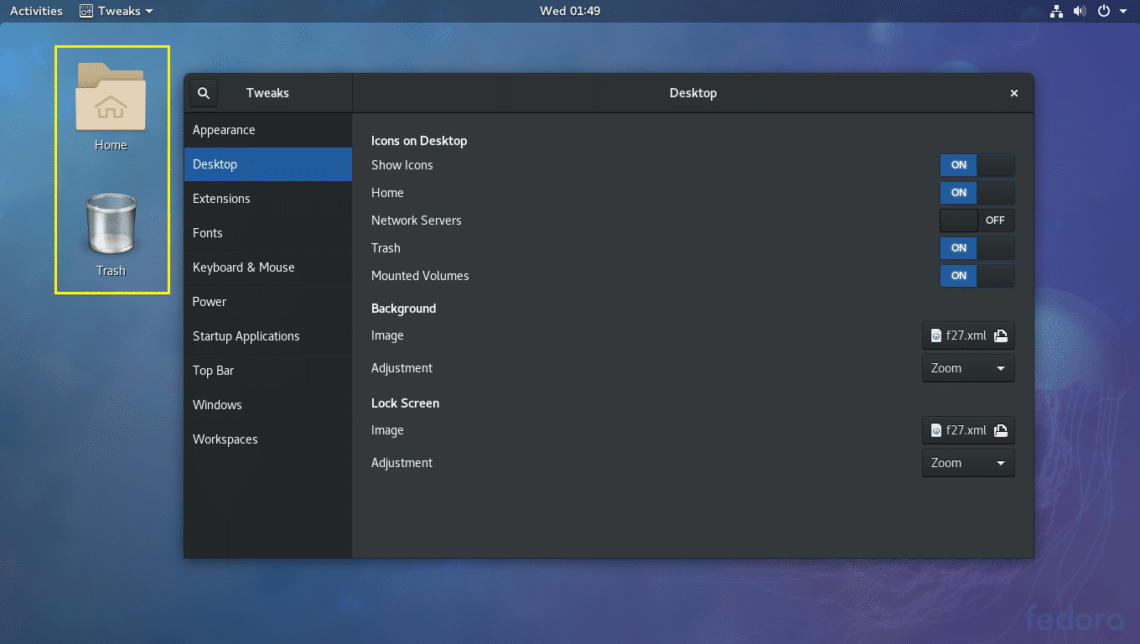
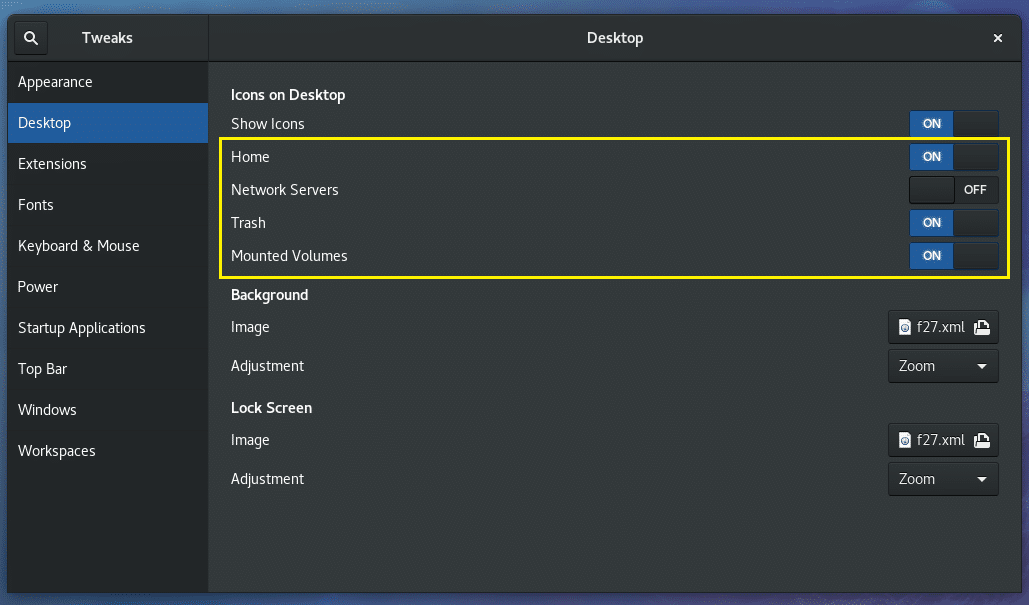
You can choose which icons to display on the Desktop by toggling on and off the marked toggle buttons.
Enabling Minimize, Maximize Titlebar Buttons:
By default, on Fedora 27, GNOME 3 Desktop Environment has only close button in the titlebar. But if you want to enable other buttons such as minimize and maximize, you can do so using GNOME Tweak Tool.
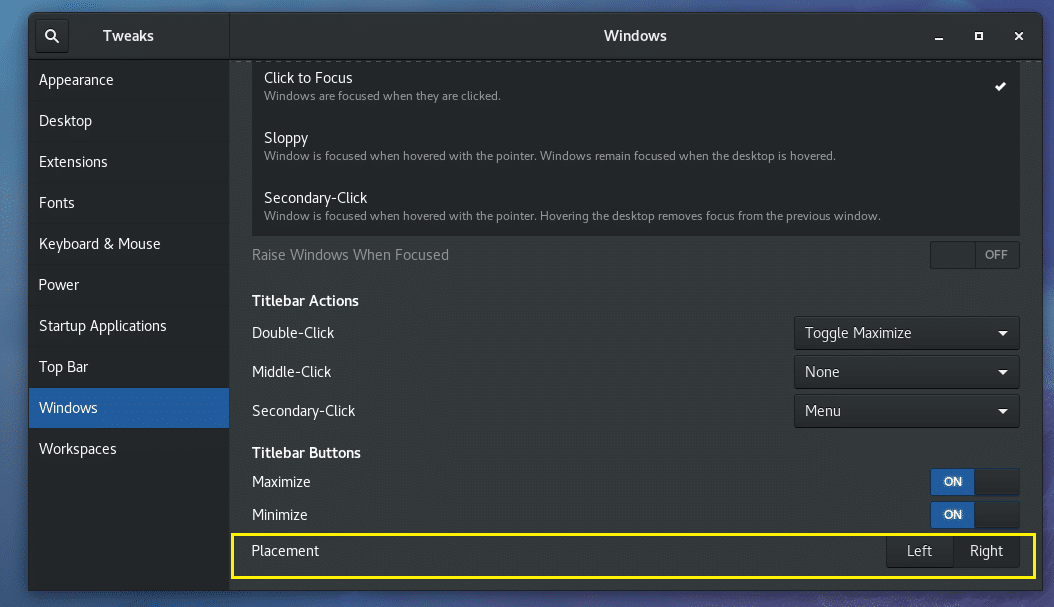
First open GNOME Tweak Tool and go to Windows and scroll down a little bit. You should see the following section.

Now toggle on Maximize and maximize button should show up as marked in the screenshot below.

To enable minimize button, toggle on Minimize and minimize button should show up as marked in the screenshot below.

Changing Titlebar Button Placements:
By default, the titlebar buttons (close, minimize, maximize) buttons are on the right side of the titlebar on GNOME 3 Desktop Environment of Fedora 27. If you’re used to Ubuntu’s style of titlebar buttons on the left, you can change it using GNOME Tweak Tool.
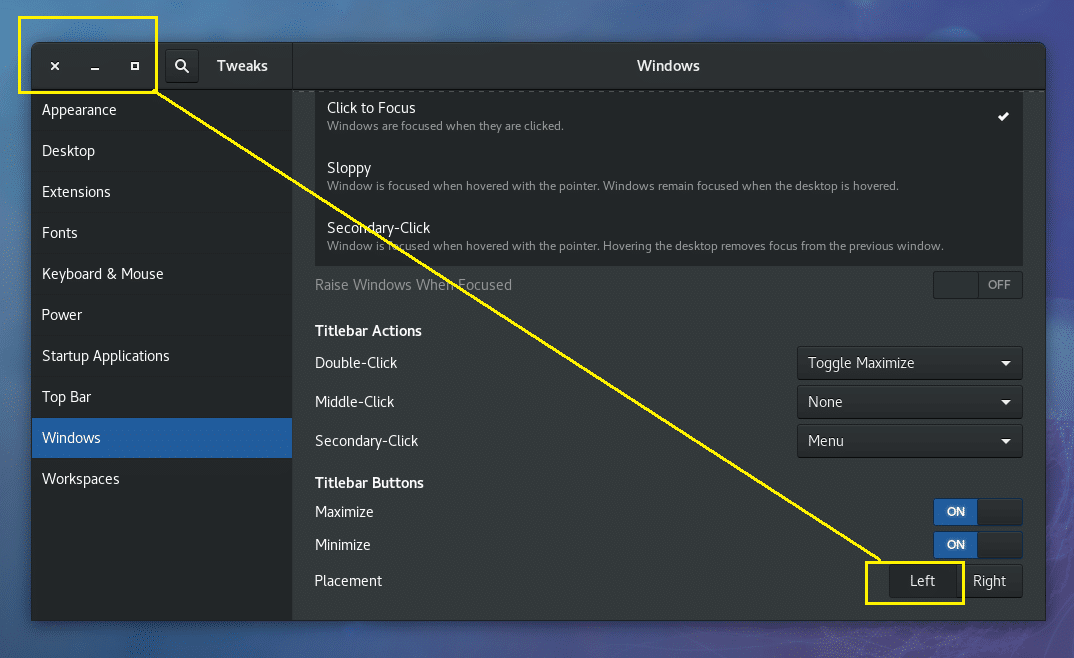
Open GNOME Tweak Tool and go to Windows and then scroll down to the marked section of the screenshot and toggle it to Left.
All the titlebar buttons should be placed in the left side as marked in the screenshot below.
Disable Fedora Watermark Logo from Desktop Wallpaper:
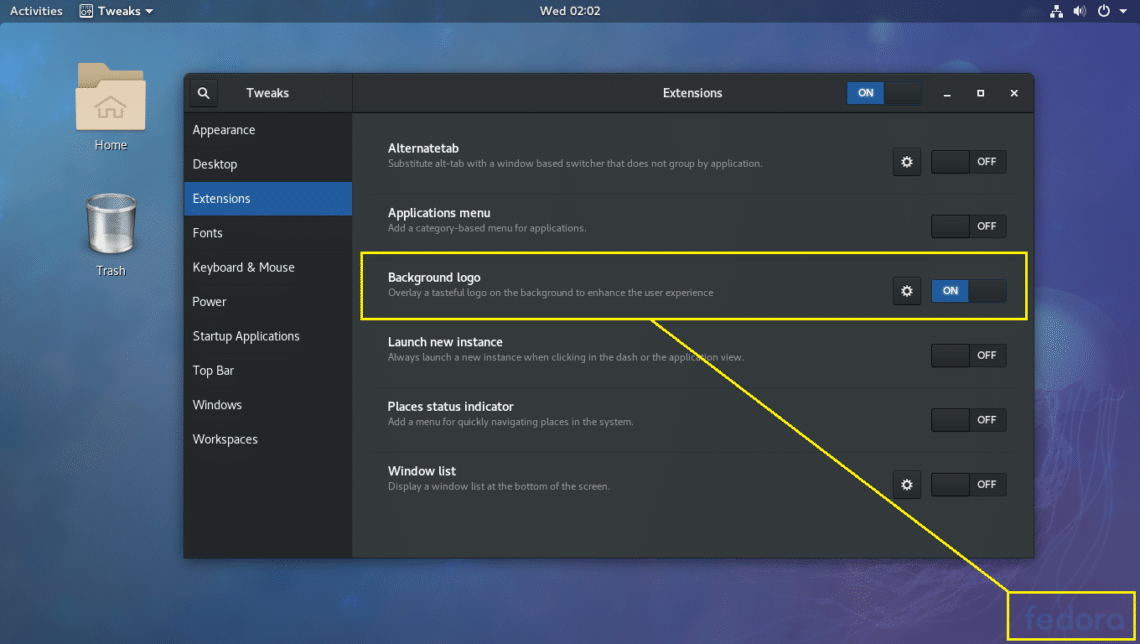
By default, on Fedora 27, Fedora logo is watermarked to the background. It may be annoying to some people. The good news is that you can disable it using GNOME Tweak Tool.
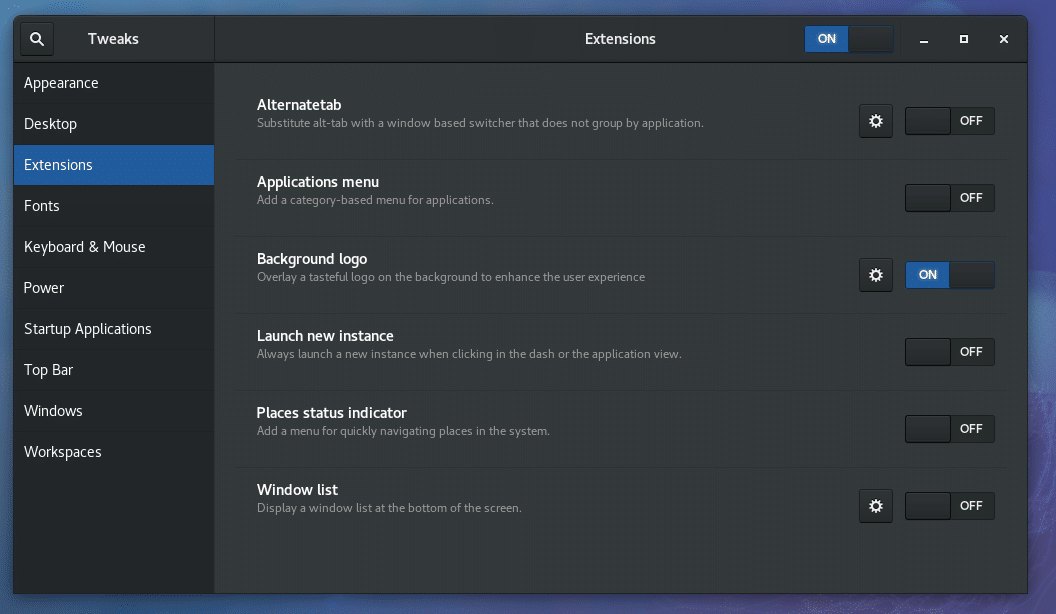
First open GNOME Tweak Tool and go to the Extensions tab. You should see the following window.
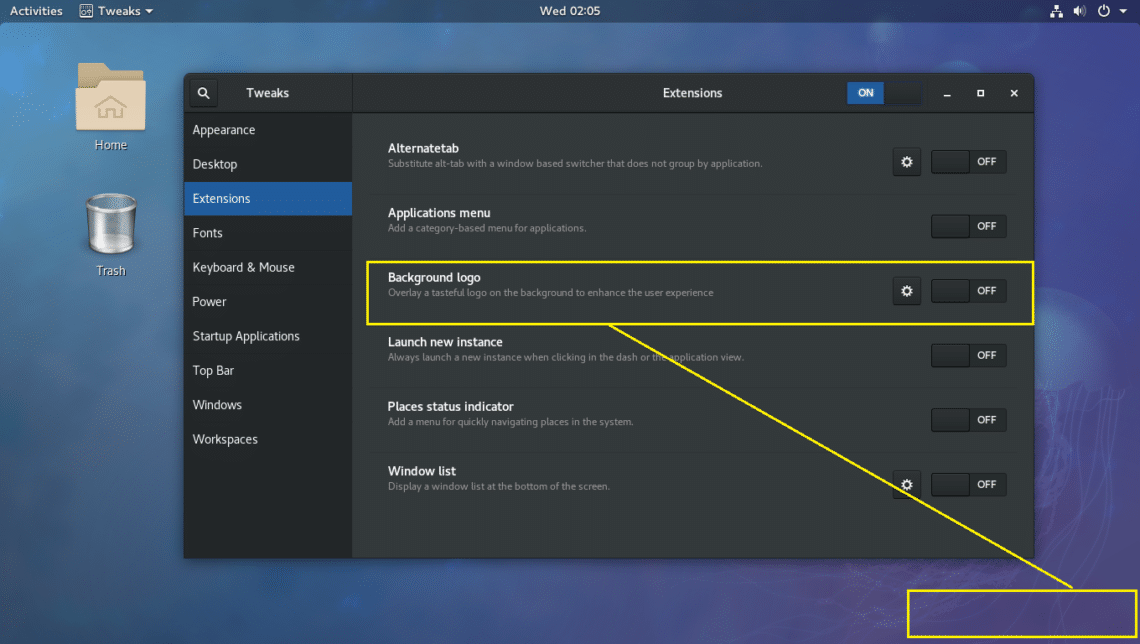
Now click on the Background logo toggle button to OFF as marked in the screenshot below.
The Fedora logo watermark should be removed as shown in the screenshot below.
That’s how you install and use GNOME Tweak Tool to configure different parts of GNOME 3 Desktop Environment on Fedora 27. I couldn’t show you everything as it is out of the scope of this article. But you should be able to figure out the rest on your own. Thank you for reading this article.