In this article, I will show you how to install the latest version of Google Chrome on Arch Linux. Let’s get started.
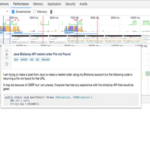
Though Google Chrome is not available for download on the official website of Google Chrome, the good news is that Google chrome is available on AUR (Arch User Repository). But to install Google Chrome from AUR you must have Git installed.
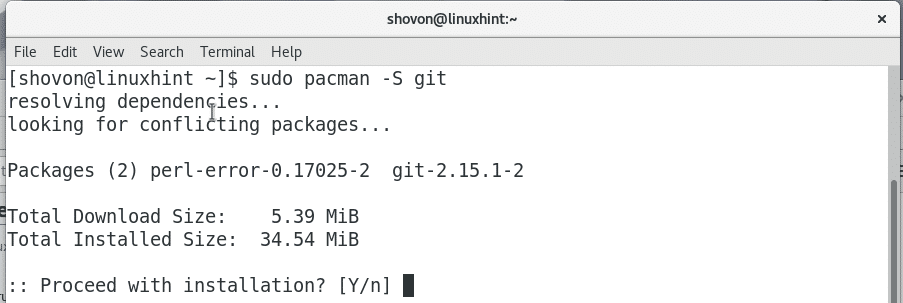
Git is available on the official Arch Linux repository. Just run the following command to install Git on Arch Linux:
Press ‘y’ and then press <Enter> to continue.
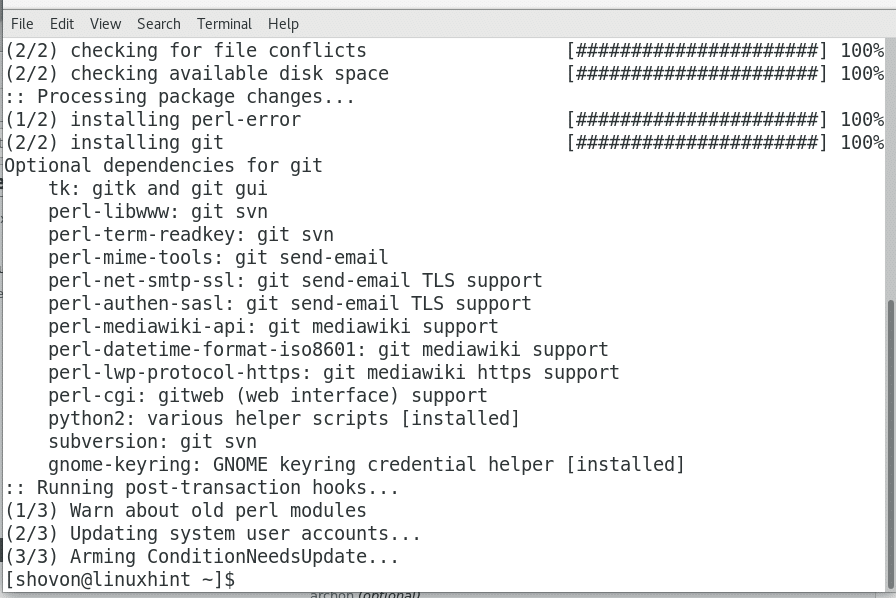
Git should be installed.
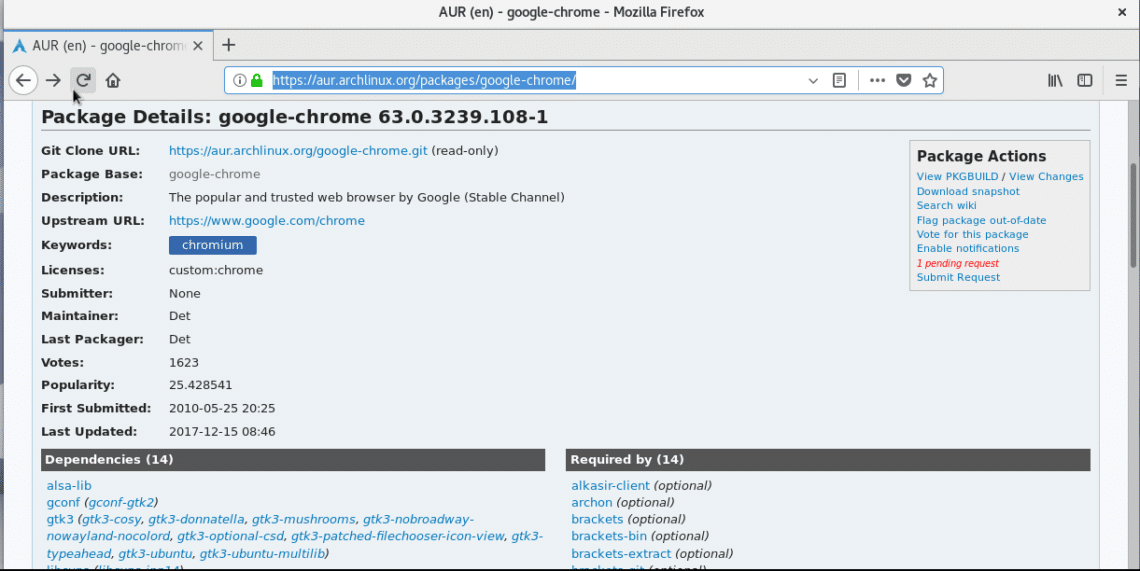
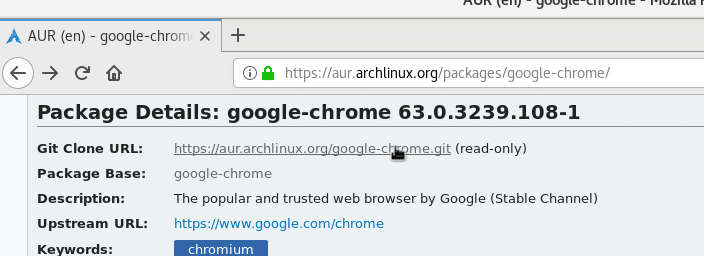
Now go to the official Google Chrome AUR repository at https://aur.archlinux.org/packages/google-chrome/ and you should see the following page as shown in the screenshot below.
Now right click on the Git Clone URL as shown in the screenshot below.
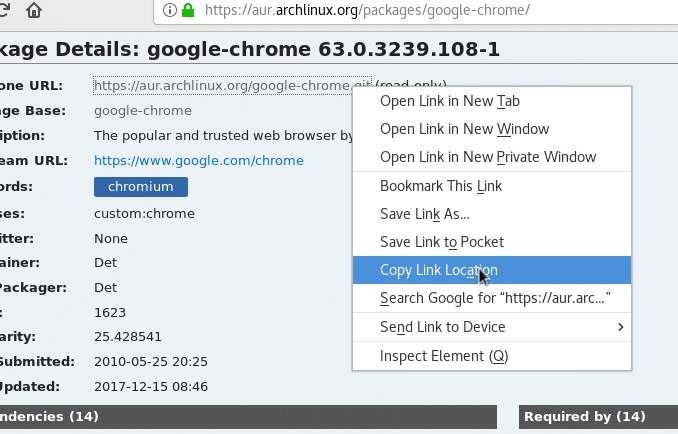
Select “Copy Link Location” from the menu as shown in the screenshot below.
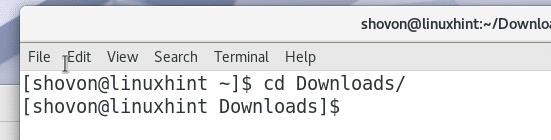
Now open a Terminal and go to the Downloads/ directory on your users HOME directory with the following command:
Now you have to clone the AUR Google Chrome repository with Git.
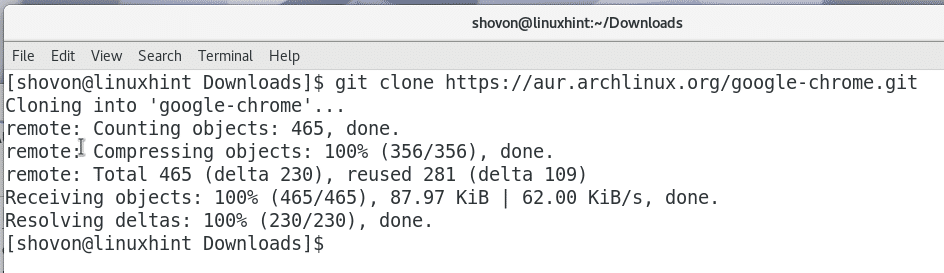
Run the following command to clone Google Chrome AUR repo with Git:

The Google Chrome AUR repository should be cloned as shown in the screenshot below.
Now if you list the contents of Downloads/ directory with the following command, you should see a directory ‘google-chrome’
Go into the ‘google-chrome’ directory with the following command:
If you list the contents of ‘google-chrome’ directory, you should see the following files as shown in the screenshot below.

Now you have to build a package file for pacman package manager from these files. It is really easy to do so as Arch Linux provides a command line utility called ‘makepkg’ for that purpose.
Run the following command to make a pacman package file:
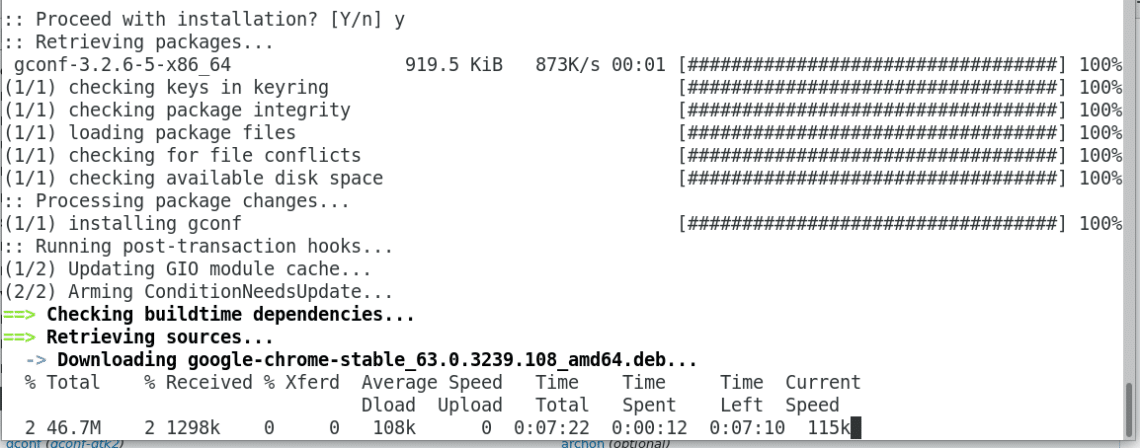
Press ‘y’ and press <Enter> to continue.
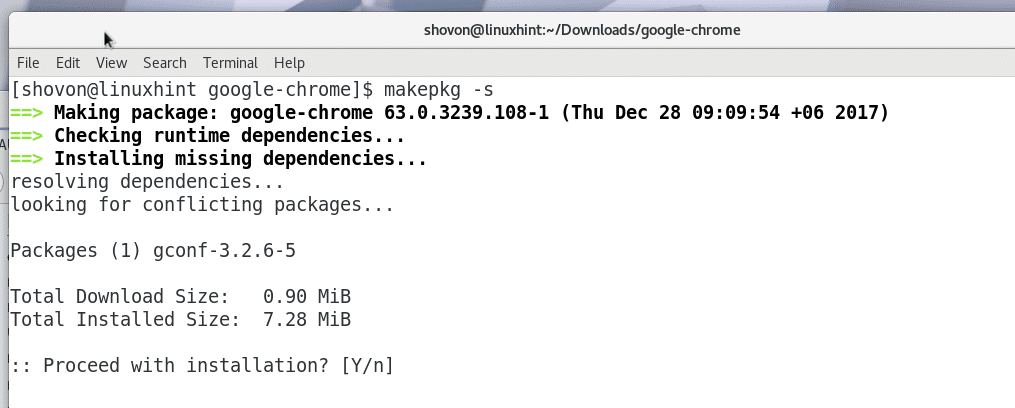
‘makepkg’ should download all the necessary files from the internet. It may take a while depending on your internet connection. In the screenshot below, you can see that ‘makepkg’ downloaded google-chrome-stable version 63 at the time of this writing. You may get a later version. But it’s all the same, don’t worry.
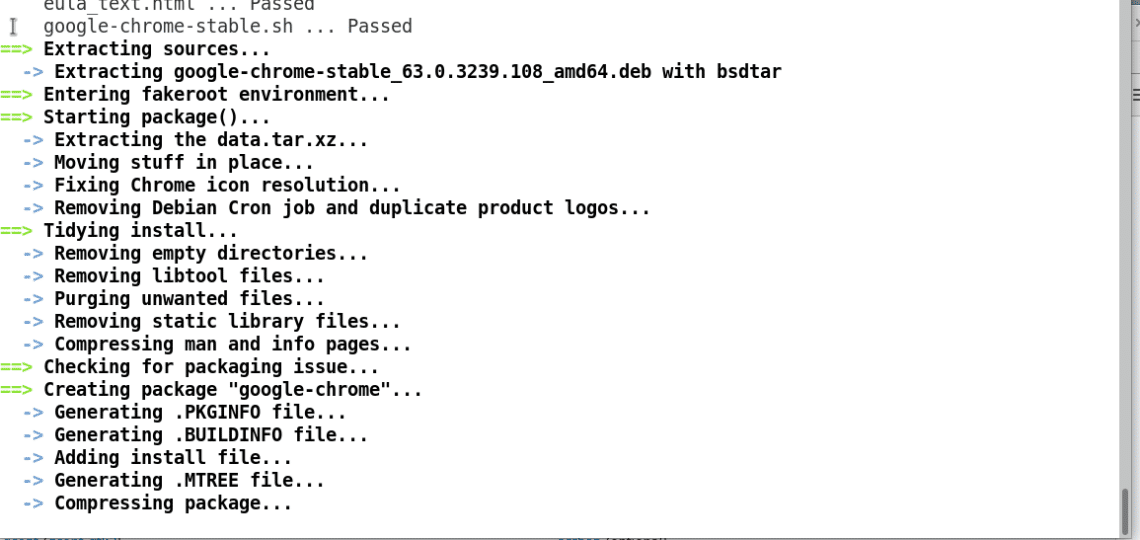
The package building process is running…
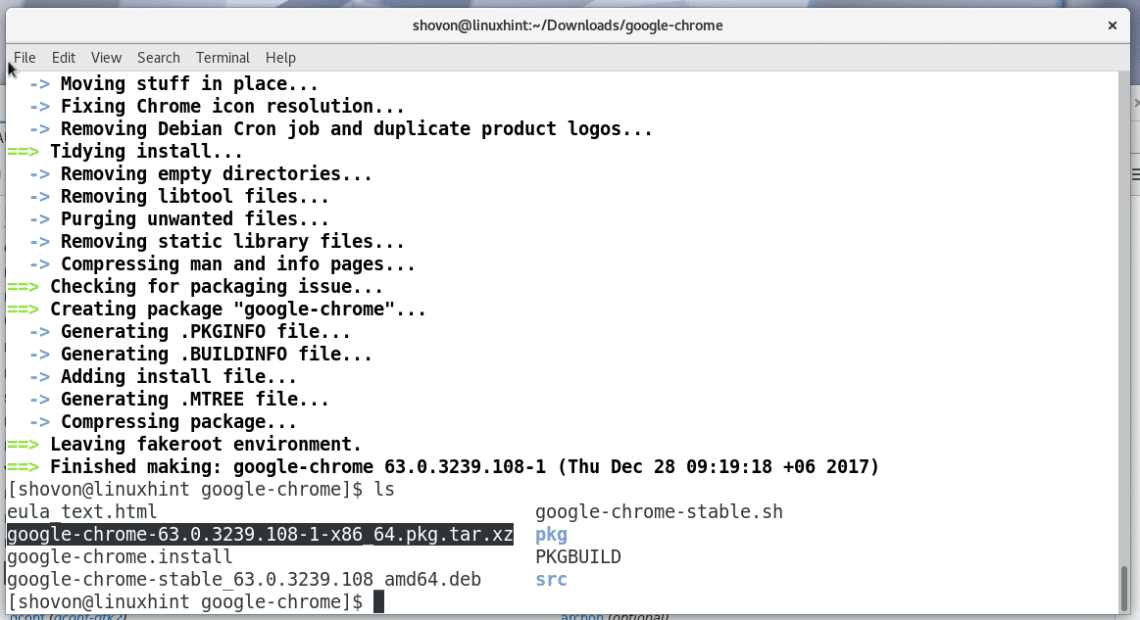
Once the package build process is complete, you should see something like this. If you list the contents of the google-chrome directory now, you should see a file google-chrome-63.0.3239.108-1-x86_64.pkg.tar.xz as marked in the screenshot below. This is the package that ‘makepkg’ created. By the time you read this article, the generated filename might change. Make sure, you adjust it as required.
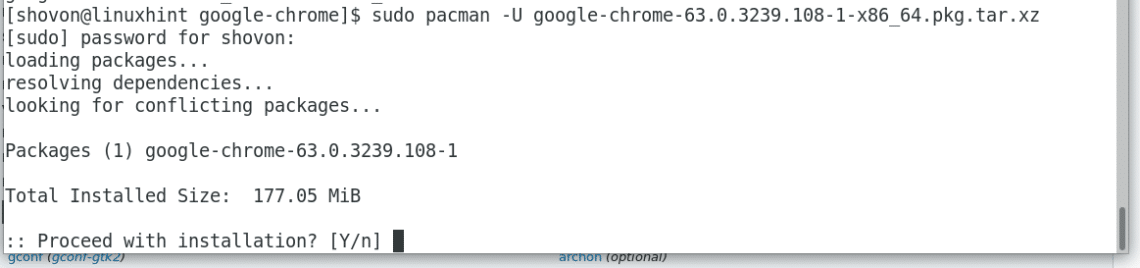
Now run the following command to install the google-chrome-63.0.3239.108-1-x86_64.pkg.tar.xz package file using pacman package manager:
Press ‘y’ and then press <Enter> to continue.
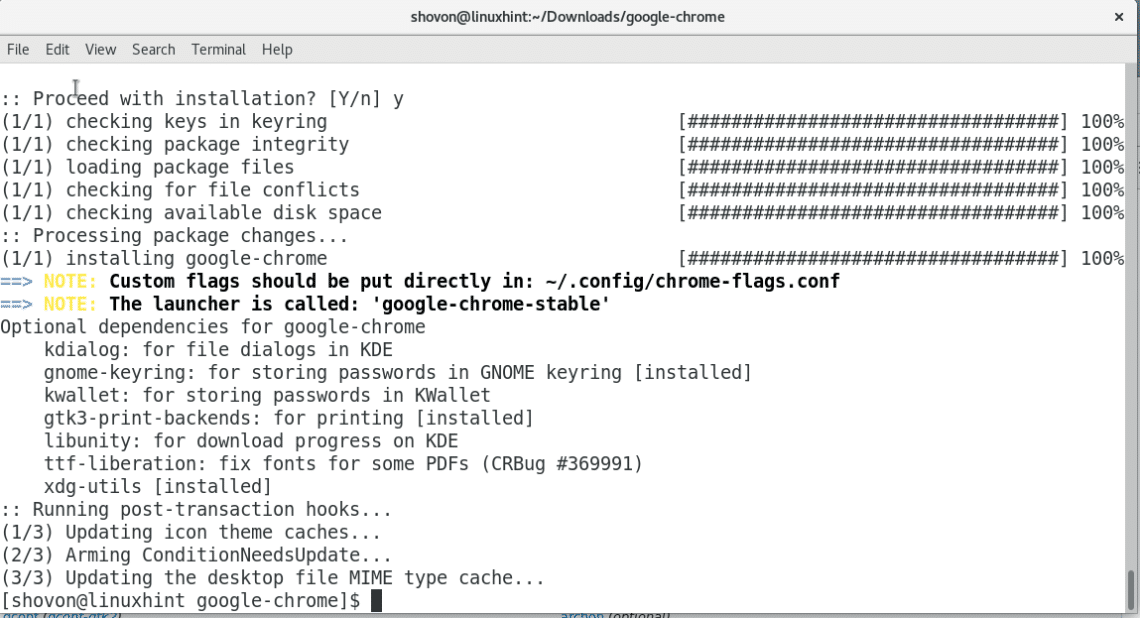
The Google Chrome package should be installed.
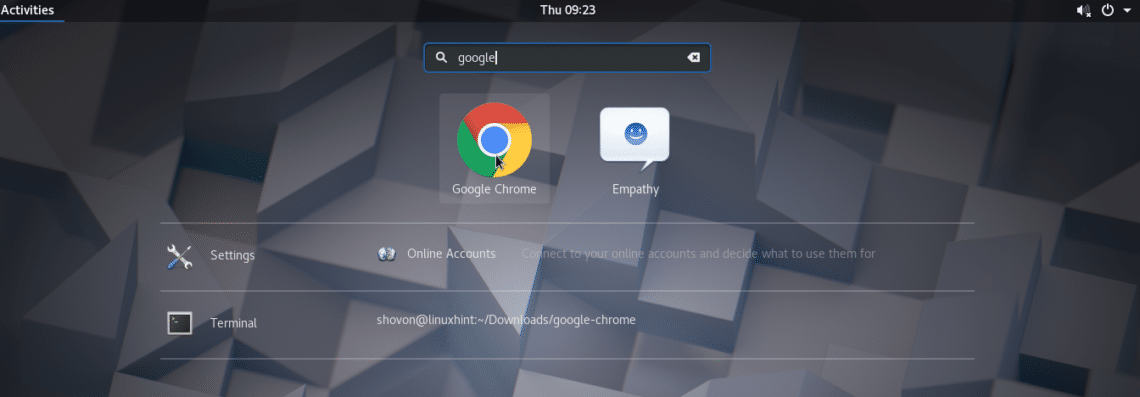
Now go to the Application Menu of your Desktop Environment and look for google chrome. I am using GNOME3 desktop environment in this article. Once you find Google Chrome, just click on the famous Google Chrome icon.
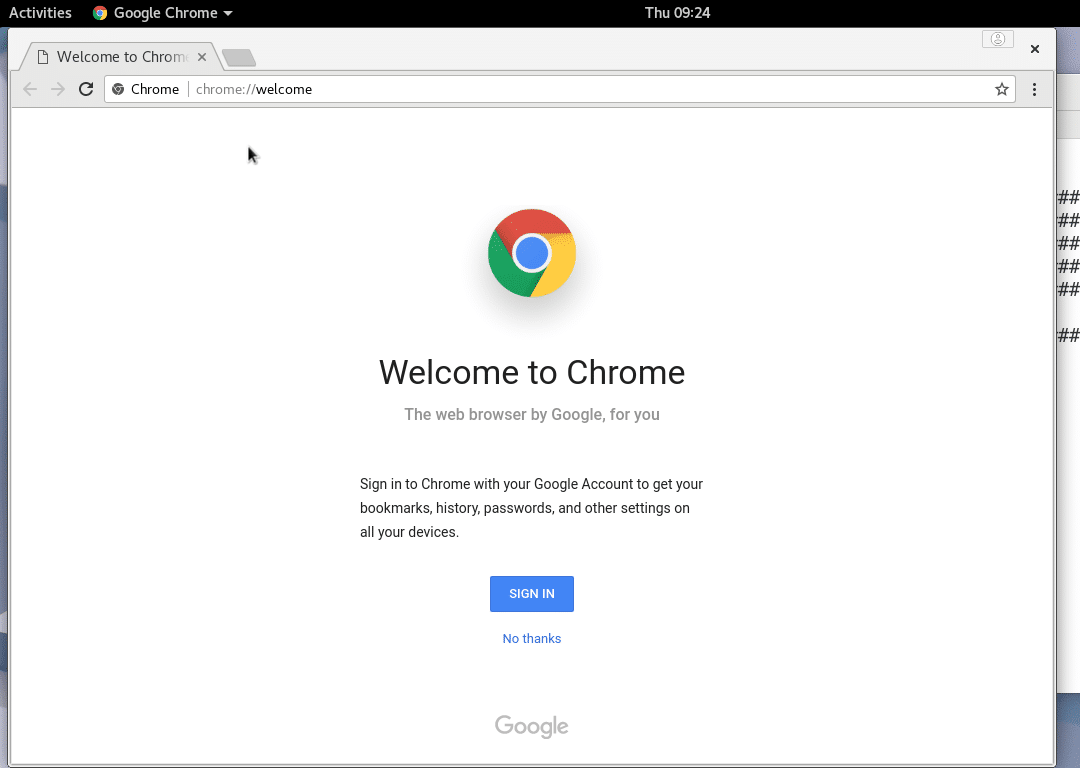
You should see the following window as you’re running Google Chrome for the first time. If you wish to make Google Chrome your default browser, just leave the first checkbox marked. If you don’t want to send anonymous usage statistics and crash reports to Google, just uncheck the second checkbox. Once you’re done, just click on the blue “OK” button.

Google Chrome should start. Enjoy the internet as much as you like with Google Chrome now.
So that’s how you install the latest version of Google Chrome on Arch Linux. Thanks for reading this article.