Downloading Google Chrome Installer Package File:
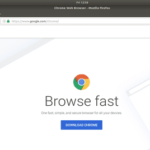
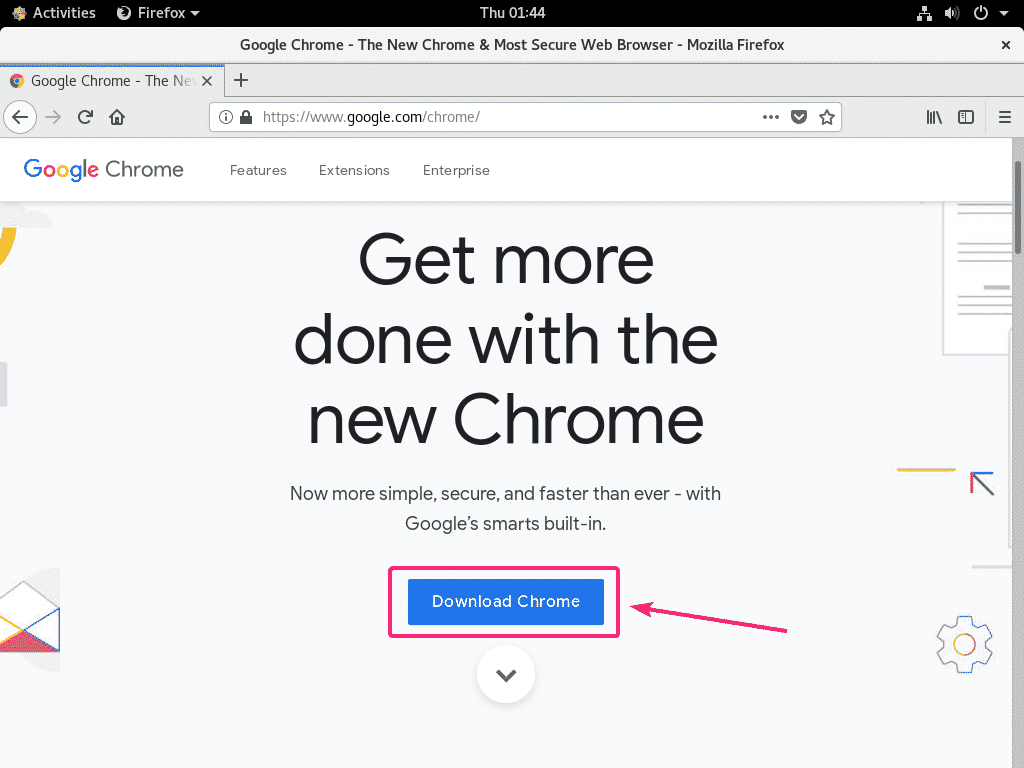
First, visit the official website of Google Chrome from a browser. Then, click on Download Chrome as marked in the screenshot below.
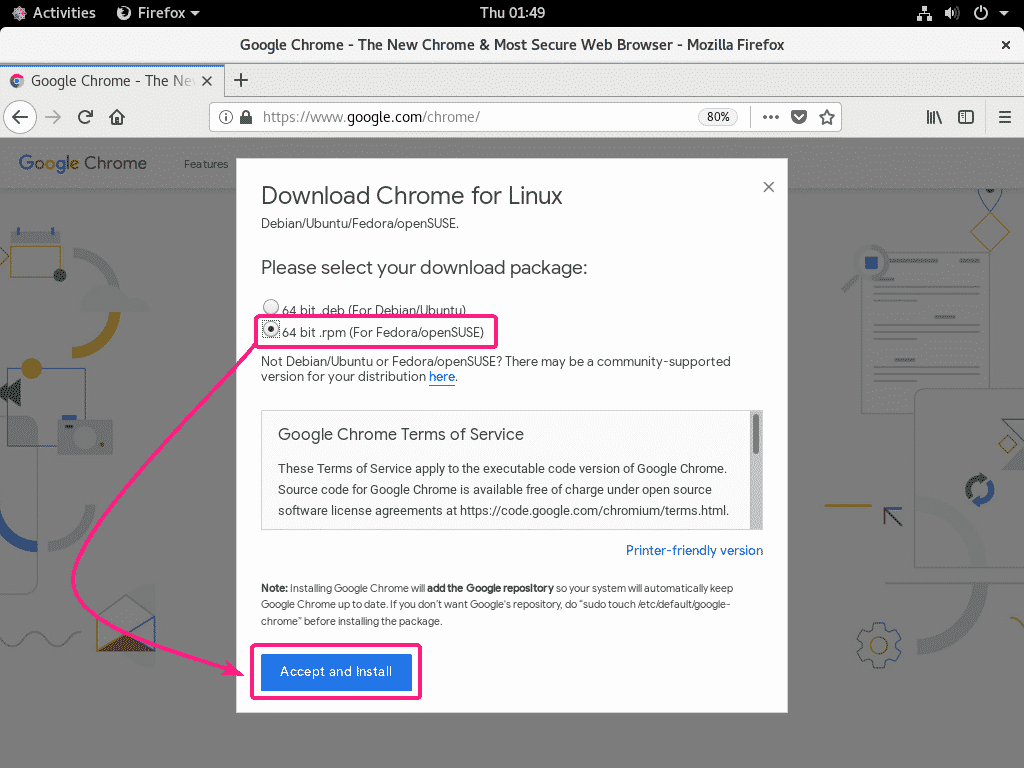
Now, select 64 bit .rpm (For Fedora/openSUSE) and click on Accept and Install.
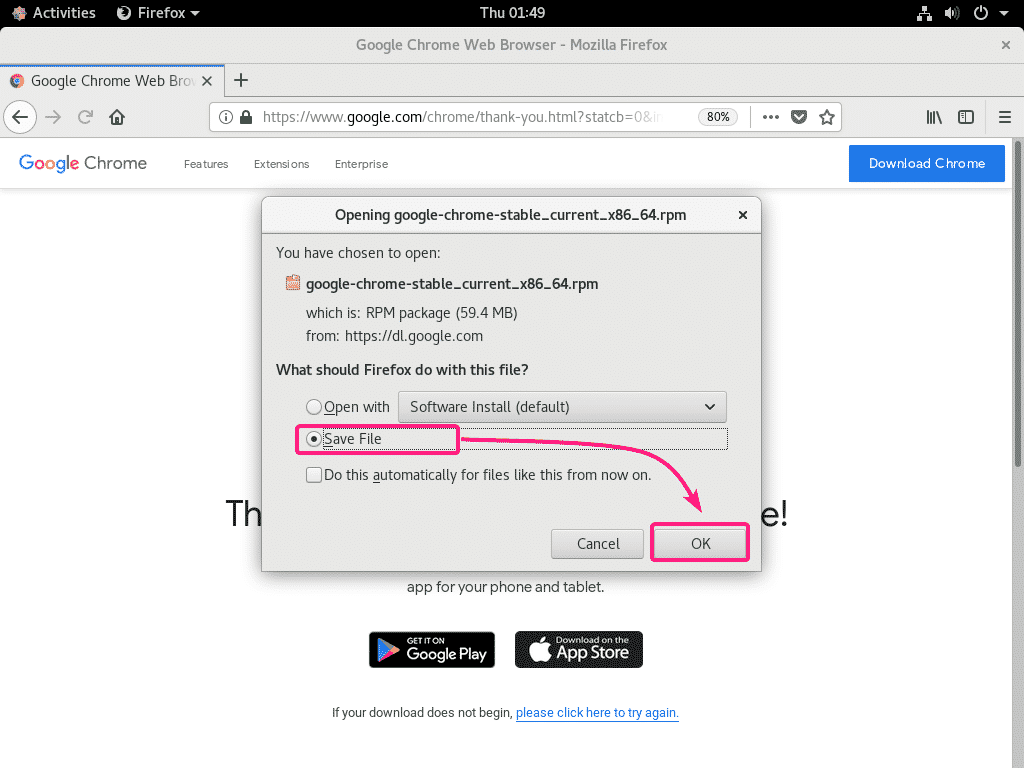
Your browser should prompt you to save the file. Select Save File and click on OK.
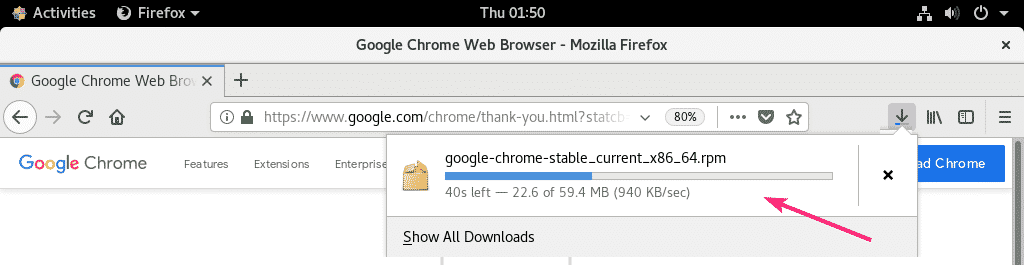
Your browser should start downloading the Google Chrome RPM package file. It may take a while to complete.
Installing Google Chrome using YUM Package Manager:
In this section, I am going to show you how to install Google Chrome from the command line using the YUM package manager.
First, open a Terminal and navigate to the ~/Downloads directory with the following command:

As you can see, Google Chrome RPM package file google-chrome-stable_current_x86_64.rpm is here.

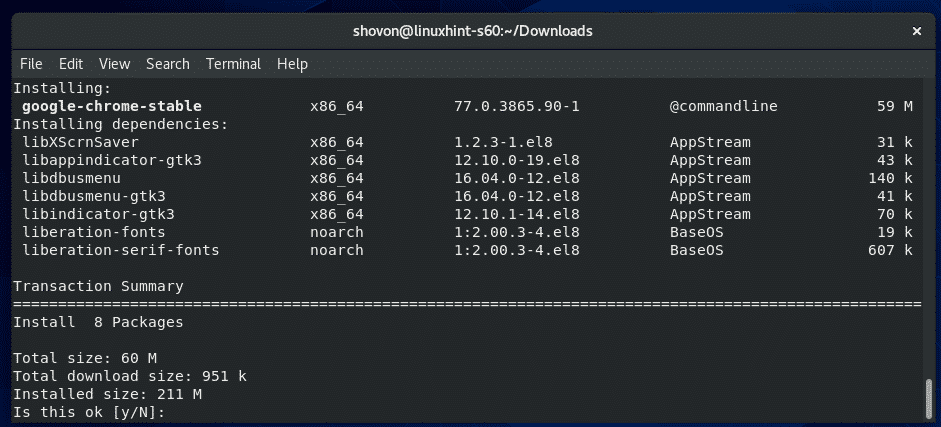
Now, run the following command to install Google Chrome RPM package file using the YUM package manager:

Now, press Y and then press <Enter> to confirm the installation.
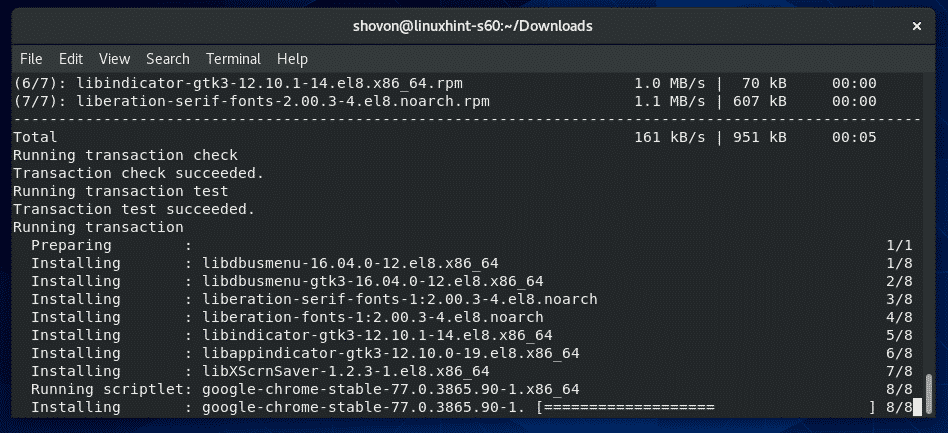
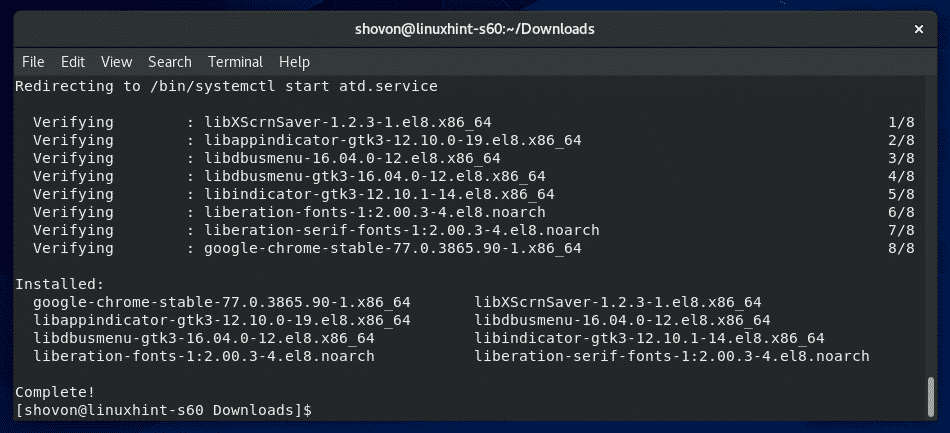
The YUM package manager will download and install Google Chrome and all the required dependency packages.
At this point, Google Chrome should be installed.
Installing Google Chrome using GNOME Software:
In this section, I am going to show you how to install Google Chrome using GNOME Software app. Here, you don’t need to use any Terminal or run any commands in order to install Google Chrome. If you’re afraid of the Terminal, then this section is for you.
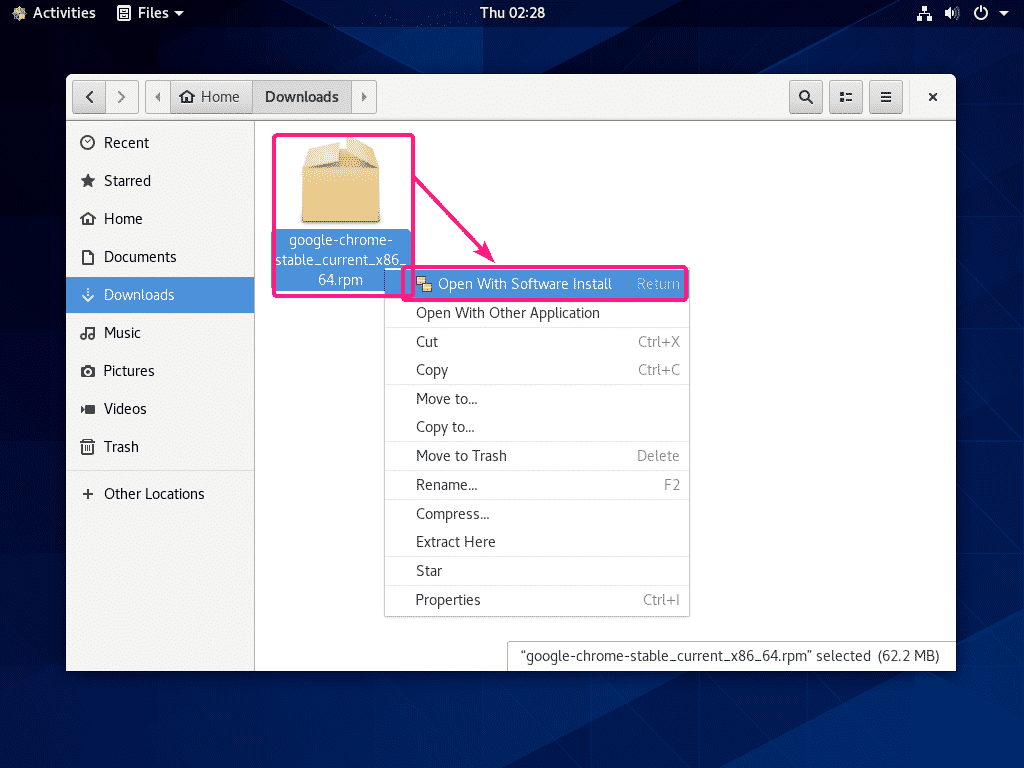
First, open Nautilus file manager and navigate to the Downloads directory. You should find the Google Chrome RPM package file that you’ve just downloaded here.
Now, press the right mouse button (RMB) on the RPM package and click on Open With Software Install.
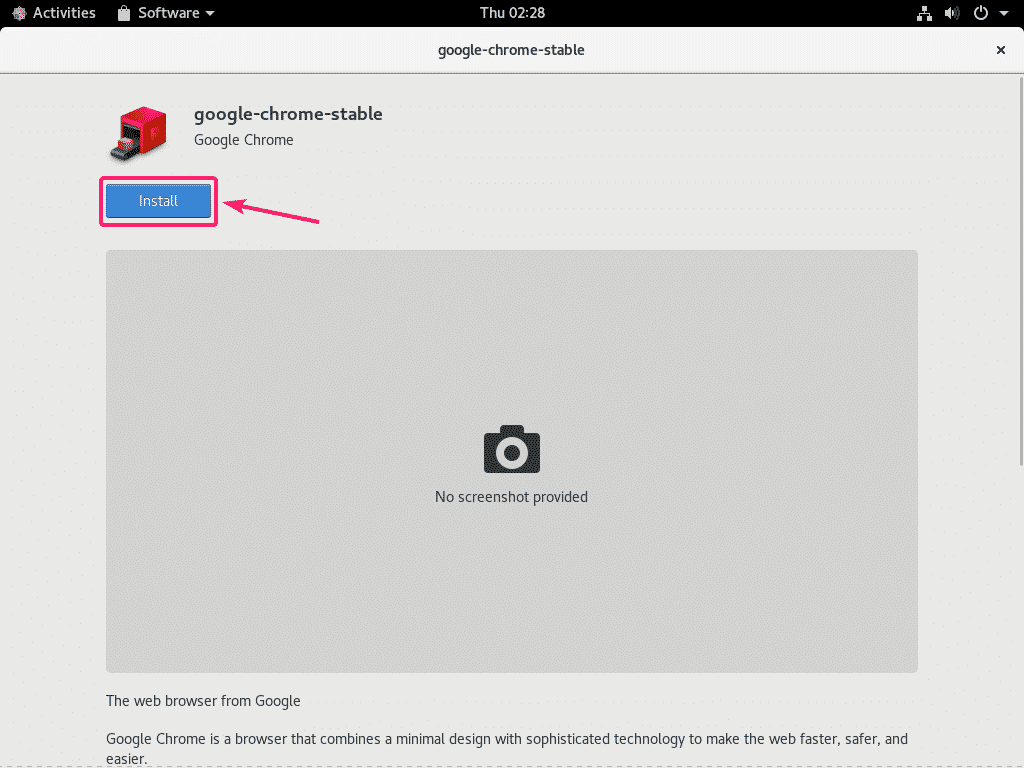
Google Chrome RPM package file should open in GNOME Software. Now, click on Install.
Now, type in your login password and click on Authenticate.
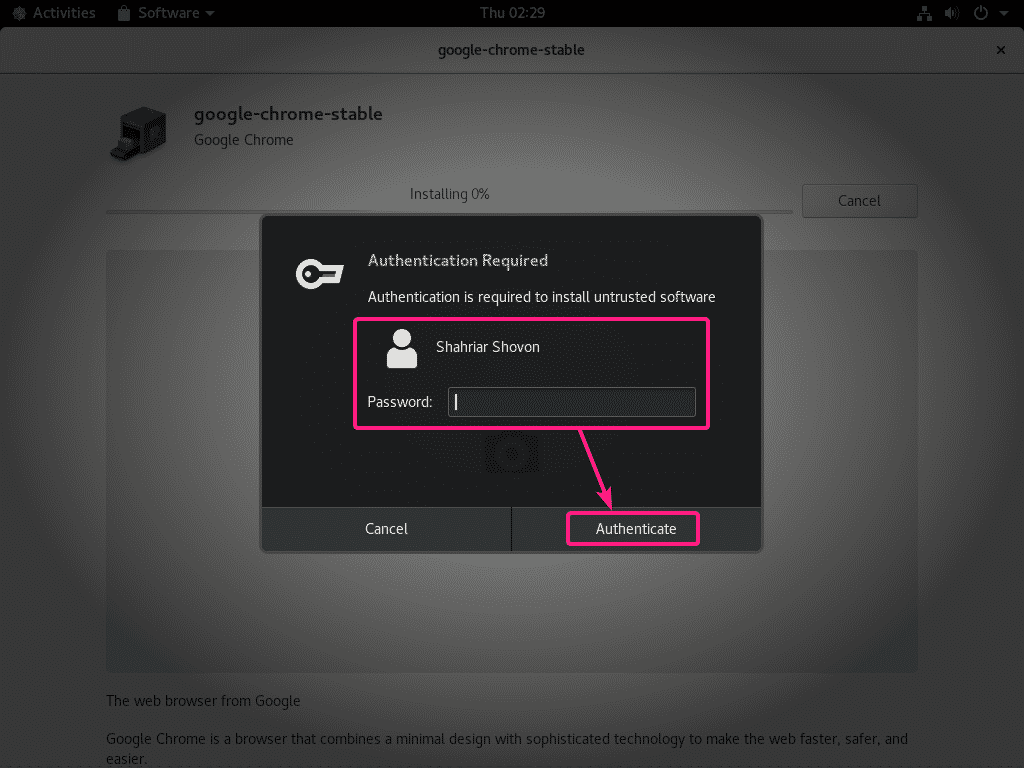
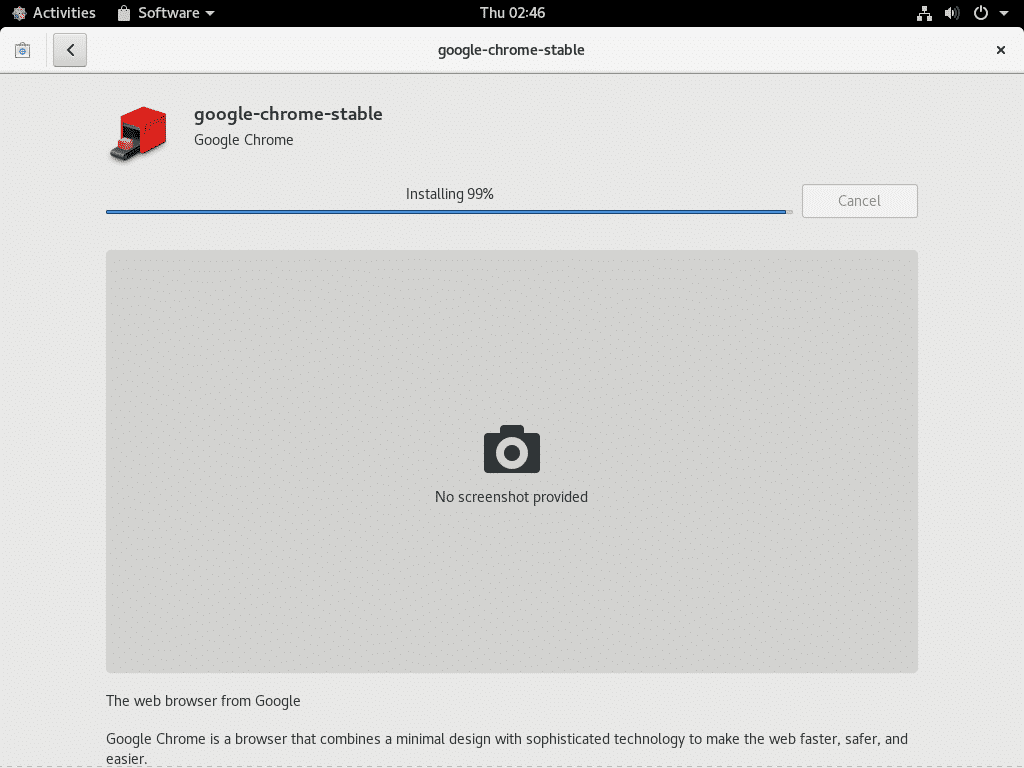
Google Chrome is being installed.
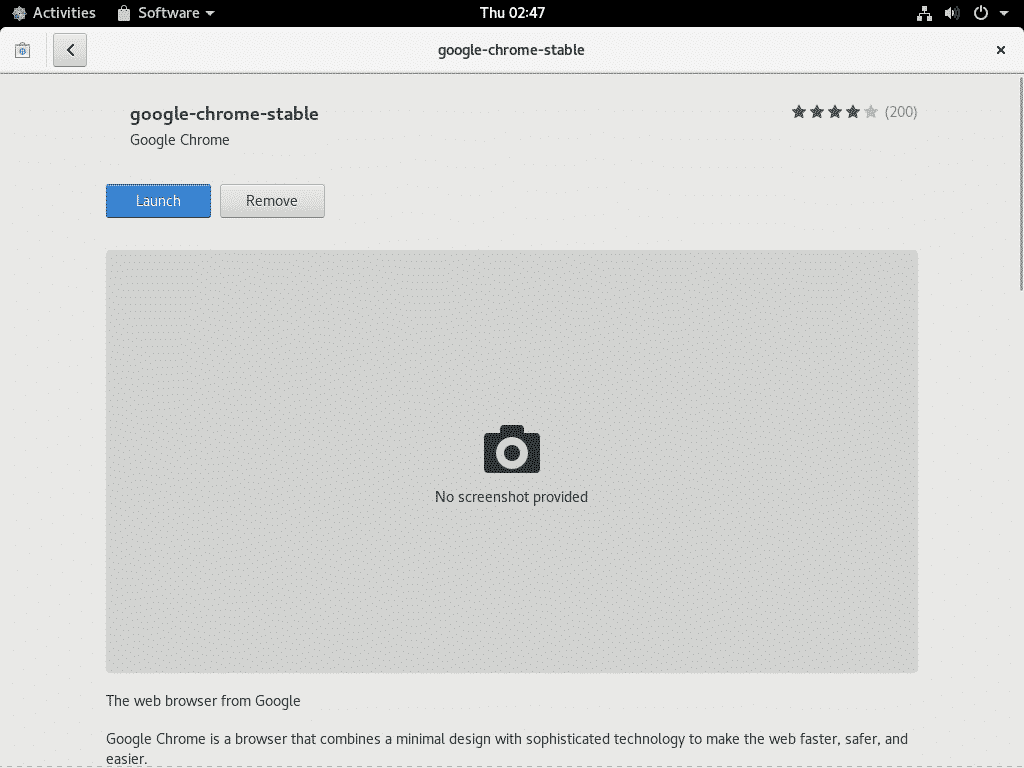
Google Chrome should be installed at this point.
Starting Google Chrome:
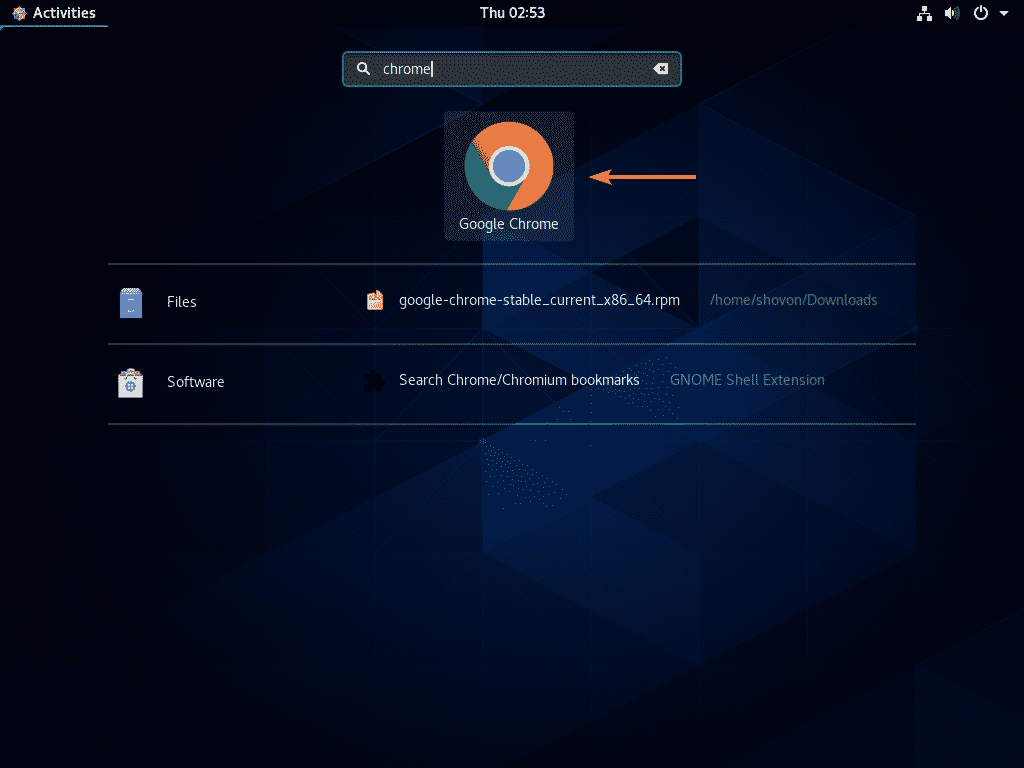
Once Google Chrome is installed, you can find it in the Application Menu as you can see in the screenshot below.
Click on the Google Chrome icon to start it.
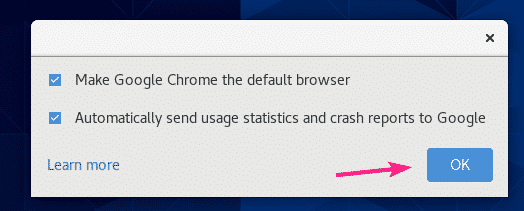
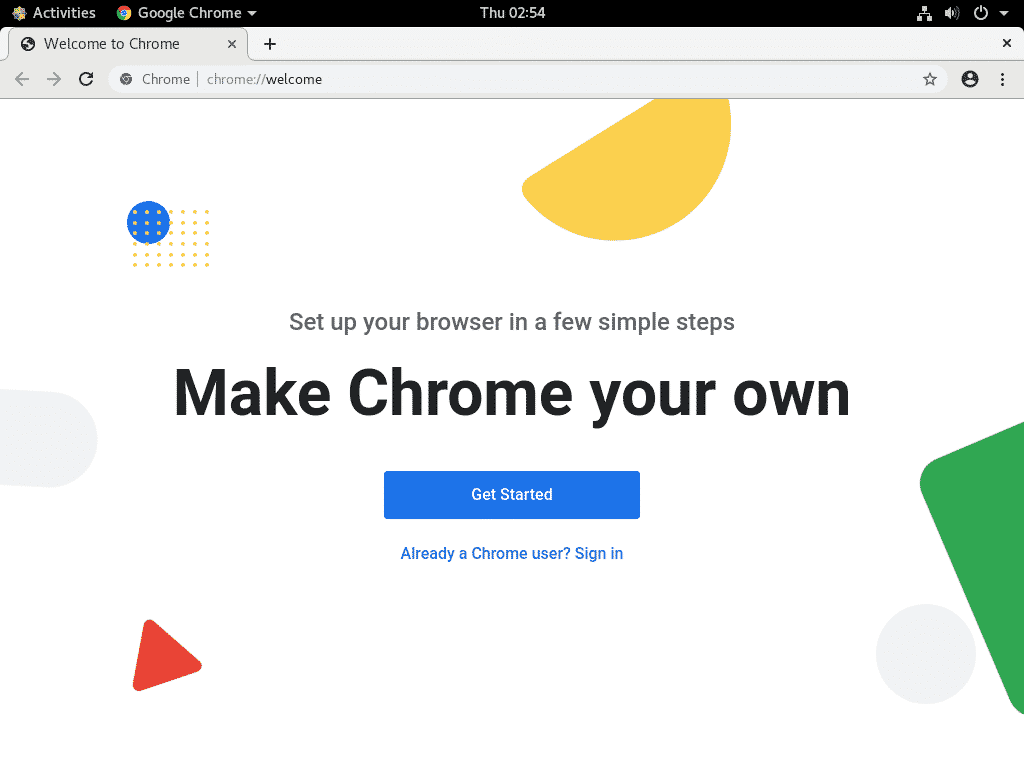
As you’re running Google Chrome for the first time, you will see the following window.
If you want to make Google Chrome the default browser, make sure Make Google Chrome the default browser is checked.
If you don’t want to send Google usage statistics and crash reports, then uncheck Automatically send usage statistics and crash reports to Google.
Once you’re done, click on OK.
Google Chrome should start.
Adding Google Chrome to the Favorites:
If you want to add Google Chrome to the Dash launcher, then this section is for you.
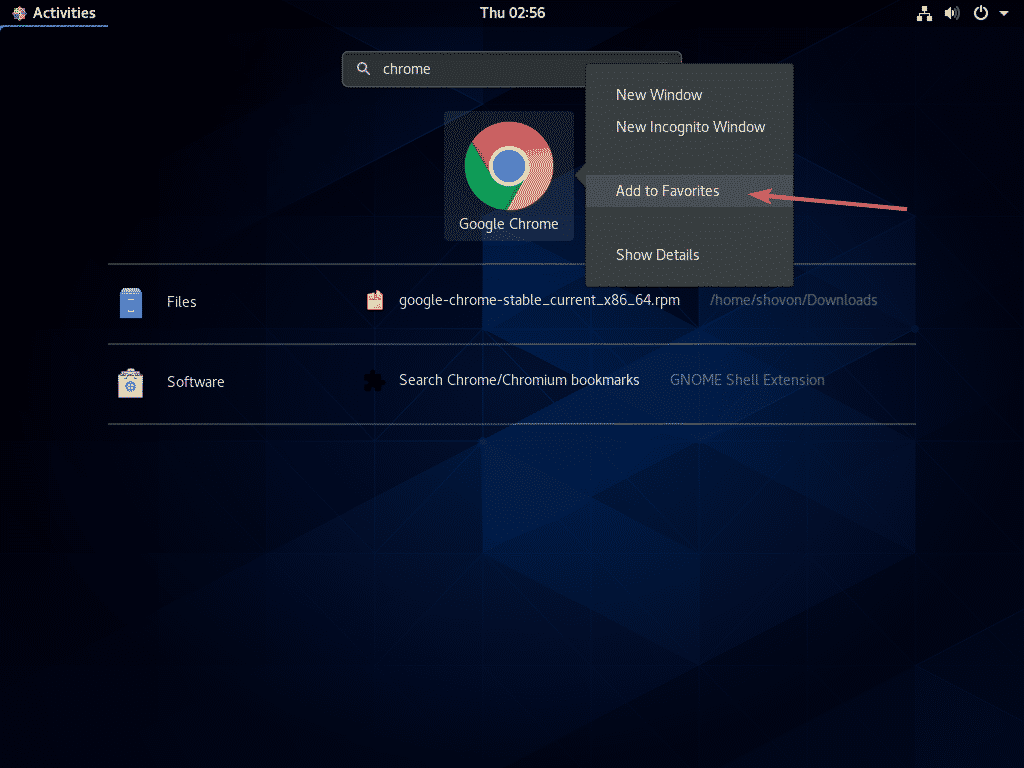
First, search for Google Chrome in the Application Menu. Then, right click (RMB or Right Mouse Button) on the Google Chrome icon and click on Add to Favorites.
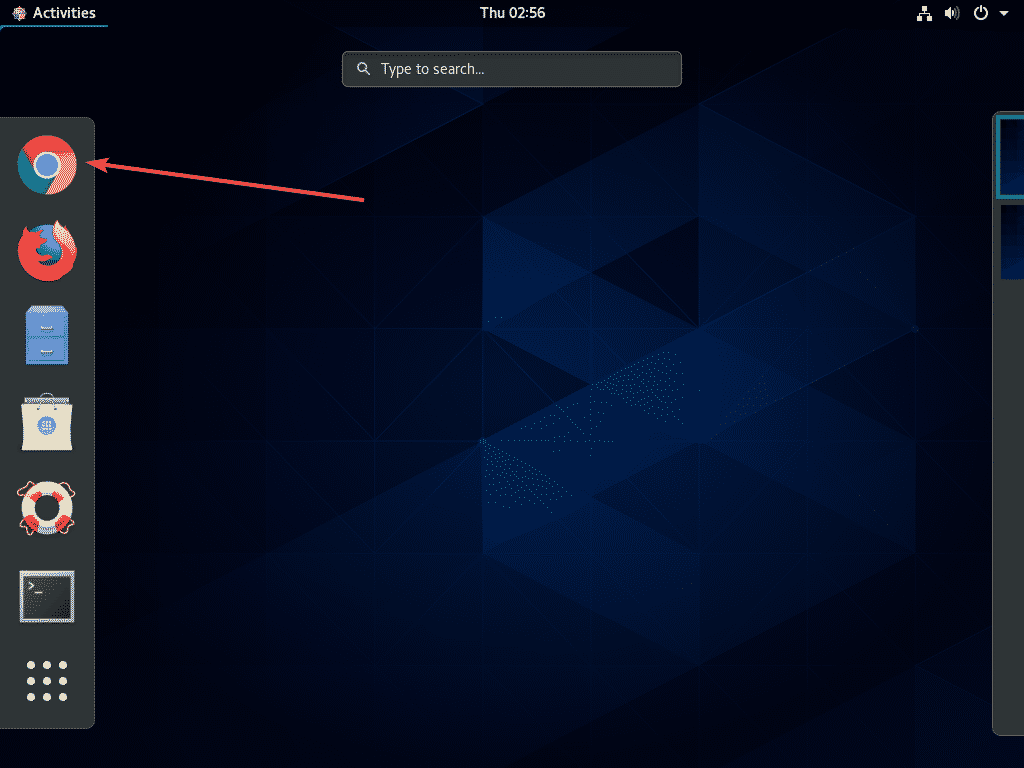
The Google Chrome icon should be added to the Dash.

If you want, you can rearrange the position of the Google Chrome icon just by dragging and dropping it in the Dash.
Uninstalling Google Chrome:
If you want to uninstall Google Chrome, then this section is for you.
First, open a Terminal and run the following command:

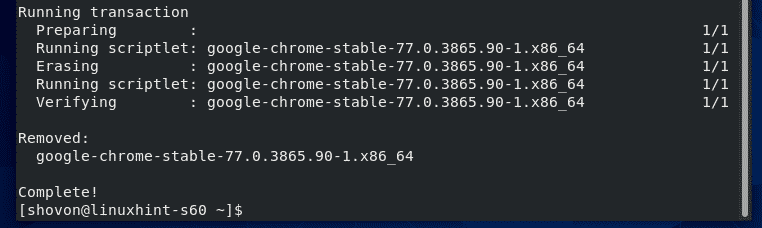
Now, press Y and then press <Enter> to confirm the remove operation.
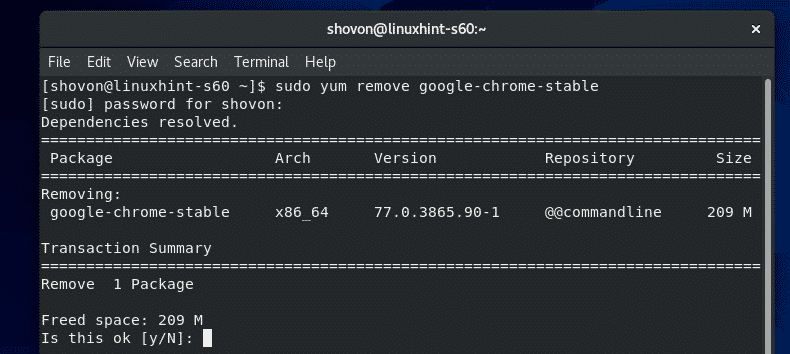
Google Chrome should be removed.
So, that’s how you install Google Chrome on CentOS 8. Thanks for reading this article.