Google Chrome is not available in the official package repository of Ubuntu 18.04 LTS. But you can easily download it from the official website of Google Chrome and install it on Ubuntu 18.04 LTS.
In this article, I will show you how to use Google Chrome on Ubuntu 18.04 LTS Bionic Beaver. Let’s get started.
Downloading Google Chrome
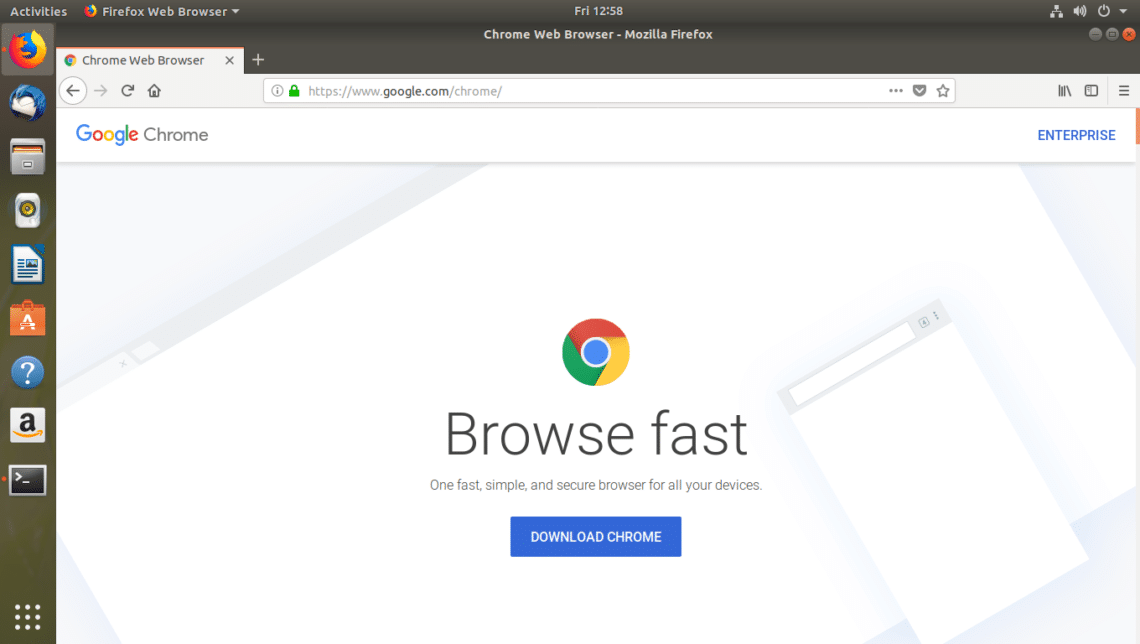
First go to the official website of Google Chrome at https://www.google.com/chrome using your favorite web browser and you should see the following window. Click on the DOWNLOAD CHROME button.
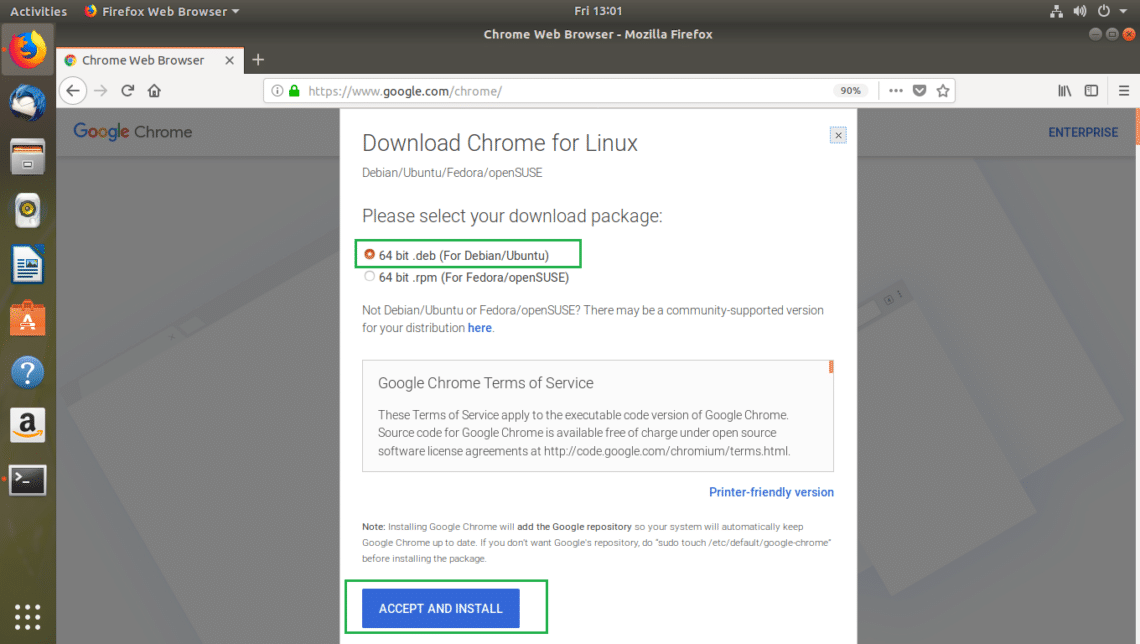
You should see the following dialog window. Select 64 bit .deb (For Debian/Ubuntu) and then click on ACCEPT AND INSTALL button as marked in the screenshot below.
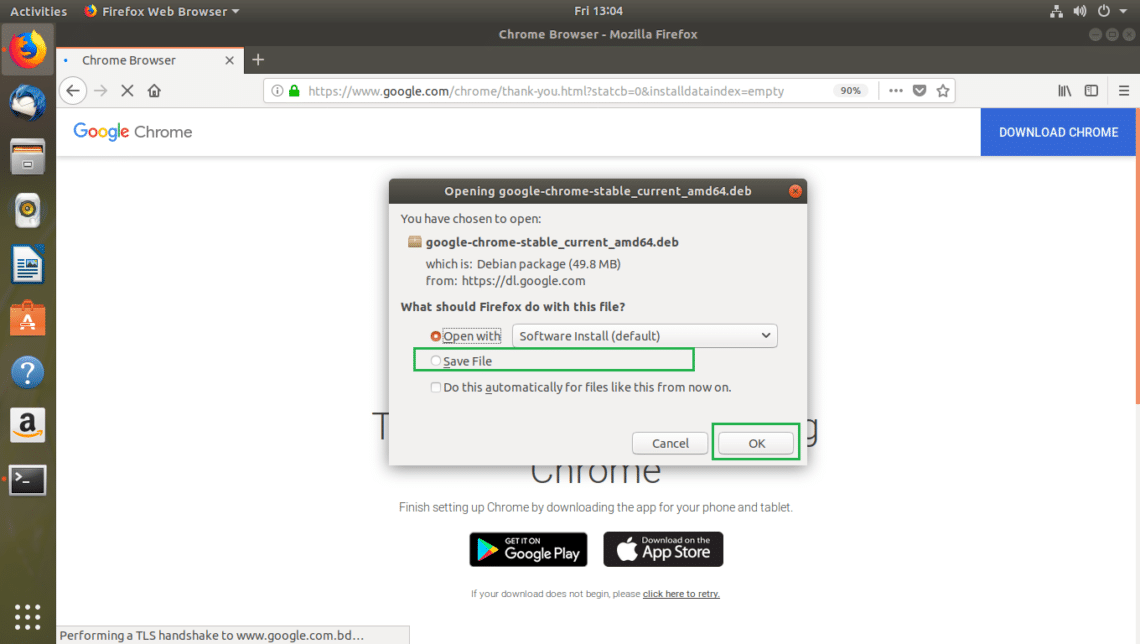
Your browser should prompt you to save the file. Select Save File and then click on OK.
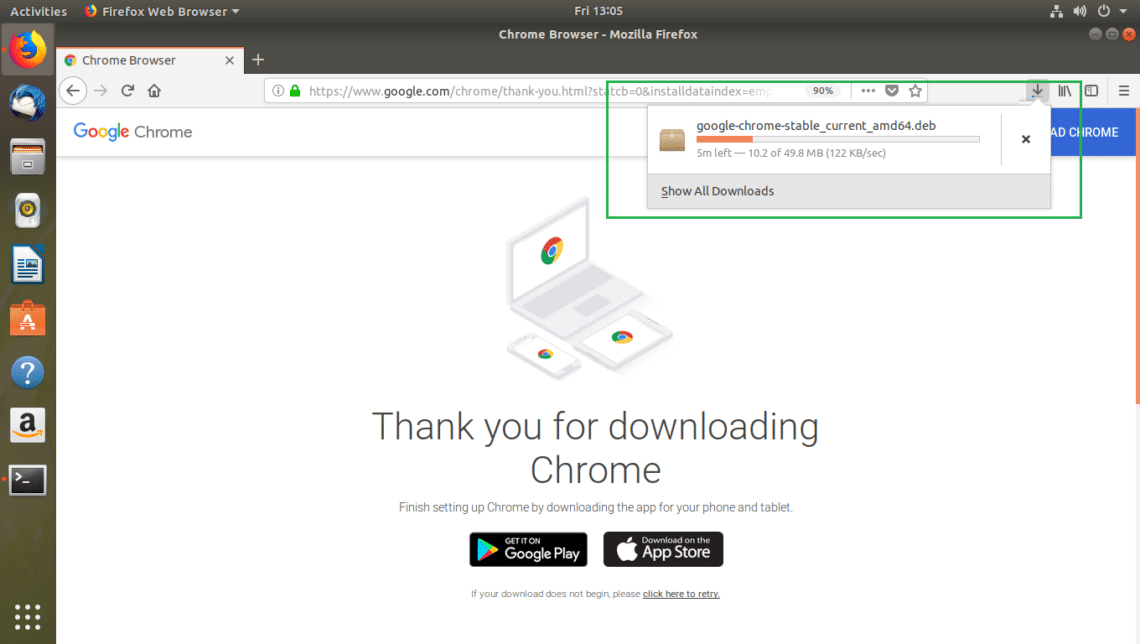
Your download should start as you can see in the screenshot below. It should take only a few minutes to complete.
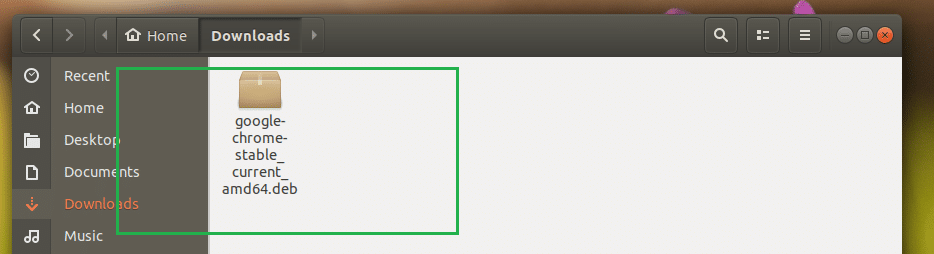
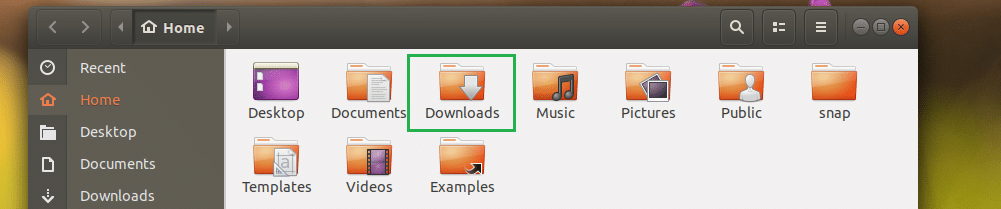
Once the download is completed, you should be able to find the Google Chrome installer .deb file in the ~/Downloads directory in your user’s HOME directory as you can see in the screenshot below.
Installing Google Chrome
Now you can install Google Chrome using the Ubuntu Software Center of using the Terminal (by running some simple commands). I will show you both ways as the Ubuntu Software Center may not work at times. It’s always good to have a backup plan.
Installing Google Chrome from the Terminal
In this section of the article, I will show you how to install Google Chrome using the Terminal.
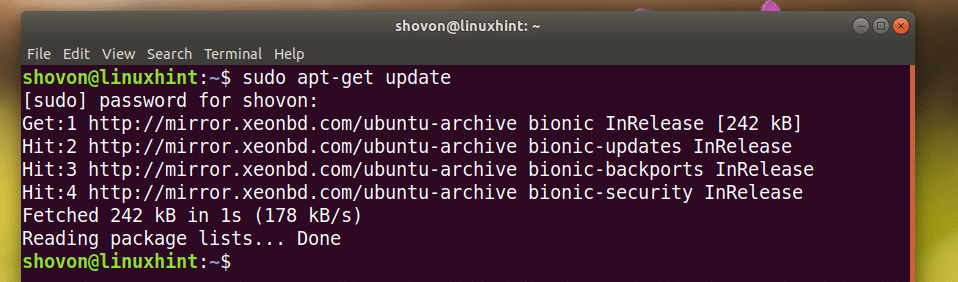
First update the package repository cache of apt package manager with the following command:

The apt package repository cache should be updated.
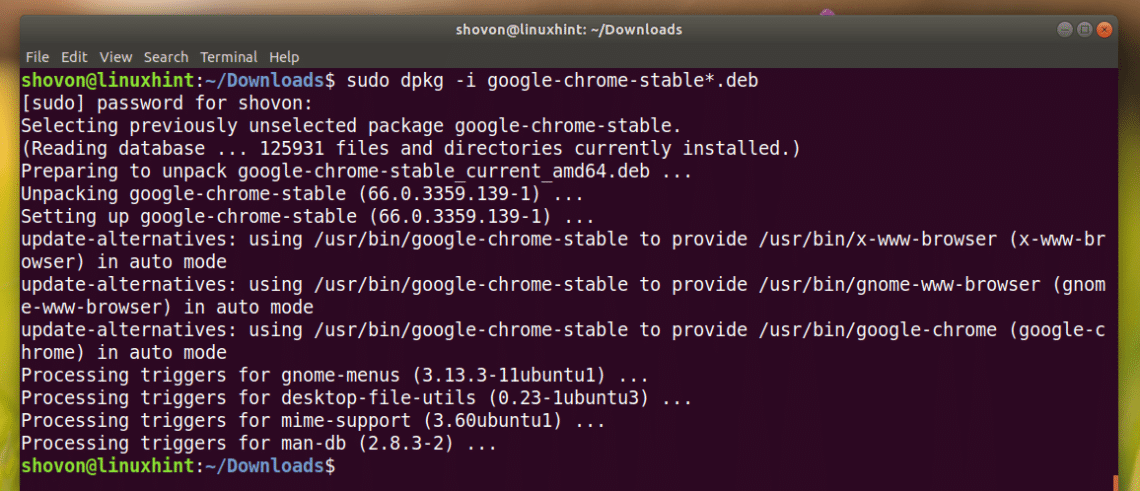
Now navigate to the ~/Downloads directory where you saved the Google Chrome installer .deb file with the following command:

Now run the following command to install Google Chrome:

Google Chrome should be installed as you can see in the screenshot below.
Installing Google Chrome using the Ubuntu Software Center
In this section, I will show you how to install Google Chrome using the Ubuntu Software Center.
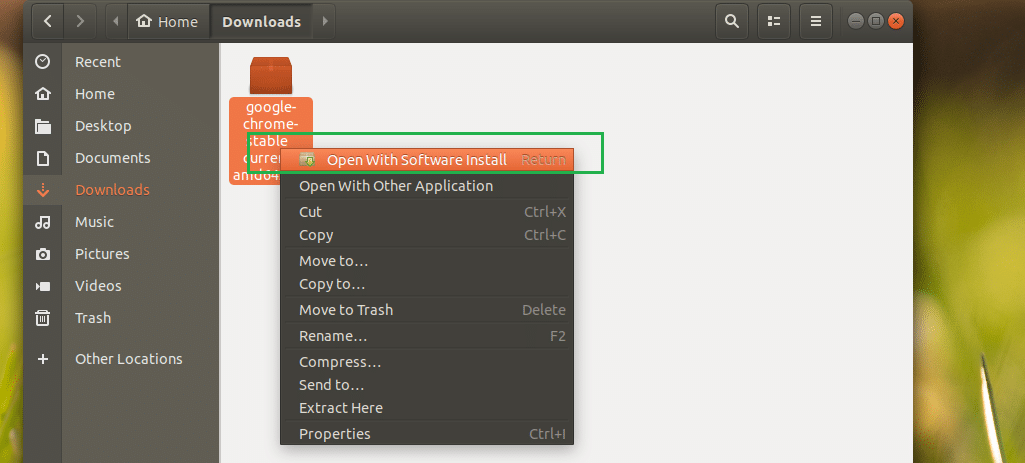
First open Nautilus File Manager and go to the ~/Downloads directory where you saved the Google Chrome installer .deb file.
Now Right Click on the Google Chrome installer .deb file and click on Open With Software Install as marked in the screenshot below.
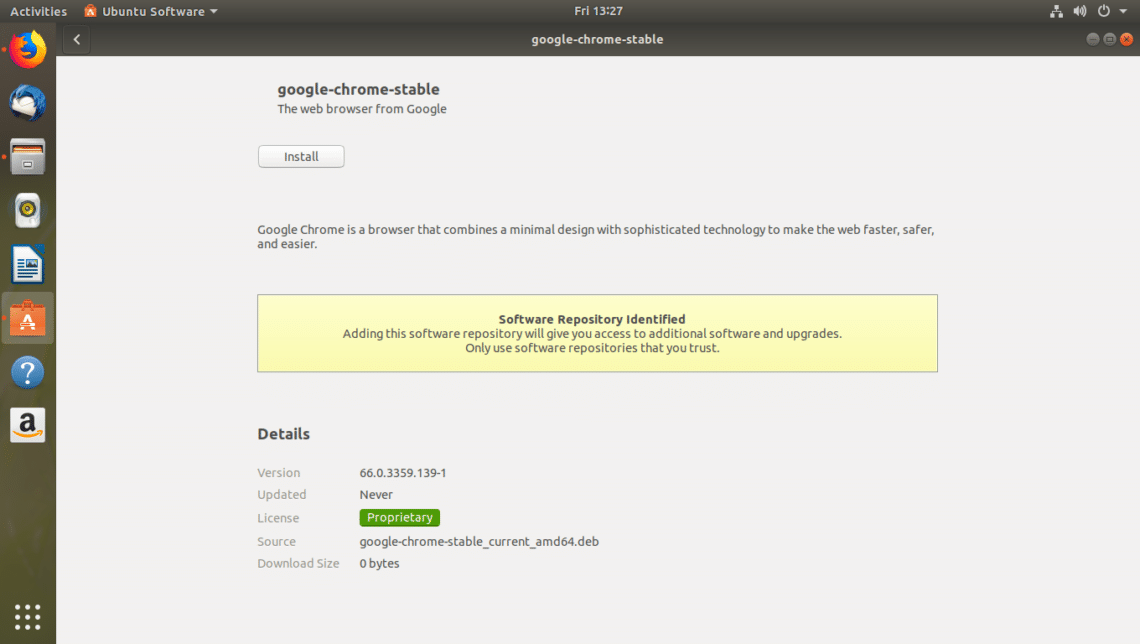
Ubuntu Software Center should open and you should see the following window as shown in the screenshot below.
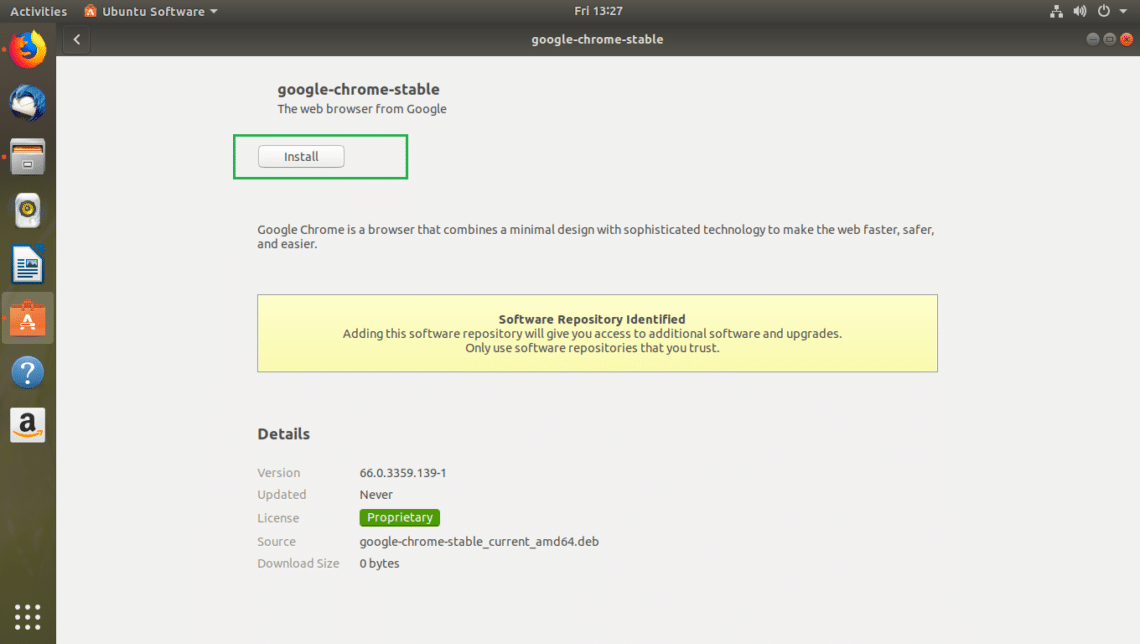
Now click on the Install button as marked in the screenshot below.
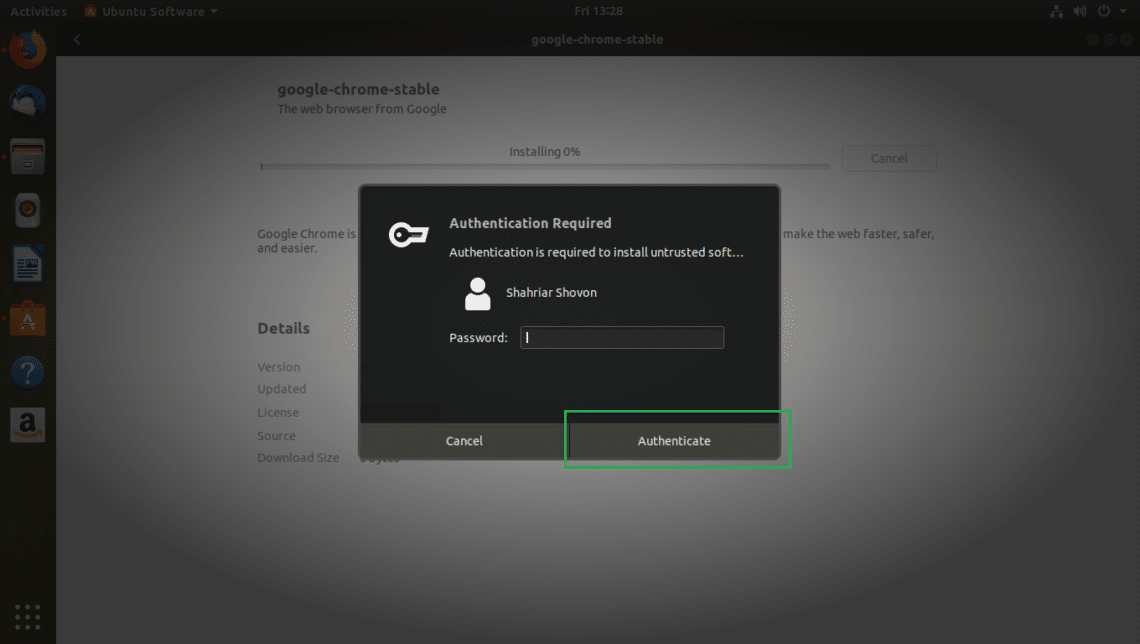
Type in your login USER’s password and click on Authenticate.
Ubuntu Software Center should start the installation as you can see in the screenshot below.
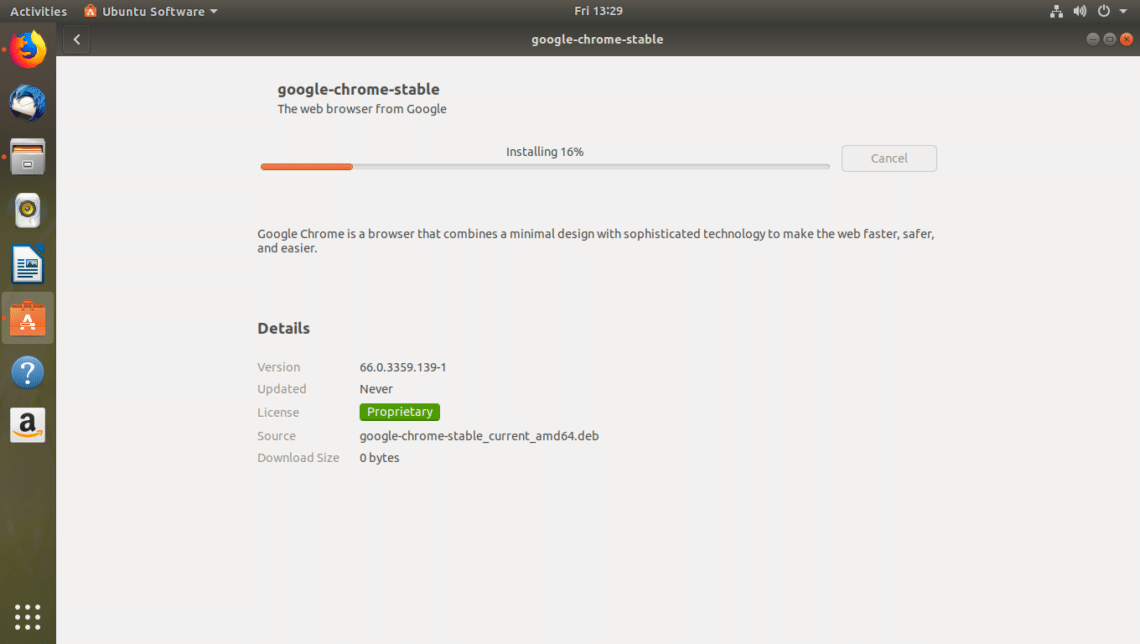
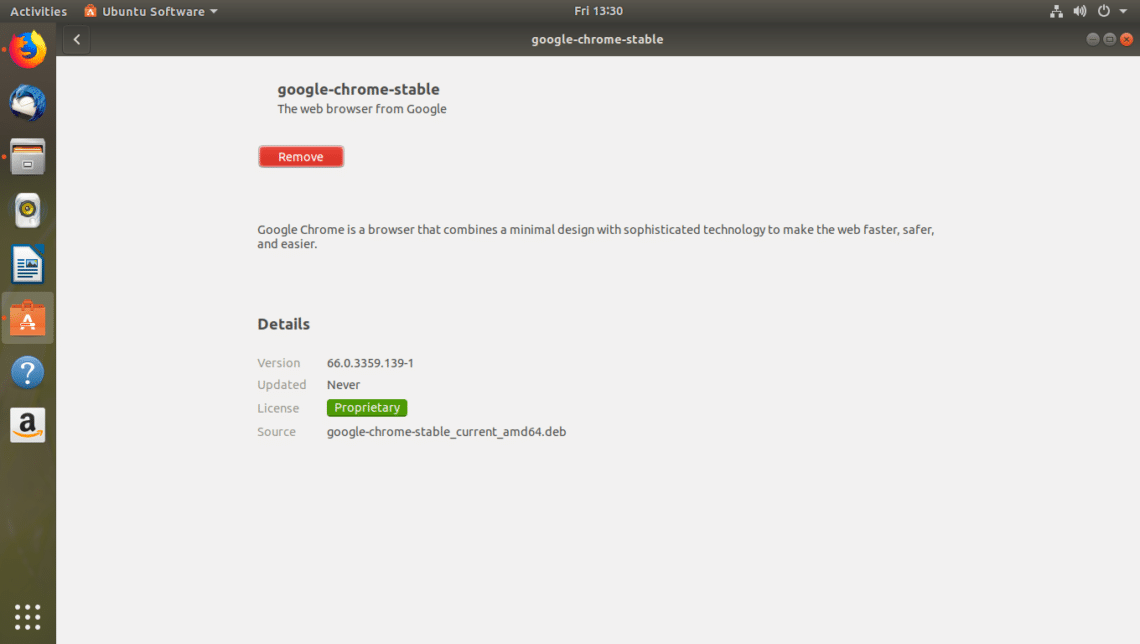
The installation should be complete after a few seconds.
Starting Google Chrome
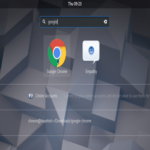
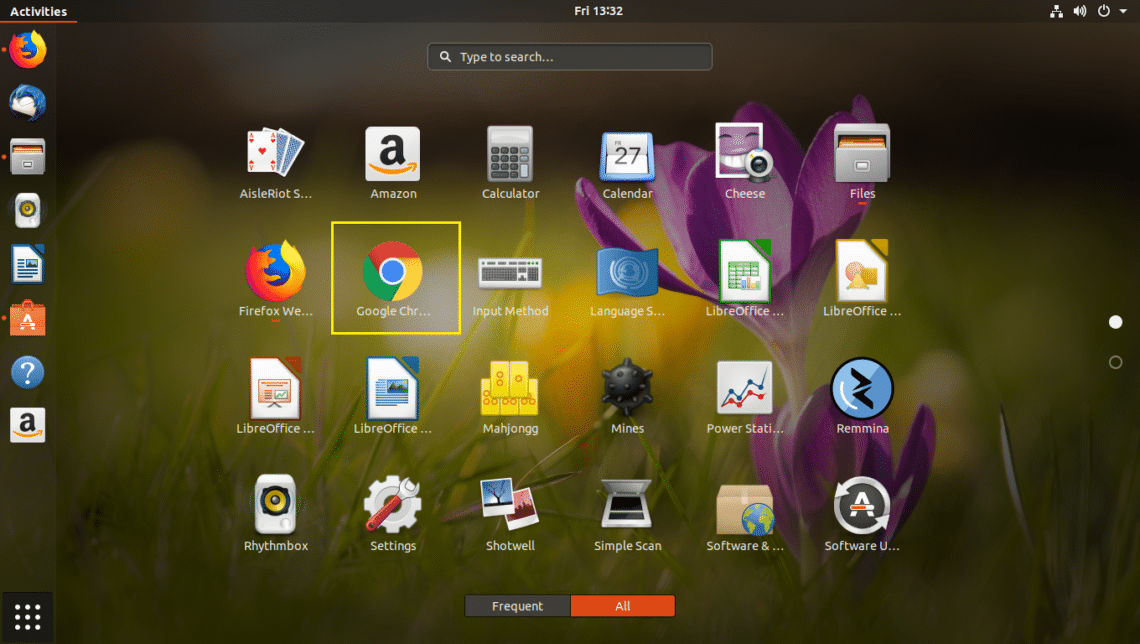
Now you can click on the Application Menu and find Google Chrome icon there. Click on it.
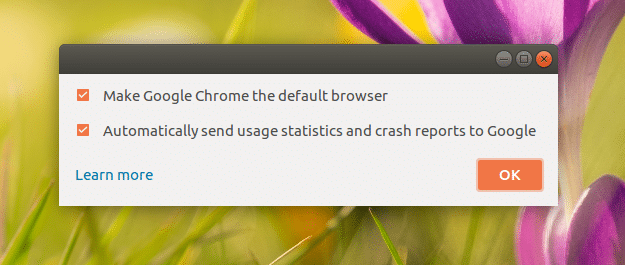
As you’re running Google Chrome for the first time, you should see the following window. You can uncheck Make Google Chrome the default browser if you don’t want to make Google Chrome the default browser. You can also uncheck Automatically send usage statistics and crash reports to Google if you don’t wish to send any statistics and crash reports to Google. Once you’re done deciding what you want, click on OK.
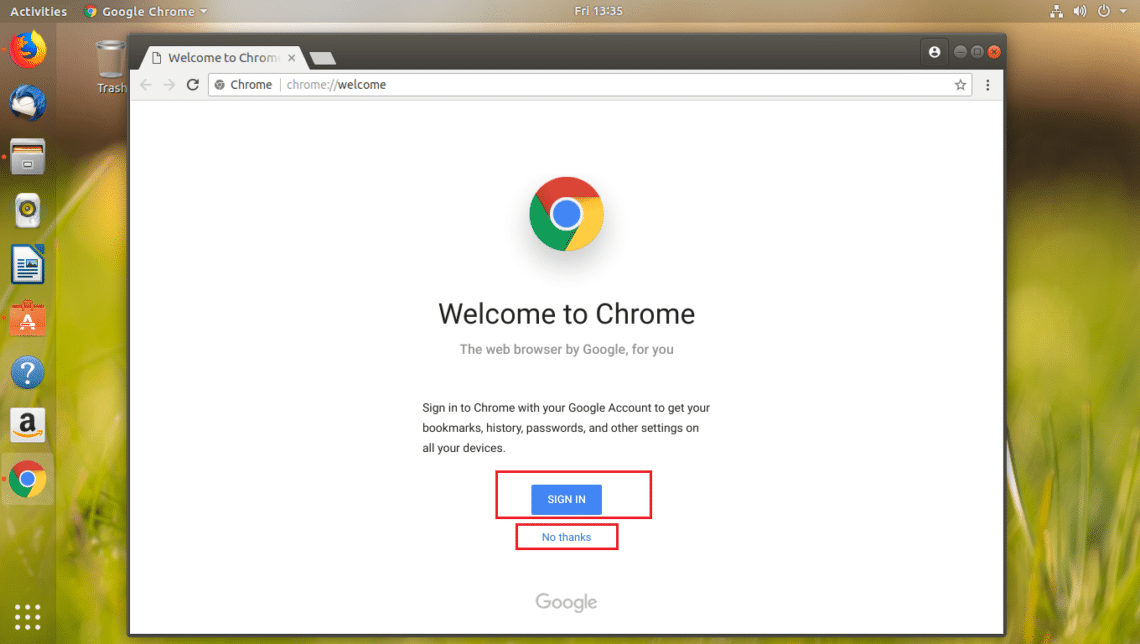
Google Chrome should start. You may click on SIGN IN to sign into your Google account, otherwise click on No thanks.
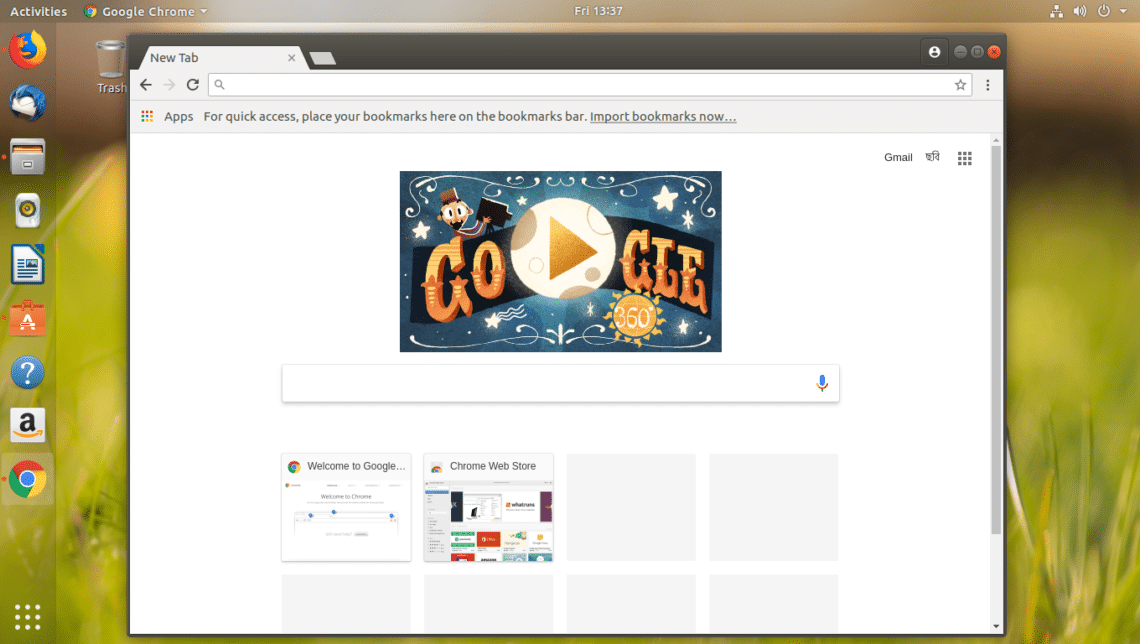
Google Chrome is all yours.
Uninstalling Google Chrome
In this section, I will show you how to uninstall Google Chrome from Ubuntu 18.04 LTS.
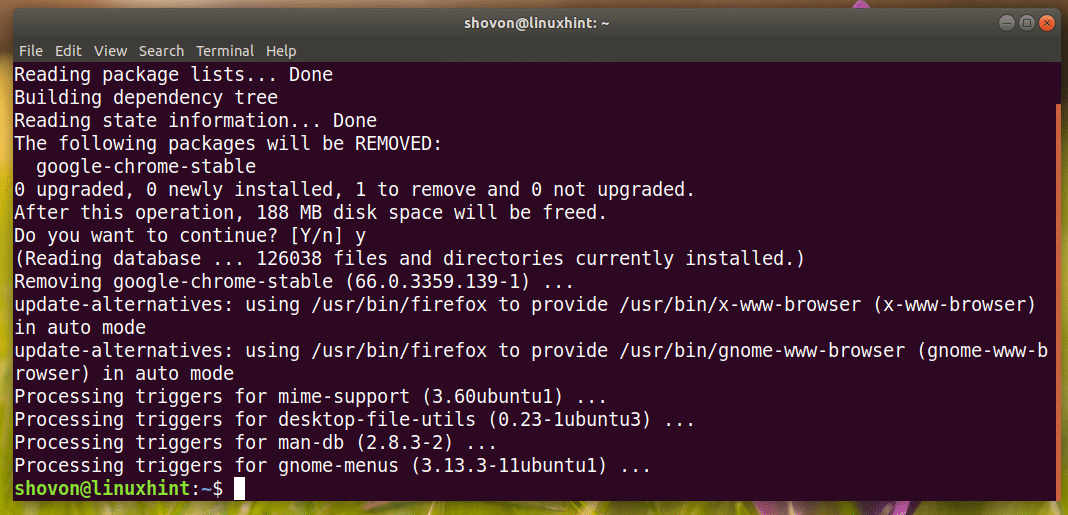
To uninstall Google Chrome, just open up a Terminal and run the following command:

Press y and then press <Enter> to continue.
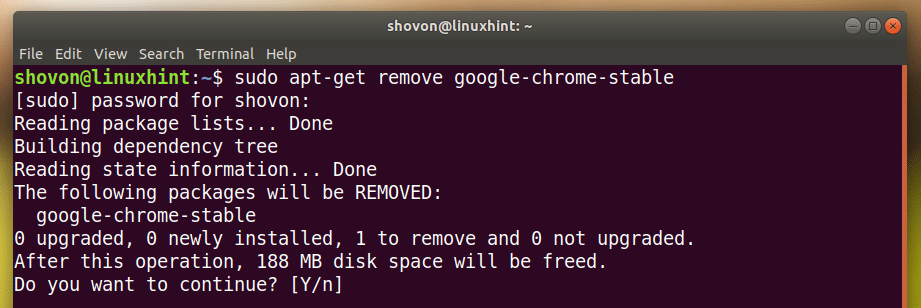
Google Chrome should be uninstalled.
That’s how you install and uninstall Google Chrome on Ubuntu 18.04 LTS. Thanks for reading this article.