In this article, I will show you how to install htop on Ubuntu 17.10 Artful Aardvark and how to use htop. Let’s get started.
Installing htop
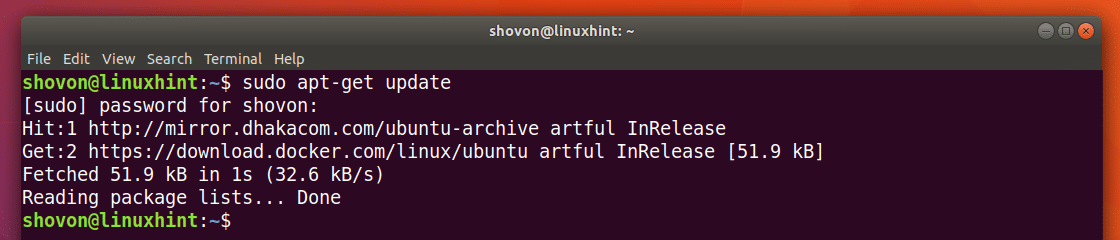
First update the package repository cache of your Ubuntu operating system with the following command:

The package repository cache should be updated.
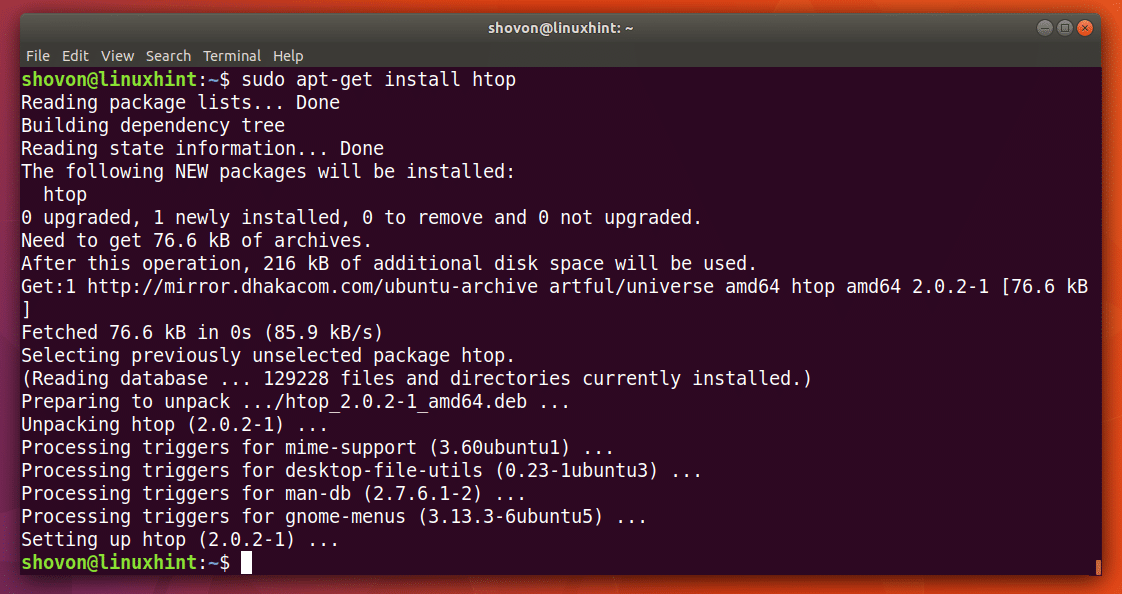
htop is available on the official package repository of Ubuntu 17.10 Artful Aardvark. To install htop, run the following command:

htop should be installed.
Now run the following command to start htop:

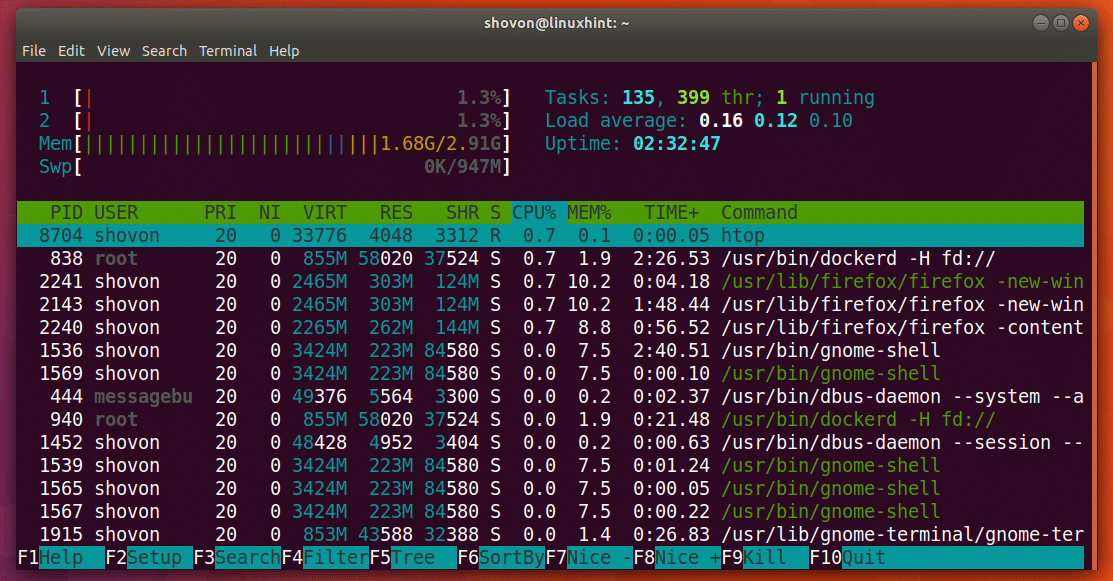
This is the main window of htop.
Basics of htop
Now I am going to talk about the interface of htop program.
On the marked section in the screenshot below, you can see the uptime of your computer. As you can see, my computer is running for 2 hours 41 minutes and 58 seconds.

You can find how much of the CPU is used in the marked section in the screenshot below. As you can see I have 2 cores in my processor and only 0.7% out of 100% of each is used.

In the marked section in the screenshot below, you can find how much main memory or RAM is available and how much is used. You can also find out how much Swap space is available and how much of it is used.
As you can see, I have 2.91 GB or RAM available and 1.67 GB is used. I also have 947 MB of swap space available and 0 KB is used. Note that, the more swap is used, the more you should be worried. If more swap is used, you should upgrade your main memory or RAM.

Search for Process
You can search for a specific process with htop. For example, let’s say you want to search for the process ‘firefox’.
First start htop and press <F3>. A search box should appear as shown in the screenshot below.
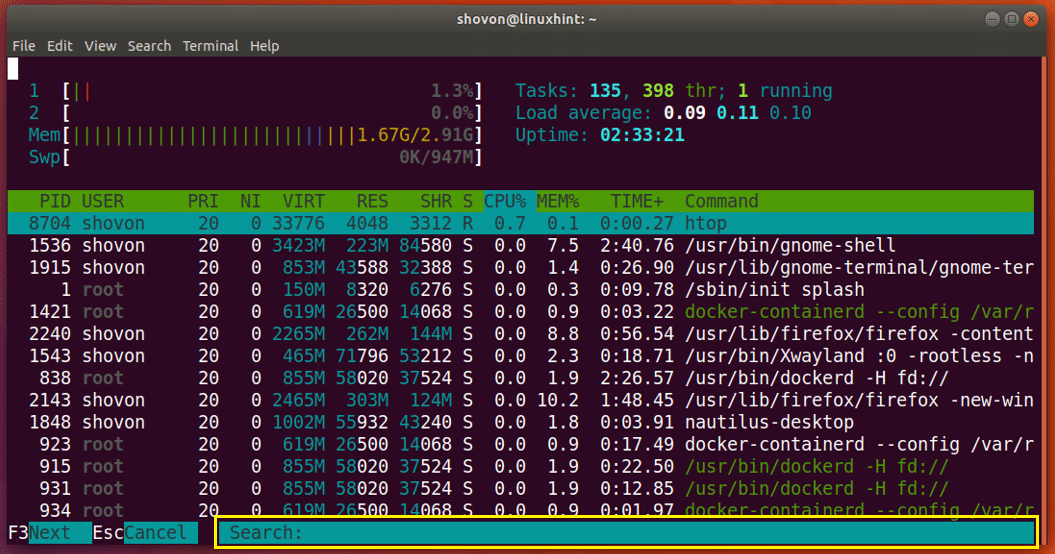
Now type in ‘firefox’, and you should see firefox process selected as shown in the screenshot below. You can see that the process id (PID) is 2240 and the process is owned by USER shovon.

To go to the next firefox process or search result, press <F3> again.
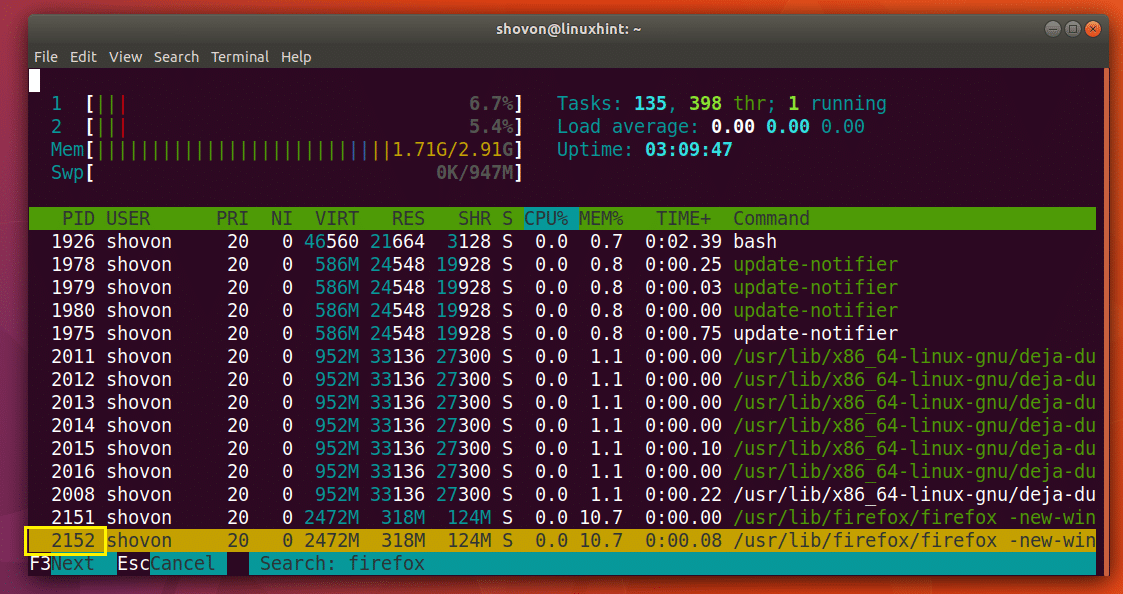
Once you find the process you’re looking for, press <Enter> to select it.
Kill a Process
You can also kill a process with htop utility.
First select a process using the <Up> and <Down> arrow keys or by searching for a process using <F3>.
Let’s say PID 2240 is the process I want to kill. I selected the process as you can see in the screenshot below.

Now to kill the process, press <F9>. You should see the following window as shown in the screenshot below. In the marked section, there are different Linux signals listed. These signals are used to manage Linux processes. To kill a process, the default signal for htop is SIGTERM. You can of course choose any other signals using the <Up> and <Down> arrow keys.
Once you select the signal you want to send to the process, press <Enter>. I suggest you send the default signal SIGTERM if you don’t know what to do here.

The process should be killed as shown in the screenshot below.

Switching to Tree View
The default view mode of htop is Sorted.
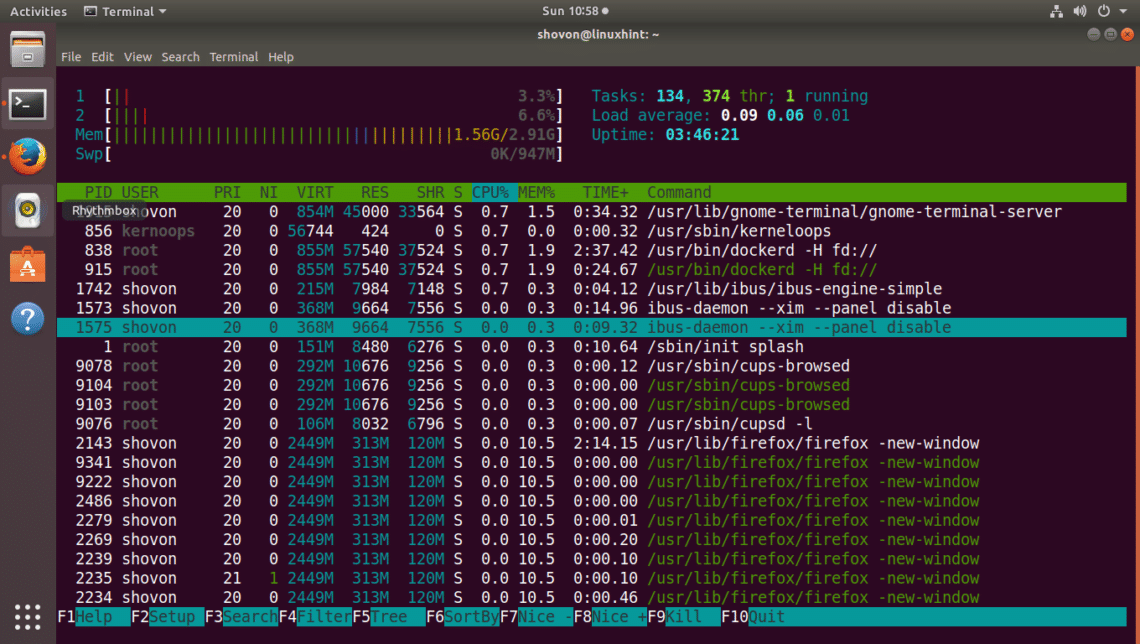
You can switch to Tree view if you want by pressing <F5> as shown in the screenshot below.
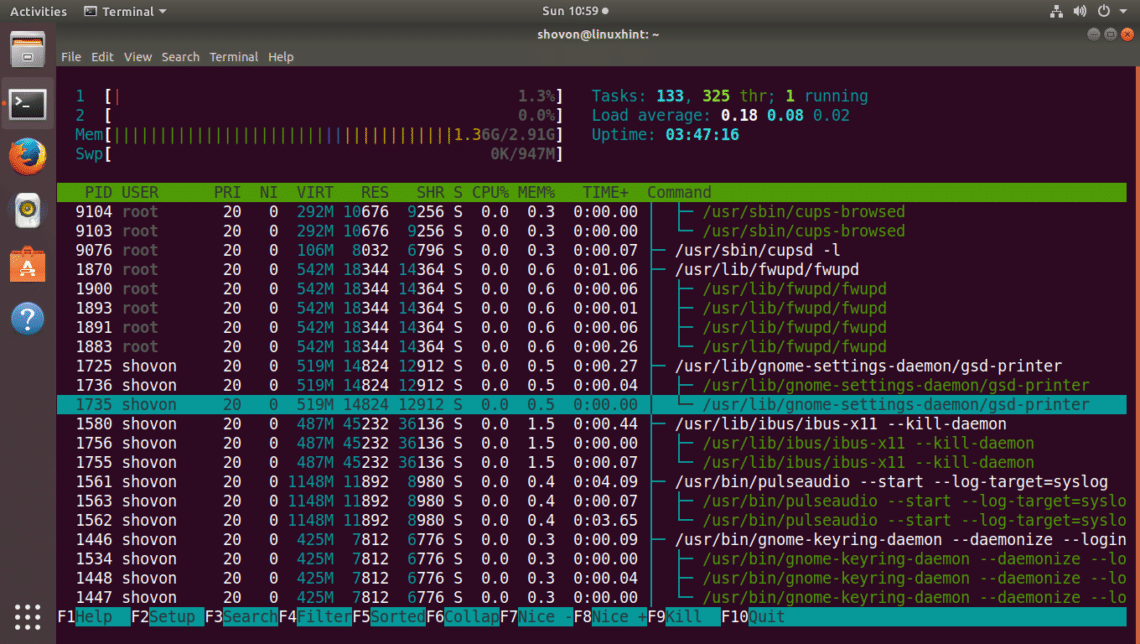
You can go back to Sorted view again by pressing <F5>.
Customizing htop Window
You can press <F2> to go to htop configuration window as you can see from the screenshot below.
From here you can customize the main window of htop. For example, you can hide or show things, change colors and many more. It is out of the scope of this article. But it should be easy enough to figure out on your own.

Once you’re done, you can exit out of htop window using the ‘q’ key.
That’s how you install and use htop on Ubuntu 17.10 Artful Aardvark. Thanks for reading this article.