In this article, I am going to show you how to install Ubuntu Make on Ubuntu and how to install the latest version of developer tools and IDEs using Ubuntu Make on Ubuntu. I will be using Ubuntu 18.04 LTS for the demonstration in this article. But the procedures shown in this article should work on Ubuntu 16.04 LTS, Ubuntu 19.04 and Ubuntu 19.10 as well. So, let’s get started.
Installing Ubuntu Make:
Ubuntu Make package (ubuntu-make) is available in the official universe package repository of Ubuntu. So, you must have the official universe package repository enabled on your Ubuntu machine.
You can enable the official universe package repository on Ubuntu with the following command:

The official universe package repository should be enabled. In my case, it’s already enabled.

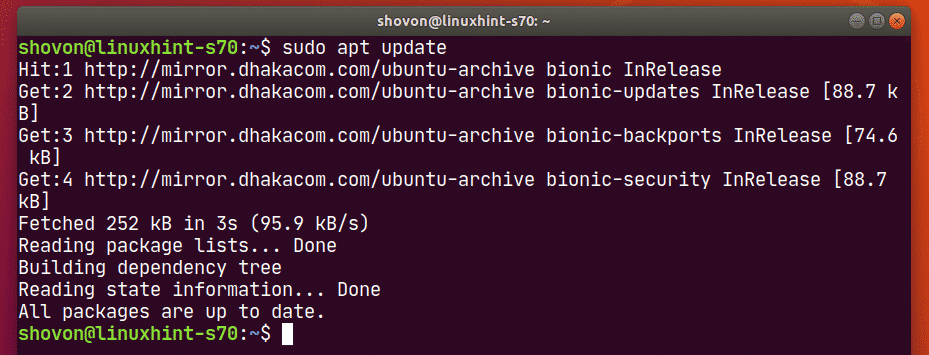
Now, update the APT package repository cache with the following command:

The APT package repository cache should be updated.
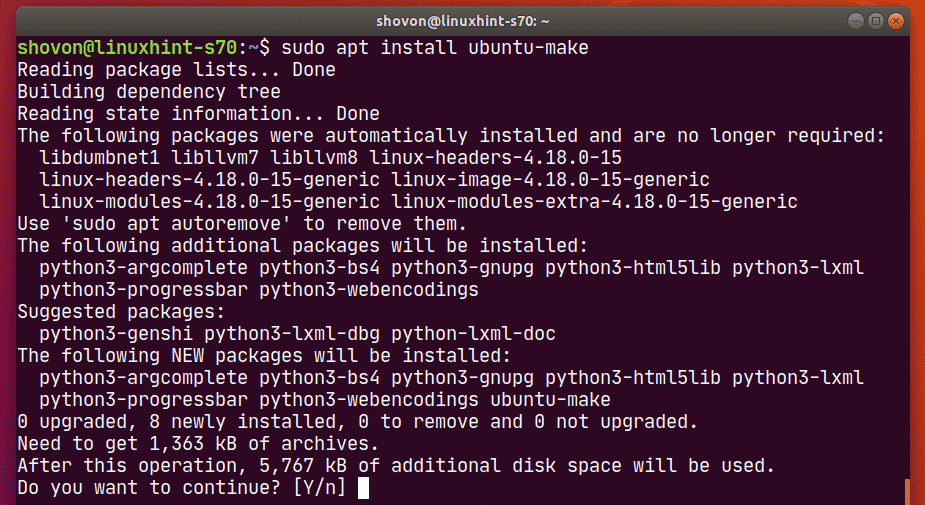
Now, install Ubuntu Make with the following command:

To confirm the installation, press Y and then press <Enter>.
Ubuntu Make should be installed.
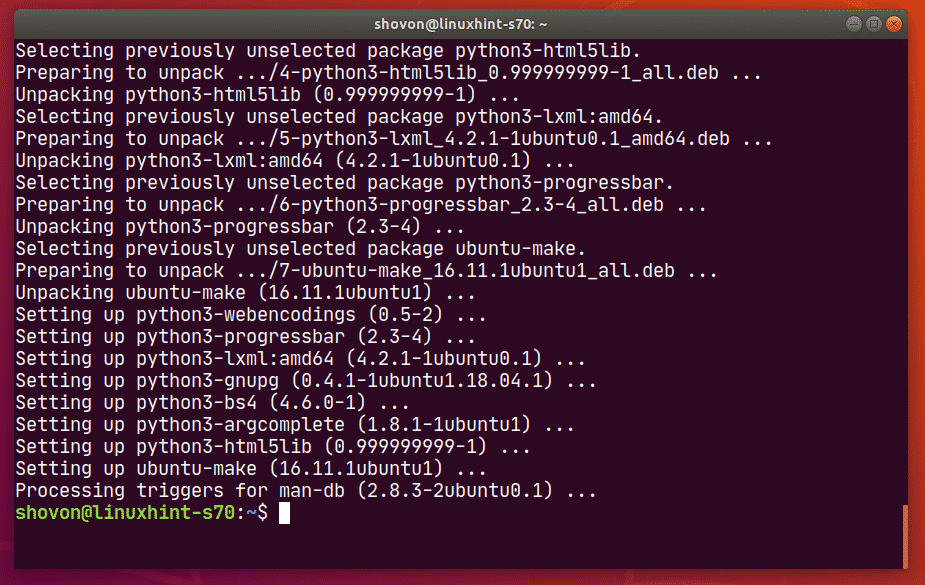
To confirm that Ubuntu Make is working correctly, run the following command:

As you can see, Ubuntu Make is working correctly.

Finding Available Software Group Name and Package Name:
Ubuntu Make categories all the developer tools and IDEs in different groups. In order to install a developer tool or IDE, you have to know the group name and the developer tool or IDE package name. Luckily, it is very easy to find out.
In order to find out the supported groups and developer tool or IDE package name that you want to install, run the following command:

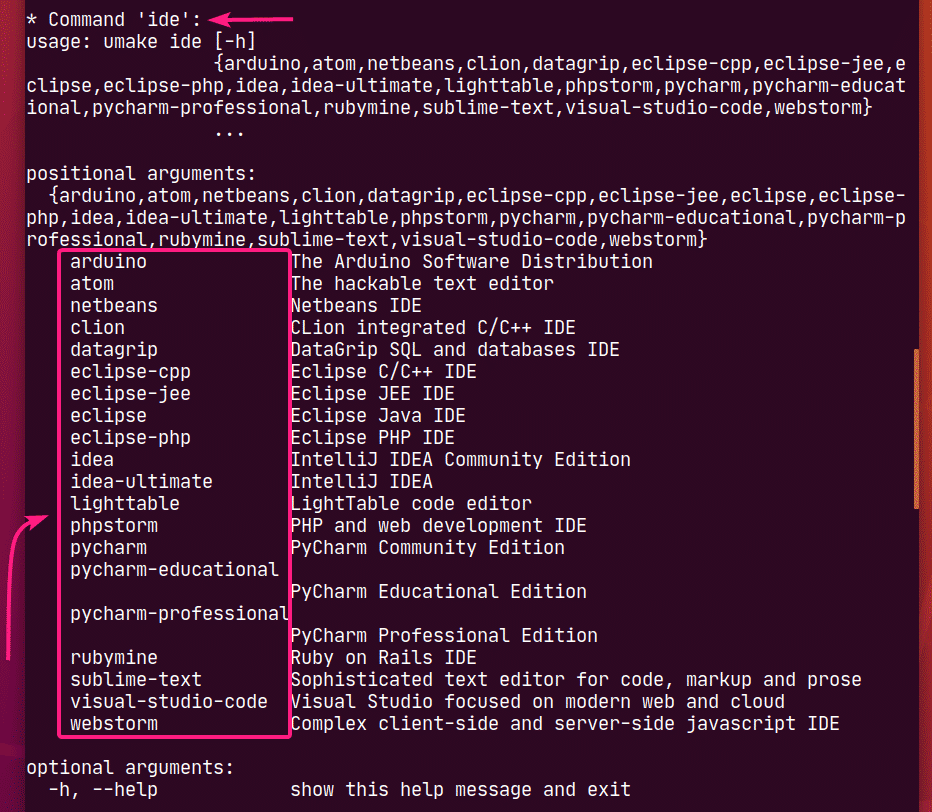
umake will print a lot of stuff on the console. But scroll up top and you should be able to find the groups as marked in the screenshot below.
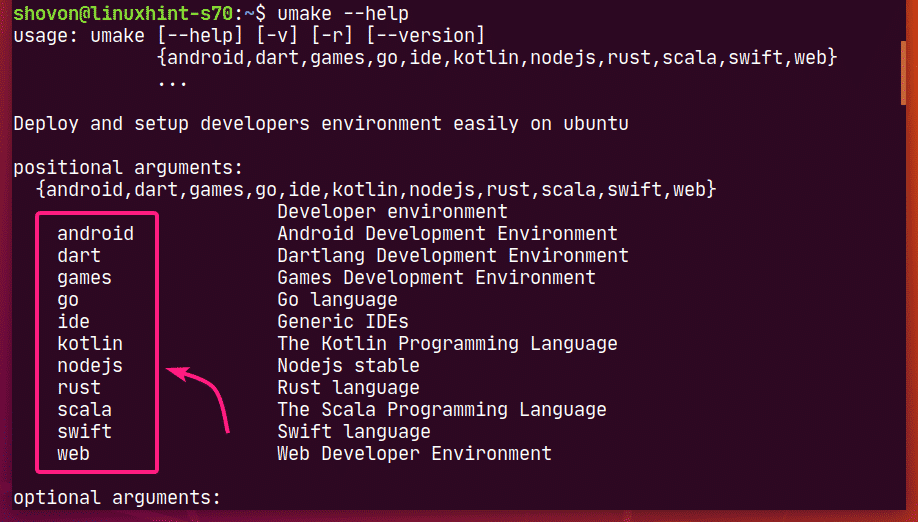
At the time of this writing, Ubuntu Make’s supported groups are: android, dart, games, go, ide, kotlin, nodejs, rust, sacala, swift, web
Each of the groups has its own set of softwares.
If you scroll down a little bit on the umake output, you should be able to find what softwares are available in your desired group.
For example, in the ide group, the following softwares are available.
At the time of this writing, the available software package names in the ide group are: Arduino, atom, netbeans, clion, datagrip, eclipse-cpp, eclipse-jee, eclipse, eclipse-php, idea, idea-ultimate, lighttable, phpstorm, pycharm, pycharm-educational, pycharm-professional, rubymine, sublime-text, visual-studio-code, webstorm.
If searching through the long output is hard for you, you can also search for available software programs in your desired group as follows:
Here, change <groupName> to your desired group.
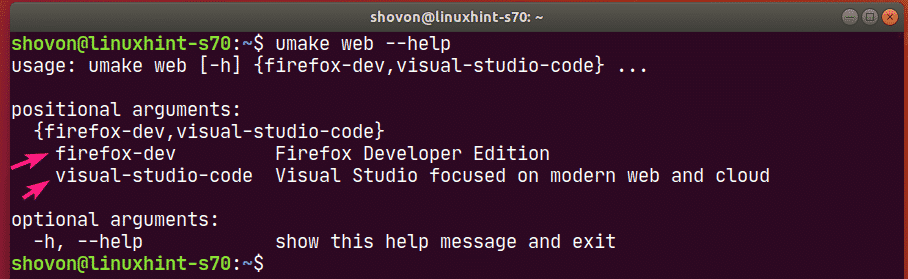
For example, let’s say, you want to see what softwares are available in the web group. To do that, run the following command:

At the time of this writing, the available softwares in the web group are: firefox-dev and visual-studio-code as you can see in the screenshot below.
Installing Developer Tools and IDEs:
Now that you know how to find the group name and package name of the developer tool or IDE that you want to install, it’s time to install it on your Ubuntu machine using Ubuntu Make.
Let’s say, you’re a Python developer and you want to install PyCharm Community Edition on your Ubuntu machine using Ubuntu Make.
So, the group name will be ide and the package name will be pycharm.
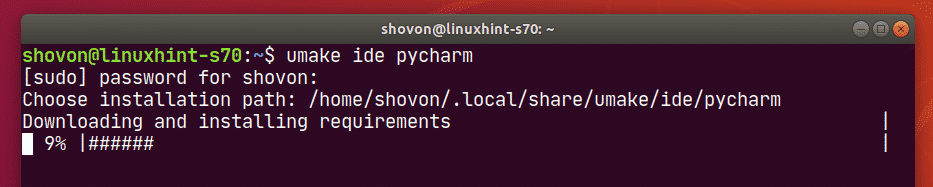
To install pycharm from the ide group using Ubuntu Make, run the umake command as follows:

You will be asked for your login password. Type it in and press <Enter>.

Ubuntu Make will ask you for an installation path. You may leave the default and press <Enter>.

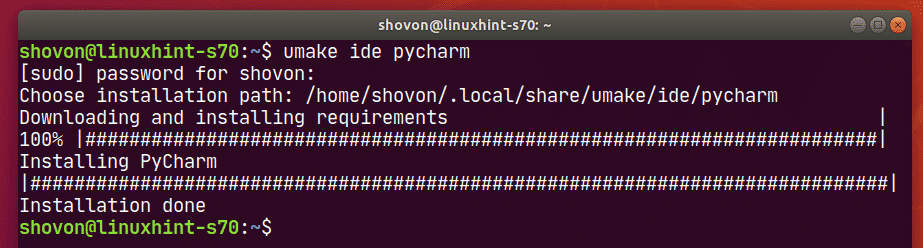
Ubuntu Make will start downloading and installing all the PyCharm dependencies and PyCharm.
At this point, PyCharm should be installed.
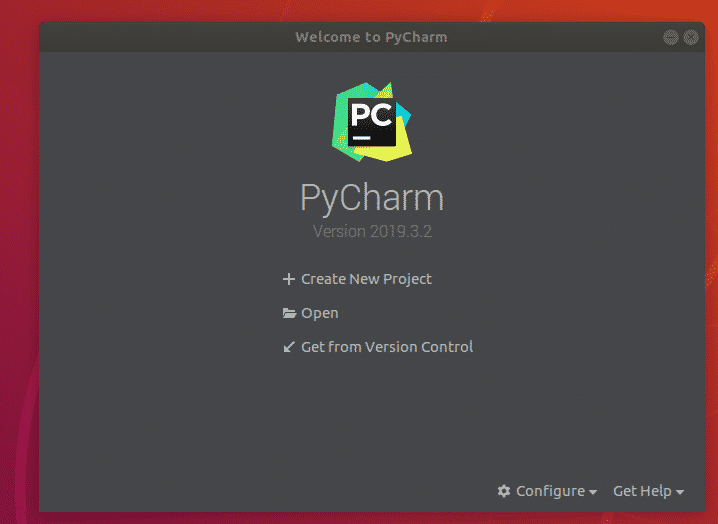
Once PyCharm is installed, you can start it from the Application Menu of Ubuntu.

As you can see, Ubuntu Make installed the latest version of PyCharm Community IDE (which is 2019.3 at the time of this writing).

PyCharm Community IDE 2019.3.2 is running on Ubuntu.
Removing Developer Tools and IDEs using Ubuntu Make:
If you’ve installed any developer tool or IDE using Ubuntu Make, you can easily remove it as well.
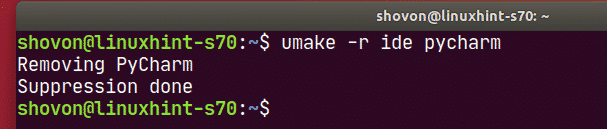
For example, to remove PyCharm Community IDE which we installed earlier, run umake with the -r flag as follows:

PyCharm Community IDE should be removed.
Updating Developer Tools and IDEs using Ubuntu Make:
Ubuntu Make can’t update the developer tools or IDEs that you’ve already installed on your Ubuntu machine. But there’s a trick to update the already installed developer tools and IDEs using Ubuntu Make.
First, remove the installed developer tool or IDE that you want to update as follows:
Then, install the developer tool or IDE again with Ubuntu Make as follows:
You may lose your developer tool or IDE configuration this way. You may need to reconfigure the developer tool or IDE. But it will update the developer tool or IDE for you. Just keep this little information in mind.
So, that’s how you use Ubuntu Make to install the latest developer tools and IDEs on Ubuntu. Thanks for reading this article.