JDK or Java Development Kit is used by Java programmers all over the world to compile and run Java code. Java and JDK is a product of Oracle and it’s also licensed under Oracle. There is OpenJDK which is an open source implementation of Java. Currently the latest version of JDK is 9. In this article, I will show you how to install Oracle JDK9 on CentOS 7. Let’s get started.
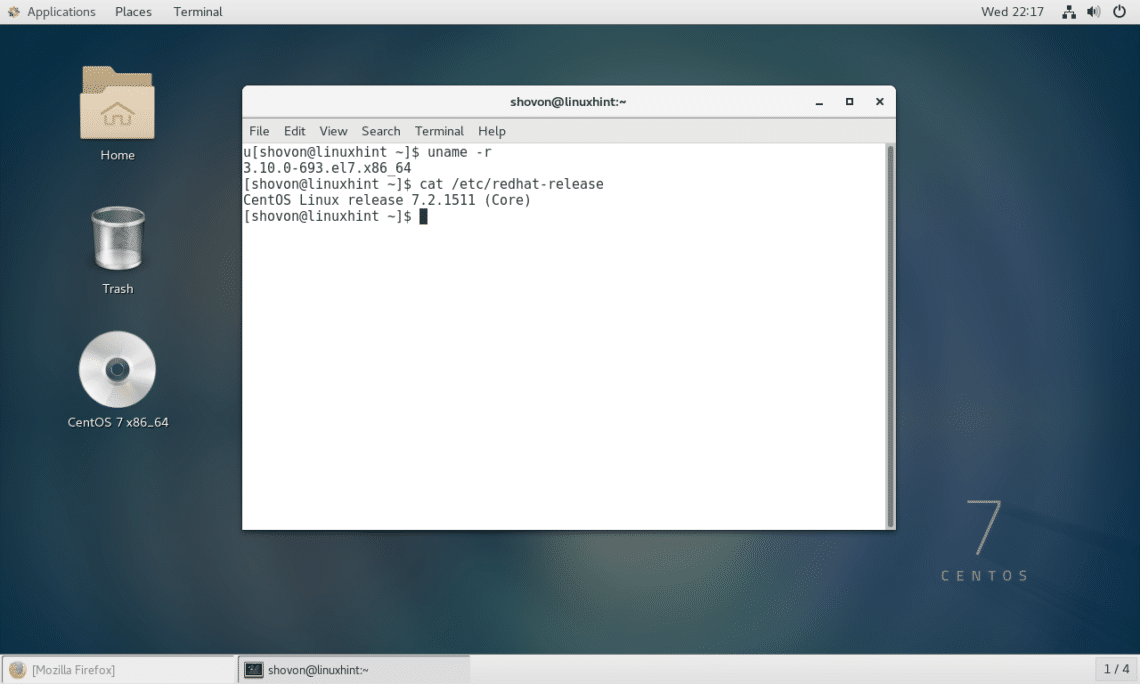
Downloading Oracle JDK 9:
Oracle distributes JDK (Java Development Kit) for Java Developers in their official website in compressed tar archive and in an rpm file. As CentOS uses an RPM based package manager yum, we can install JDK on CentOS 7 with compressed tar archive or with the rpm file using the package manager. Since we can use the package manager
First go to the official website of Oracle at https://www.oracle.com from any browser of your choice.

Once the page loads, Hover over “Menu”. A drop down menu should pop up. Now hover over “Downloads and Trials” and click on “Developer Downloads”.

You should see the following page.

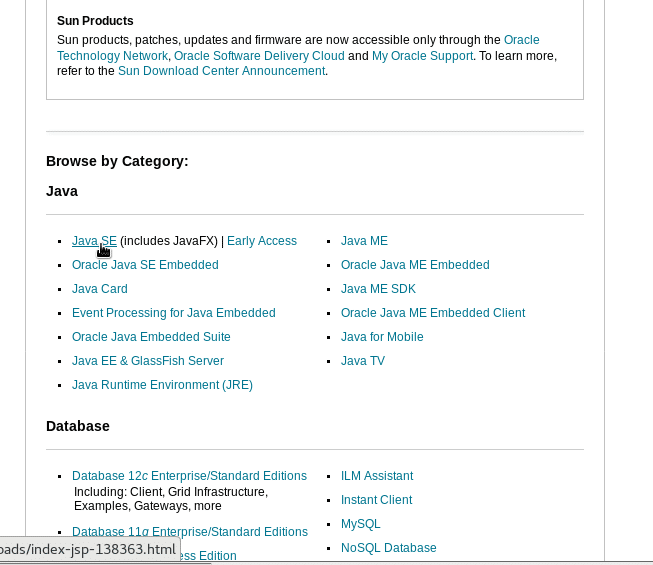
Scroll down a little bit and click on “Java SE (includes JavaFX)”.
You should see the following page. Now click on “Java Platform (JDK) 9” as shown in the screenshot below.

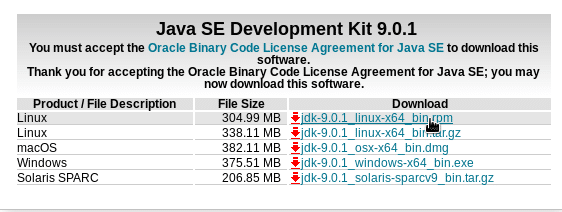
You should see the following page. This page includes the download links for JDK 9. Before you can download JDK 9, you must accept “Oracle Binary Code” License.
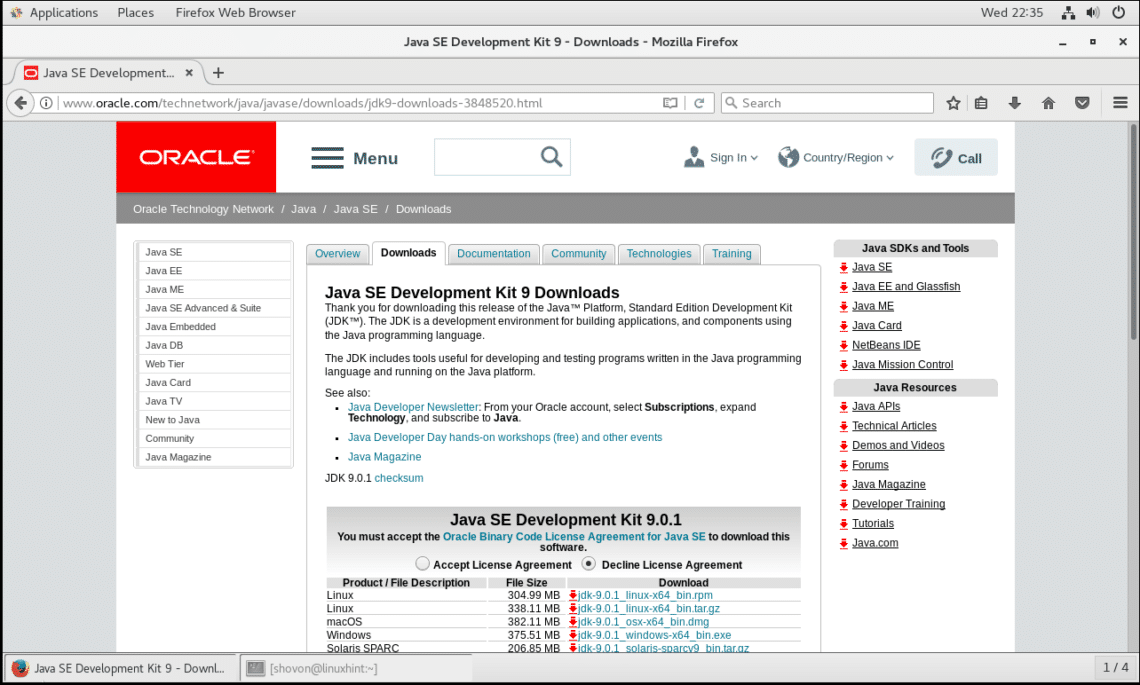
Click on “Accept License Agreement” radio box to accept the “Oracle Binary Code” license.
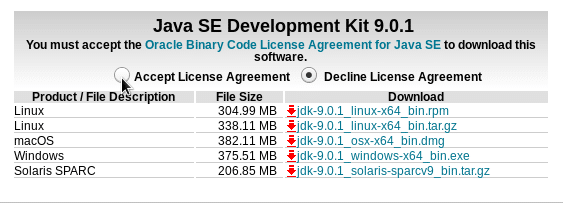
Once the license is accepted, you will be able to download JDK 9.

Now click on “jdk-9.0.1_linux-x64_bin.rpm” as shown in the screenshot.
NOTE: By the time you read this article, the version of JDK 9 might change, so adapt it as required for the rest of the article.
Your browser should prompt you to download the file, just click on “Save File” and then click on “OK”.

Your download should begin. As you can see, it’s a pretty big file. So it may take a while depending on your internet connection.

Installing Oracle JDK 9:
Once the download is complete, open a terminal and go to the directory where you downloaded Oracle JDK 9 on your computer. By default, it is in ~/Downloads directory in your user’s HOME directory.
Run the following command to change to the Downloads directory:
$ cd ~/Downloads

Run the following command to see what is in the Downloads directory:
$ ls
You can see that, the downloaded file ‘jdk-9.0.1_linux-x64_bin.rpm’ is in the directory.

You can install JDK 9 from an rpm package in 2 ways. You can either use the yum package manager to install the downloaded rpm package file. Or you can use the traditional rpm program to install the downloaded rpm package file. The latter is important when yum is not available. CentOS or Fedora should have it installed already. I will show you both ways in this article.
Using yum package manager:
To install JDK 9 using yum package manager, run the following command from the ~/Downloads directory:
$ sudo yum install jdk-9.0.1_linux-x64_bin.rpm
Now type ‘y’ and press <Enter> to continue.

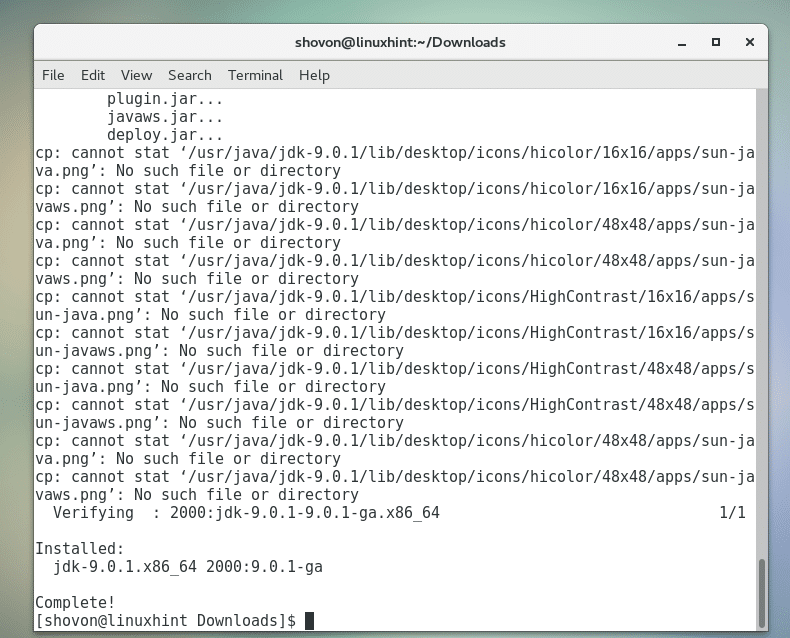
The installation should start. It may take a while to complete. You should see the following window once the installation is complete.
Now run the following command to test whether JDK 9 is working:
$ javac -version
You can see that the version is 9.0.1. So it is working correctly.

Using rpm:
You can also install JDK 9 rpm package file using the rpm program.
To install JDK 9 using rpm, run the following command:
$ sudo rpm -i jdk-9.0.1_linux-x64_bin.rpm

Once you press <Enter>, the installation should start. On completion, you should see something like this.

You can run the following command to test whether the installation was successful again:
$ javac -version

That’s how you install Oracle JDK 9 on CentOS 7. Thanks for reading this article.