Adding OwnCloud Package Repository:
OwnCloud is not available in the official package repository of Ubuntu 18.04 LTS. But we can easily add the official OwnCloud package repository on Ubuntu 18.04 LTS and install OwnCloud using the APT package manager.
First, download the GPG key of the OwnCloud package repository with the following command:
/Release.key -O Release.key

The GPG key should be downloaded.

Now, add the GPG key to the APT package manager with the following command:

Now, add the official package repository of OwnCloud on your Ubuntu machine with the following command:
/’ | sudo tee /etc/apt/sources.list.d/owncloud.list

The official OwnCloud package repository should be added.

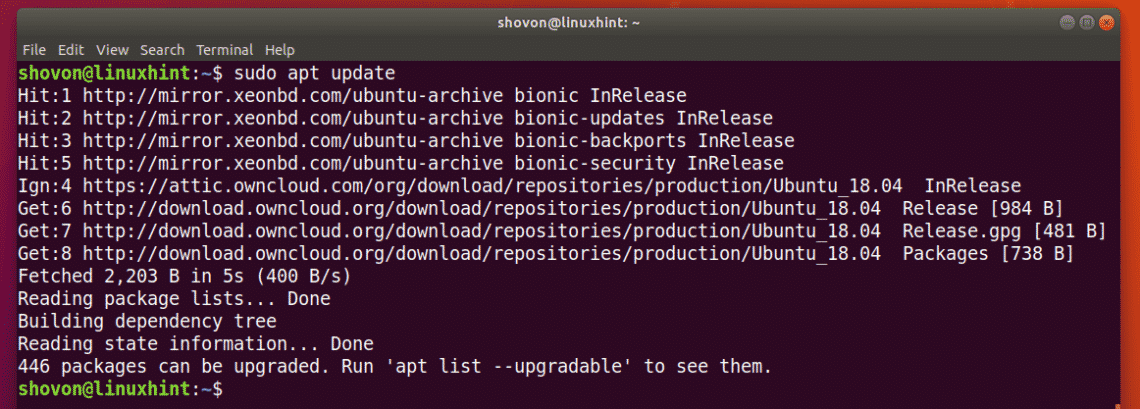
Now, update the APT package repository cache with the following command:

The APT package repository cache should be updated.
Installing and Configuring Apache and MySQL for OwnCloud:
OwnCloud is a PHP based web application that runs on the Apache web server. OwnCloud also needs a database. I will use MariaDB/MySQL in this article.
You can install Apache 2 web server, MariaDB database server, PHP and some of the required PHP libraries with the following command:
php-mysql php-curl php-gd php-imagick php-intl php-mbstring php-xml php-zip

Now, press y and then press <Enter>.
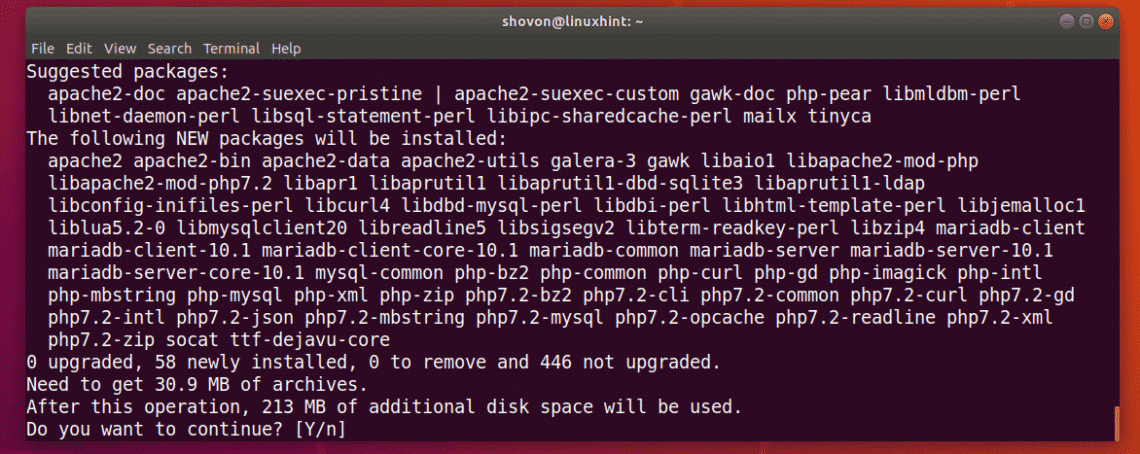
The required packages are being downloaded.
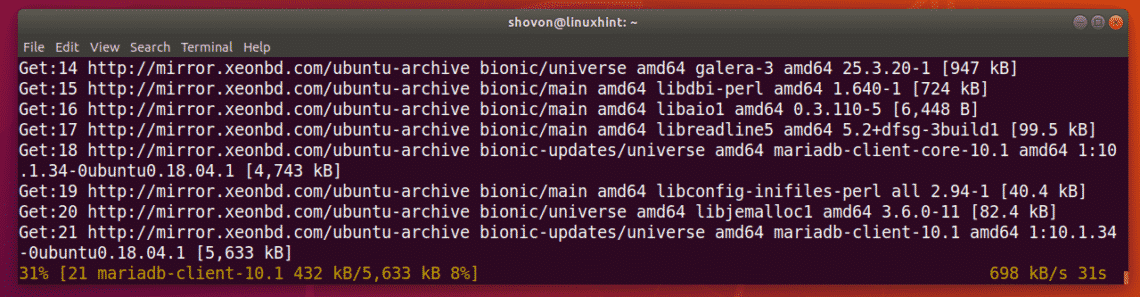
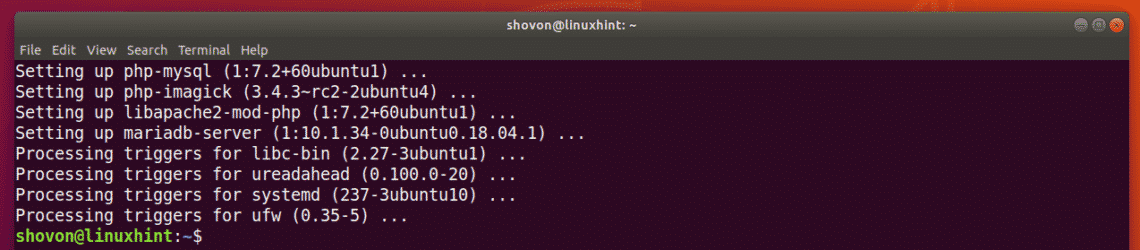
All the required packages should be installed at this point.
Now, enable Apache 2 mod_rewrite module with the following command:

Apache 2 mod_rewrite should be enabled.

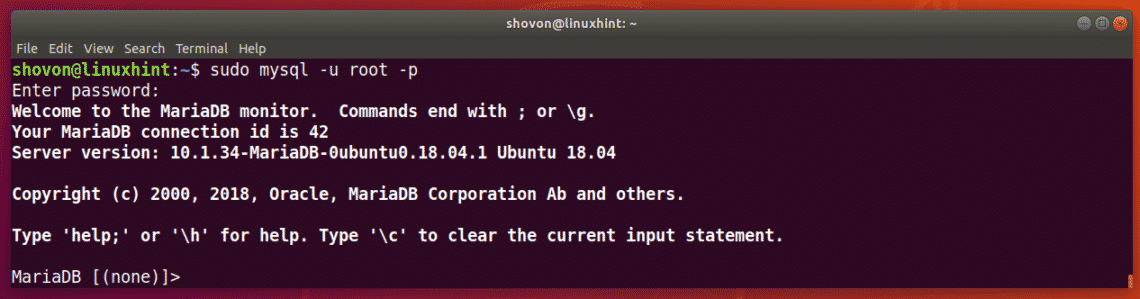
Now, you have to create a MariaDB user and a database for OwnCloud. To do that, login to the MariaDB console as root with the following command:

Now, type in your MariaDB root password and press <Enter>.

You should be logged into the MariaDB console.
Now, run the following command to create a new database owncloud:

owncloud database should be created.

Now, run the following command to create a MariaDB user owncloud with the login password PASSWORD (I will set it to owncloud):

The user owncloud should be created.

Now, run the following command to grant all the privileges on the owncloud database to the user owncloud:

All the privileges are granted.

Now, exit out of the MariaDB console with the following command:

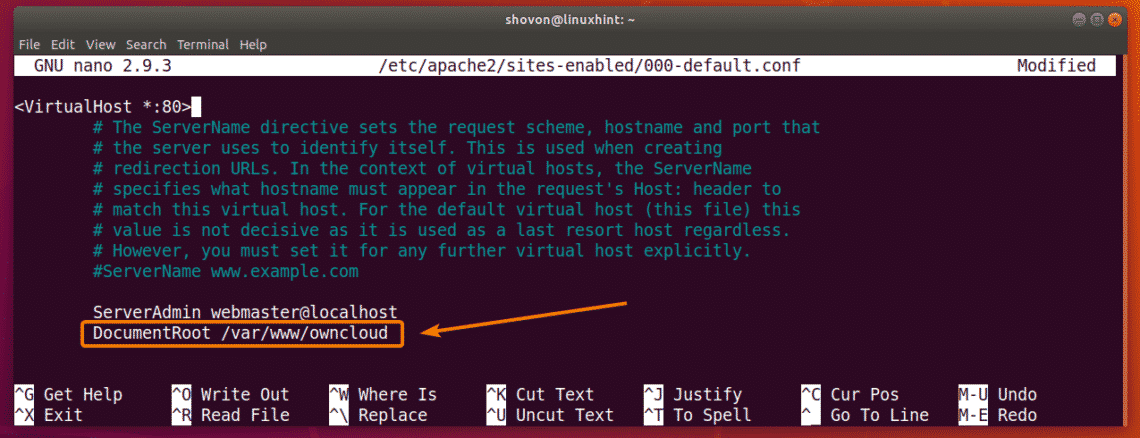
OwnCloud web application will be installed on the /var/www/owncloud directory. So you have to change the DocumentRoot of your Apache 2 web server to point to /var/www/owncloud.
To do that, open the default Apache 2 site configuration file with the following command:

Now, find the DocumentRoot line and make sure it is set to /var/www/owncloud as marked in the screenshot below.
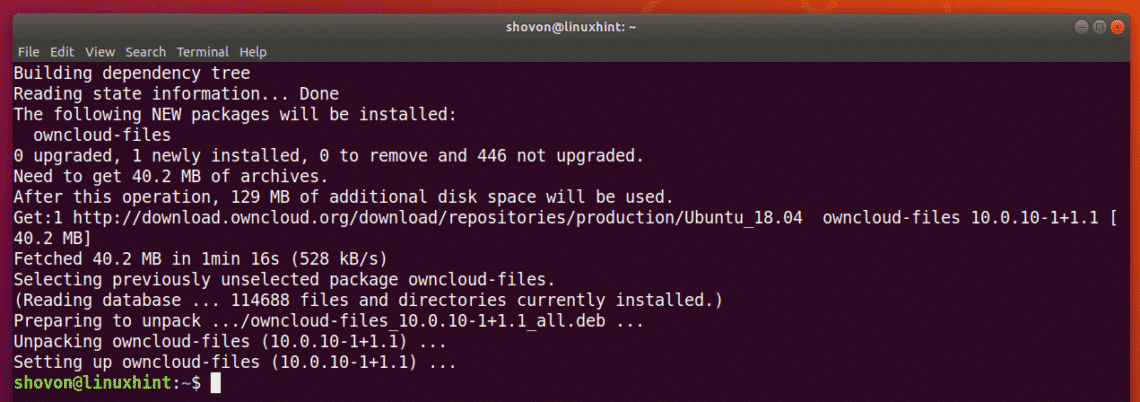
Installing OwnCloud:
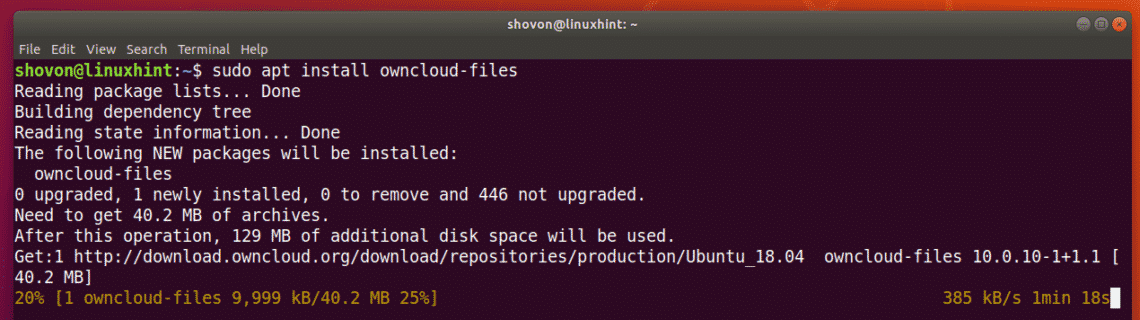
Now, you can install OwnCloud with the following command:

OwnCloud package is being downloaded.
OwnCloud package should be installed.
Now, run the following command to restart Apache 2 web server for the configuration changes to take effect.

Configuring OwnCloud:
Now, you have to access OwnCloud from a web browser in order to configure OwnCloud.
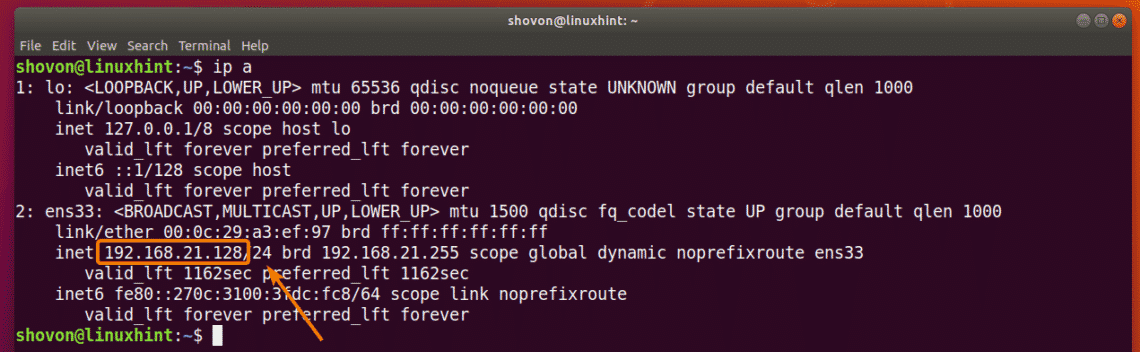
First, run the following command to find the IP address of your Ubuntu machine.
As you can see, the IP address in my case is 192.168.21.128. It will be different for you. So, make sure you replace it with yours where necessary.
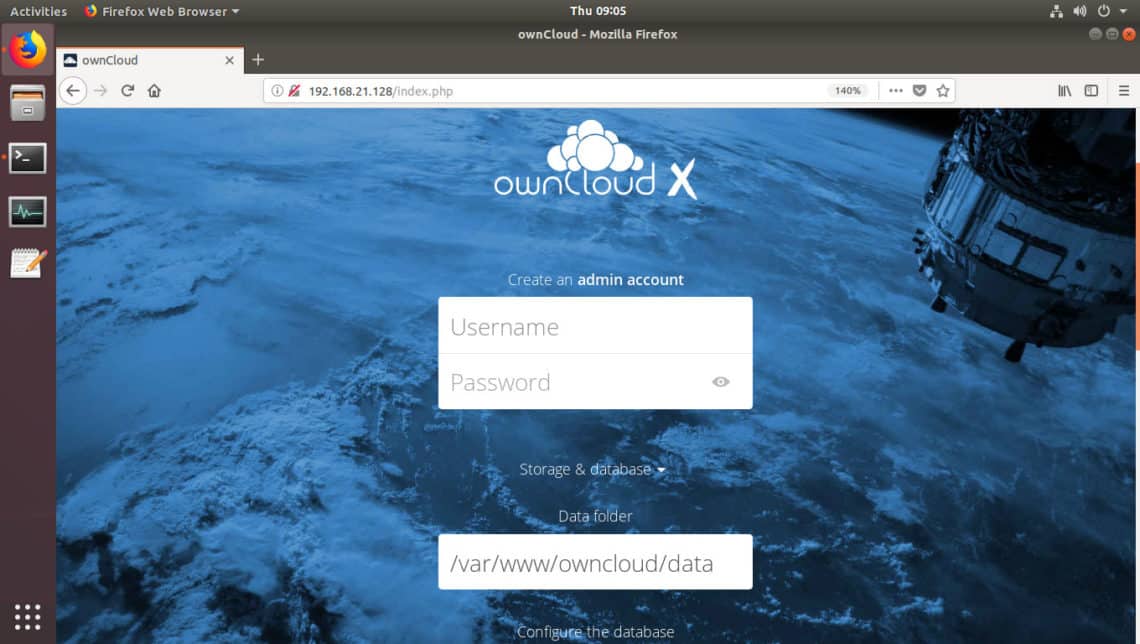
Now, open a web browser and visit http://192.168.21.128. You should see the following page. Here, you have to create a OwnCloud admin account, configure where OwnCloud should save its data and configure the database.
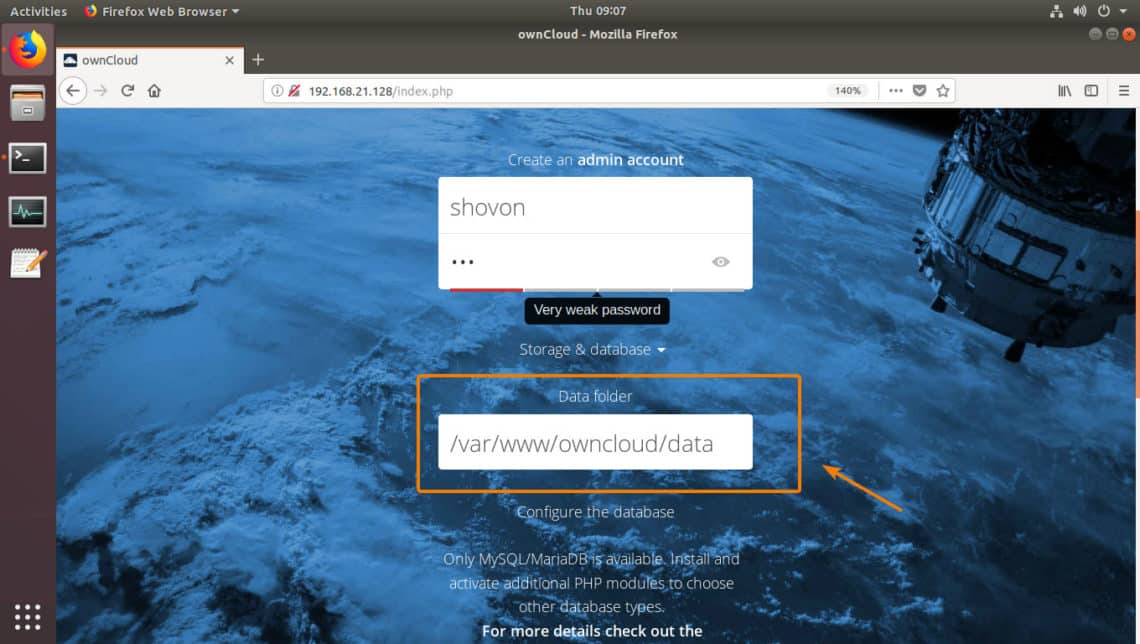
Now, type in the details of your OwnCloud admin account. The default data folder is /var/www/owncloud/data. If you want, you can change it to some other directory mounted on your Ubuntu machine. I will leave the default.
Now, scroll down a little bit and type in your MariaDB database credentials. Once you’re done, click on Finish setup.

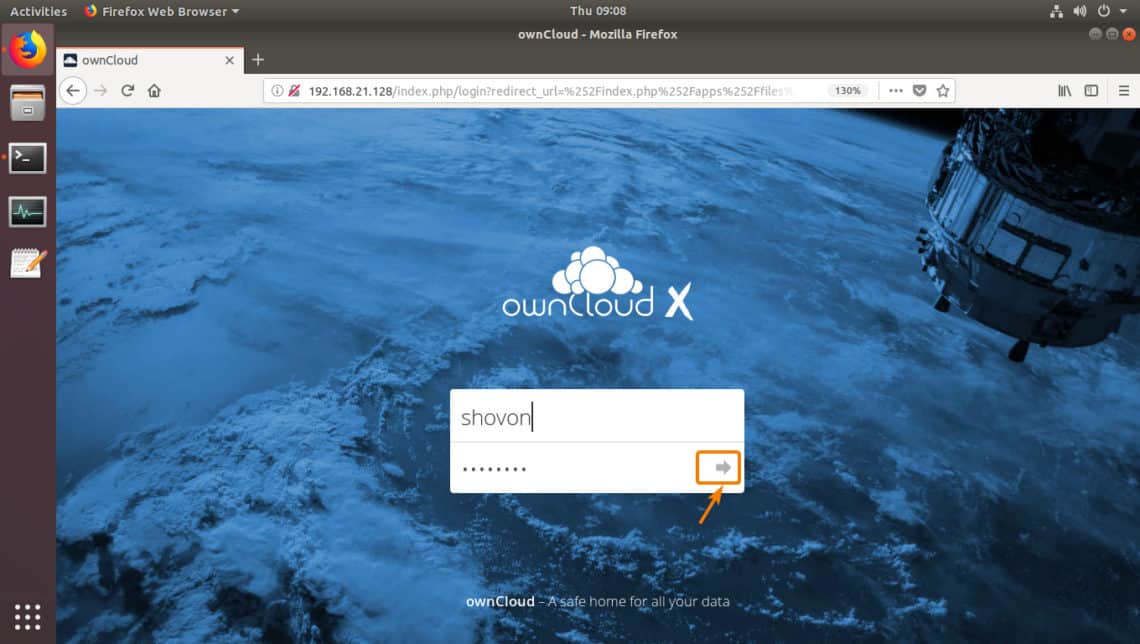
Now, you should be able to log in to your OwnCloud account. Just type in the login username and password and click on the forward icon as marked in the screenshot below.
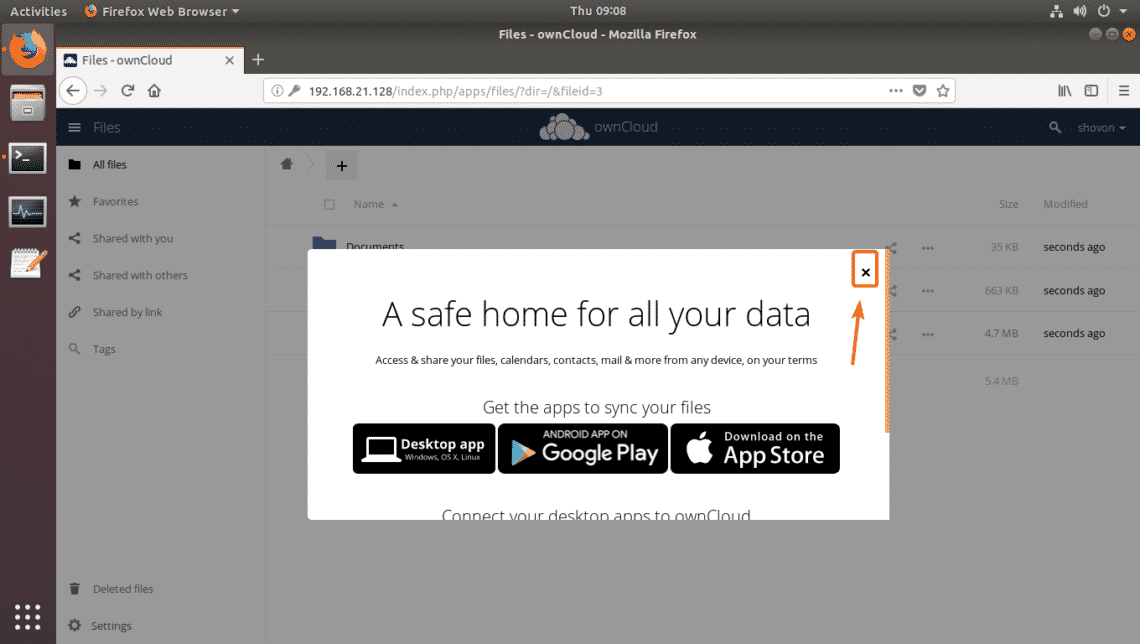
Click on the x icon to close the popup window.
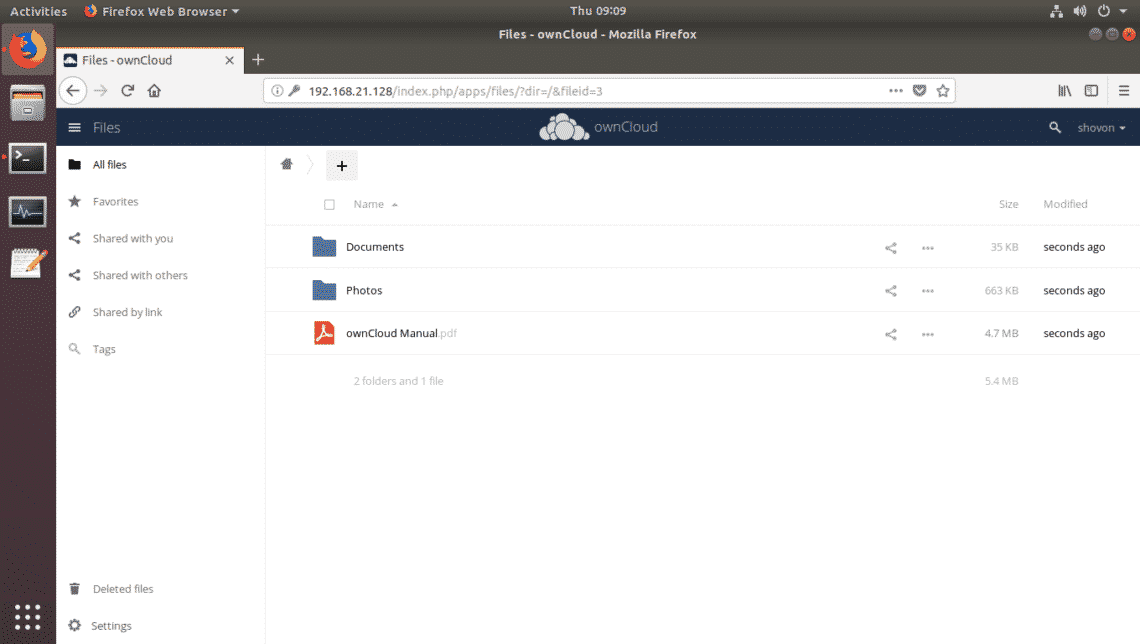
You should see the OwnCloud dashboard. From here you can manage your files, upload new files and do other administrative tasks.
So, that’s how you install OwnCloud on Ubuntu 18.04 LTS. Thanks for reading this article.