Oracle’s free Virtualization solution, VirtualBox is a very popular Virtualization platform. People all over the world use VirtualBox. You can use VirtualBox to virtualize Linux, BSD, Windows, OSX, and many other types of operating systems. VirtualBox runs on Windows, Mac, Linux. So switching between different environment is quite easy.
In this article, I will show you how to install Oracle VirtualBox on Arch Linux. Before you get started, you must enable Hardware Virtualization VT-d/AMD-V from your BIOS settings. Once you have that enabled, let’s get started.
Installing VirtualBox:
First open a terminal on your Arch Linux operating system.

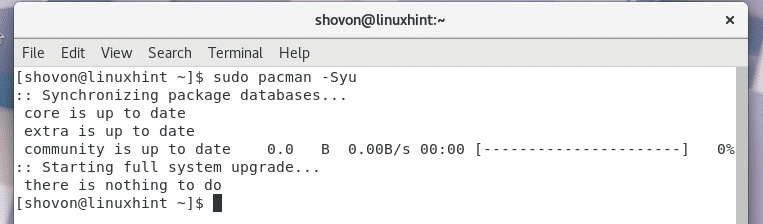
Now run the following command to update the package repository cache of your Arch Linux operating system.
The pacman package repository cache should be updated.
Now we can install VirtualBox on Arch Linux using Pacman package manager. On Arch Linux, the latest version of VirtualBox will be downloaded if you use pacman package manager. There is no easy way to install VirtualBox from the official website of VirtualBox like Ubuntu, Debian, RHEL etc distribution.
To install VirtualBox using Pacman package manager, run the following command:
Pacman package manager should ask you which VirtualBox host module you want to install. Press 2 and then <Enter> to select the option virtualbox-host-modules-arch

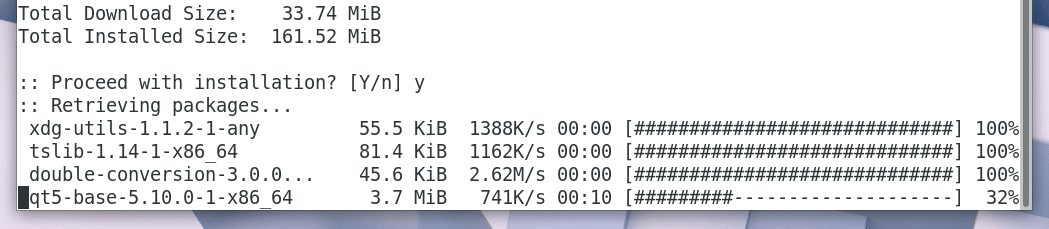
Now pacman should ask you to confirm the installation of VirtualBox. Press <y> and then press <Enter> to continue. Notice the version of VirtualBox package that will be installed is 5.2.4. Which is the latest version.

The installation should start. It should take a while to download and install all these packages.
On completion of the installation, you should see something like the following screenshot.

If you try to run VitualBox right now, you should see the following error as shown in the screenshot. It says VirtualBox kernel module ‘vboxdrv’ is not loaded.
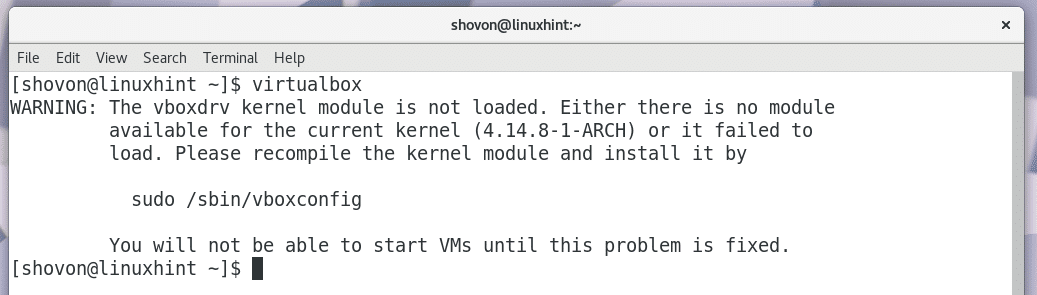
We can manually load the kernel module with the following command:
You can see that the errors are gone.

But doing this every time is impractical. To make the vboxdrv module autoload on system boot, you must add the driver to the /etc/modules-load.d/virtualbox.conf file.
Run the following command to create the /etc/modules-load.d/virtualbox.conf file and open it with nano text editor:

The file is empty right now.
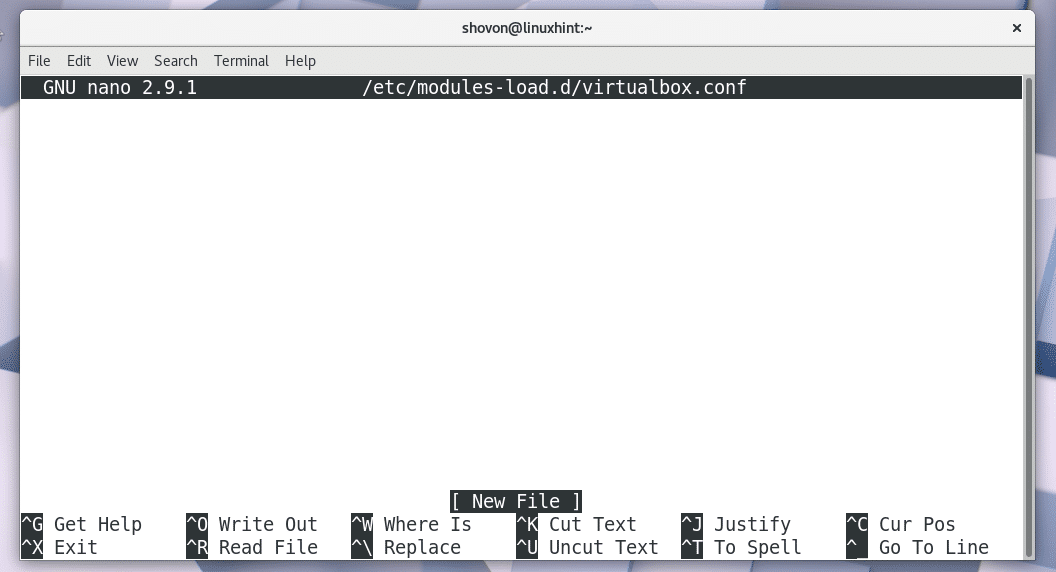
Just type ‘vboxdrv’ as shown in the screenshot below. Then save the file by pressing Ctrl+X and then press ‘y’ and then press <Enter>.

Now you must add your Arch Linux login user to the ‘vboxusers’ system group. Doing so let’s a normal user use VirtualBox and all of its features. Otherwise you will see many restrictions when you run VirtualBox.
Run the following command to add your login user to the ‘vboxusers’ group:

Now reboot your computer. Once your computer boots, run the following command to check whether vboxdrv kernel module was loaded automatically on system boot or not:
You can see from the following screenshot that the vboxdrv kernel module was loaded correctly on system boot.

Installing VirtualBox Extension Pack:
Now that VirtualBox is installed correctly, you must install VirtualBox Extension Pack. VirtualBox Extension Pack lets you use many features of VirtualBox that are otherwise not available. For example, without VirtualBox Extension Pack, you won’t be able to use USB 2.0, USB 3.0 devices on your Virtual Machines. You won’t be able to use VirtualBox RDP(Remote Desktop Protocol). You won’t be able to do disk encryption. Also NVMe and PXE boot for Intel card won’t be available for you to use.
To download VirtualBox Extension Pack, first go to https://www.virtualbox.org the official website of VirtualBox from your favorite web browser.

Click on the “Downloads” link from the left navigation menu.

Click on the link “All supported platforms” as shown in the screenshot below.

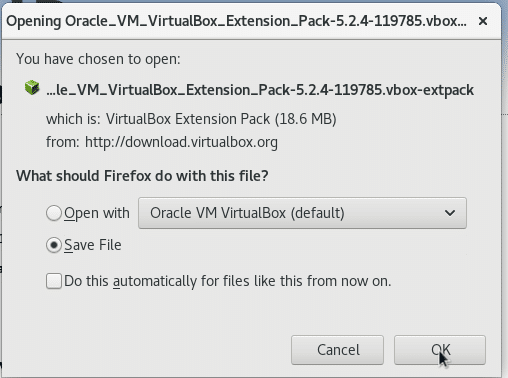
Your browser should prompt you to save the file. Just click on “Save File” and then click on “OK”.
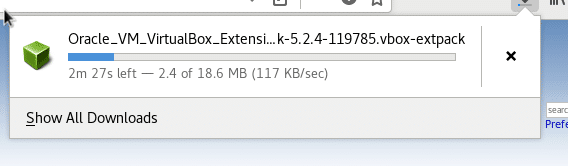
Your download should begin. It may take a while for the file to download depending on your internet connection.
Once the download is completed, open VirtualBox.


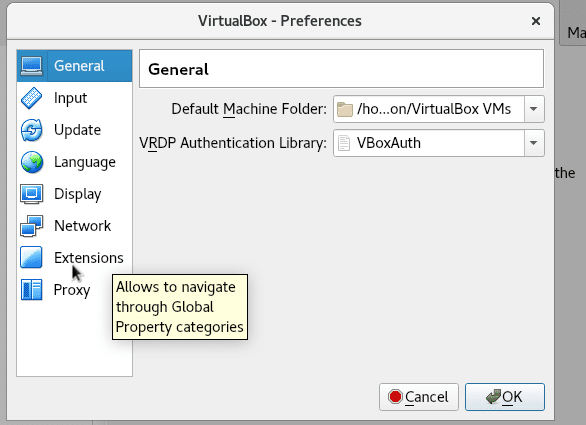
Now click on “File” and then click on “Preferences…”.

Once the preferences panel opens up, click on “Extensions” as shown in the screenshot below.
You should see the following window. Just click on the + icon as shown in the screenshot below.

Now select the VirtualBox Extension Pack file you just downloaded using the file manager. Then click on “Open”.

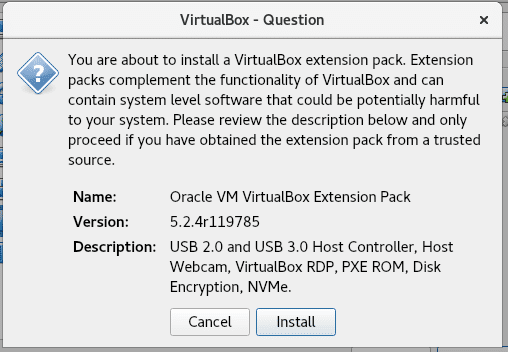
You should see the following window. Just click on the “Install” button.
You should see the VirtualBox license agreement window as shown in the screenshot below. By default, none of the buttons, “I Disagree” or “I Agree” are active.

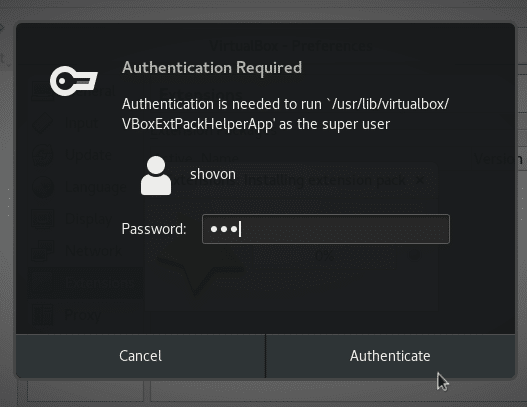
Just scroll down to the end of the license file and these buttons should be enabled. Now click on the “I Agree” button. You should be asked to provide your Arch Linux login password. Enter the password and click on “Authenticate”.
The VirtualBox Extension Pack installation should start.

Once the installation is complete, you should see the following window. Click on “OK”.

Now click on “OK” from the VirtualBox Preferences window.

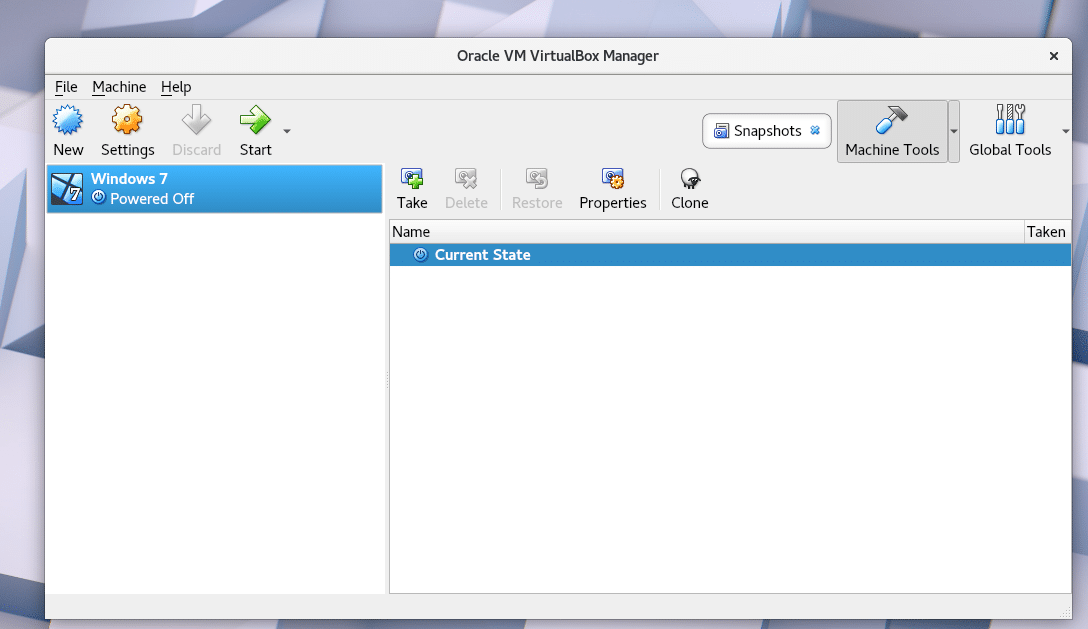
That’s it. Now you can click on the “New” icon from the VirtualBox Manager and follow the wizard to create Virtual Machines with VirtualBox.


That’s how you install VirtualBox on Arch Linux. Thanks for reading this article.