How to Install VMWare Tools on an Ubuntu Virtual Machine
In this article I will show you how to install VMware Tools on an Ubuntu Virtual Machine. I am using Ubuntu 17.10 Artful Aardvark for the demo. But it should work on other version of Ubuntu as well. Let’s get started.
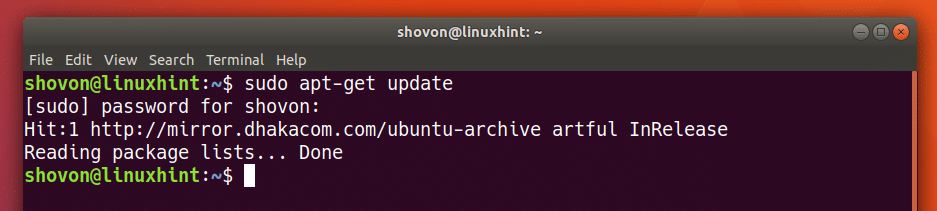
First update the package repository cache of your Ubuntu operating system with the following command:

The package repository cache should be updated.
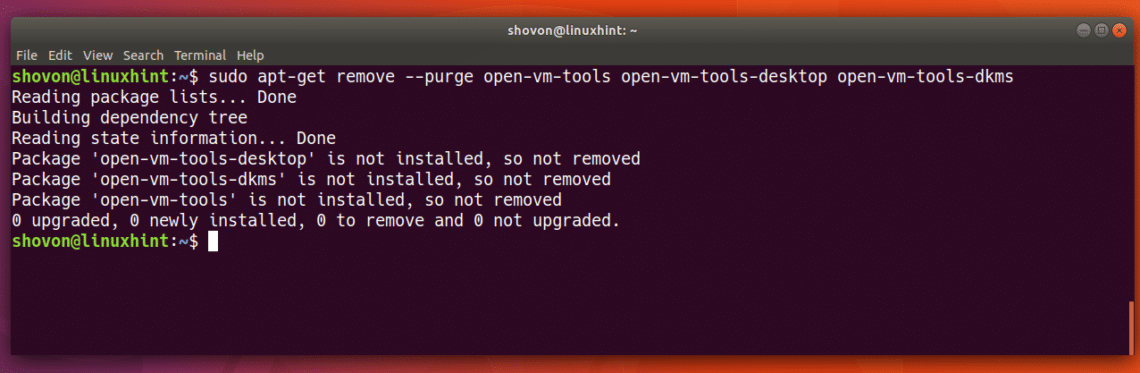
You can’t use Open VM Tools and VMware Tools together. If you have Open VM Tools installed, you can remove it with the following command:
open-vm-tools-dkms

It should be removed along with the configuration files.
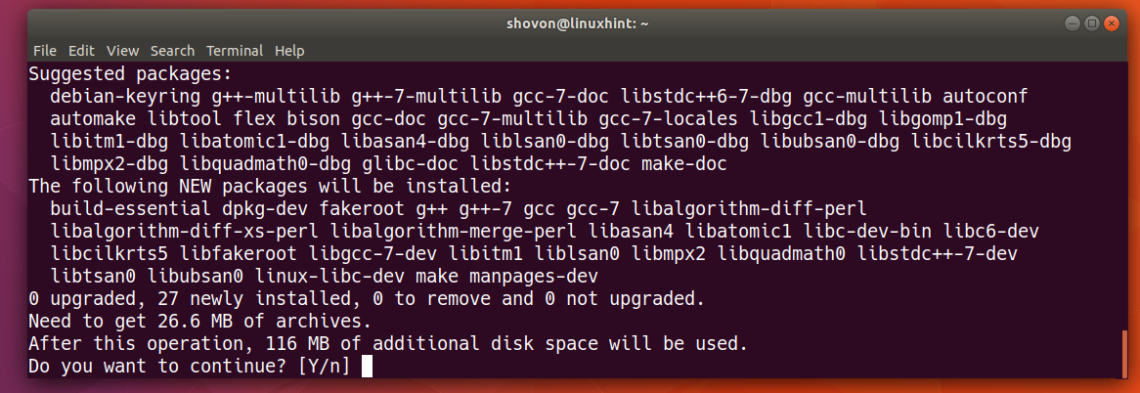
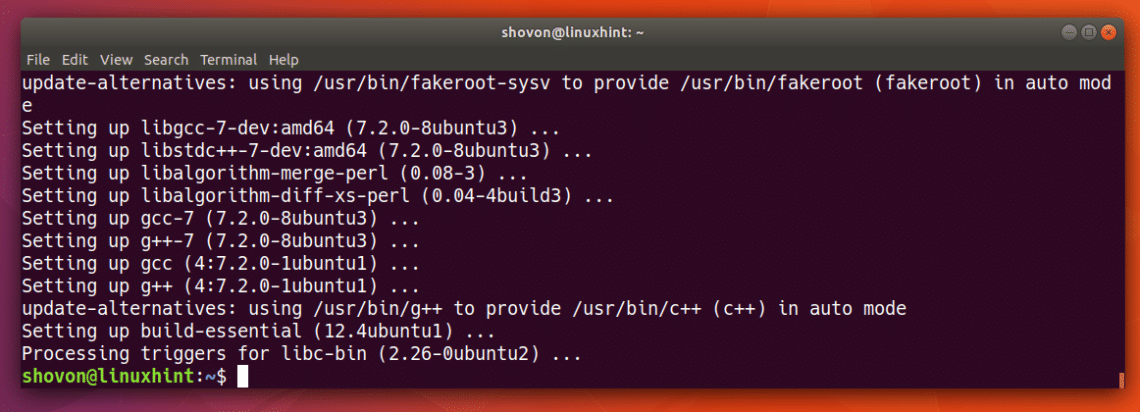
Now you have to install build-essential package of Ubuntu. This package contains everything required to compile and build a program (usually C/C++) on Ubuntu.
Run the following command to install build-essential on Ubuntu:

Press ‘y’ and then press <Enter> to continue.
build-essential should be installed.
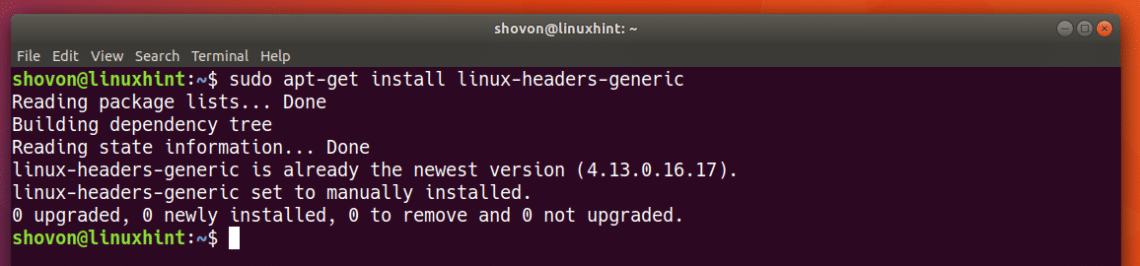
Now install the Linux Kernel headers for your currently installed Kernel with the following command:

As you can see it is already installed on my Ubuntu VM.
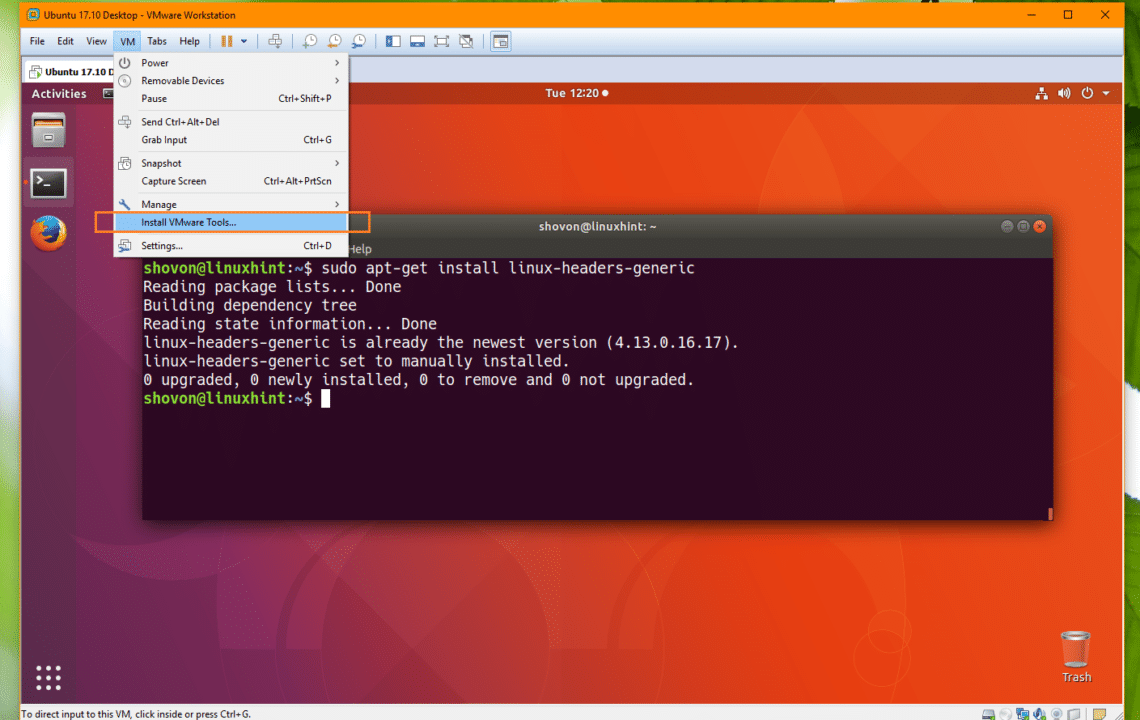
Now from VMware menu, go to VM and then click on Install VMware Tools…
VMware Tools CD should be inserted into the VM’s CD/DVD drive as you can see from the screenshot below. Now double click on the VMware Tools DVD icons as marked in the screenshot.

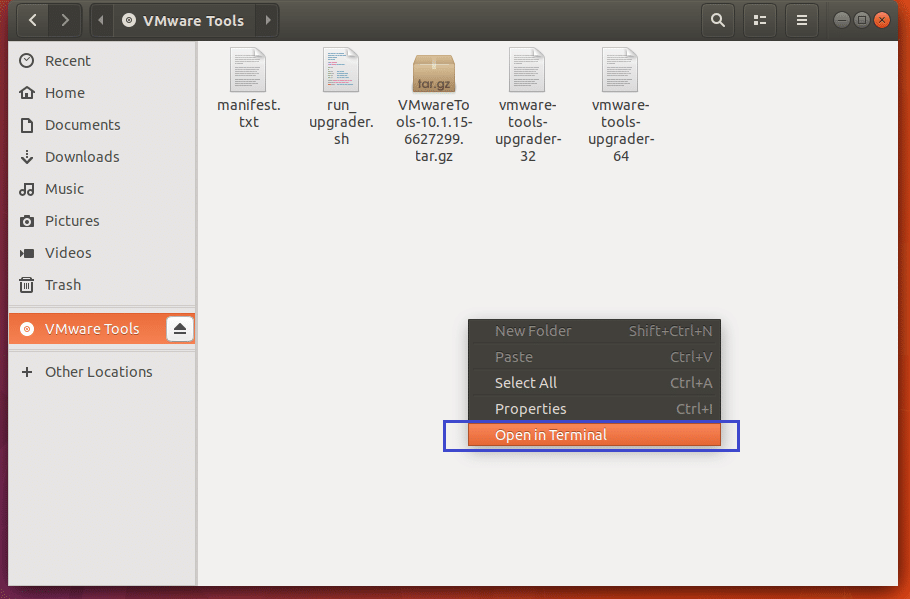
The contents of the CD/DVD should be opened with File Manager.

Now press the right mouse button and click on Open in Terminal as shown in the screenshot below.
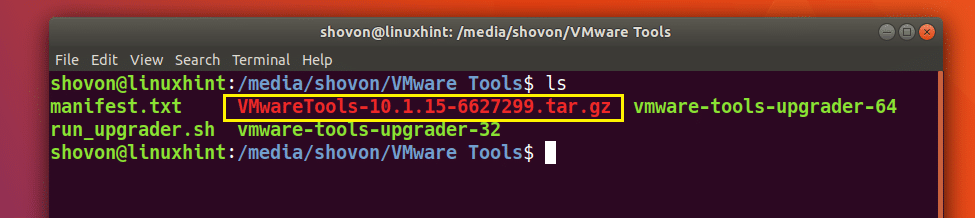
I listed the contents of the CD/DVD with ls command. As you can see from the marked section of the screenshot below, a .tar.gz file is there.
Copy the .tar.gz file to the ~/Downloads/ directory with the following command:

The file should be copied.

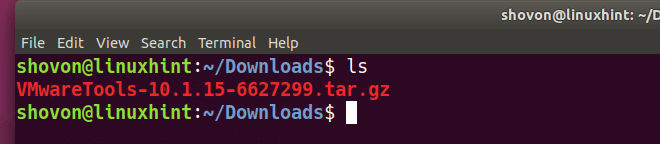
Now navigate to the ~/Downloads/ directory with the following command:

You should find the .tar.gz file you just copied here.
Now extract the .tar.gz archive with the following command:

The archive should be extracted.
A new directory vmware-tools-distrib/ should be created.

Navigate to the vmware-tools-distrib/ directory with the following command:

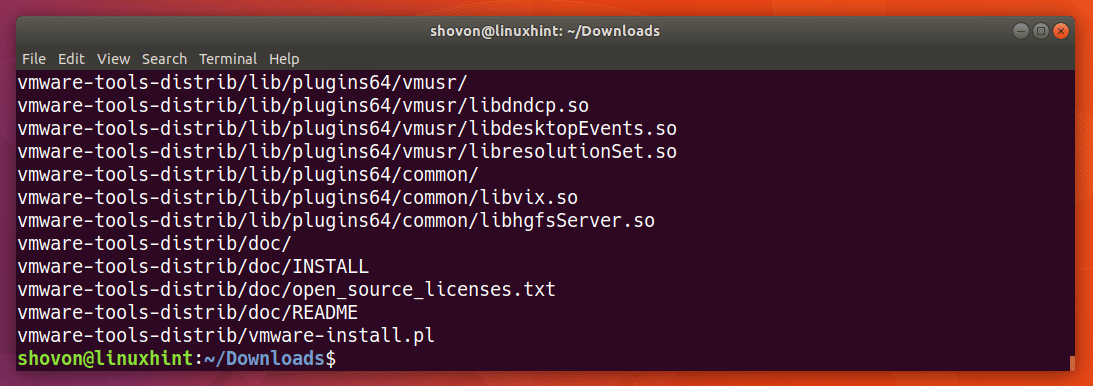
If you list the contents of the vmware-tools-distrib/ directory, you should find the marked file as shown in the screenshot below. vmware-install.pl is the script file that you have to run as root to install VMware Tools.

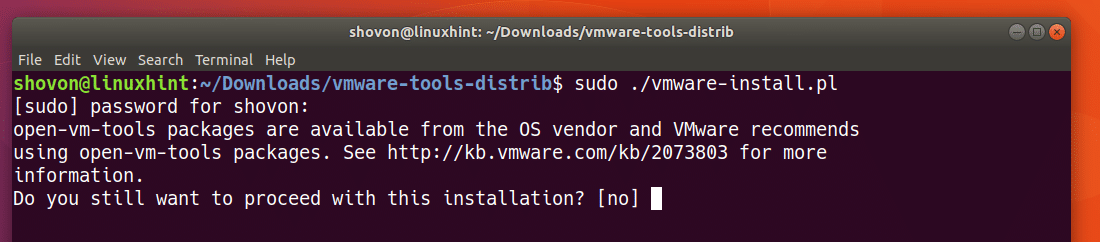
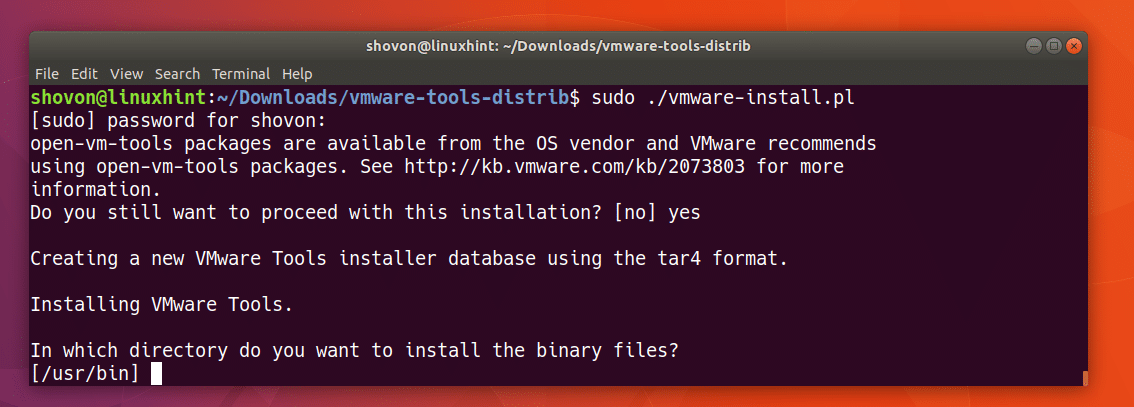
Run the following command to execute the vmware-install.pl script:

Now type in ‘yes’ and then press <Enter> to continue.
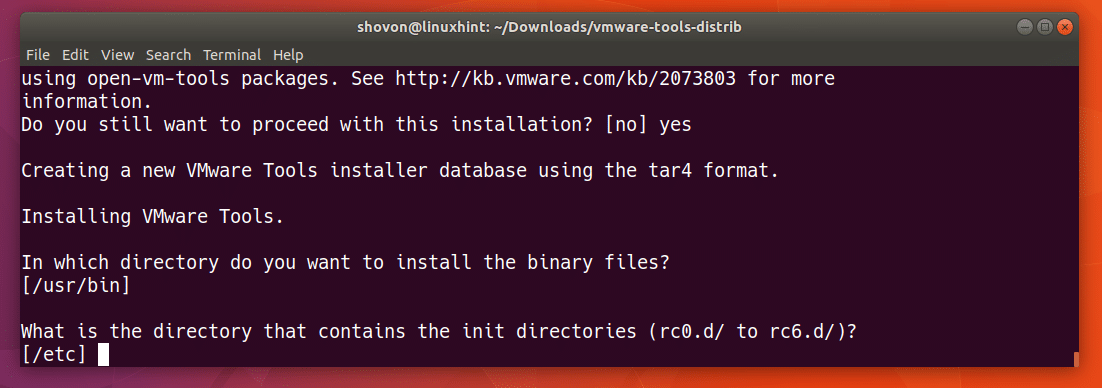
Press <Enter> to continue.
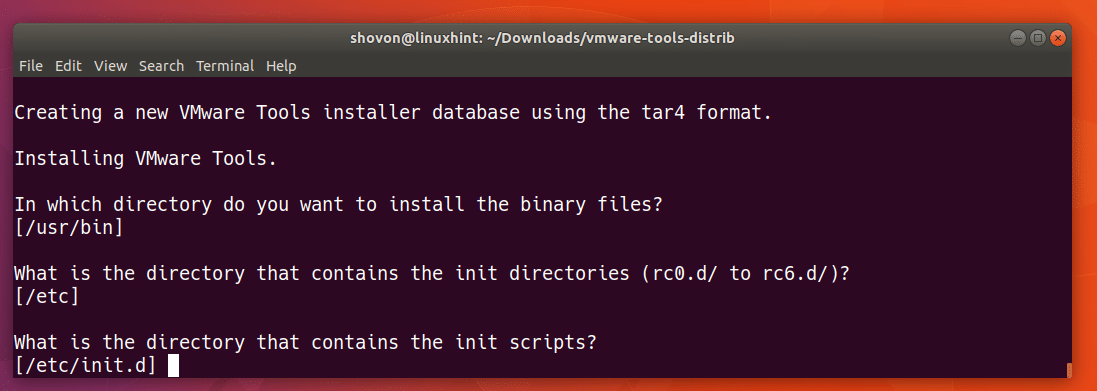
Press <Enter> to continue.
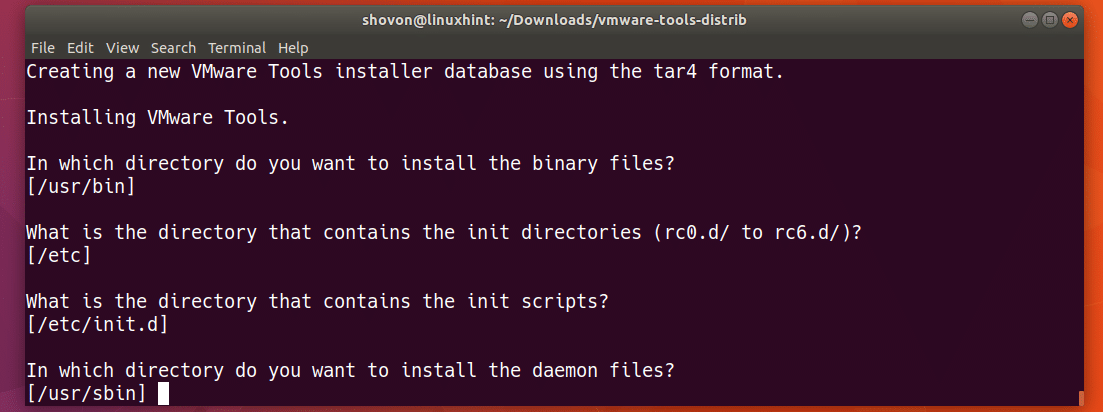
Press <Enter> to continue.
Press <Enter> to continue.
Press <Enter> to continue.
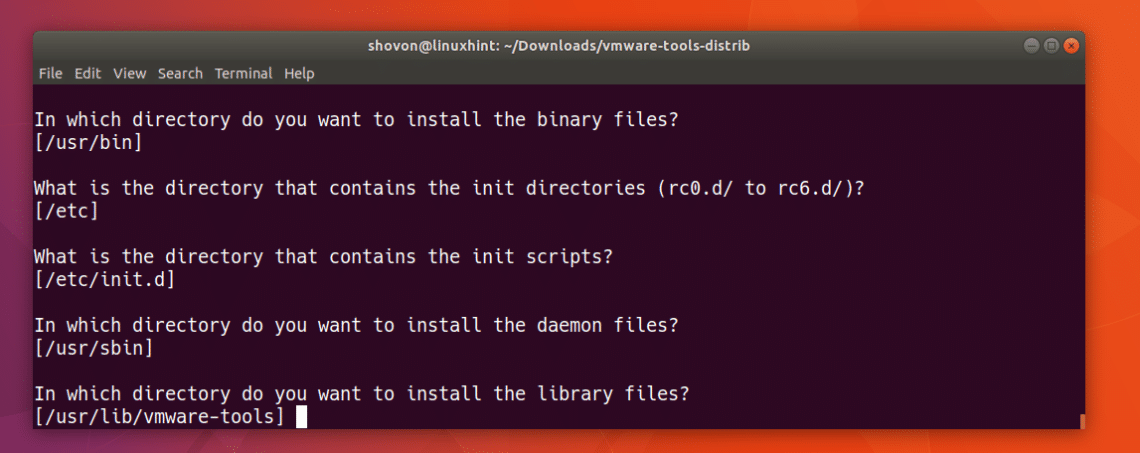
Press <Enter> to continue.
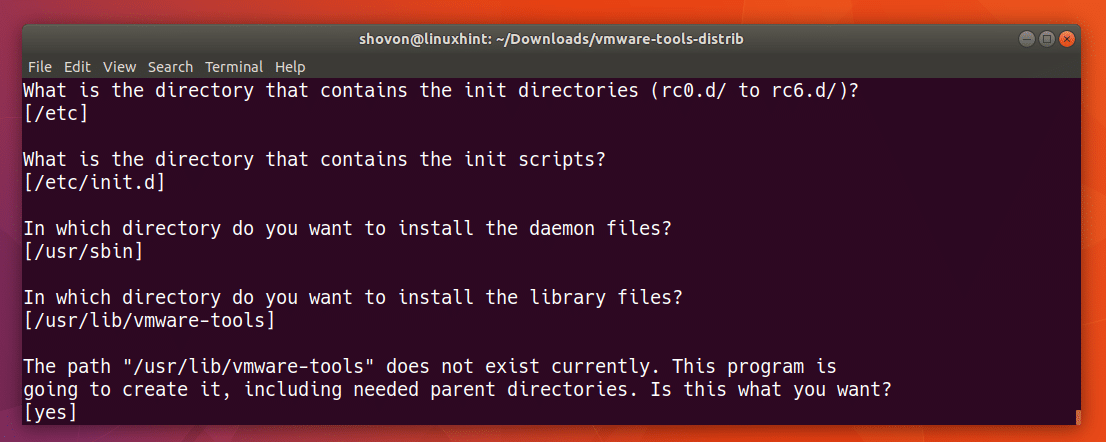
Press <Enter> to continue.
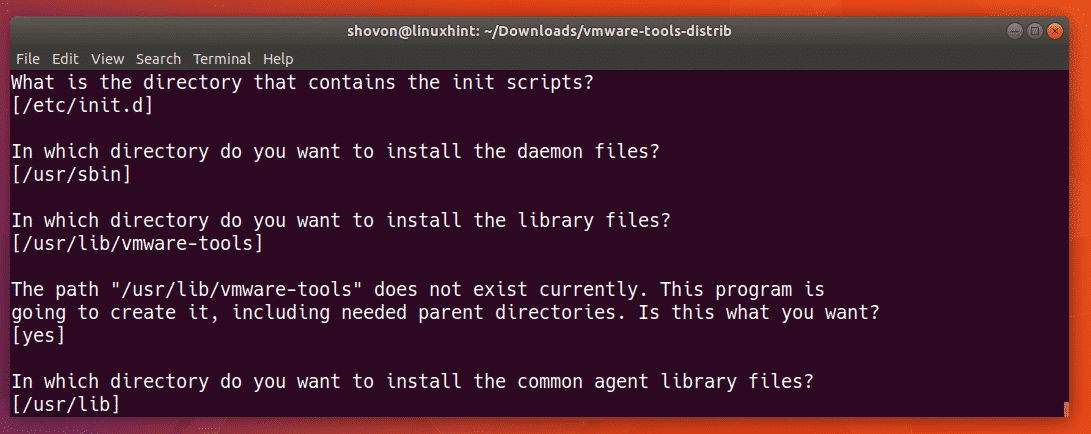
Press <Enter> to continue.
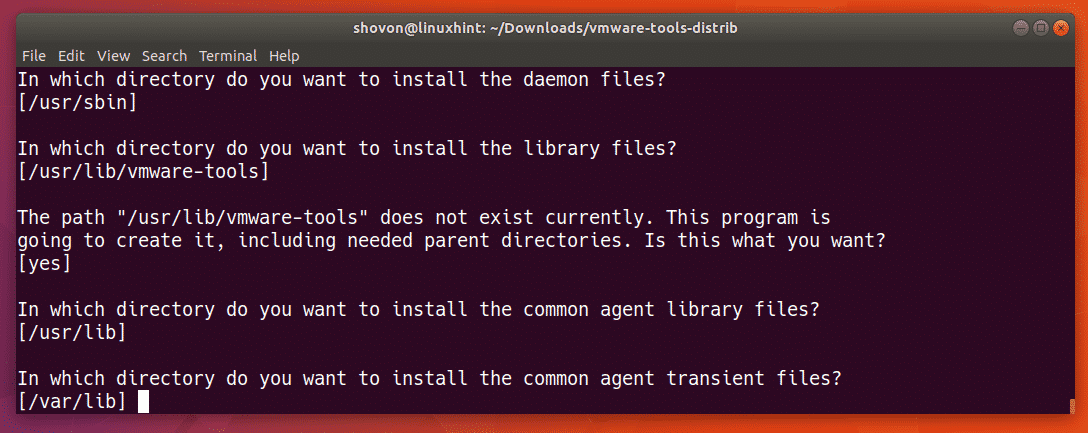
Press <Enter> to continue.
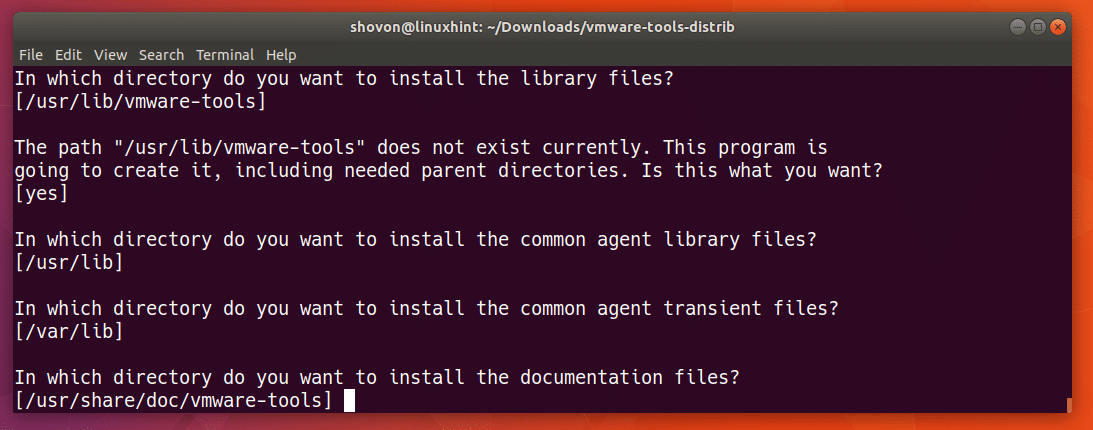
Press <Enter> to continue.
Press <Enter> to continue.
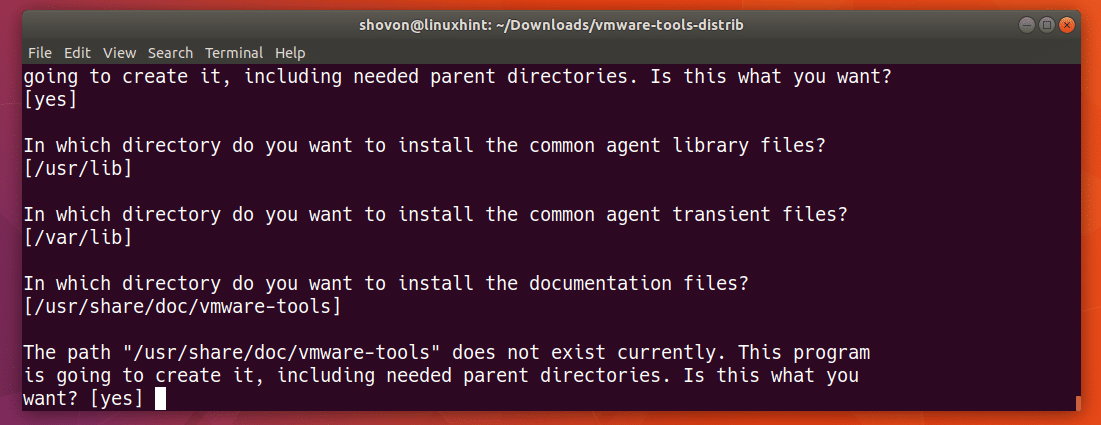
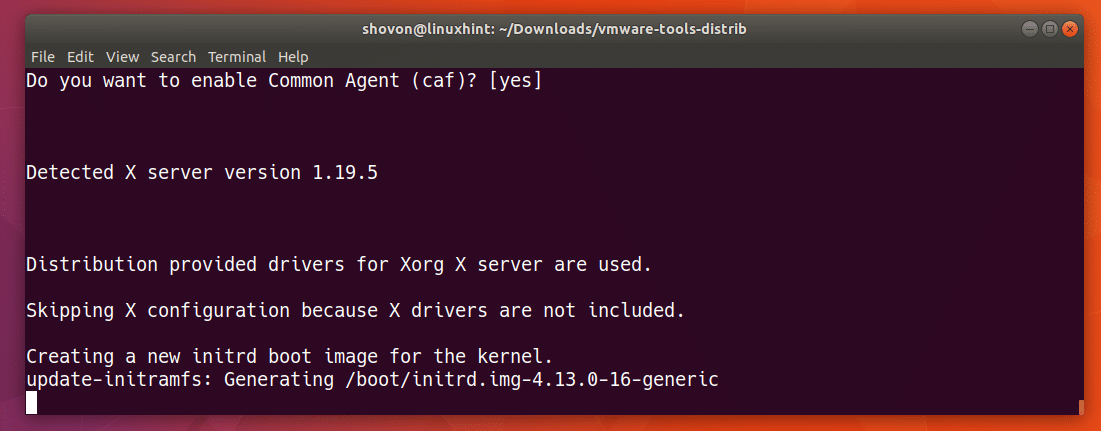
At this point, the VMware Tools configuration process is running.
Press <Enter> to continue.
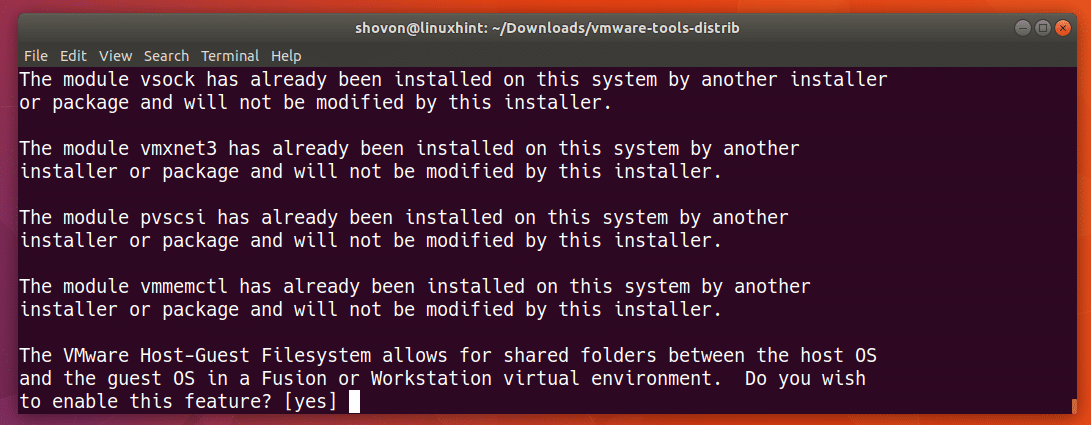
Press <Enter> to continue.
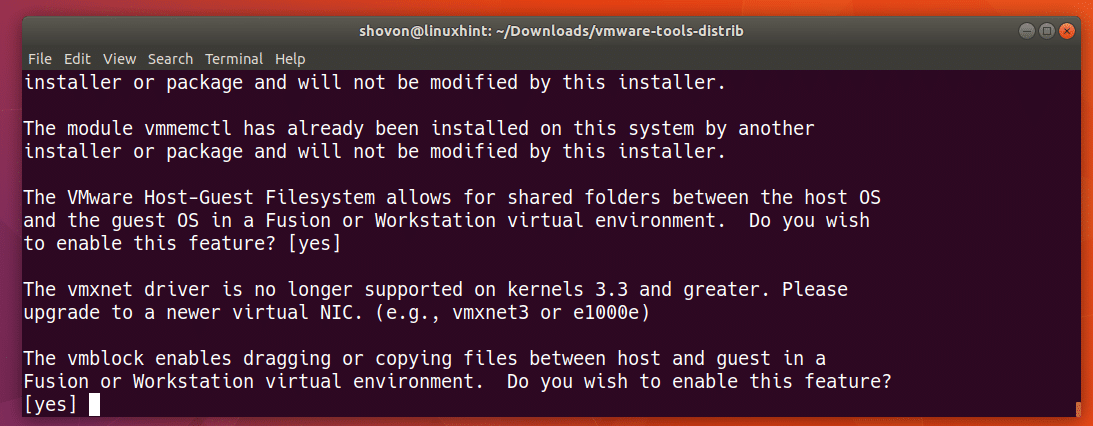
Press <Enter> to continue.
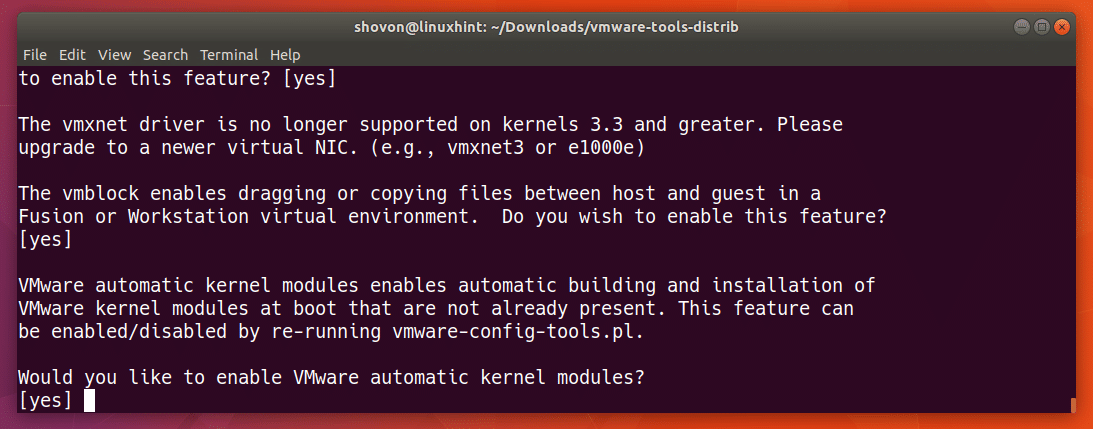
Press <Enter> to continue.
Press <Enter> to continue.
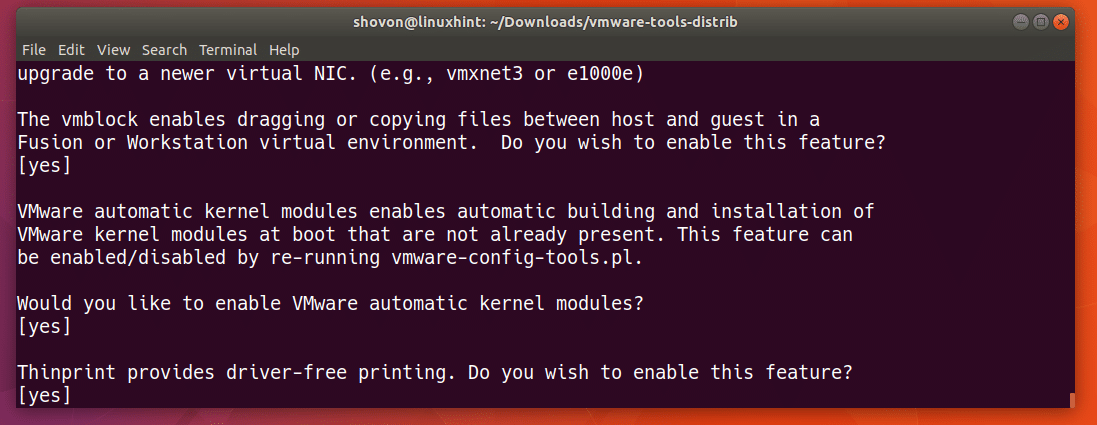
Press <Enter> to continue.
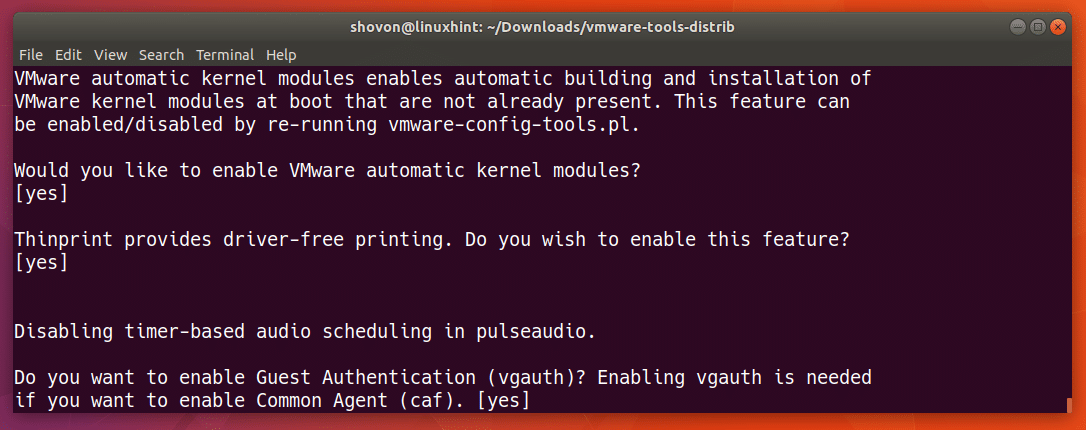
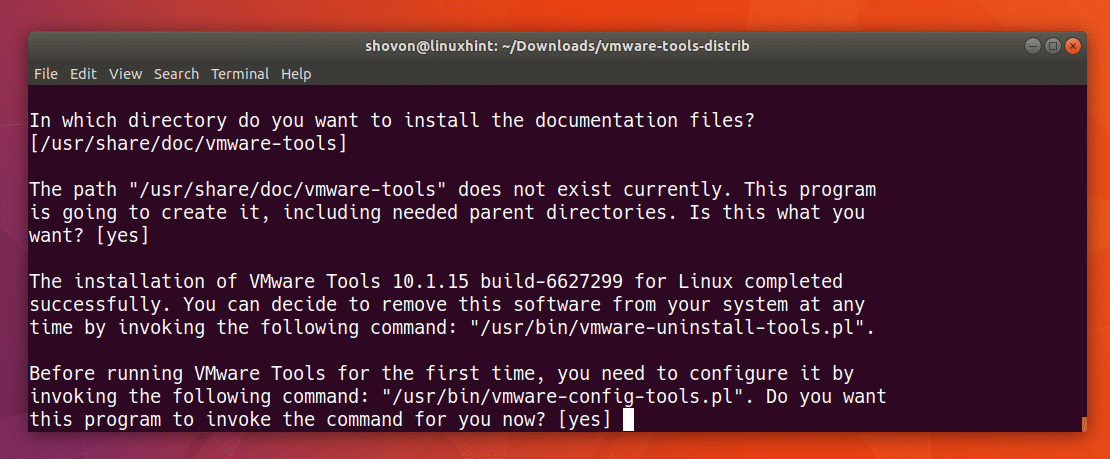
Press <Enter> to continue.
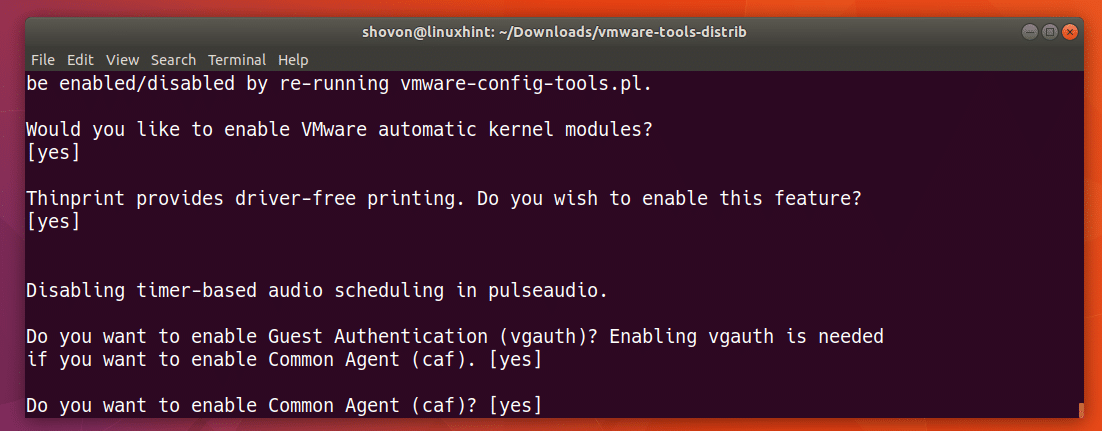
Press <Enter> to continue.
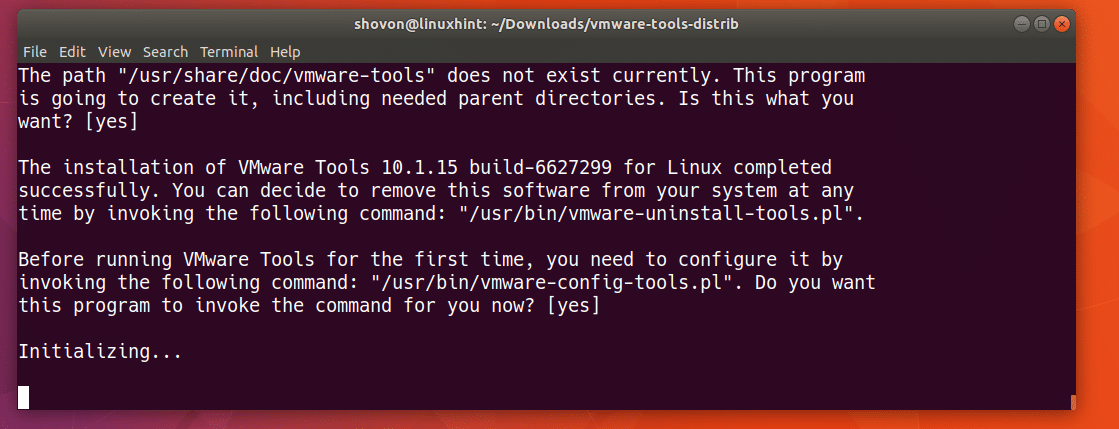
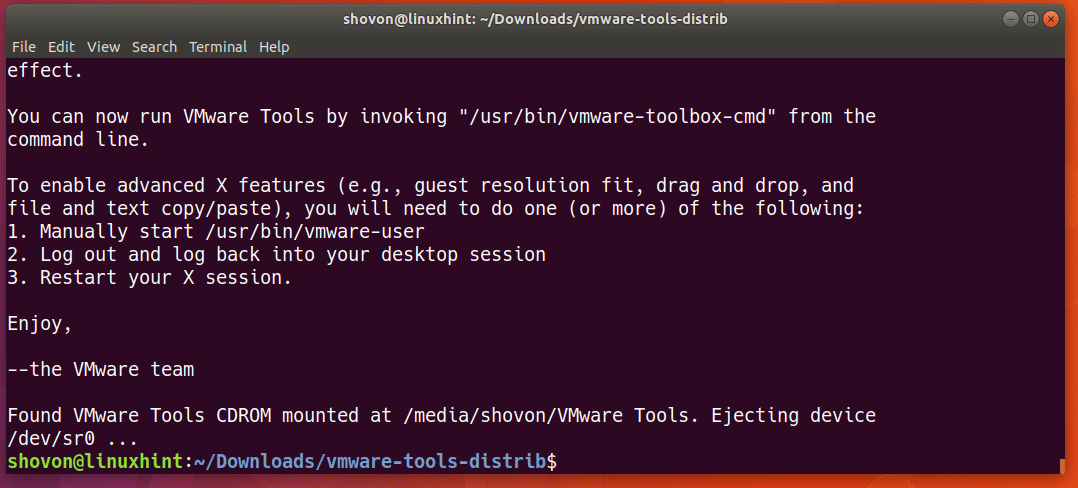
VMware Tools should be installed.
You can whether VMware Tools is installed correctly and working with the following command:
As you can see from the screenshot below, the version number is printed. It means it was installed correctly.

You can do a lot of configuration and find out a lot of information about your VM with VMware Tools.
For example, you can use vmware-toolbox-cmd command to check the speed of the processor as follows:

You can also run the following command to find out more about vmware-toolbox-cmd command:
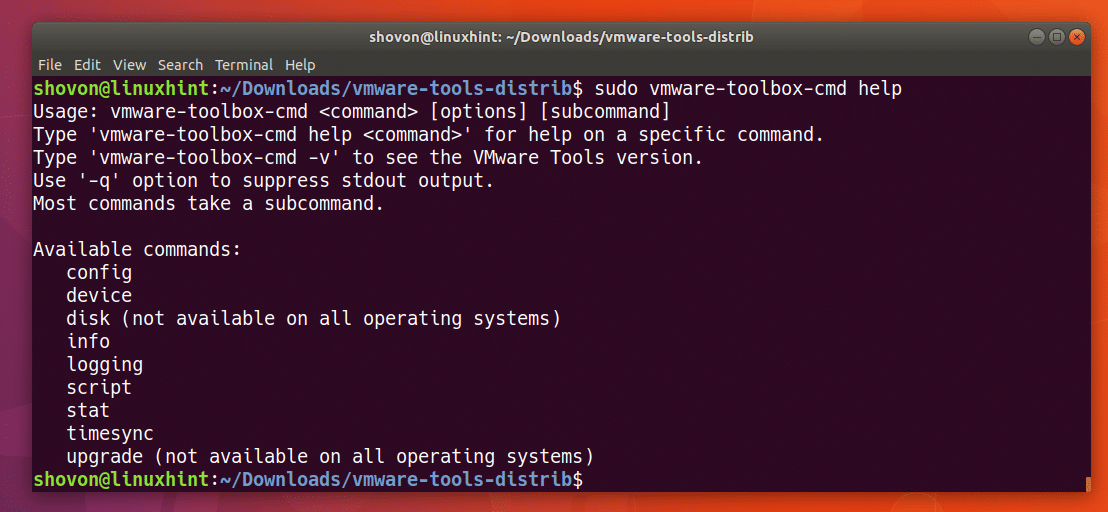
There are many more VMware Tools commands as you can see from the screenshot below. I can’t explain them in this article as it is out of the scope of this article. But take a look at VMware documentation for more information.

That’s how you install VMware Tools on Ubuntu Virtual Machine. Thanks for reading this article.