In this article, I am going to show you how to install VMware Workstation Pro on Debian 10 Buster. So, let’s get started.
Prerequisites:
Before you get started, you should enable hardware virtualization (AMD-v/VT-d/VT-x) extension from the BIOS of your motherboard. Otherwise, you won’t get very good performance in virtual machines.
Downloading VMware Workstation Pro:
VMware Workstation Pro is not available in the official package repository of Debian 10. But, you can easily download it from the official website of VMware and install it on Debian 10.
At the time of this writing, VMware Workstation Pro 15 is the latest version.
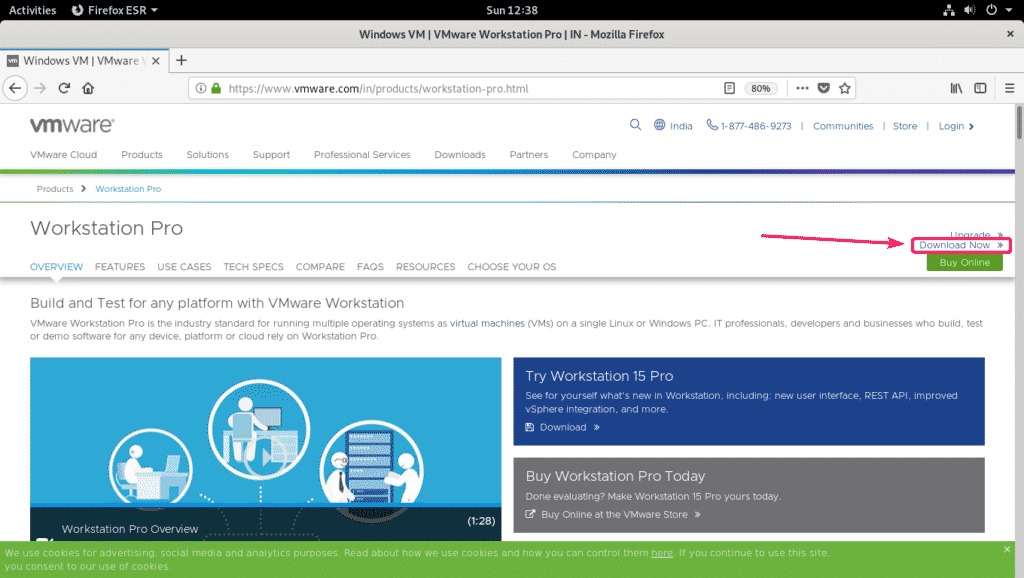
First, visit the official page of VMware Workstation Pro. Once the page loads, click on Download Now as marked in the screenshot below.
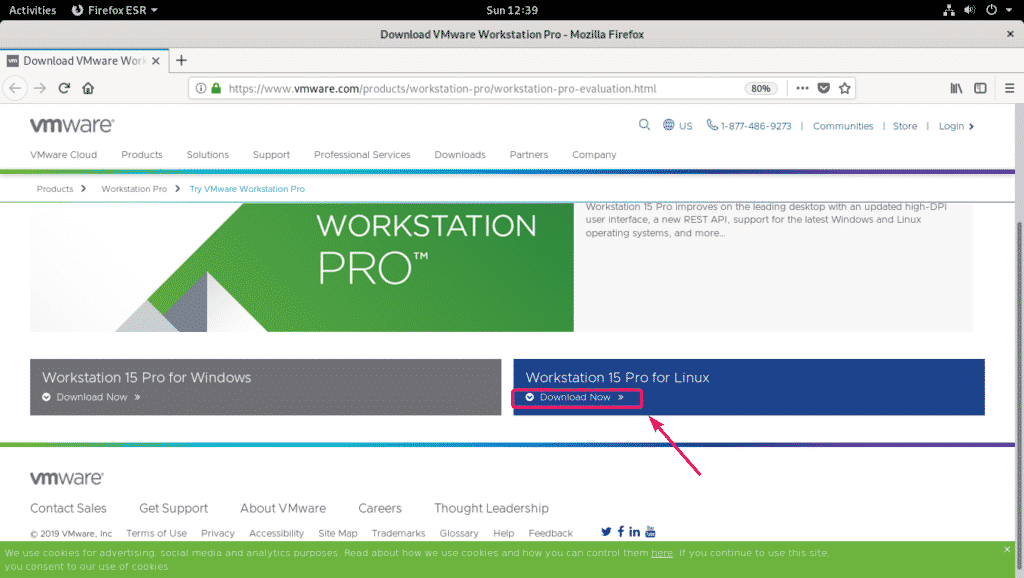
Now, from the Workstation 15 Pro for Linux section, click on the Download Now link.
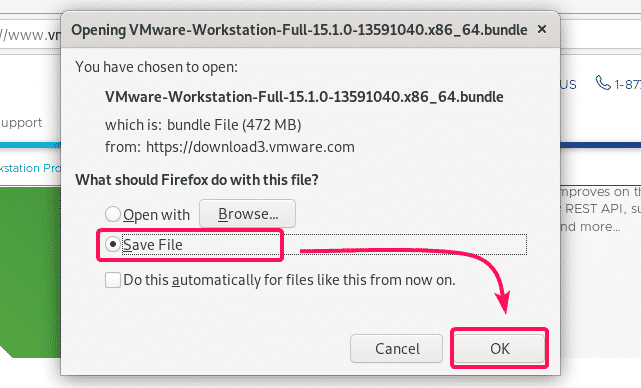
Your browser should prompt you to save the VMware Workstation Pro installer file. Select Save File and click on OK.
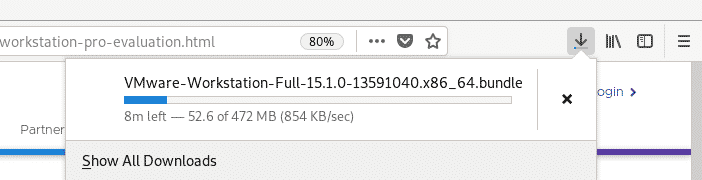
Your browser should start downloading the installer file. It will take a while to complete.
Installing Required Libraries and Build Tools:
While VMware Workstation Pro installer is being downloaded, let’s install all the required build tools and library files.
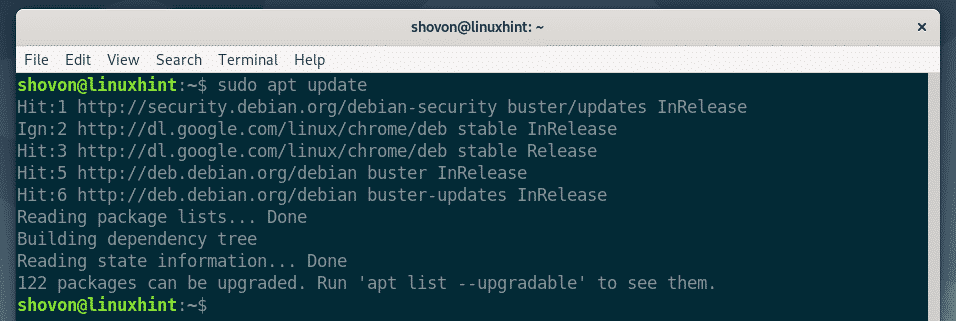
First, update the APT package repository cache with the following command:

The APT package repository cache should be updated.
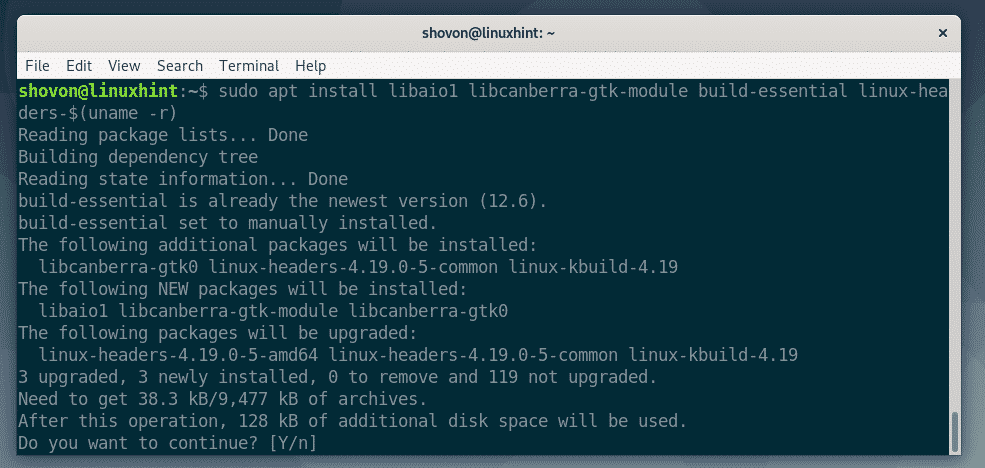
Now, install all the required libraries and build tools with the following command:
-$(uname -r)

Now, press Y and then press <Enter> to confirm the installation.
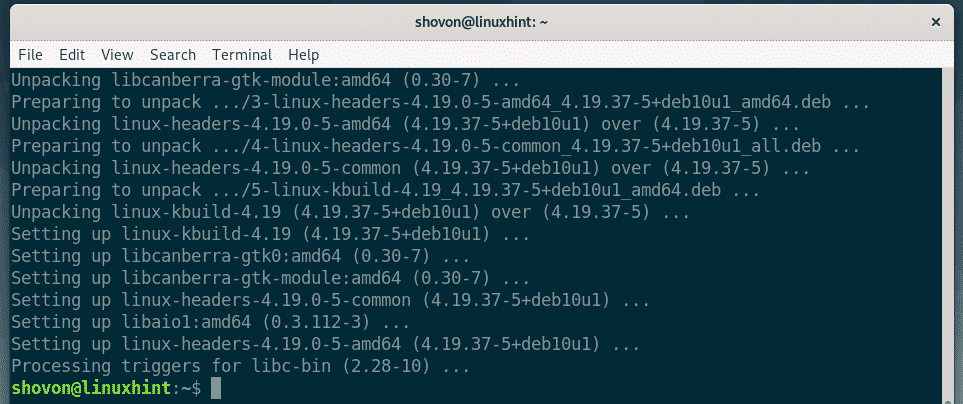
All the required libraries and build tools should be installed.
Installing VMware Workstation Pro:
Once the VMware Workstation Pro installer is downloaded, navigate to the ~/Downloads directory with the following command:

As you can see, the VMware Workstation Pro installer file is here. Copy the filename.

Now, add execute permission to the VMware Workstation Pro installer file with the following command:

Temporarily disable host access control with the following command:

Now, run the installer file with super user privileges as follows:

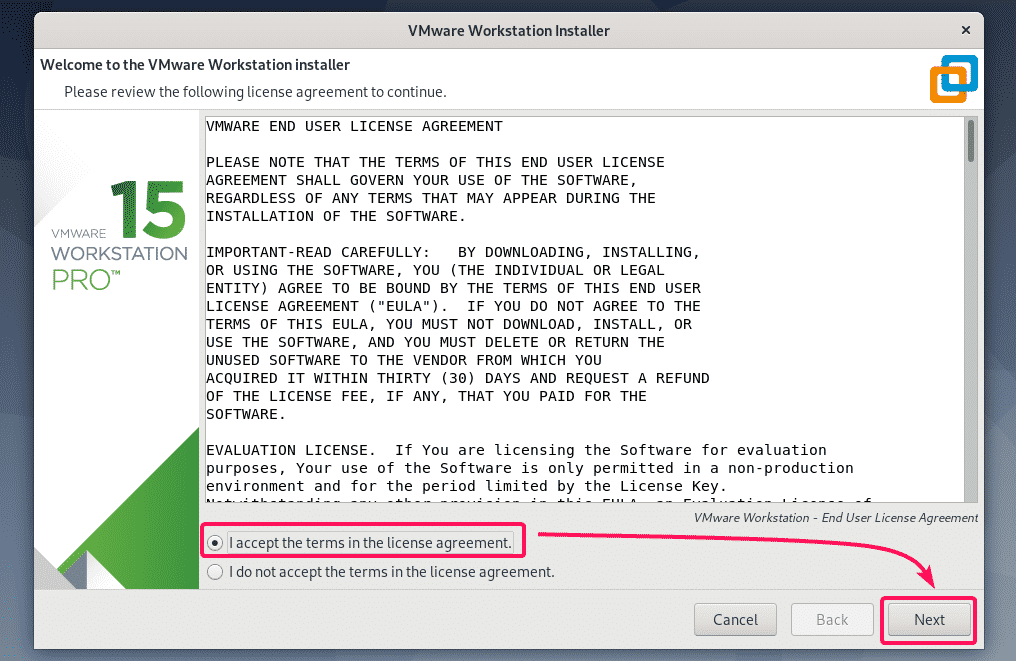
The VMware Workstation graphical installer should start. Select I accept the terms in the license agreement and click on Next.
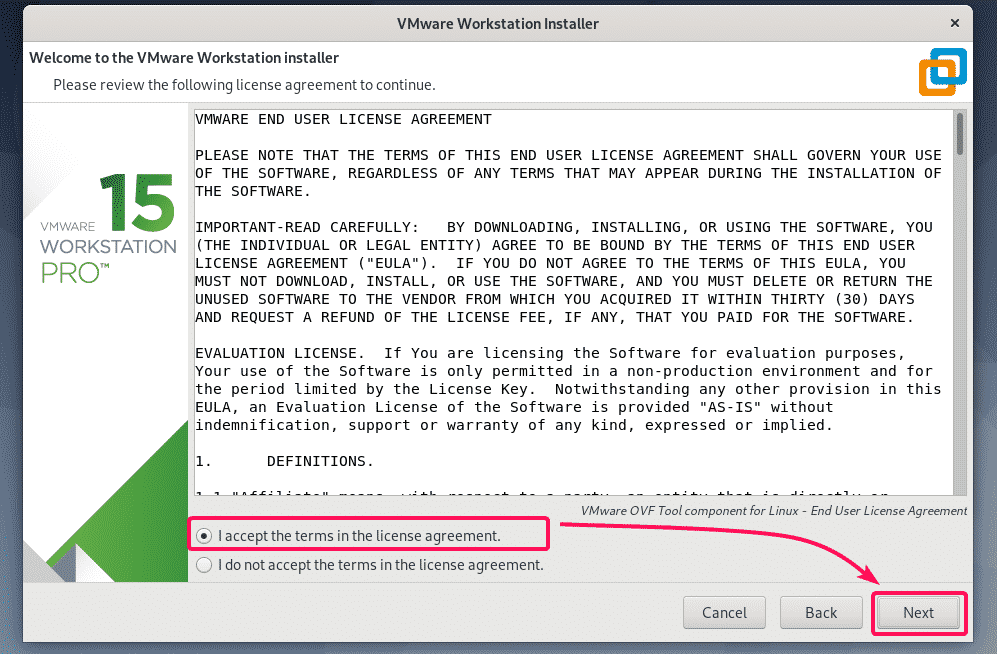
Again, select I accept the terms in the license agreement and click on Next.
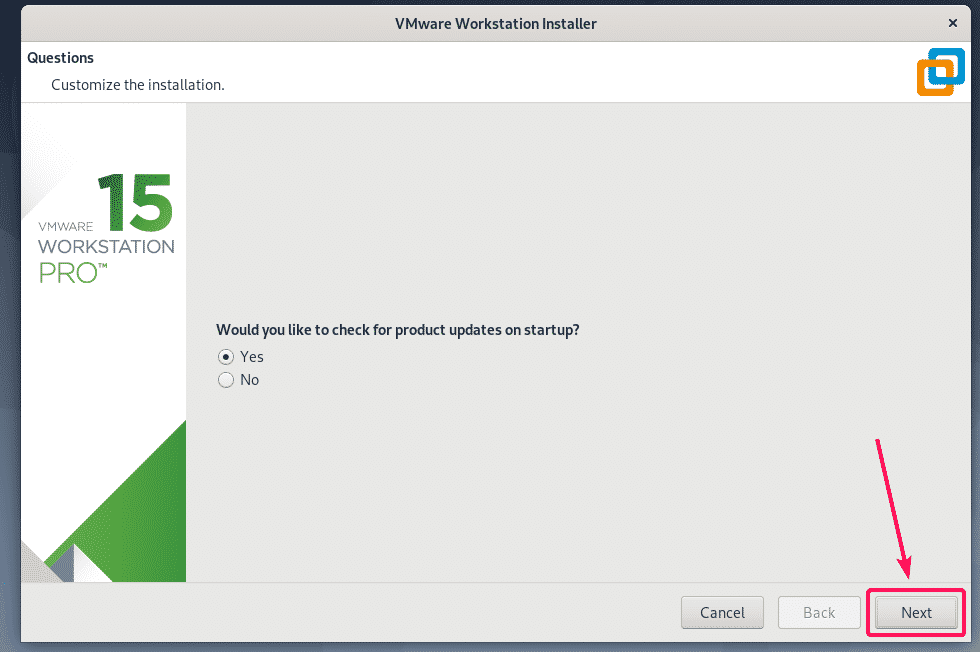
If you want VMware Workstation Pro to check for updates when you start VMware Workstation Pro, then select Yes. Otherwise, select No. Then, click on Next.
If you want to send VMware Workstation Pro usage information to VMware, then select Yes. Otherwise, select No. Then, click on Next.

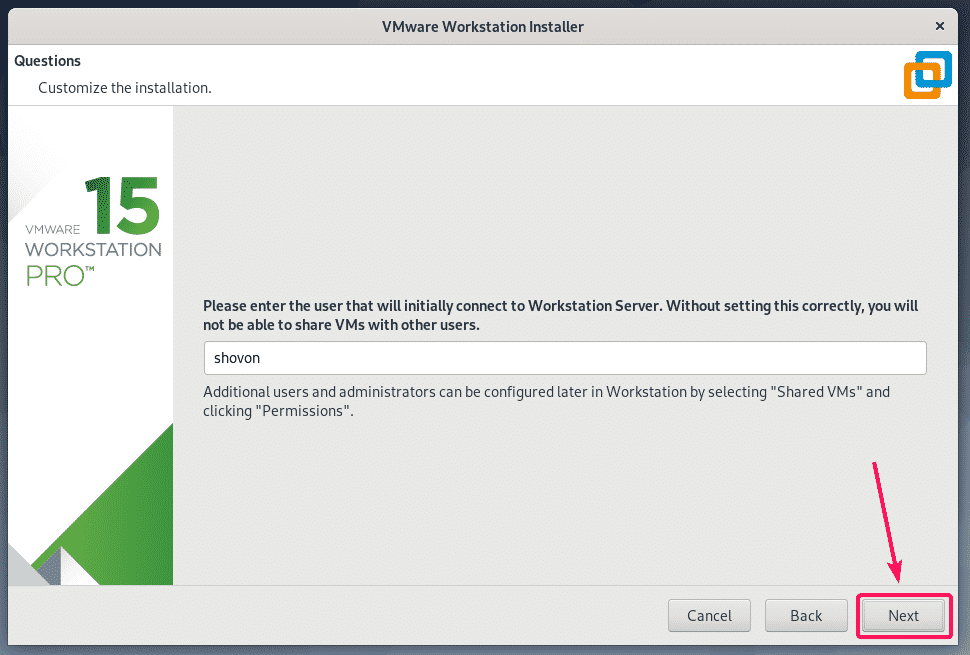
Now, click on Next.
The default location for Shared VMs is /var/lib/vmware/Shared VMs. If you want to set it to somewhere else, click on Browse and select a new directory. Otherwise, leave the default.
Once you’re done deciding what you want to do, click on Next.

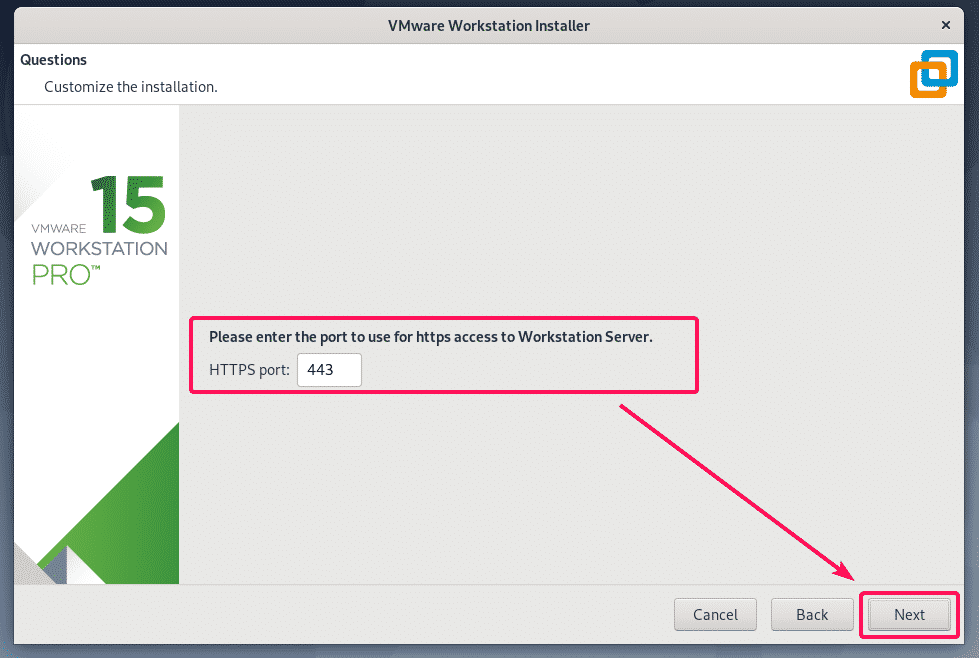
The default HTTPS access port of VMware Workstation Server is 443. If you want, you can change it to some other port.
Once you’re done deciding what you want to do, click on Next.
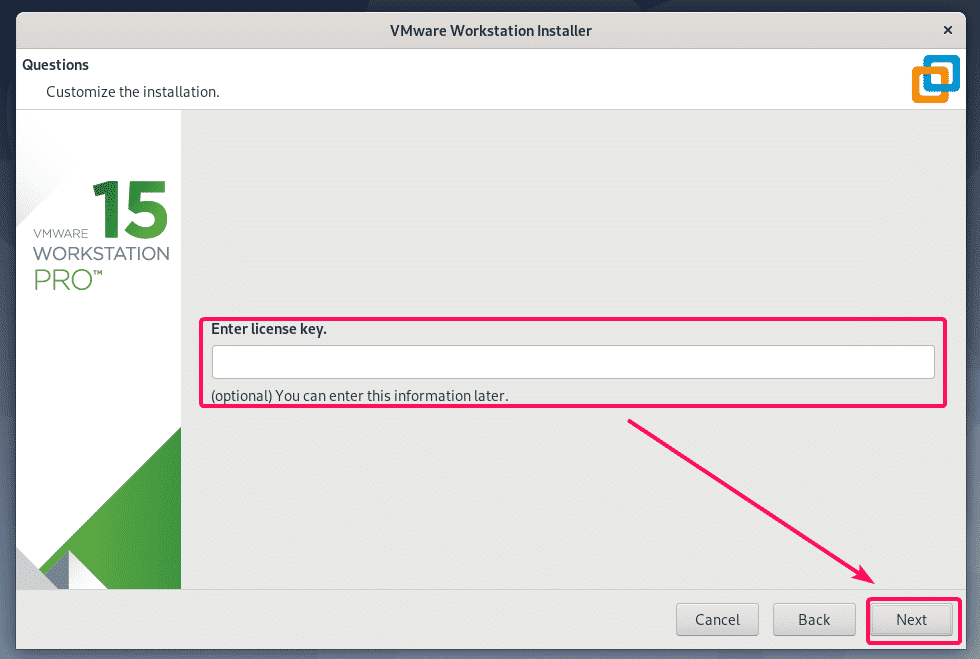
If you’ve bought VMware Workstation Pro, then enter your license key here. If you want to try out VMware Workstation Pro before buying, then leave it blank. Then, click on Next.
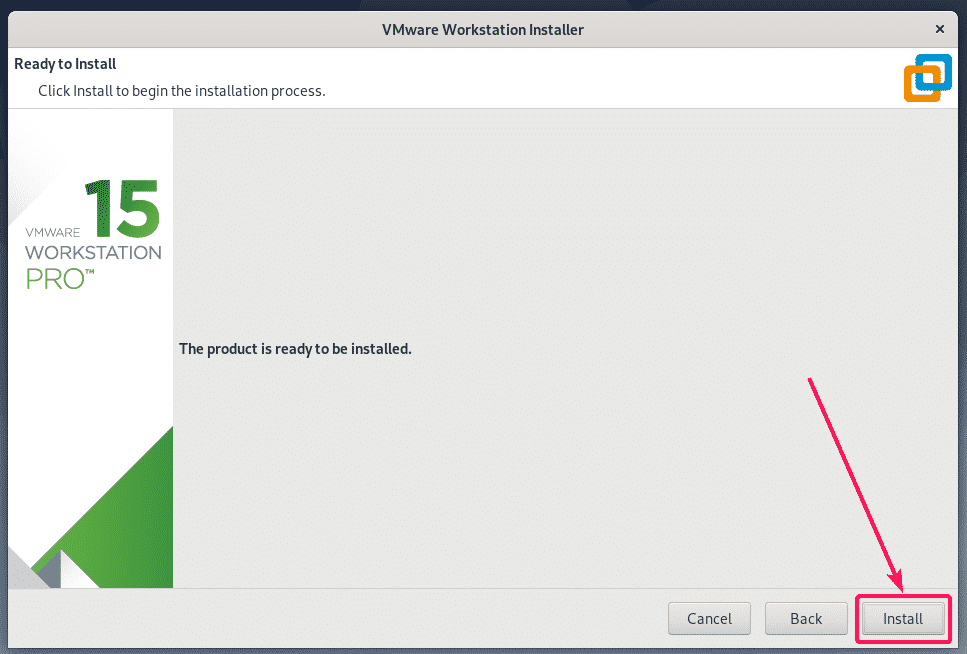
Now, click on Install.
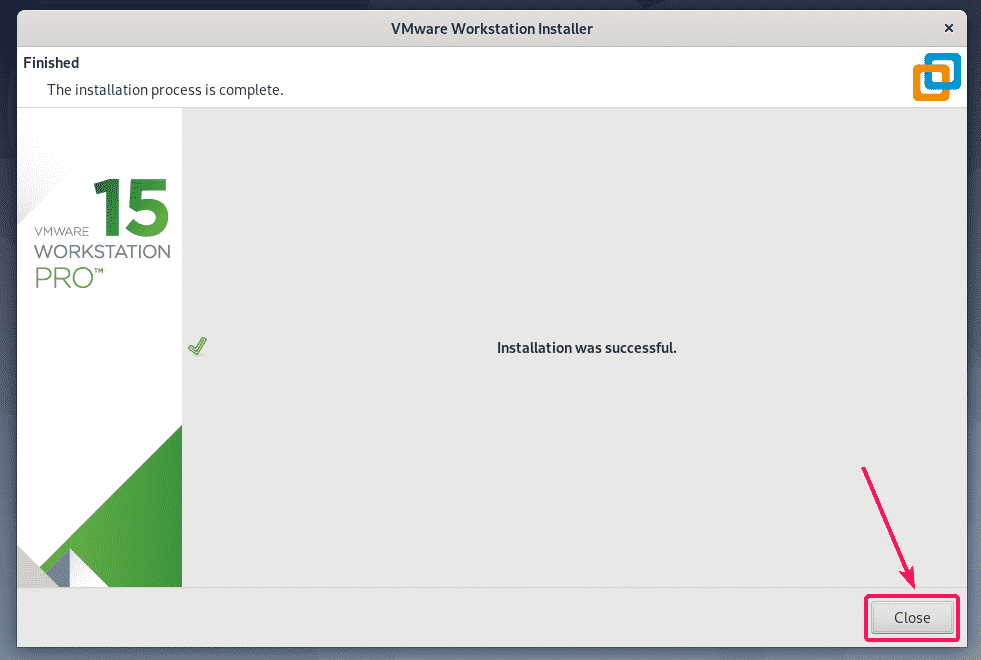
VMware Workstation Pro is being installed. It will take a few minutes to complete.

Once the installation is completed, click on Close.
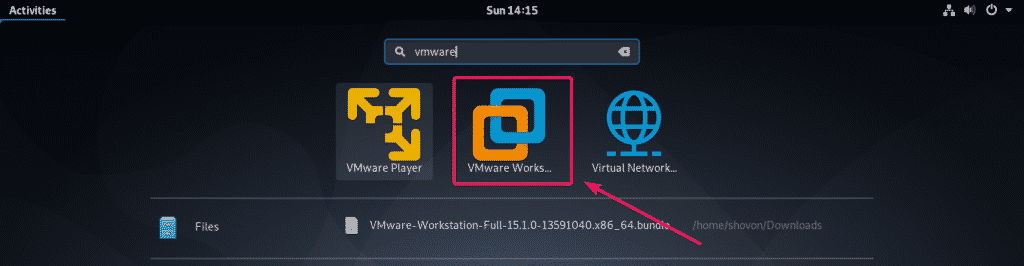
Now, you should find VMware Workstation Pro in the Application Menu of Debian 10. Click on the VMware Workstation Pro icon as marked in the screenshot below to start it.
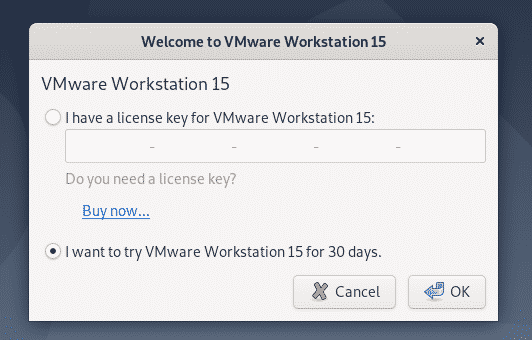
As you’re running VMware Workstation Pro for the first time, it will ask you to enter a license key.
If you do have a license key, you can enter it here to activate the software.
If you don’t have a license key, then you can try VMware Workstation Pro for 30 days. If you like it, you can buy a license key later.
Once you’re done deciding what you want, click on OK.
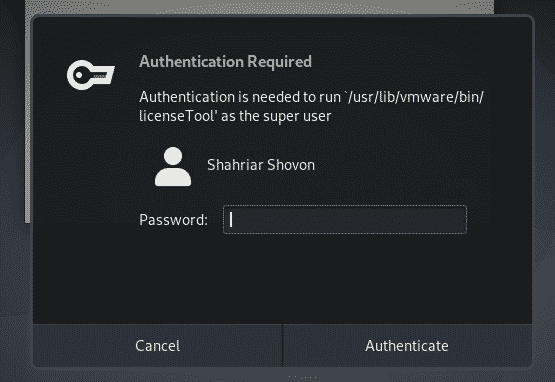
Now, type in your Debian 10 login password and click on Authenticate.
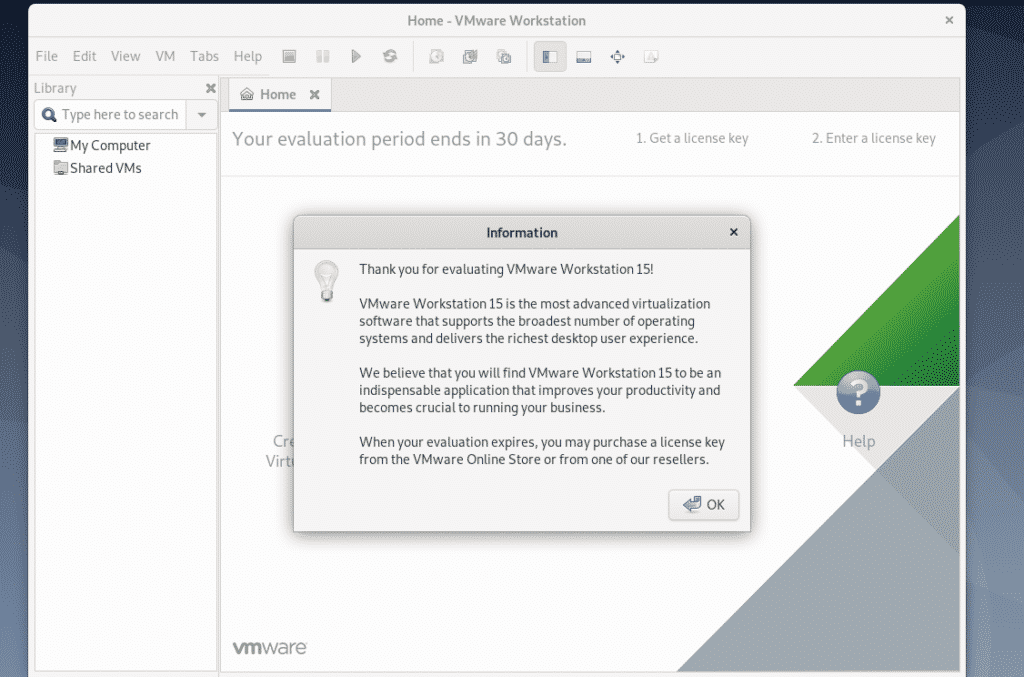
VMware Workstation Pro should start. As you’re running VMware Workstation Pro for the first time, you will see a greetings window. Just click on OK and you’re good to go.
So, that’s how you install VMware Workstation Pro on Debian 10. Thanks for reading this article.