If VMware Tools is installed on a virtual machine (VM), it will report back to the VMware hypervisor it’s IP address and many more information such as CPU usage, disk usage, memory usage etc. VMware hypervisor can build interesting statistical reports using these data which will help you monitor your virtual machines very easily.
VMware Tools also provides many advanced features like,
- Drag and drop files between virtual machine and host computer.
- Better graphics support.
- 3D graphics acceleration.
- Multiple monitor support.
- Auto resize virtual machine display if desktop operating system is used on the virtual machine.
- Clipboard sharing to help copy and paste textual data.
- Virtual machine sound support.
- Time synchronization between the virtual machine and host.
- Shared folders in virtual machines.
- And other performance enhancements.
In this article, I am going to show you how to install VMware tools on Ubuntu/Debian VMware virtual machines. So, let’s get started.
Installing Open VM Tools on Ubuntu/Debian:
Open VM Tools is the VMware recommend way of installing VMware tools on Ubuntu/Debian virtual machines. The best thing about Open VM Tools is that it’s open source and it is available in the official package repository of Ubuntu/Debian.
First, update the APT package repository cache with the following command:

The APT package repository cache should be updated.

If you’re using a server operating system (without graphical user interface) on your virtual machine, install Open VM Tools with the following command:
If you’re using a desktop operating system (with graphical user interface) on your virtual machine, install Open VM Tools with the following command:

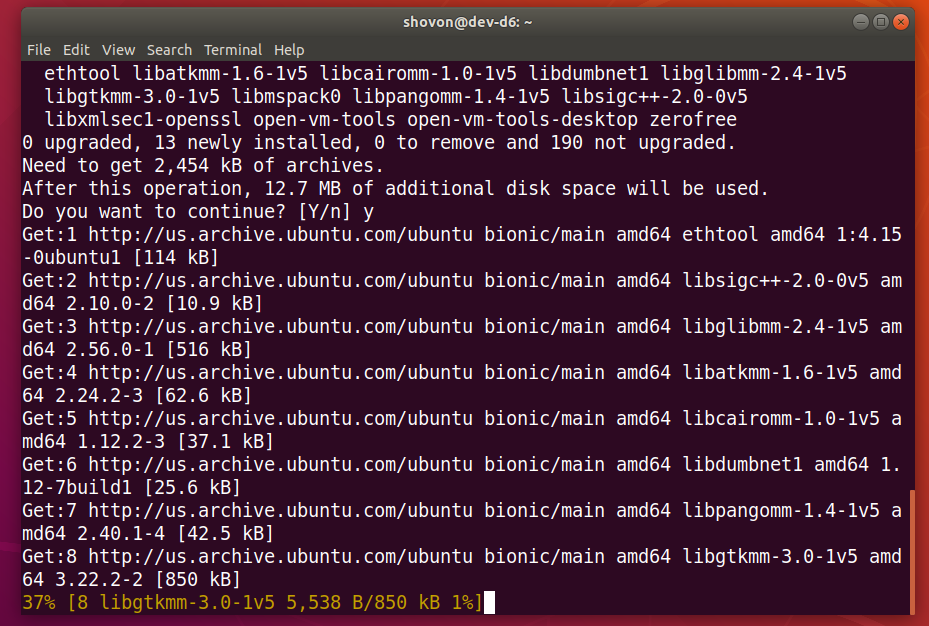
To confirm the installation, press Y and then press <Enter>.
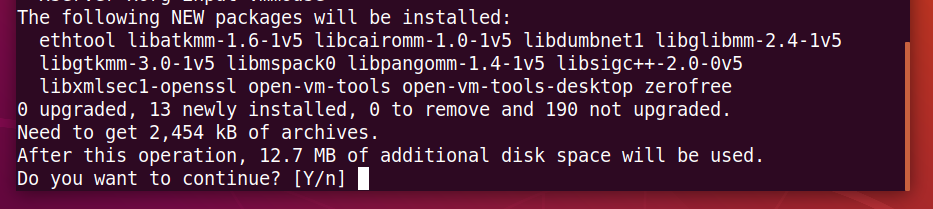
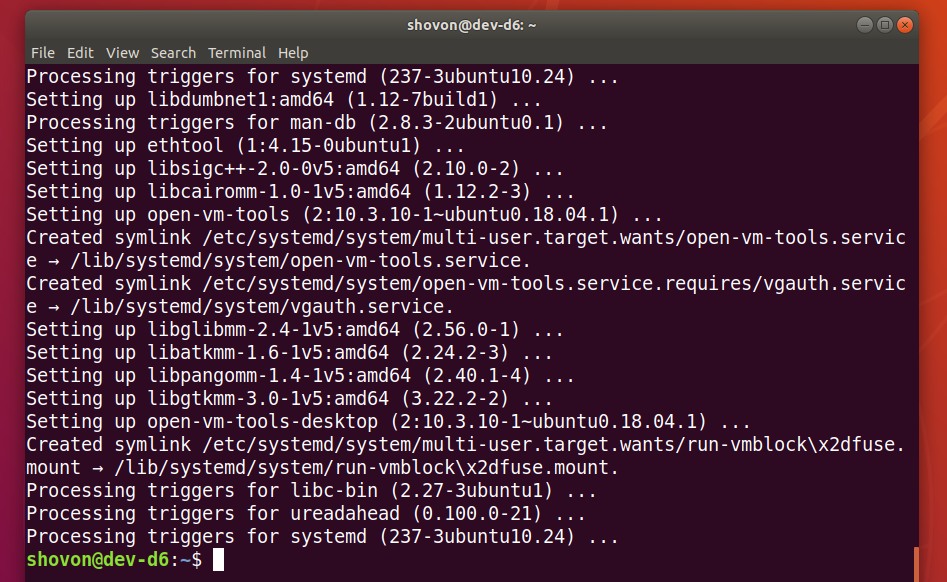
The APT package manager should download and install all the required packages from the internet. It may take a while to complete.
At this point, Open VM Tools should be installed.
Now, restart your virtual machine for the changes to take effect as follows:

Once your virtual machine reboots, you can enjoy all the goodies the Open VM Tools provides on your VMware virtual machine.
Installing Official VMware Tools on Ubuntu/Debian:
All the VMware hypervisors ships with the official VMware Tools by default. If you don’t want to install Open VM Tools or if you don’t have internet access, you may try to install the VMware provided VMware Tools.
Before you do this, know that VMware does not recommend this anymore. Many things can go wrong while installing the official VMware Tools.
First, start your Ubuntu/Debian virtual machine and click on VM > Install VMware Tools… as marked on the screenshot below.

Now, mount the official VMware Tools CD on your Ubuntu/Debian virtual machine as follows:

The VMware Tools tar archive should be in the CD as you can see in the screenshot below.
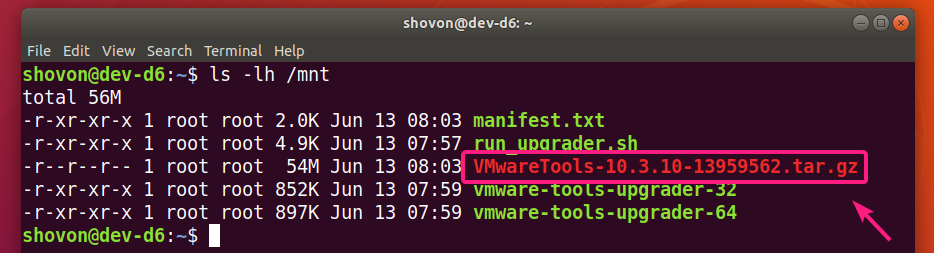
Now, copy the tar archive to your ~/Downloads directory or any other directory you like.

The VMware Tools archive VMwareTools-10.3.10-13959562.tar.gz should be copied to your desired directory.

Now, navigate to the directory where you copied the VMware Tools archive as follows:

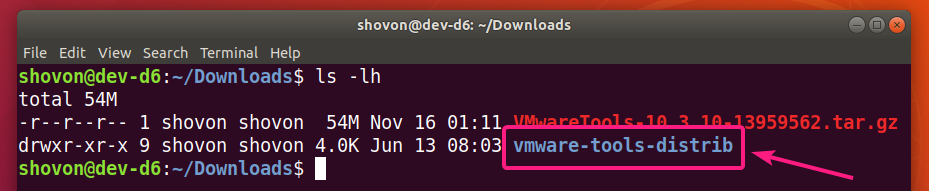
Now, extract the VMware Tools archive as follows:

A new directory vmware-tools-distrib/ should be created.
Navigate to the vmware-tools-distrib/ directory as follows:

A Perl script vmware-install.pl should be in that directory.
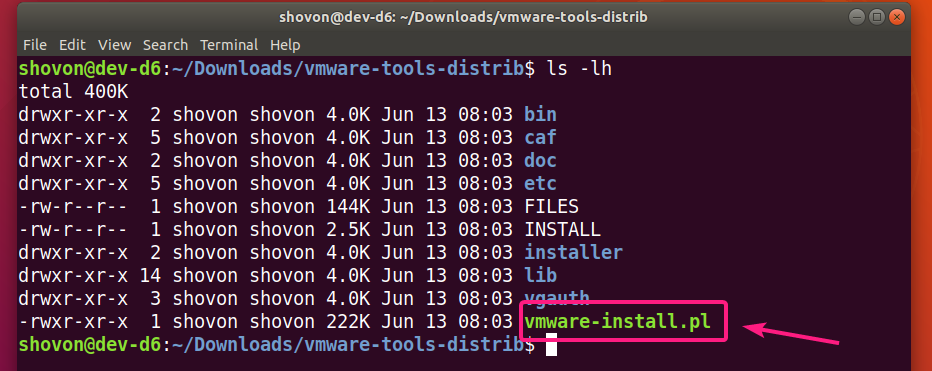
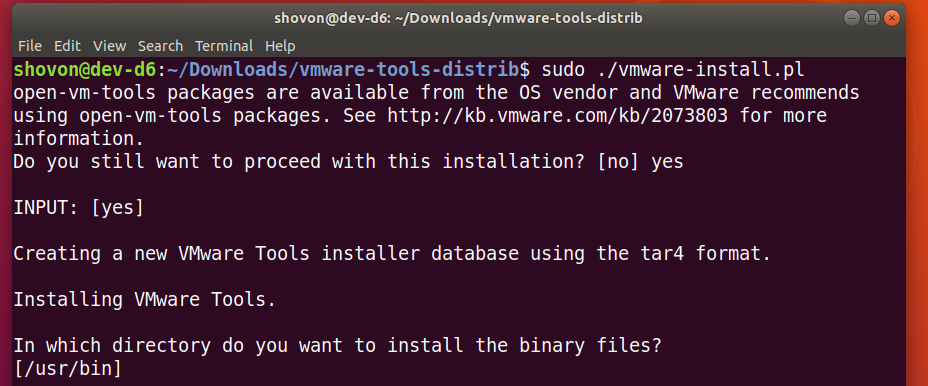
Now, run the Perl script vmware-install.pl as follows:

Now, type in yes and press <Enter>.

Press <Enter> to select the default.
Press <Enter> to select the default.

Press <Enter> to select the default.

Press <Enter> to select the default.

Press <Enter> to select the default.

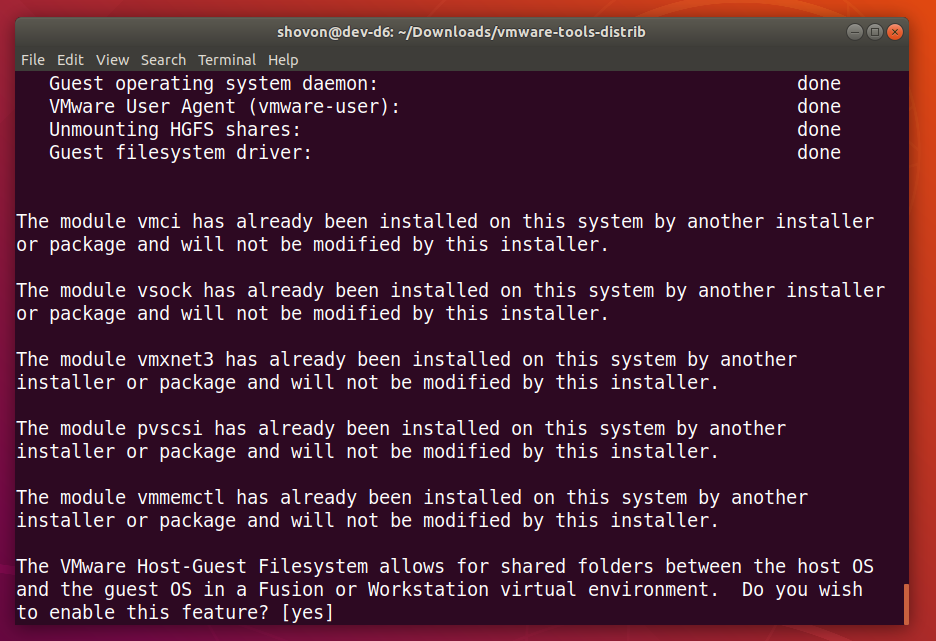
Press <Enter> to select the default.

Press <Enter> to select the default.

Press <Enter> to select the default.

Press <Enter> to select the default.

Press <Enter> to select the default.

Press <Enter> to select the default.
Wait a few seconds.
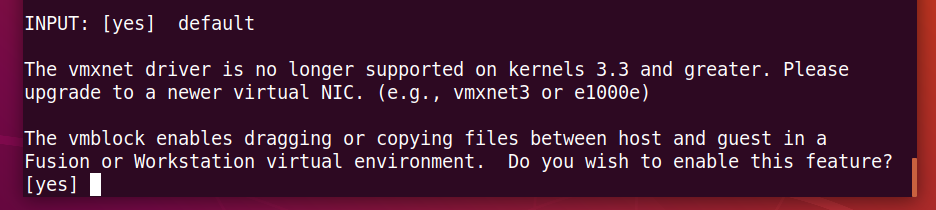
Press <Enter> to select the default.
Press <Enter> to select the default.
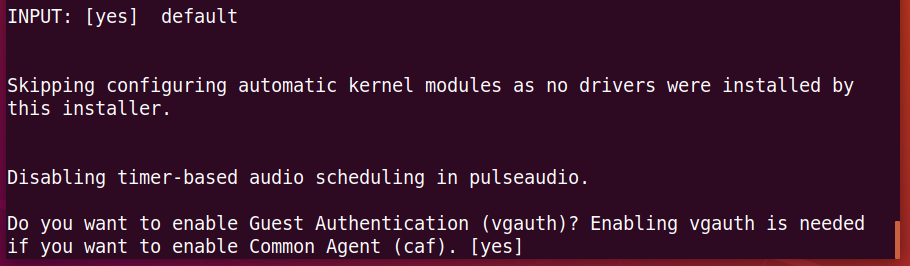
Press <Enter> to select the default.
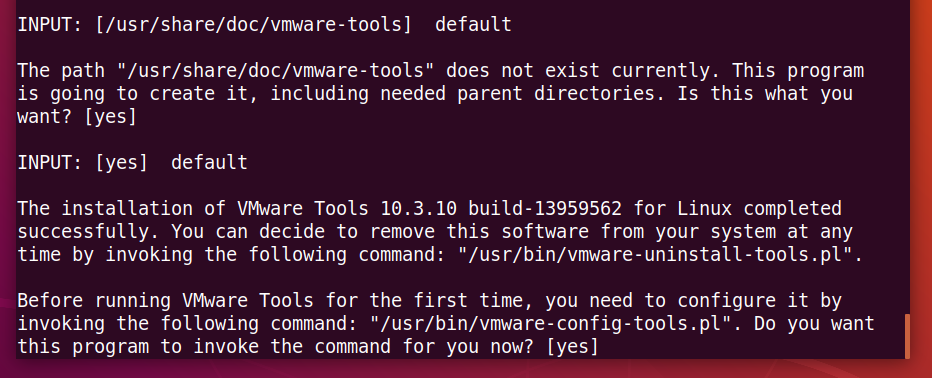
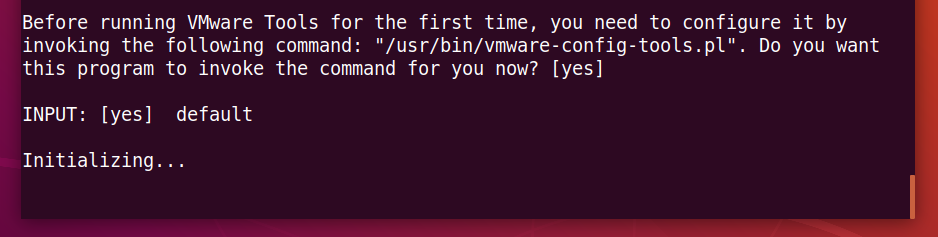
Type in yes and press <Enter>.

Wait a few seconds.
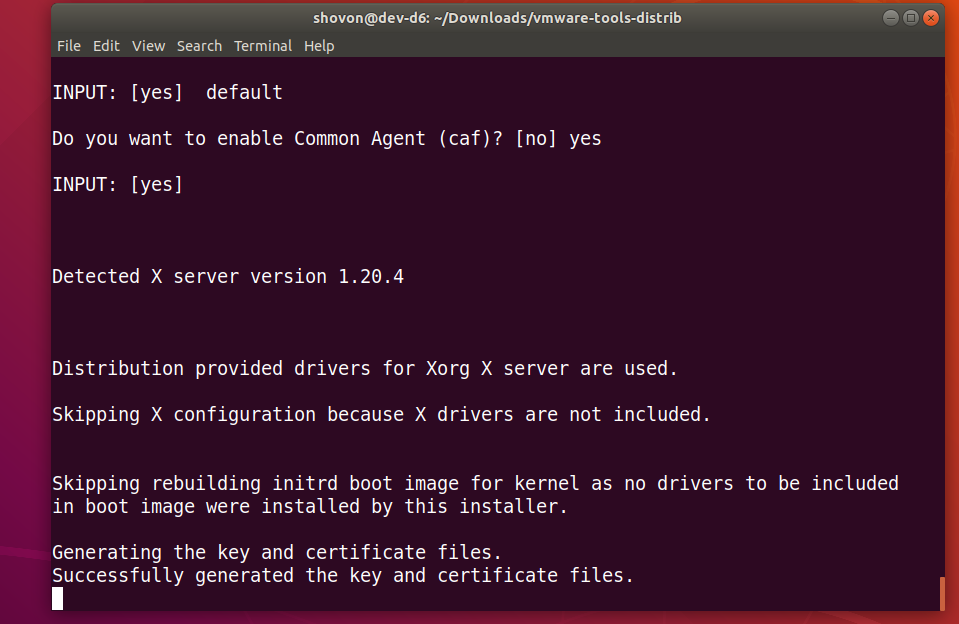
The official VMware Tools should be installed.
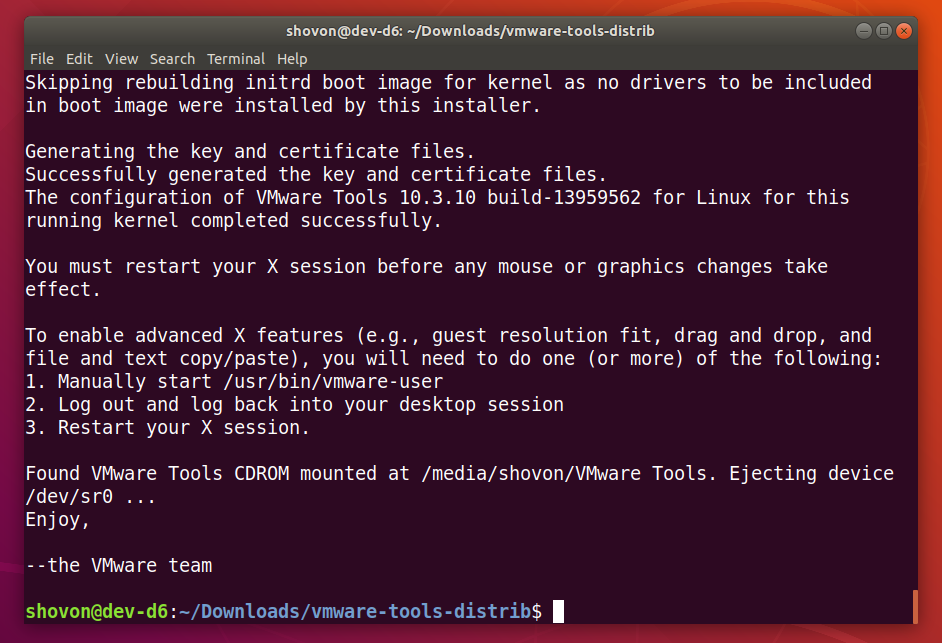
Now, reboot your Ubuntu/Debian virtual machine as follows:

Once your Ubuntu/Debian virtual machine reboots, you can enjoy all the goodies that the official VMware Tools provides.
So, that’s how you install VMware Tools on Ubuntu/Debian VMware virtual machines. Thanks for reading this article.