Installing ZFS Filesystem
First you have to make sure that main, restricted, universe and multiverse software sources of the official Ubuntu package repository are enabled.
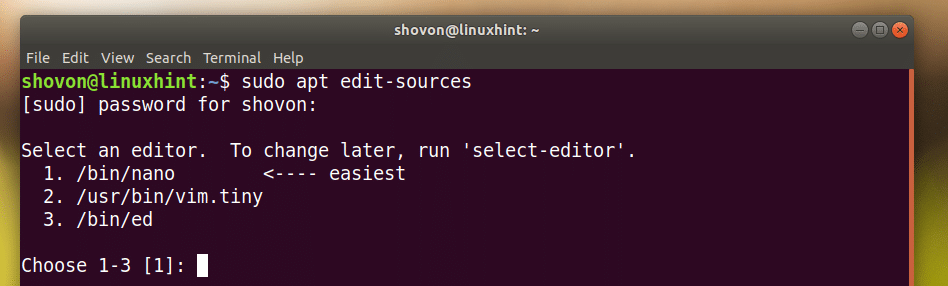
To do that, run the following command:

Press <Enter> to continue.
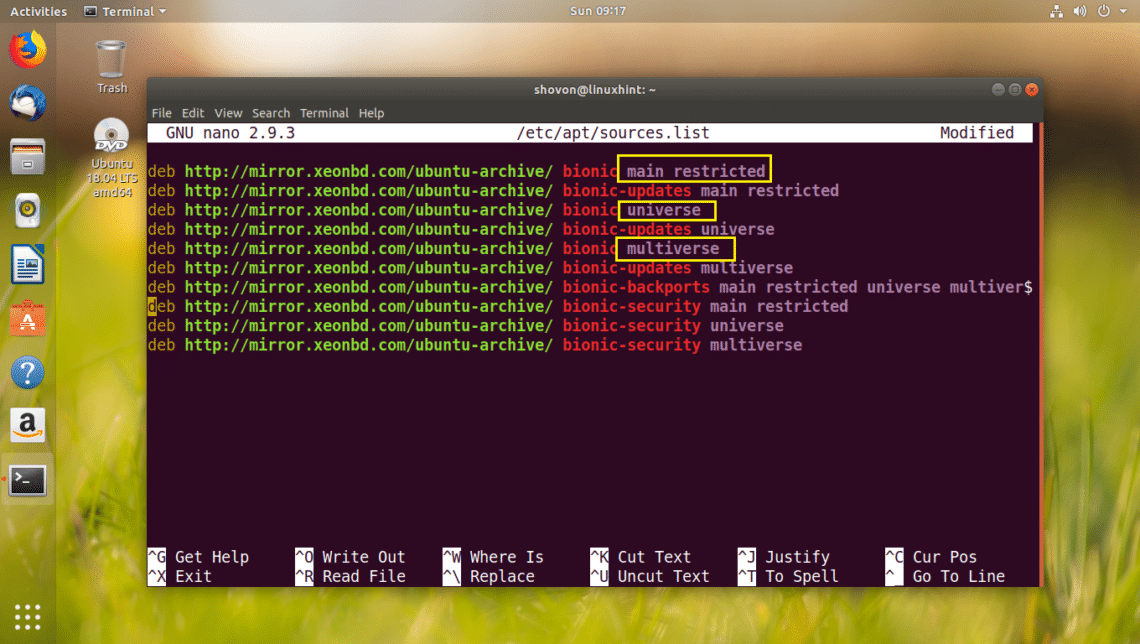
As you can see from the marked section of the screenshot below, I have all of these software sources enabled.
If you don’t have these enabled, run the following commands to add them one by one:
$ sudo apt-add-repository restricted
$ sudo apt-add-repository universe
$ sudo apt-add-repository multiverse
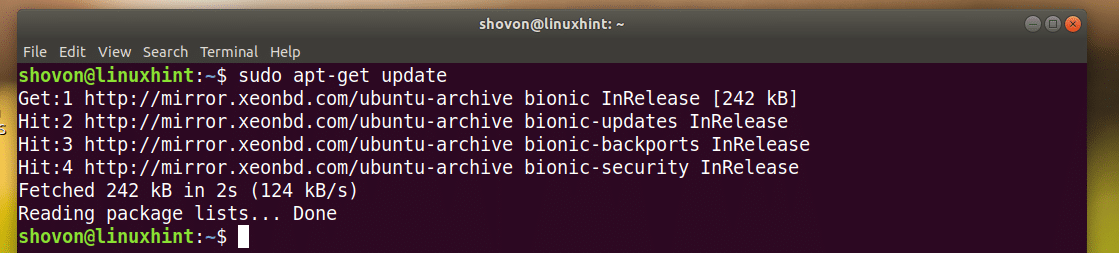
Now run the following command to update the apt package repository cache:

The package repository cache should be updated.
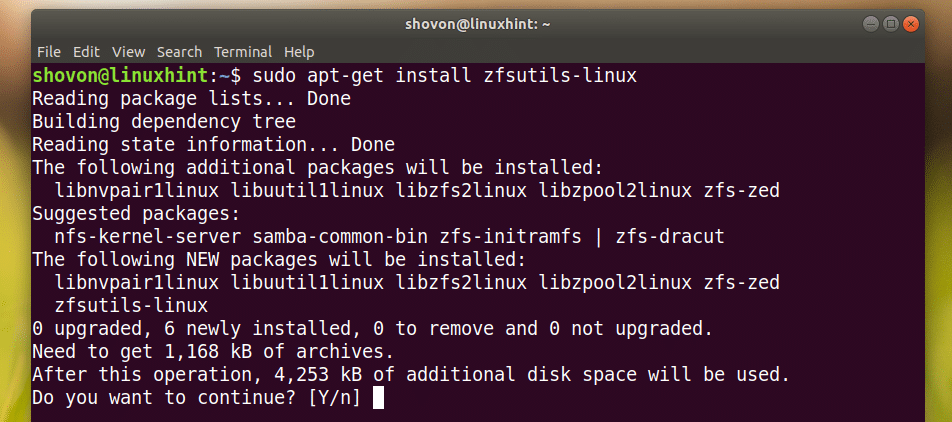
Now you can run the following command to install ZFS Filesystem on Ubuntu 18.04 LTS:

Now press y and then press <Enter> to continue.
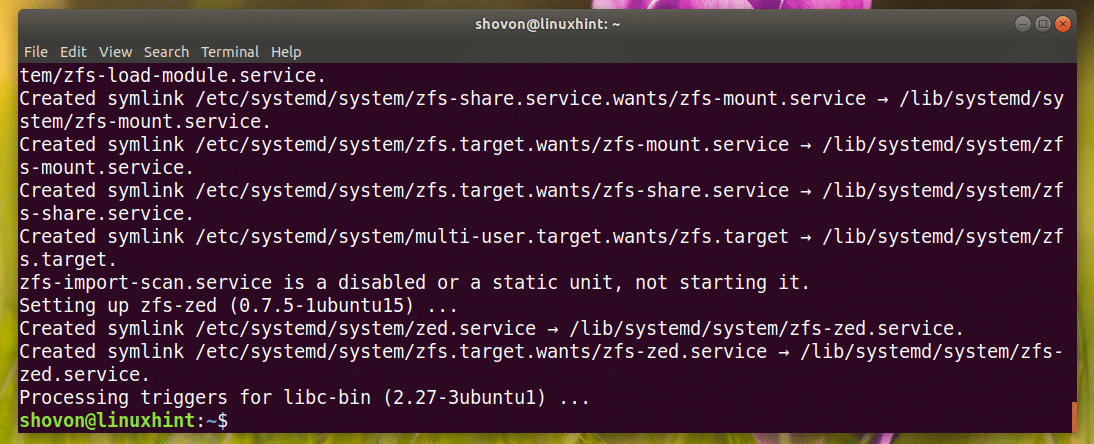
ZFS Filesystem should be installed.
Setting Up ZFS RAID 0 Pool
In this section I will show you how to set up a ZFS RAID 0 Pool.
In RAID 0, you add some hard drives, and they are added together to make a single large virtual drive.
For example, if you setup 3 units of 1 TB hard drives in RAID 0 pool, it will be a single 3 TB virtual hard drive. All the data you write to it will be divided into the 3 drives equally. It will make the write speed 3 times faster than it is for 1 drive. The same goes for the read speed. That’s the advantages of RAID 0 setup.
But there is a disadvantage of RAID 0. If one of these 3 drives fail, all your data will be lost.
You can check the status of the ZFS pools you have configured with the following command:
As you can see, I have no pools available yet.

I will show you how to configure your first ZFS pool now. But before that, make sure you have at least 2 hard drives installed on your computer. It is required for RAID 0.
I installed 3 virtual hard drives (8 GB of size) on my Ubuntu 18.04 LTS VMware virtual machine as you can see in the screenshot below. I can access them as /dev/sdb, /dev/sdc, /dev/sdd

Now let’s create our first ZFS pool. I am going to call it files. Of course you can call it something else if you want.
Run the following command to create a ZFS pool files in RAID 0 setup:

ZFS pool files should be created.
Now you can run the following command to list your ZFS pool:

As you can see from the marked section of the screenshot below, the NAME of the pool is files and the SIZE is 23.8 GB (8 GB x 3 = 24 GB)

Your newly created files ZFS pool should be mounted on /files automatically as you can see from the output of the df command.

By default, /files mount point is only writeable by the user root. If you want to make /files writable by your own user and group, you can do so by running the following command:
NOTE: Here USERNAME and GROUPNAME are your login USERNAME and GROUPNAME. Usually they are the same.

As you can see from the screenshot below, the ownership of /files directory changed.

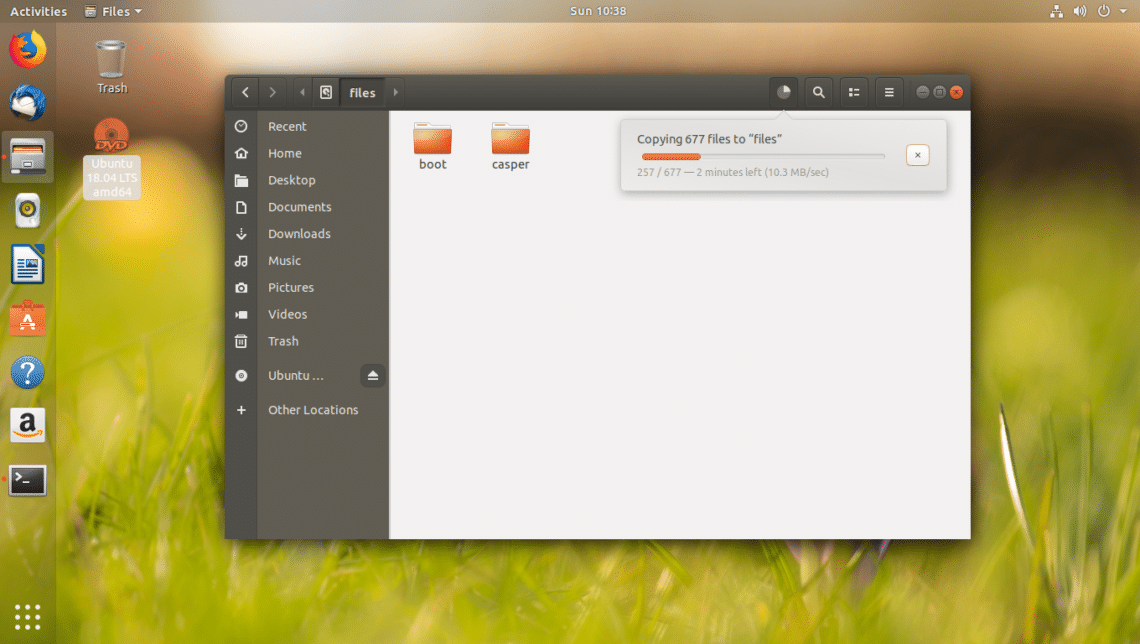
As you can see from the screenshot below, I can now copy and paste files into the /files directory as an ordinary user.
Changing the Mount Point of Existing ZFS Pool
By default, a ZFS pool is mounted on /ZFSPoolName.
For example, if the pool name is files, then it will be mounted on /files.
If you want, you can mount it somewhere else on your filesystem.
For example, if you want to mount files ZFS pool to /var/www, you can do so with the following command:

NOTE: Make sure the directory where you want to mount the ZFS pool exists before you run this command.
As you can see from the output of the df command, the mount point is changed to /var/www

Removing a ZFS Pool
In this section I will show you how to remove the files ZFS pool you just created.
You can run the following command to remove the files ZFS pool:

As you can see from the screenshot below, the files ZFS pool was removed.

That’s how you install and setup ZFS Filesystem on Ubuntu 18.04 LTS. Thanks for reading this article.