In this article, I am going to show you how to install Git on Debian 10 Buster and how to get started with Git. So, let’s get started.
Installing Git:
Git is available in the official package repository of Debian 10. So, you can easily install Git on Debian 10 using the APT package manager.
First, updae the APT package repository cache with the following command:

The APT package repository cache should be updated.

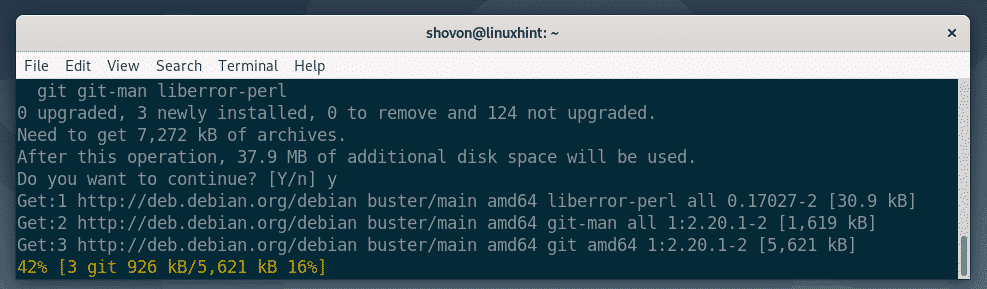
Now, install Git from the official Debian 10 package repository with the following command:

Now, press Y and then press <Enter> to confirm the installation.

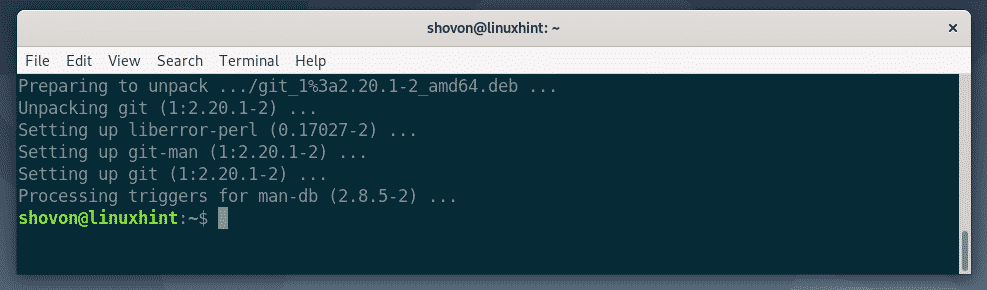
APT should download and install all the required packages.
At this point, Git should be installed.
Once Git is installed, check whether Git is working with the following command:
As you can see, I am running Git 2.20.1 on my Debian 10 machine. It’s working correctly.

Setting Up Global Git Username and Email:
The first thing you should do after installing Git is to set up a global Git username and email. This username and email will be used in your Git repositories by default.
To set up a global Git username, run the following command:
NOTE: Replace YOUR_NAME with your own name.

To set up a global Git email, run the following command:
NOTE: Replace YOUR_EMAIL with your own email address.

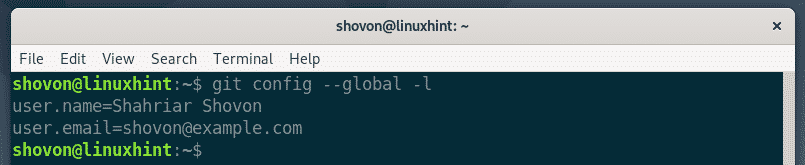
Now, check whether the global username and email is set with the following command:
As you can see, the global user.name and user.email is correctly set.
Git Terms:
In order to understand Git, you should be familiar with some of the common Git terms.
Repository: It is a directory on your local computer or a remote server where all your project files are kept and tracked by Git.
Untracked: If you create a new file on your Git repository, then it is called an untracked file in Git. Unless you tell git to track it, Git won’t track a file.
Tracked: If you want Git to track a file, then you have to tell Git to track the file manually.
Staged: Before you commit your changes to the Git repository, you must add the files to the staging area. The files in the staging area is called staged files.
Modified: If you add a file in the staging area, and modify the file again before committing, then the file will have a modified status. You will have to add the file to the staging area again for you to be able to commit it.
Commit: It is keeping a snapshot of the files that are in the staging area. A commit has information such as a title, description, author name, email, hash etc.
Basic Git Workflow:
In this section, I am going to show you the basic Git workflow. I am going to create a new Git repository on my local filesystem, and start developing a simple Node.js project on that repository and use Git to track changes in my project. So, let’s get started.
First, make a new project directory hello-node/ and navigate to the project directory with the following commands:
$ cd hello-node/

Now, initialize a new Git repository in the project directory with the following command:
As you can see, a new empty Git repository is initialized.

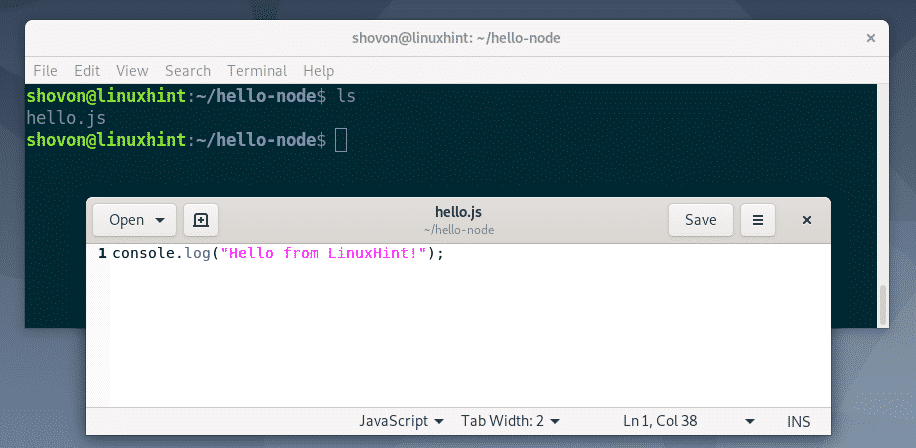
Now, create a new file hello.js and type in the following lines of code in it.
console.log(“Hello from LinuxHint!”);
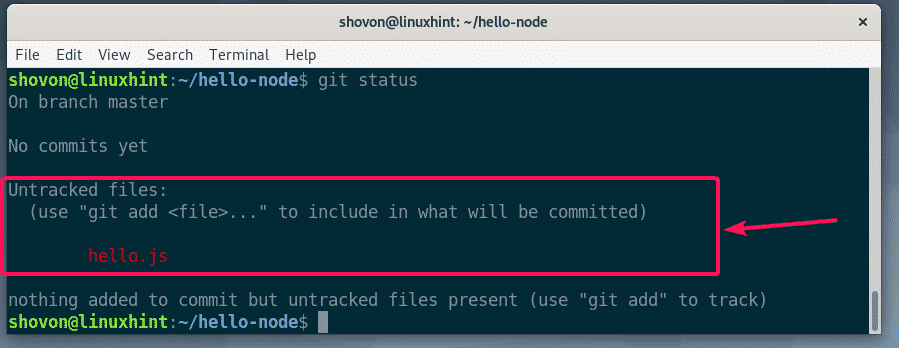
Now, to see the status of the files in the Git repository, run the following command:
As you can see, the file hello.js is marked red. Which means it’s an untracked file.
Now, to track the file hello.js, run the following command:

NOTE: If you have a lot of files in your project directory that you want to track, then you don’t have to run git add for each of the files. Instead you can run the following command to track them all.
Now, check the status of the files with the following command:
As you can see, the file is now marked green, which means Git is tracking the file and the file is staged. It’s ready to be committed.

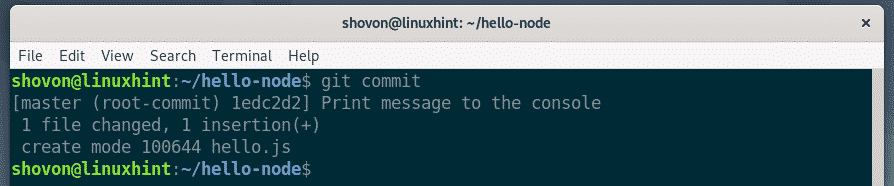
Now, to commit the changes, run the following command:

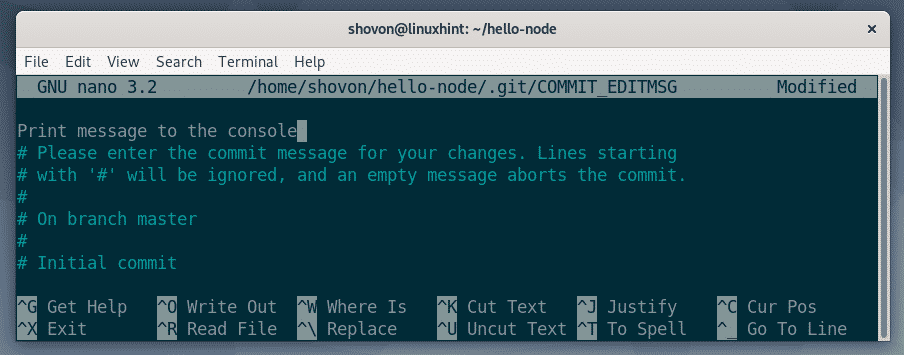
A text editor should be opened. Now, type in a commit message. It could be anything. But it should help you remember what you did here. Ignore the lines starting with #. These are comments and won’t be added to the actual commit.
Once you’ve written the commit message, press <Ctrl> + X followed by Y and <Enter> to save the file.
The changes should be committed.
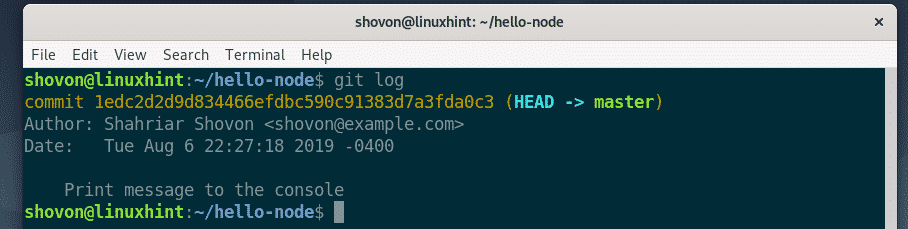
You can list all the existing commits with the following command:
As you can see, the commit I’ve added is listed here. Each commit has its own hash and the hash is unique throughout the project. In this particular commit, the hash is 1edc2d2. This is the short form of the hash. It is enough to uniquely identify each commits.

If you want to see the long form of the hash, then list the existing commits with the following command:
As you can see, more information about each commit is listed. Also, the hash is printed in the long form.
You can further modify existing files, add new files, track them, stage them, add new commits and so on to develop your project.
So, that’s how you install Git on Debian 10 Buster and get started with Git on Debian 10. Thanks for reading this article.