You can get a free trial license and download plesk from the link below:
https://page.plesk.com/plesk-onyx-free-download
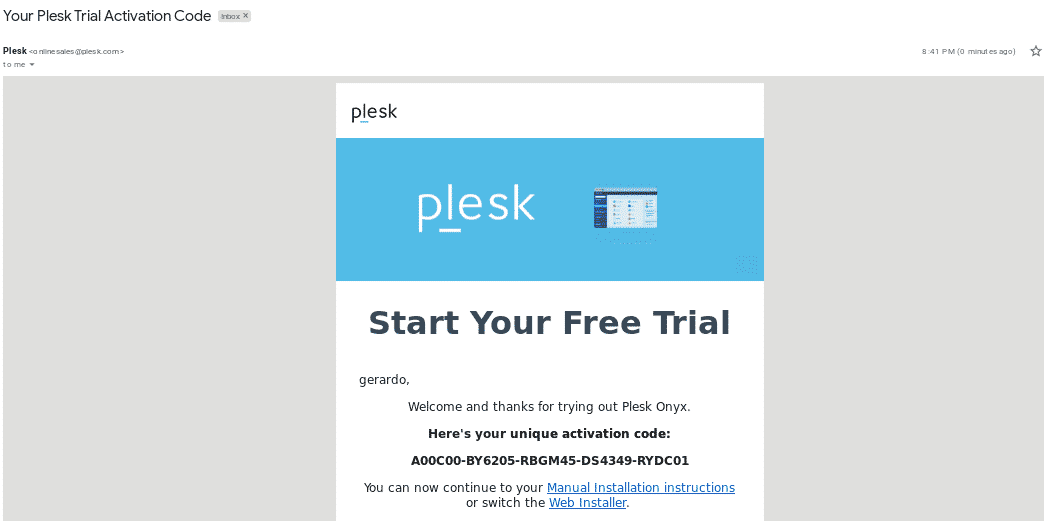
Make sure to set a real e-mail address since confirmation is mandatory to get the free license.
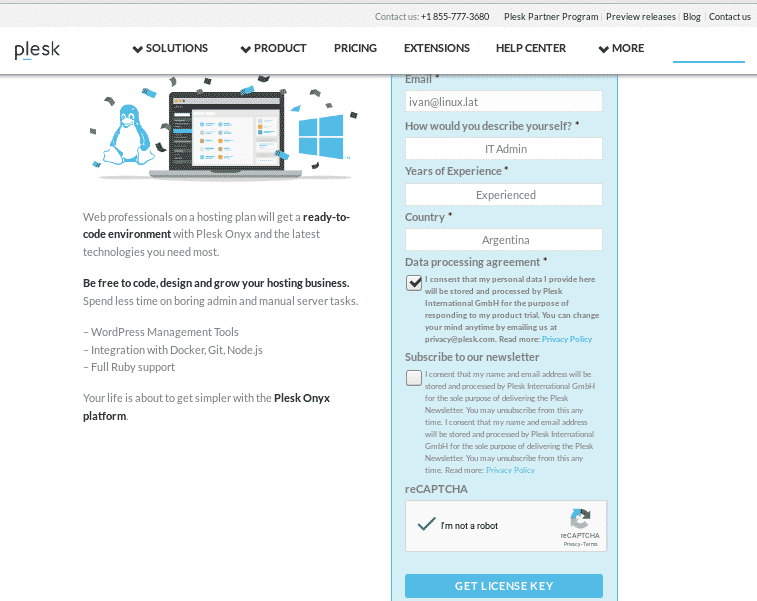
After sending the form you’ll receive and e-mail with the license and a link to download Plesk.
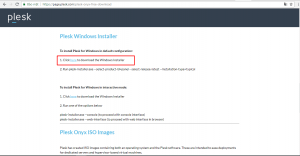
The link will lead us to the command:
wget -O – https://autoinstall.plesk.com/one-click-installer)
The installation will start automatically and may take up to an hour.
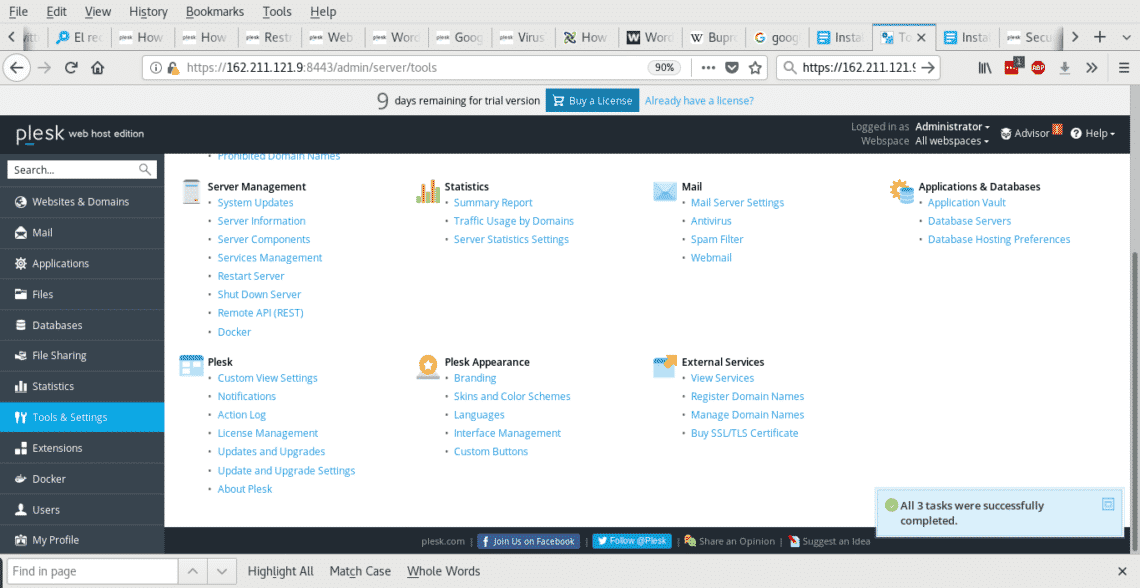
Once the installation ends you’ll get a screen similar to the image below on the console with login links. Copy and paste the link in your browser.

From your server’s console you can always generate login links by typing “plesk login”
Plesk usage is very simple and intuitive, in this tutorial I wont teach how to use Plesk since different users may have different needs, Plesk has a very complete knowledge database you can access by typing any question on Google.
In this article I will numerate common practises to protect our Plesk server,
Installing security extensions
After accessing Plesk click on Extensions> Categories> Security
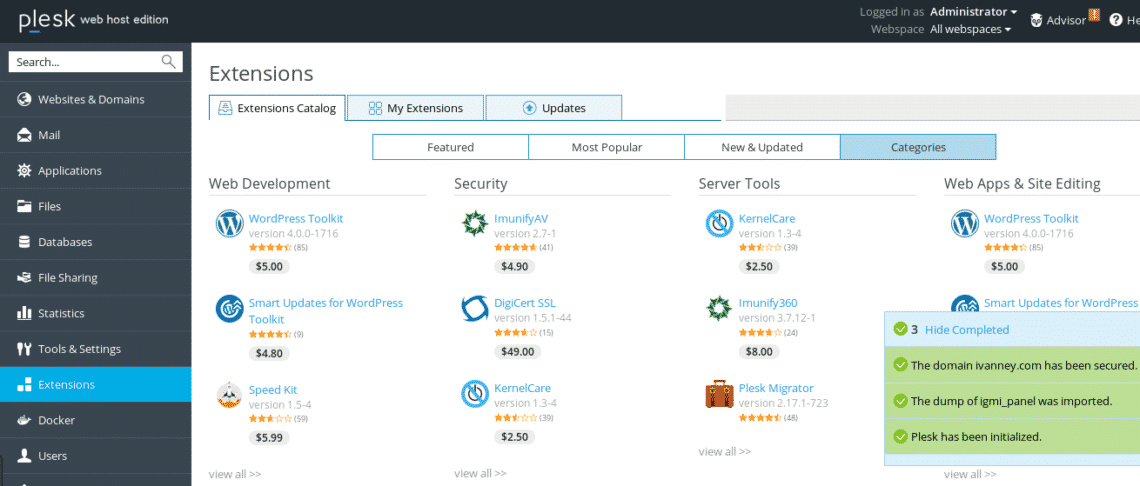
You’ll need to install the following extensions:
1. Lets Encrypt or SSL It!
2. Advisor
3. Advanced ModSecurity Rules by Atomicorp
4. (D)DoS Deflate Interface
5. Google Authenticator
To install each of the extensions, follow the same steps I’ll describe using (D)DoS Deflate Interface as an example.
Click on the extension icon and then select FREE, press on the button “Get it free”
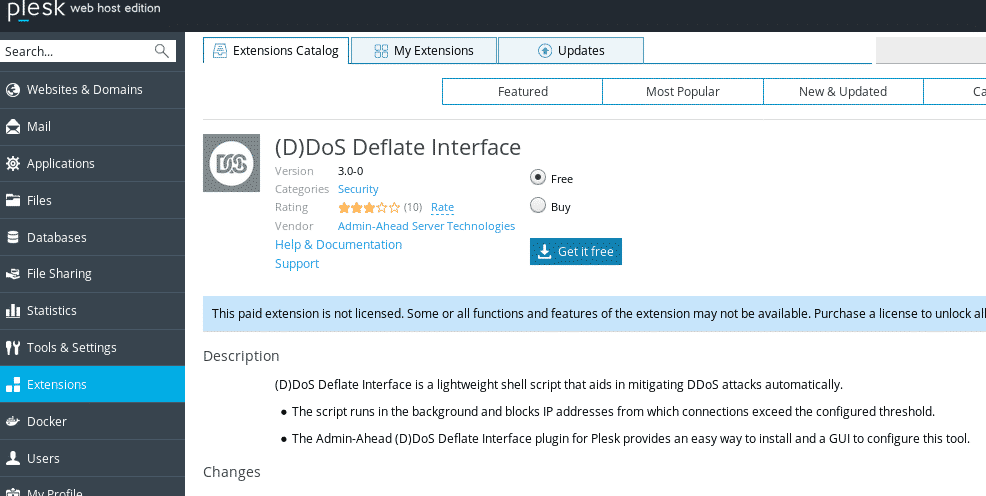
Plesk will install the chosen extension automatically, repeat this step with all extensions you want to install.
Security Policies
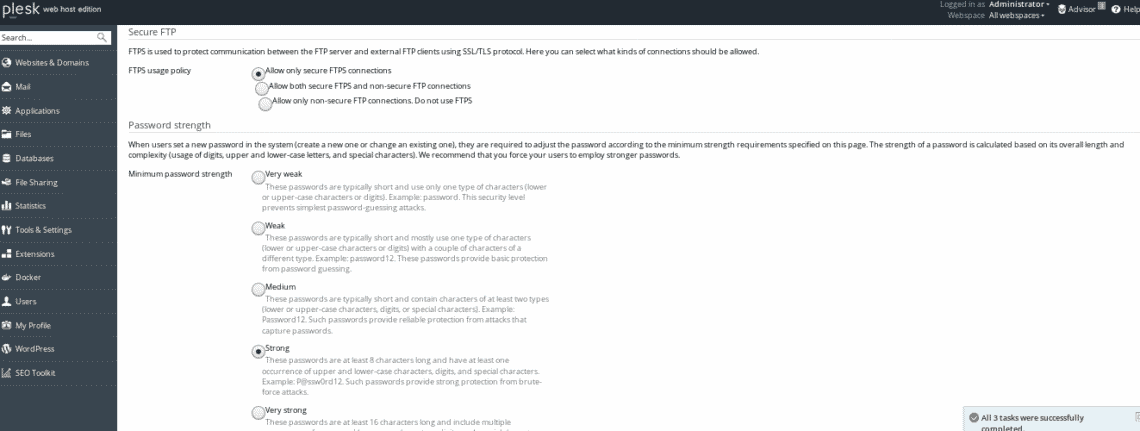
Next click on Tools & Settings>Security Policy

Disable FTP and let only FTPS enabled to enforce secure files transfer. You can also prevent users from using weak passwords, mark Strong or Very Strong.
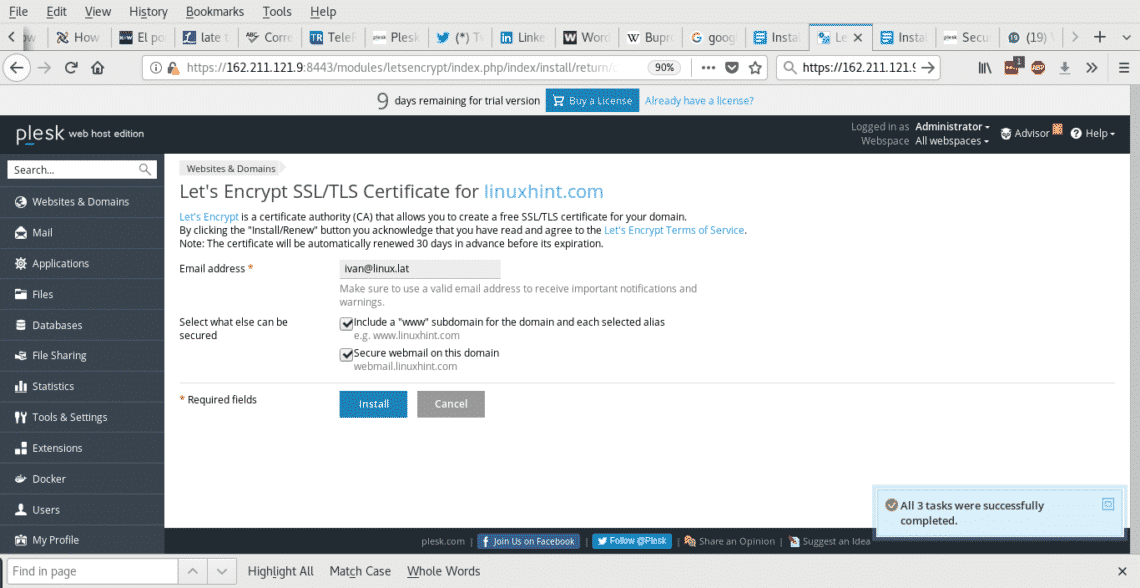
After installing Lets Encrypt or any of the extensions for SSL, let’s secure your domains, go to Websites & Domains (first option on the main menu) and click on the Lets Encrypt icon, if you didn’t setup a domain yet, do it by clicking on +Add Domain add a domain and follow the next steps:
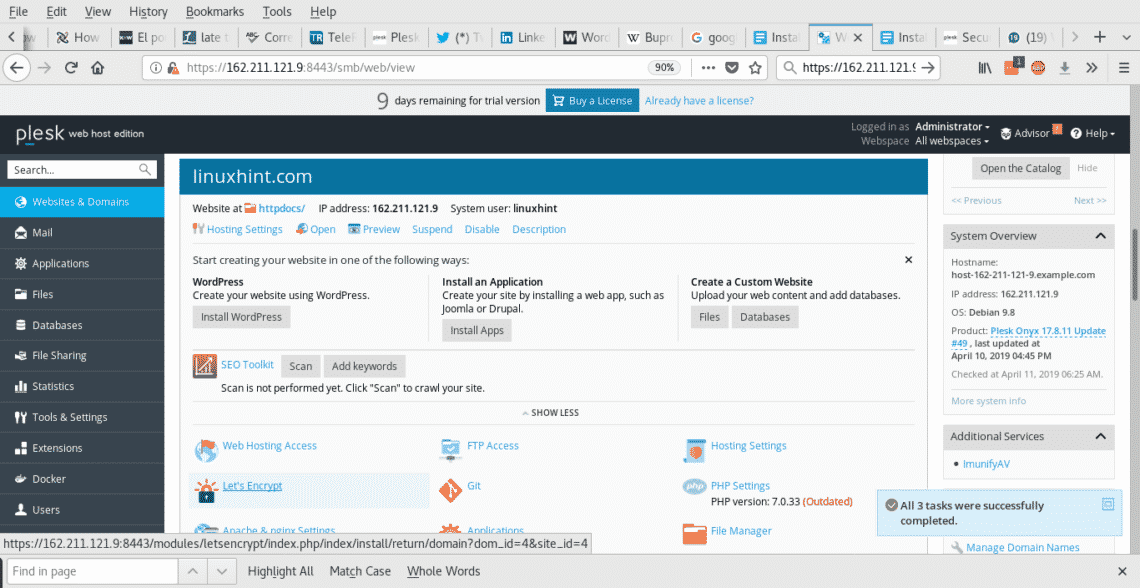
After clicking on the Let’s encrypt icon fill your e-mail address and mark both options if you are hosting a webmail server too.
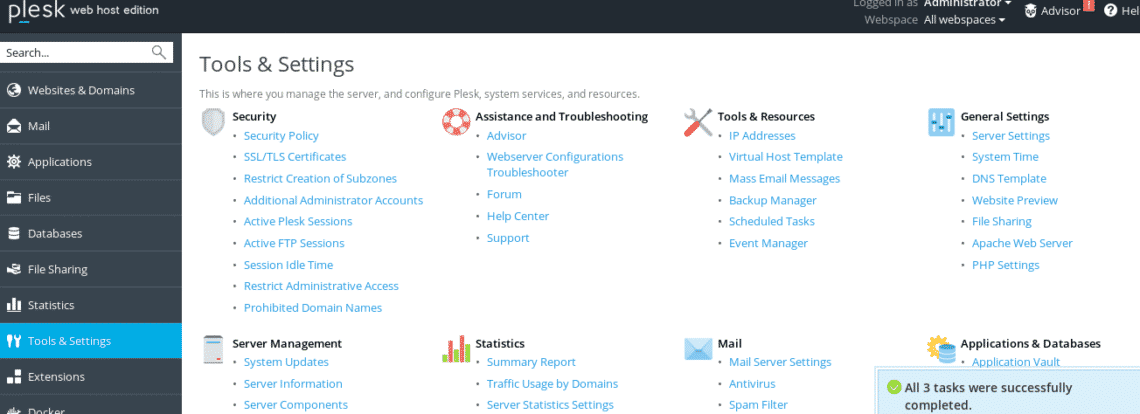
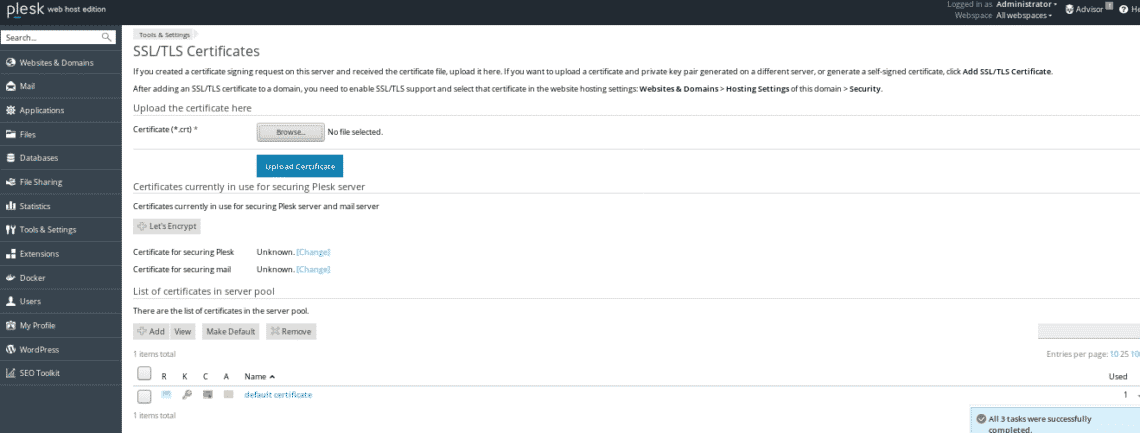
To secure the mail server with SSL/TLS on the main menu go back to Tools & Settings> Security> SSL/TLS Certificates
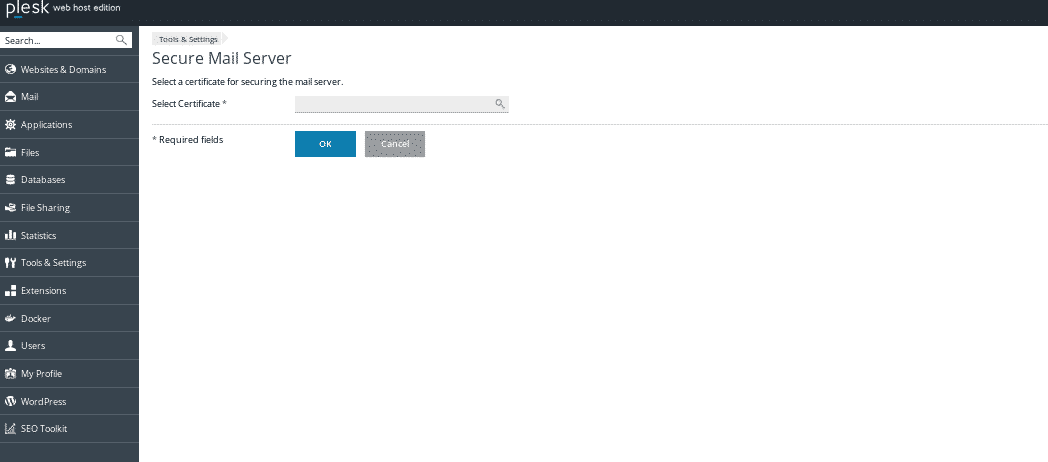
Click on change next to “certificate for securing mail”
Select the certificate you want to use and press OK
Additional Measures:
You can Download and install the following tools
https://www.plesk.com/extensions/virustotal-website-check/
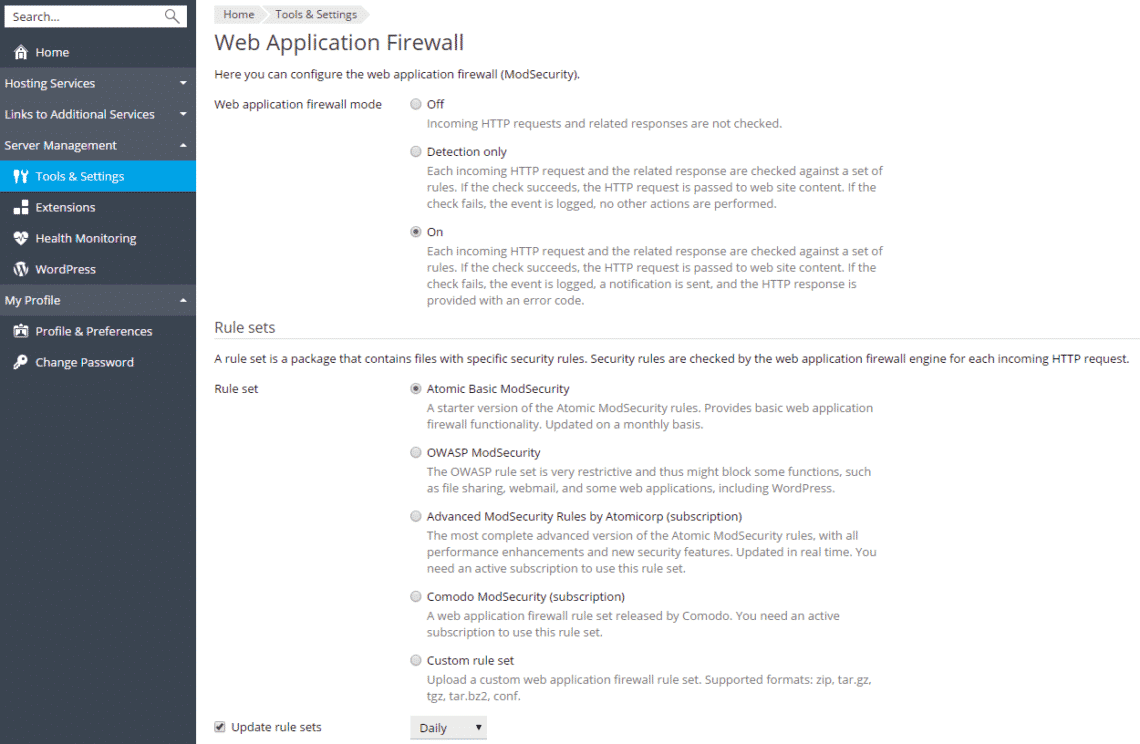
Enable ModSecurity by clicking on Tools & Settings > Web Application Firewall (ModSecurity)
If you can’t find it add Modsecurity, click on Tools & Settings > Updates and Upgrades, add an exception for the certificate if asked.
Among the lower options find Add/Remove Components > Web hosting
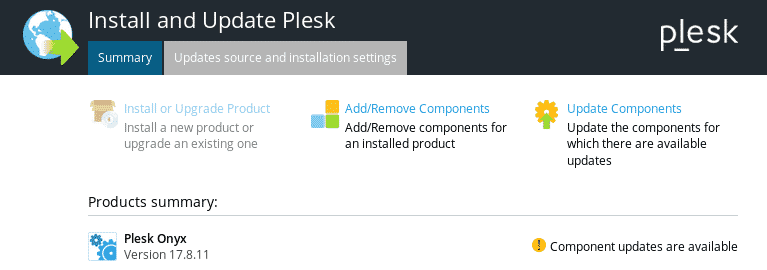
Once ModSecurity was installed, go Tools & Settings > Web Application Firewall (ModSecurity) and turn on the firewall, choose the protection level and save settings.
Conclusion
Plesk not only allows us to easily manage servers and a variety of services but to do it keeping a very professional security level without need to be a Linux guru. It’s interface allows the user to setup certificates, firewalls, antivirus, authentication systems and more in a very intuitive way.
I hope you found this short tutorial to setup a safe Plesk installation useful, keep following LinuxHint for new articles and updates on Linux.