In this article, I am going to show you how to install Google Chrome on Debian 10, update Google Chrome and uninstall Google Chrome from Debian 10 once installed. So, let’s get started.
Downloading Google Chrome:
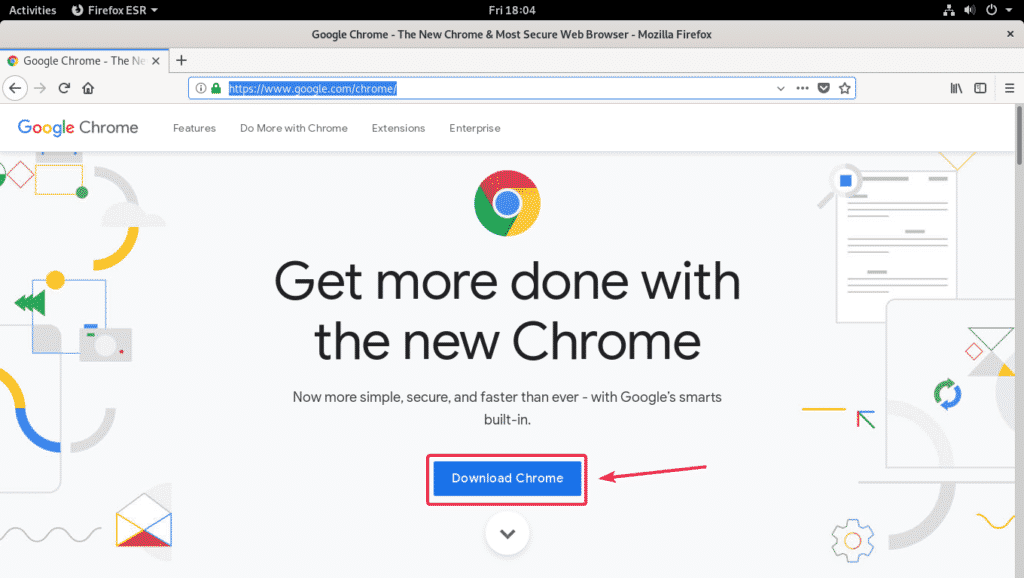
First, you have to download the Google Chrome DEB package file from the official website of Google Chrome.
Once you visit the page, click on Download Chrome as marked in the screenshot below.
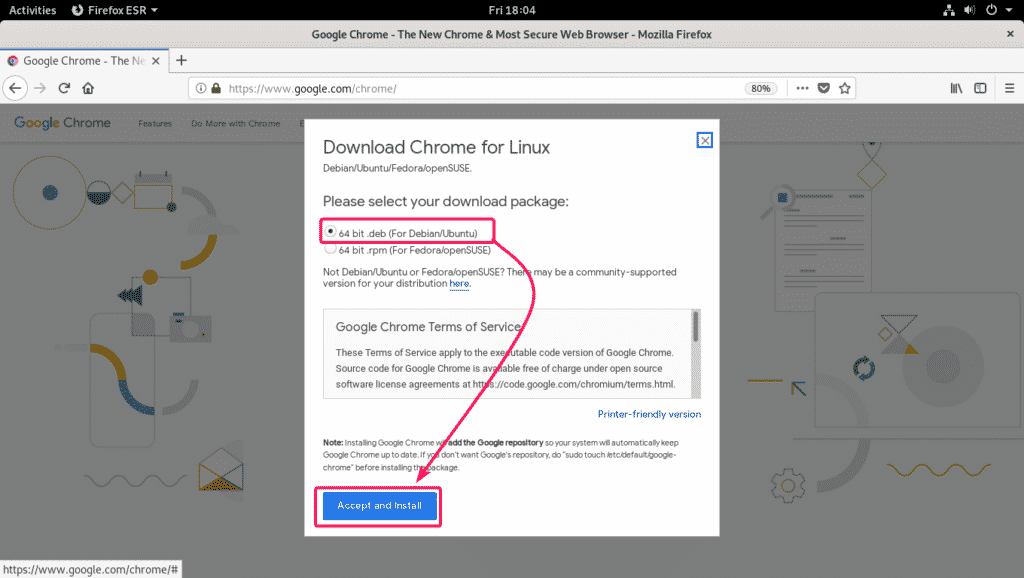
Now, select 64 bit .dev (For Debian/Ubuntu) and click on Accept and Install.
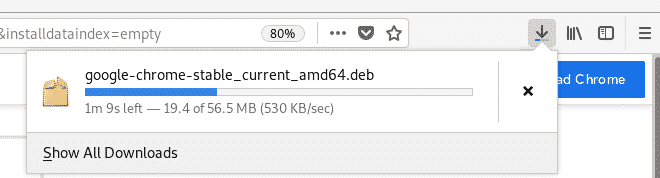
Your browser should prompt you to save the Google Chrome DEB package file. Select Save File and click on OK.
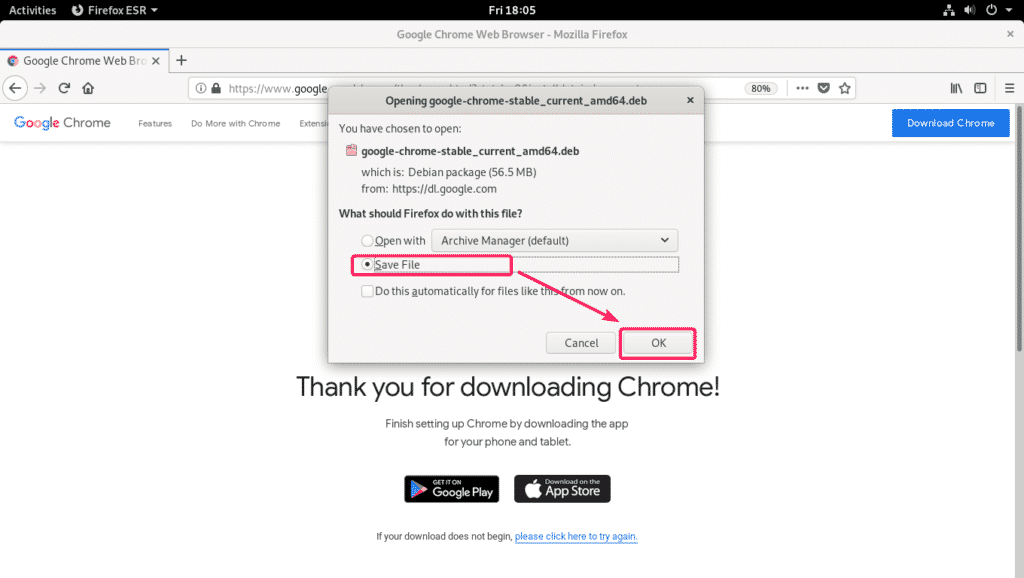
The download should start. It will take a few seconds to complete.
Installing Google Chrome:
Once the download is completed, open a Terminal and navigate to the ~/Downloads directory with the following command:

You should see the Google Chrome DEB package file there. Select and copy the filename.

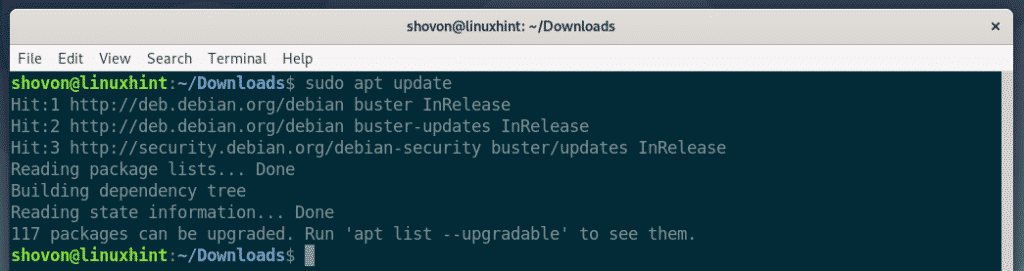
Now, run the following command to update the APT package repository cache.

The APT package repository cache should be updated.
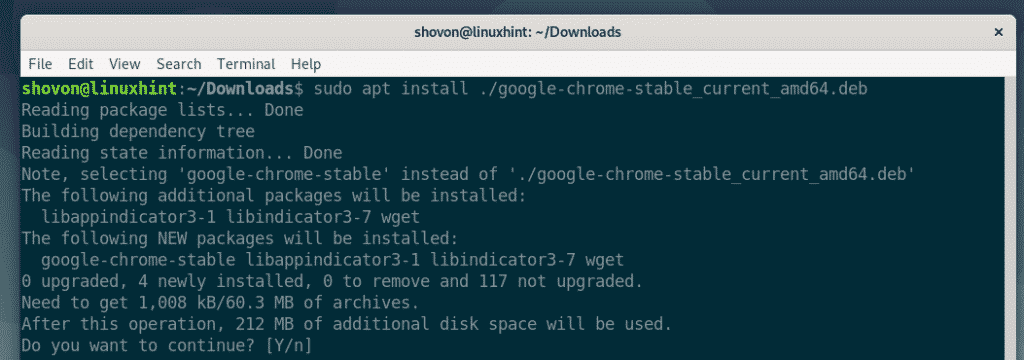
Now, install the Google Chrome DEB package with the following command:

Now, press Y and then press <Enter> to confirm the installation.
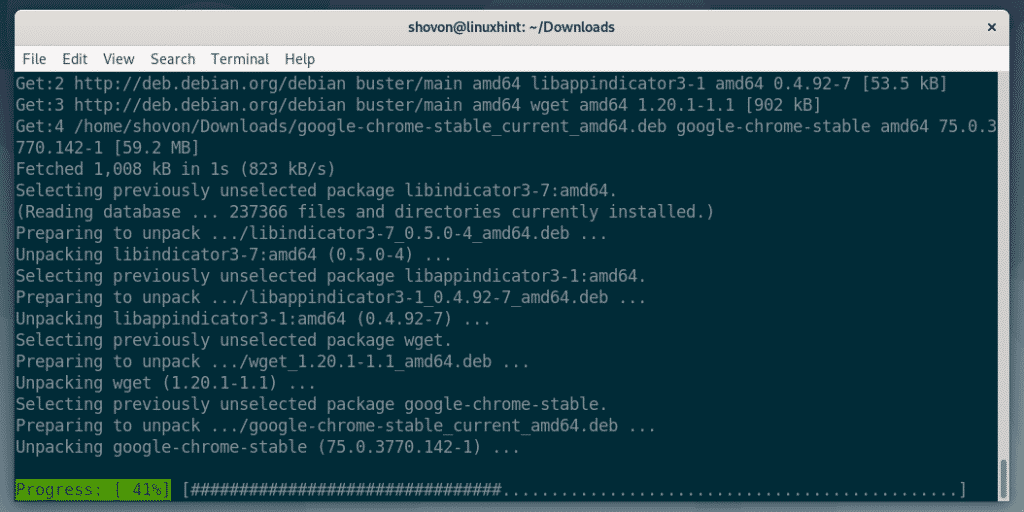
The installation should start. It may take a few seconds to complete.
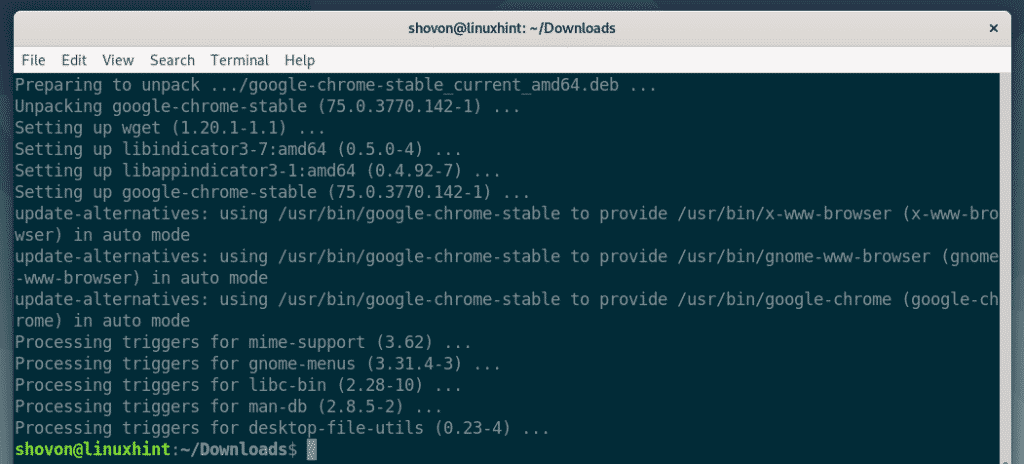
The installation should be completed.
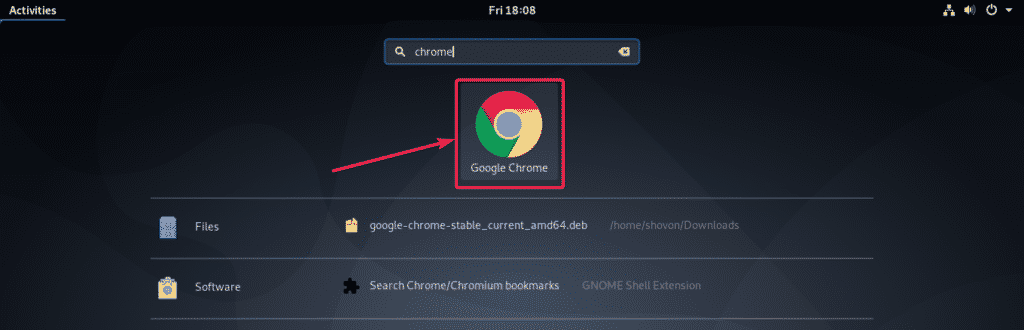
Once the installation is completed, you can find Google Chrome is the Application Menu of your Debian 10 operating system. Click on it to start Google Chrome.
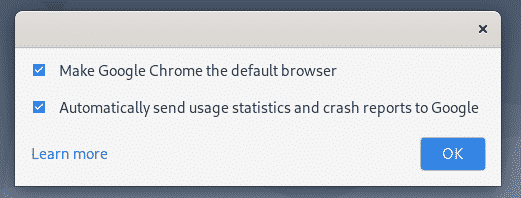
As you’re running Google Chrome for the first time, Google Chrome will ask whether you want to make it the default browser and send usage statistics and crash reports to Google. Check/uncheck the ones that you want depending on your preference and click on OK.
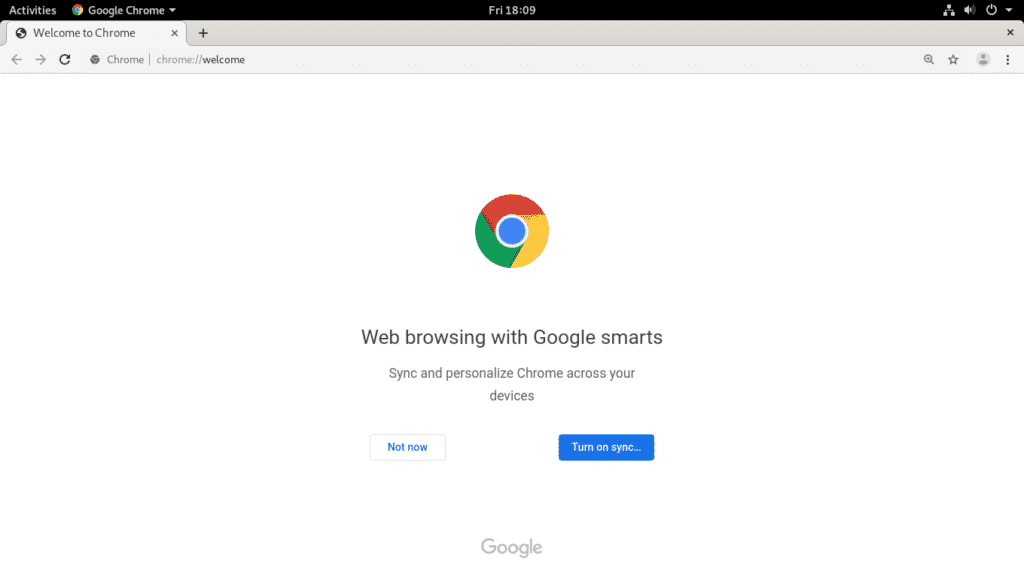
Google Chrome should start. It will ask you whether you want to sync all your data from your Google account or not. Click on Turn on sync… if you do. If you want to sync later, just click on Not now.
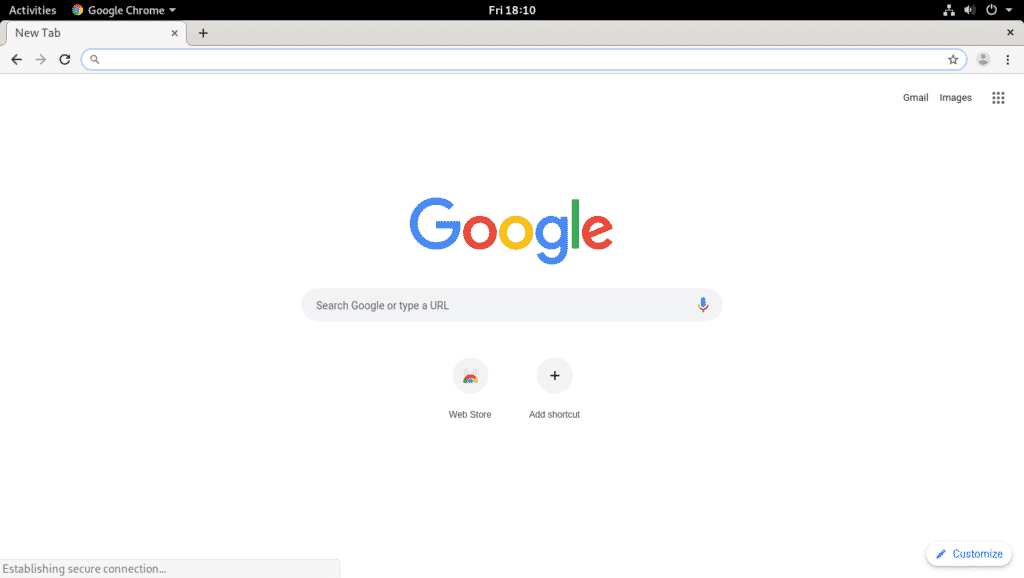
Now, you should be able to use Google Chrome to visit your favorite websites.
Updating Google Chrome:
The package repository of Google Chrome is automatically added to the /etc/apt/sources.list file when you installed Google Chrome. So, when your package manager will manage Google Chrome updates automatically including all the other system packages. But, if you want to manually update Google Chrome, then this section is for you.
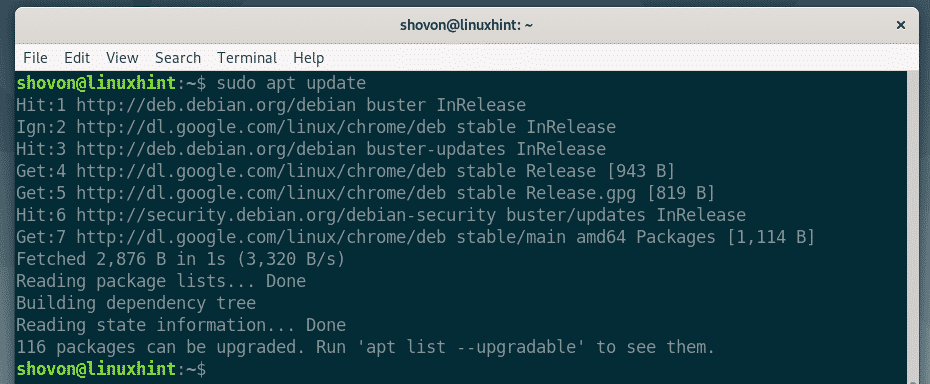
First, update the APT package repository cache to check whether any new version of Google Chrome is available with the following command.

The APT package repository cache should be updated.
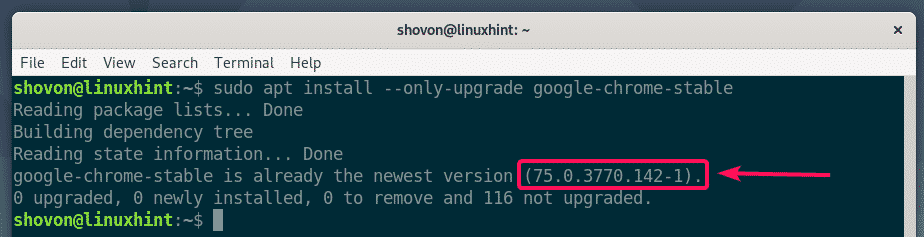
Now, to update Google Chrome, run the following command.

In my case, the latest version of Google Chrome is already installed. So, no updated version is available. But, at the time of you reading this, you may have a new Google Chrome version. In that case, all you have to do is confirm the update operation and you’re good to go.
Uninstalling Google Chrome:
If you’re new to Google Chrome and installed it just to give it a go. Then, there is a chance that you may not like it after you tried it.
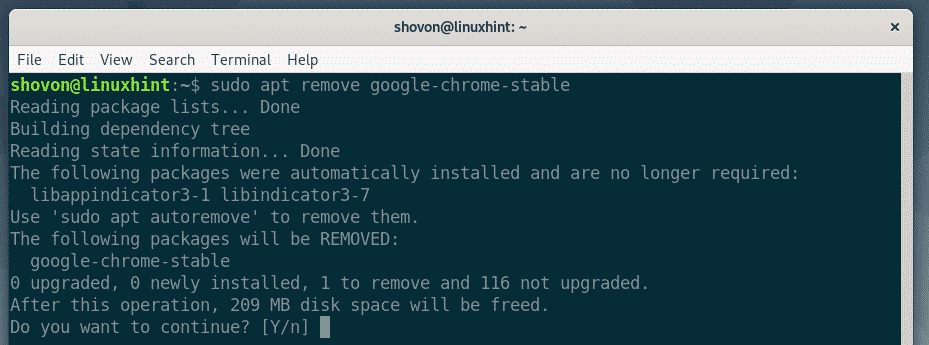
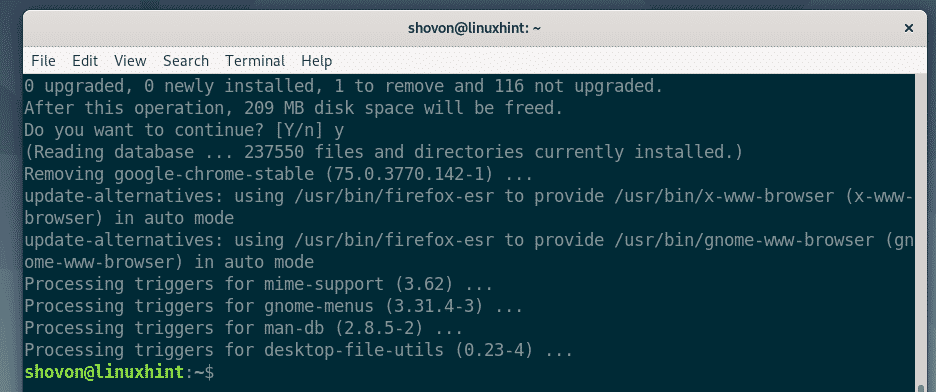
In that case, you can remove Google Chrome very easily with the following command:

Now, press Y and then press <Enter> to confirm the remove operation.
Google Chrome is being removed.
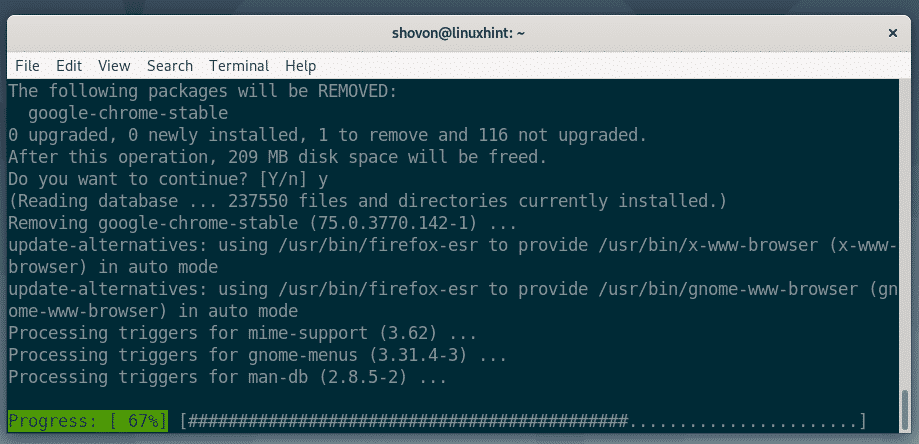
Google Chrome should be removed.
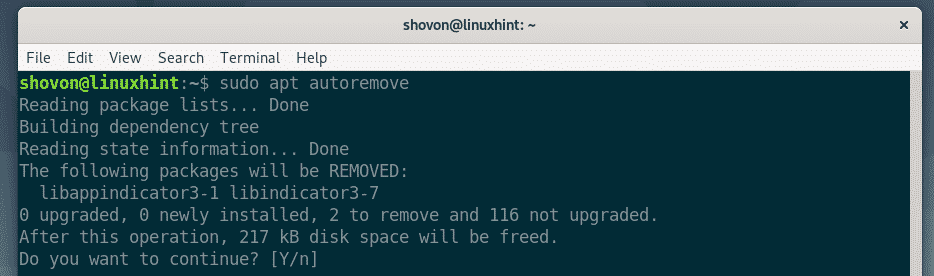
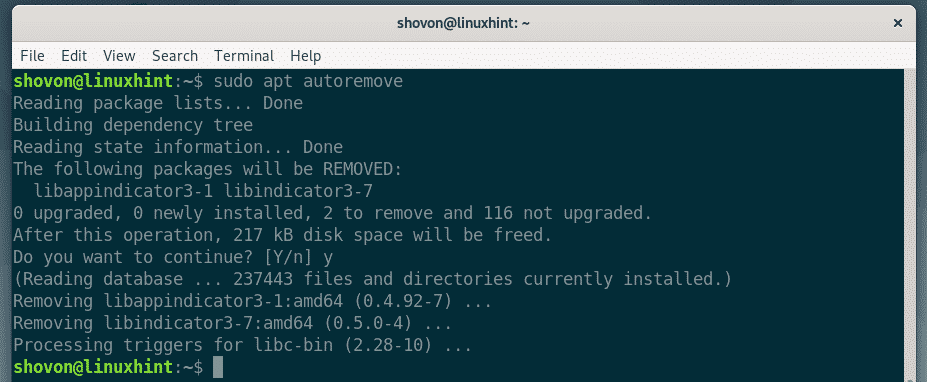
Now, run the following command to remove all the dependencies that the Google Chrome DEB package installed. You don’t need them anymore.

Press y and then press <Enter> to continue.
All the dependency packages should be removed.
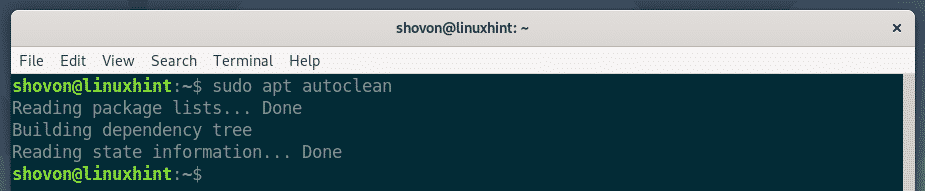
You may also want to remove the APT package cache files to save disk spaces. To do that, run the following command:

If APT does have any unnecessary package cache files, it will remove it and save disk spaces.
So, that’s how you install Google Chrome, update Google Chrome and uninstall Google Chrome on Debian 10 Buster. Thanks for reading this article.