Uploading CentOS 7 ISO Image to VMware ESXi:
In order to install CentOS 7 on a VM in VMware ESXi, you need to have the CentOS 7 installation ISO file. You can download it from the official website of CentOS 7 at https://www.centos.org.
Once you visit the website, click on Get CentOS Now.
Then, click on Minimal ISO.
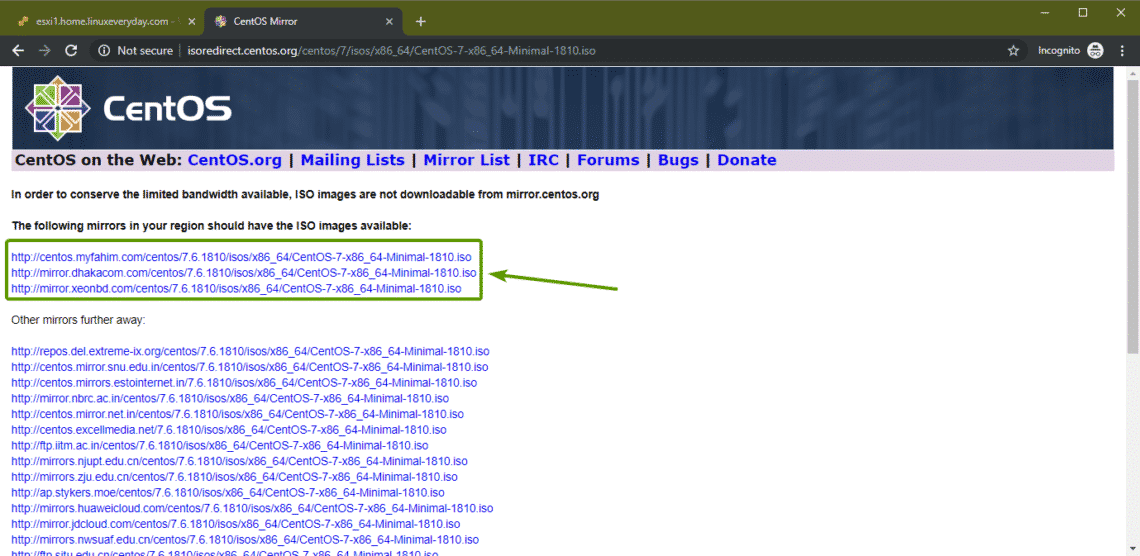
Now, click on any of the link.
Your browser should start downloading the CentOS 7 ISO installation image.
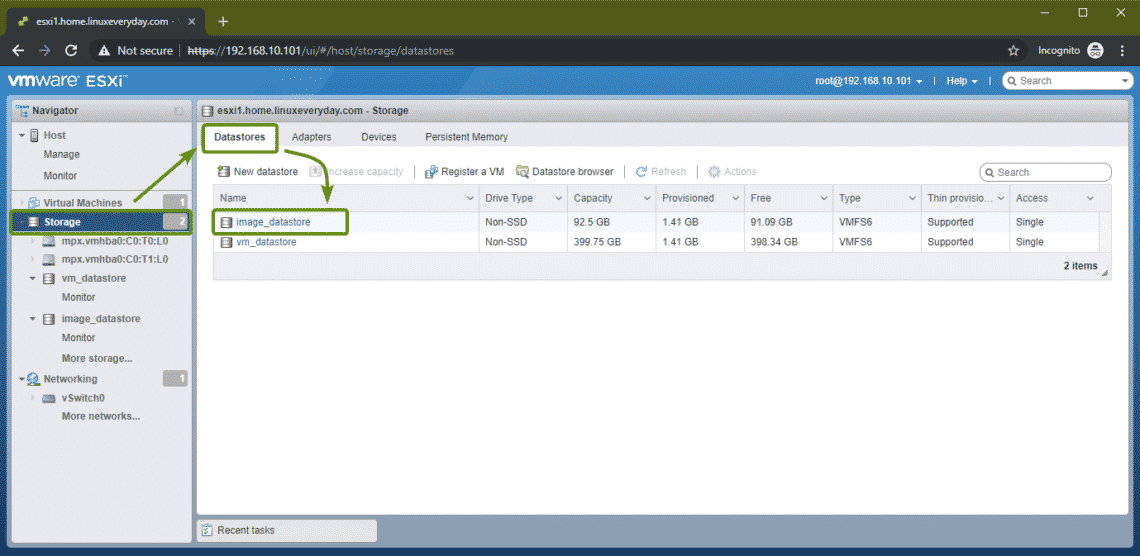
Once the ISO image is downloaded, go to VMware ESXi web client. Then, from the Storage section, click on Datastores tab and select a datastore where you want to upload the CentOS 7 ISO file.
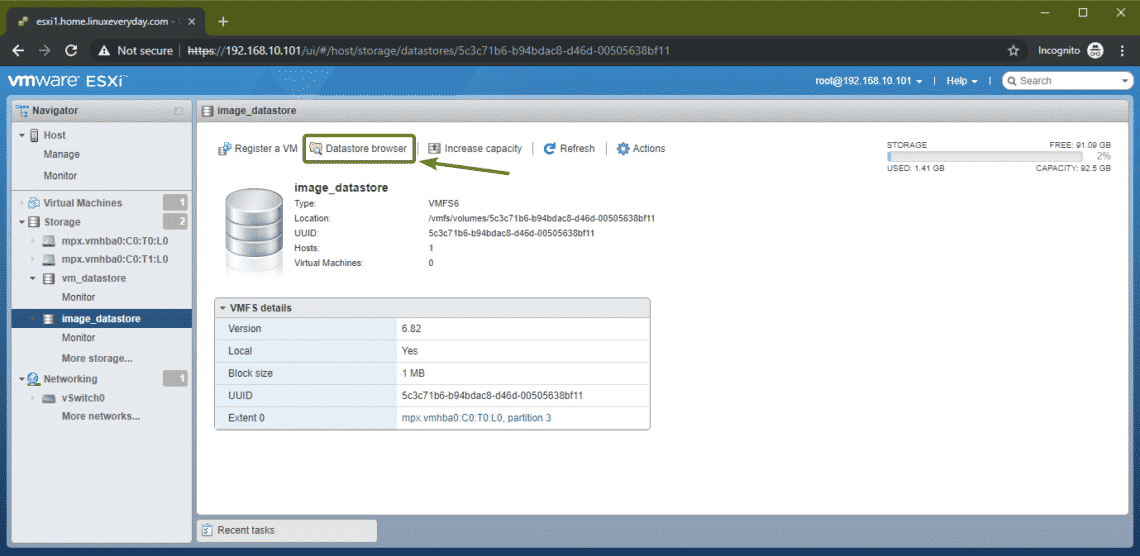
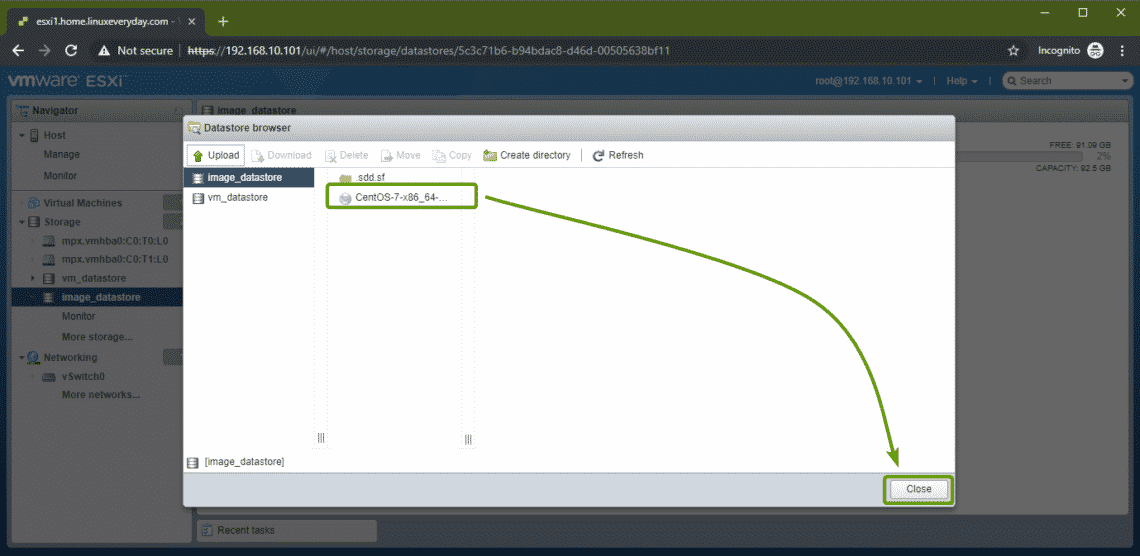
Now, click on Datastore browser as marked in the screenshot below.
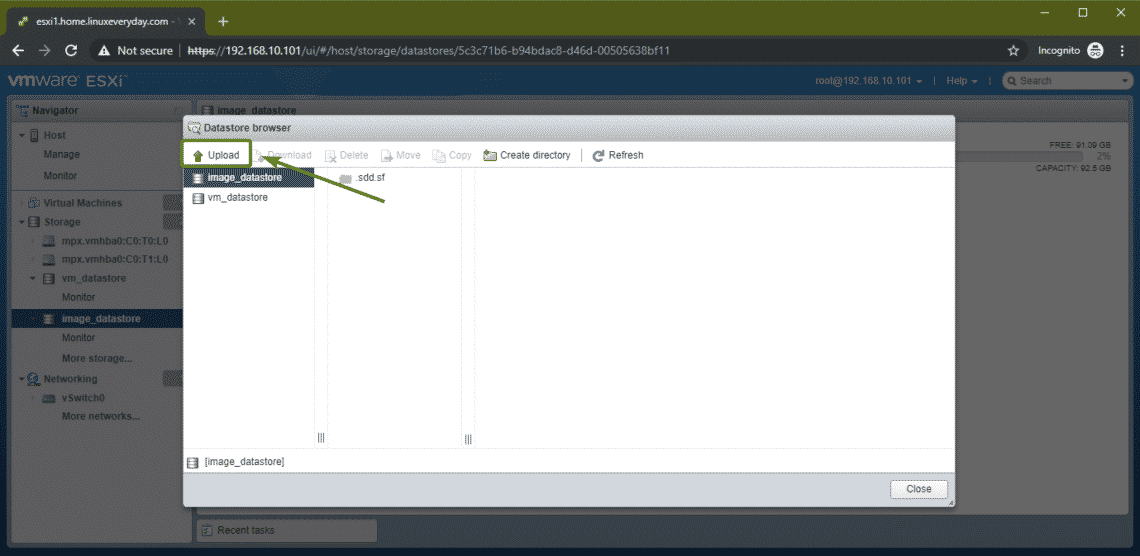
Now, click on Upload.
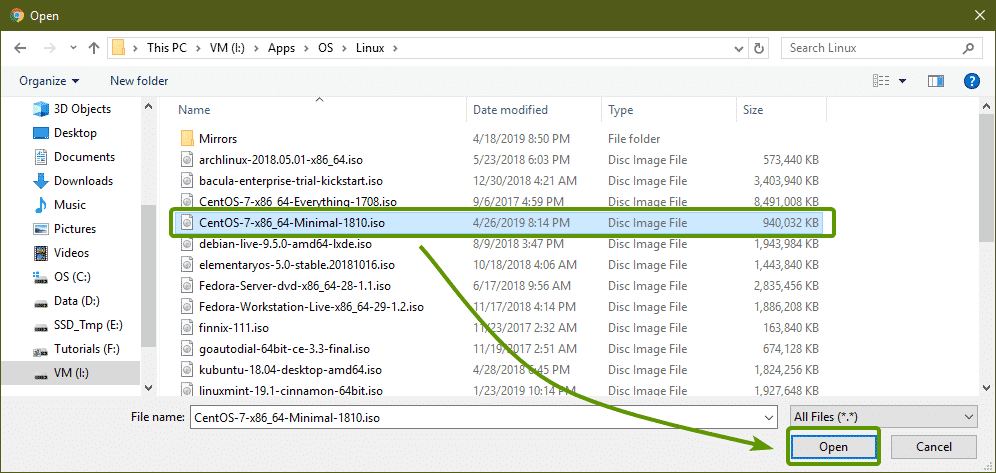
Now, select your CentOS 7 ISO installation media that you just downloaded and click on Open.
CentOS 7 ISO image should start uploading. Once the CentOS 7 ISO image is uploaded, click on Close.
Creating a Virtual Machine:
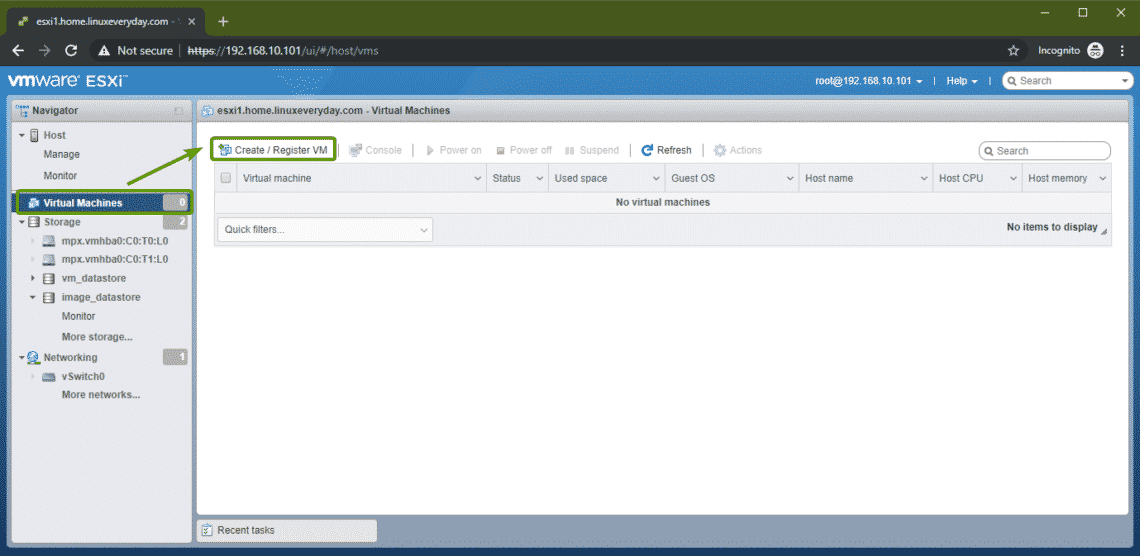
Now, you have to create a new virtual machine (VM) where you can install CentOS 7. To do that, from the Virtual Machines section, click on Create / Register VM.
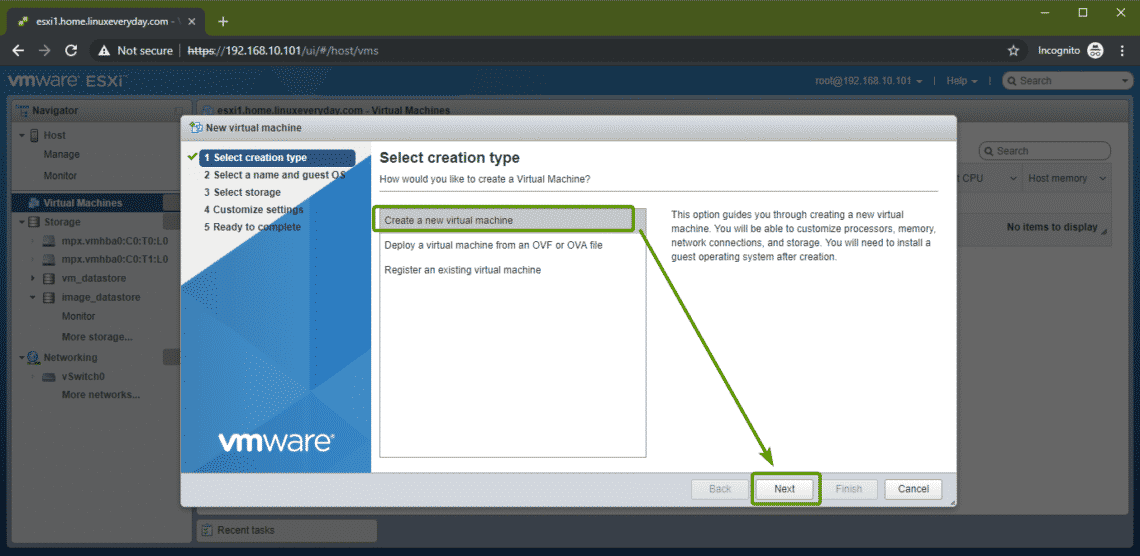
A VM creation wizard should pop up. Now, select Create a new virtual machine and click on Next.
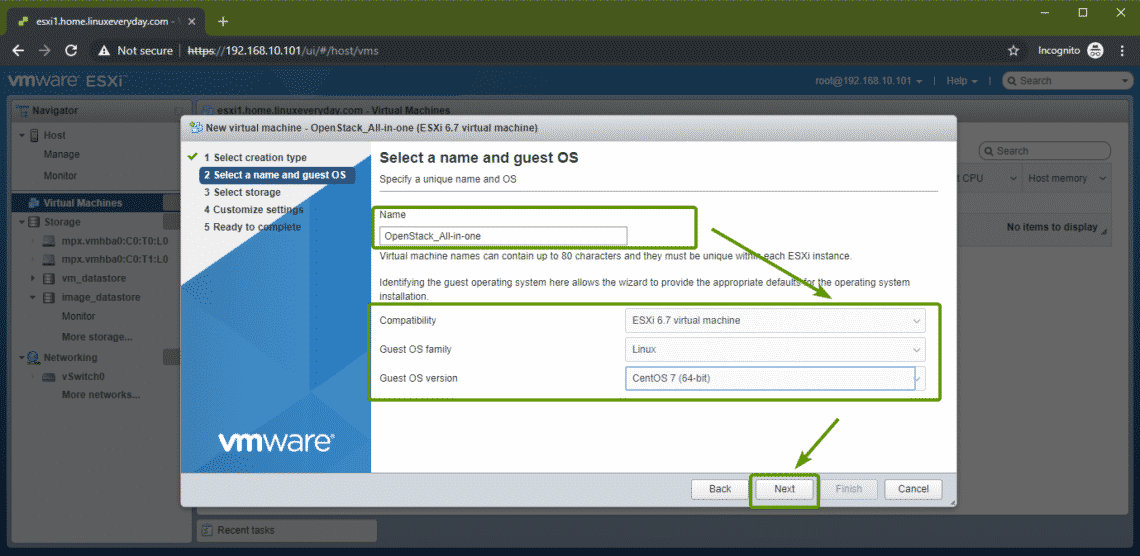
Type in a name and select Linux and CentOS 7 (64-bit) as the Guest OS family and Guest OS version respectively.
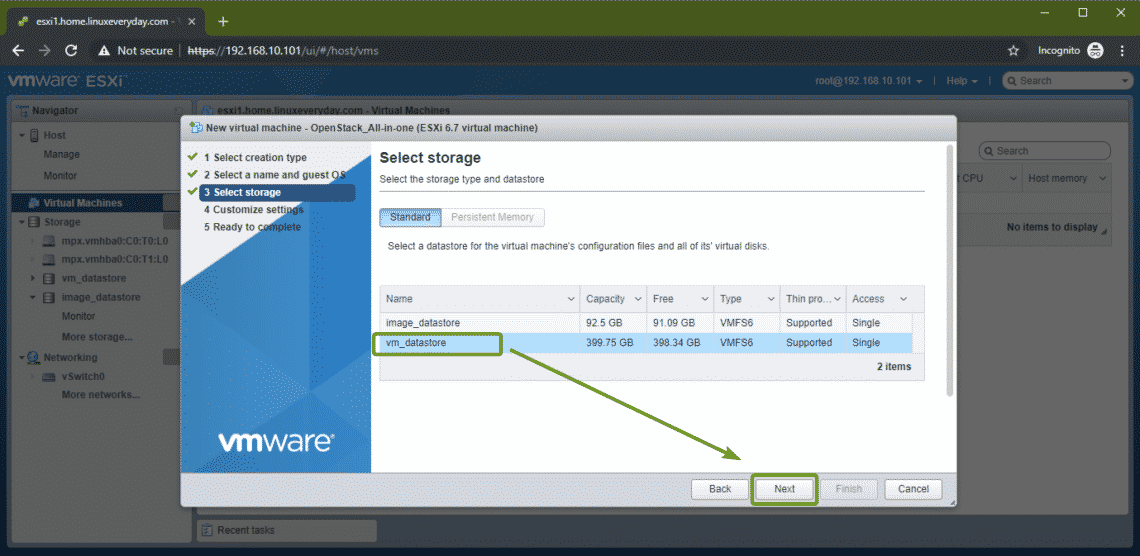
Now, select a datastore where you want to put the data of this virtual machine and click on Next.
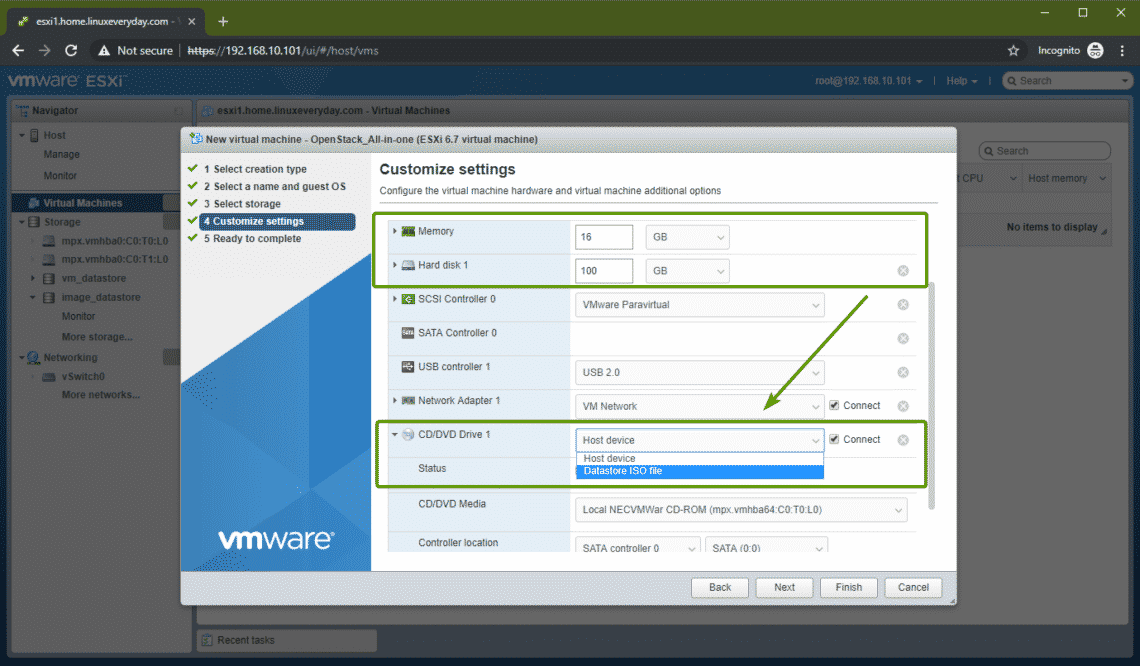
OpenStack requires about 16 GB of memory to smoothly run. So, make sure to give this VM at least 16 GB of memory. I will set the hard drive capacity to 100 GB as well. Now, select Datastore ISO file from the CD/DVD Drive 1 section.
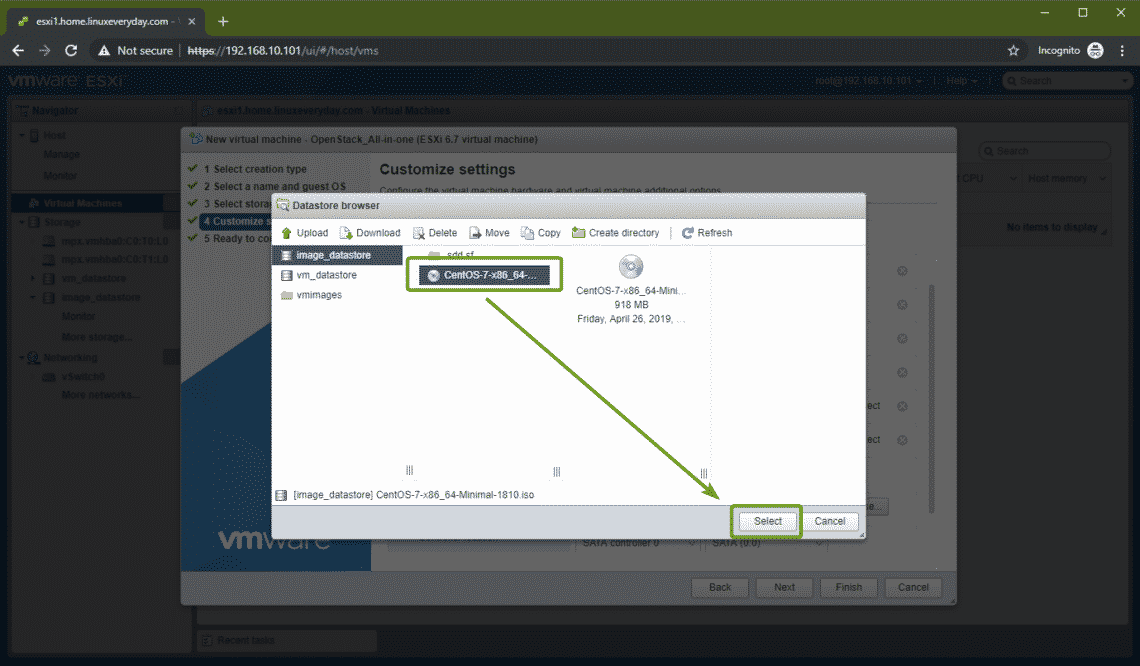
Now, select the CentOS 7 ISO image that you’ve just uploaded to the VMware ESXi datastore.
Once you’re done, click on Finish.

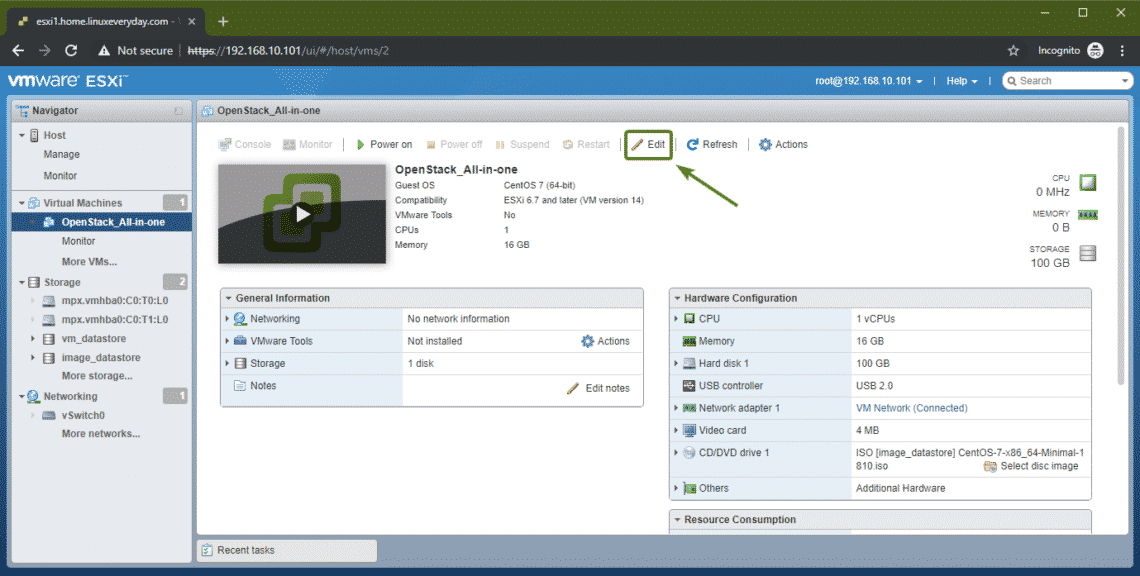
The VM should be created. Now, click on the VM.

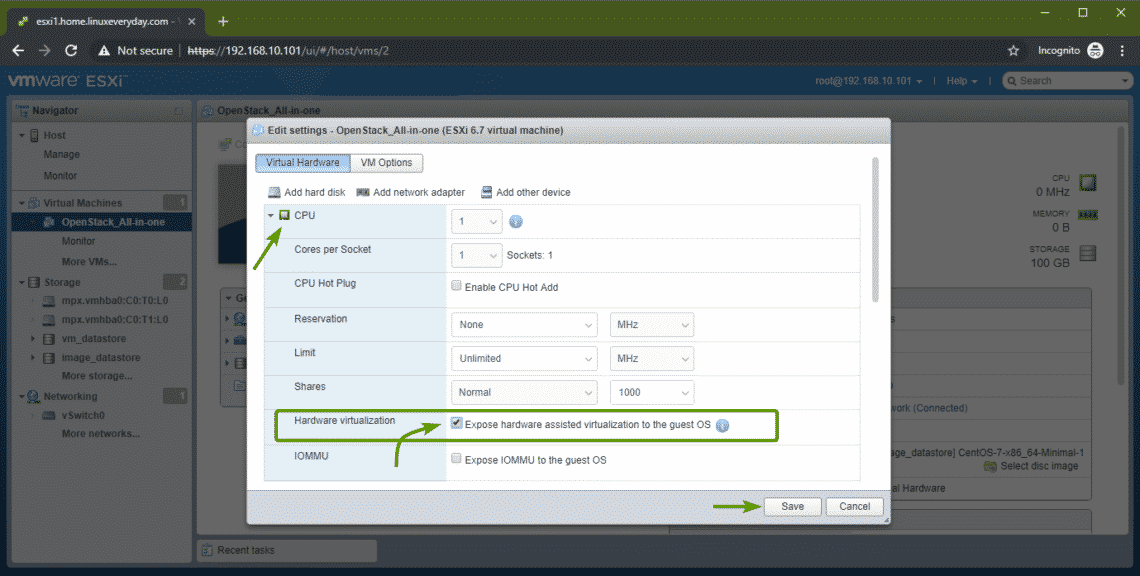
Now, click on Edit.
Now, you have to turn on Hardware virtualization. Otherwise OpenStack won’t perform very well as it uses KVM/QEMU as the default hypervisor. To do that, check the Expose hardware assisted virtualization to the guest OS from the CPU section. Once you’re done, click on Save.
Now, you’re ready to install CentOS 7 on the VM.
Installing CentOS 7:
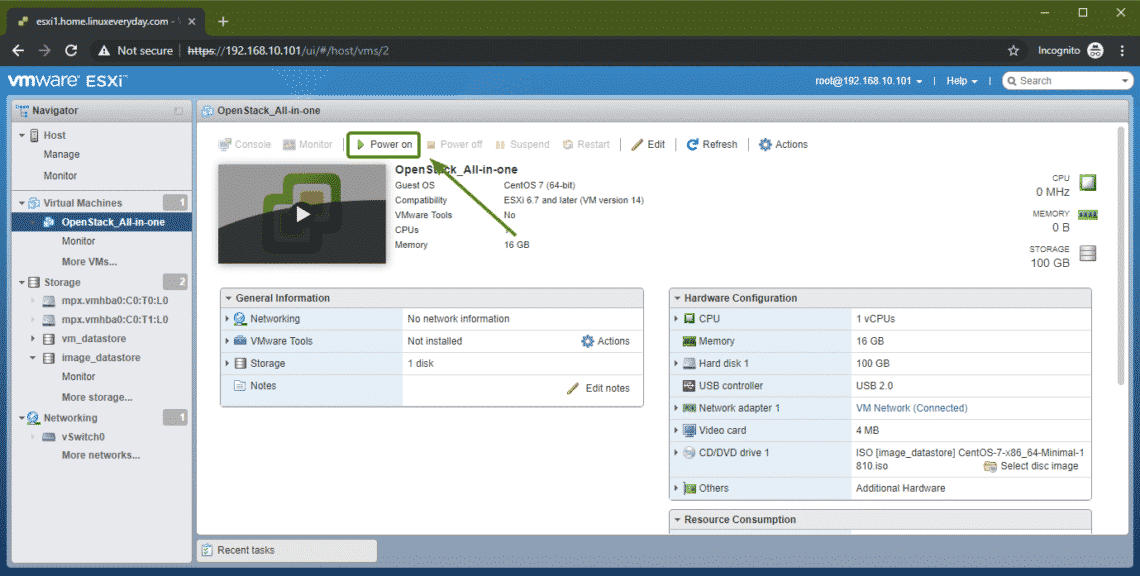
Now, click on Power on to power on the virtual machine.
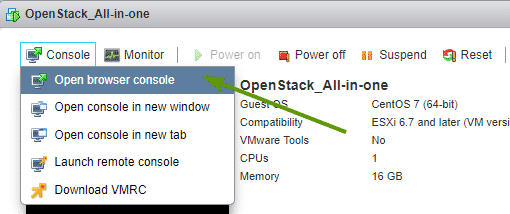
Then, click on Console and click on Open browser console.
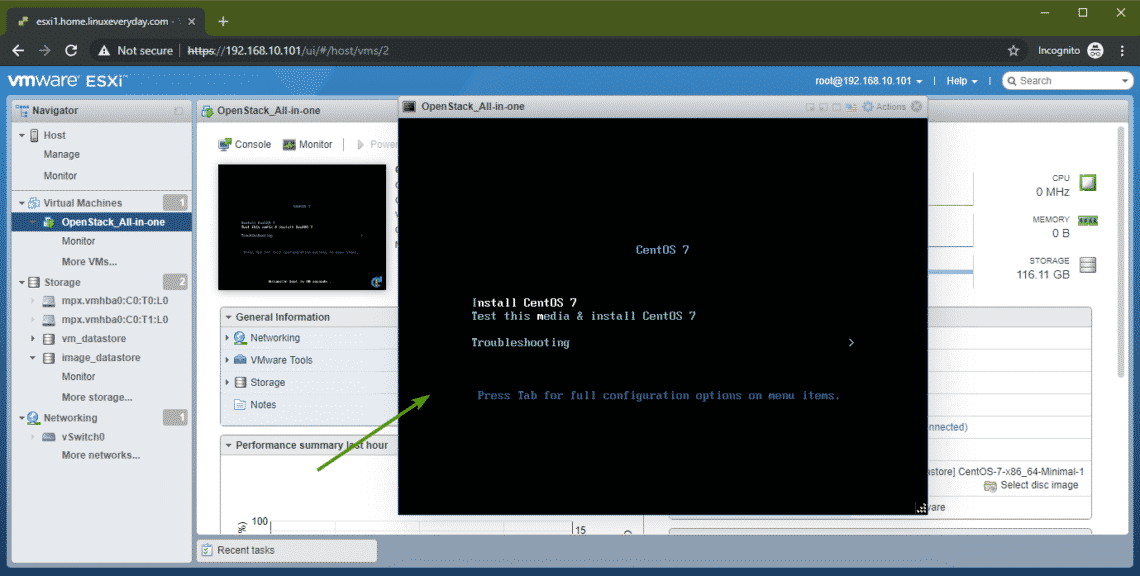
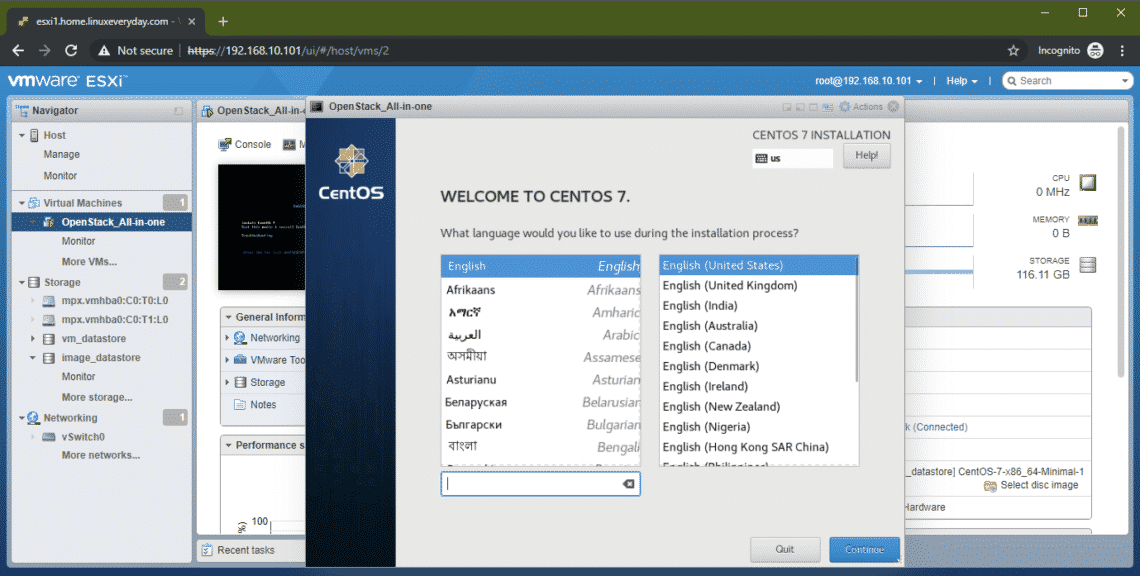
The CentOS 7 installer should boot. Select Install CentOS 7 and press <Enter>.
Now, install CentOS 7 on the virtual machine as usual. Make sure to set a root password during installation.
Once CentOS 7 is installed, you should be able to login as the user root with the password that you’ve set during installation.
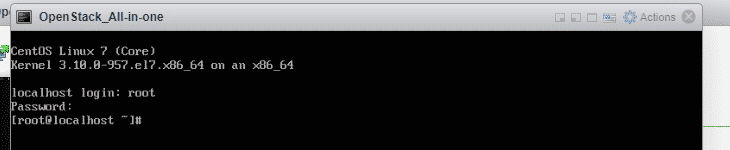
Now, you’re ready to install OpenStack on the CentOS 7 VM.
Configuring Network:
Now, disable firewalld service with the following command:

Now, stop the firewalld service with the following command:

Now, disable NetworkManager service with the following command:

Now, stop NetworkManager service with the following command:

Now, enable network service with the following command:

Now, start network service with the following command:

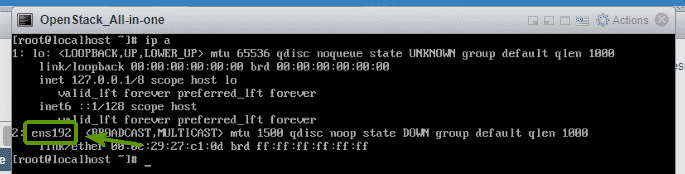
Now, check the name of your network interface as follows:
The name of the network interface of my CentOS 7 VM is ens192.
Now, run the following command to configure the network interface ens192 to automatically get IP address via DHCP:
/etc/sysconfig/network-scripts/ifcfg-ens192

Now, reboot your CentOS 7 VM as follows:
Once it boots, the network interface ens192 should have an IP address.
Installing OpenStack:
Before you do anything, make sure to set the LANG and LC_ALL environment variables correctly with the following command:

Now, to make sure all the CentOS 7 packages are up to date, run the following command:

All the CentOS 7 packages should be updated.
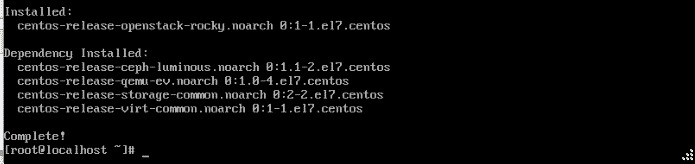
Now, add the OpenStack Rocky package repository with the following command:

The OpenStack Rocky package repository should be added.
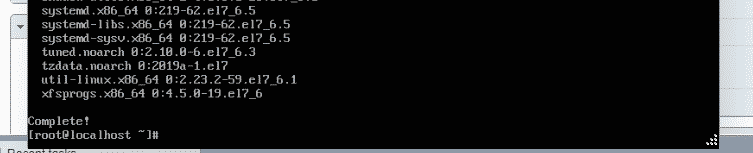
Now, update the CentOS 7 system packages again with the following command:

All the system packages should be updated.

Now, install PackStack with the following command:

PackStack is being installed. It may take a while to complete.

PackStack should be installed.

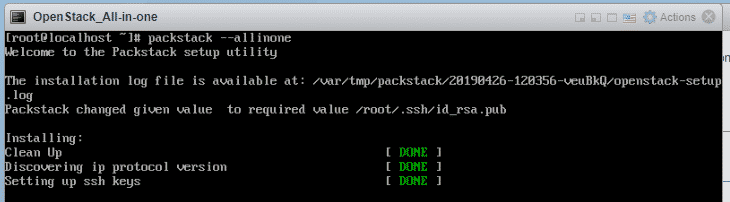
Now, install all the components of OpenStack on CentOS 7 with the following command:

OpenStack is being installed. It will take a very long time to complete.
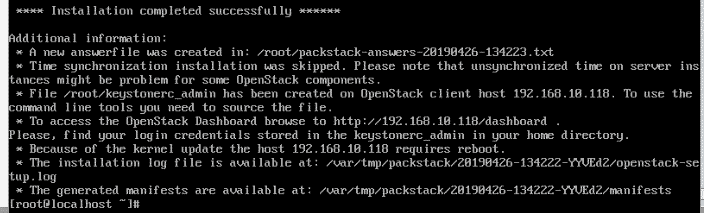
OpenStack should be installed at this point.
Testing OpenStack:
You need the IP address of your CentOS 7 machine in order to access OpenStack Horizon dashboard.
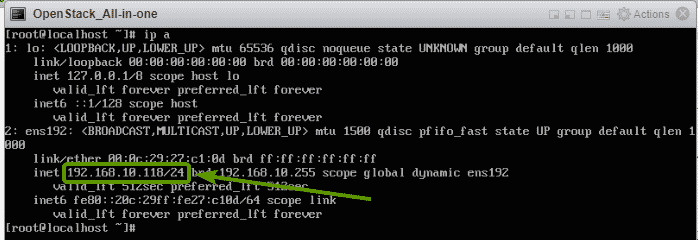
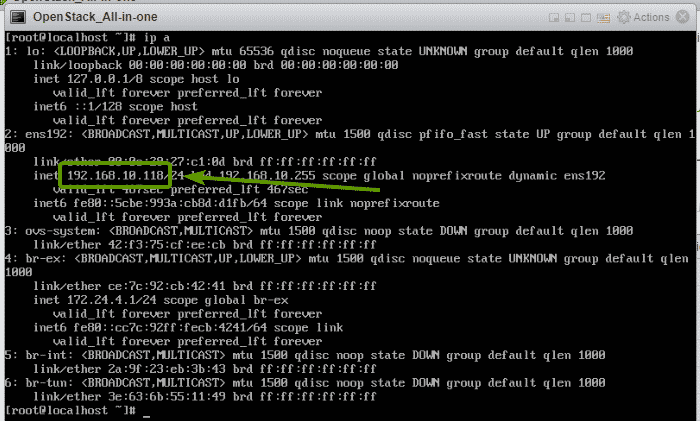
To find the IP address of CentOS 7, run the following command:
As you can see, the IP address of my CentOS 7 machine is 192.168.10.118. It will be different for you. So, make sure to replace it with yours from now on.
Now, to find the OpenStack Horizon dashboard password, run the following command:
As you can see, ec0bf0b1f7594df4 is the password of my OpenStack Horizon dashboard.

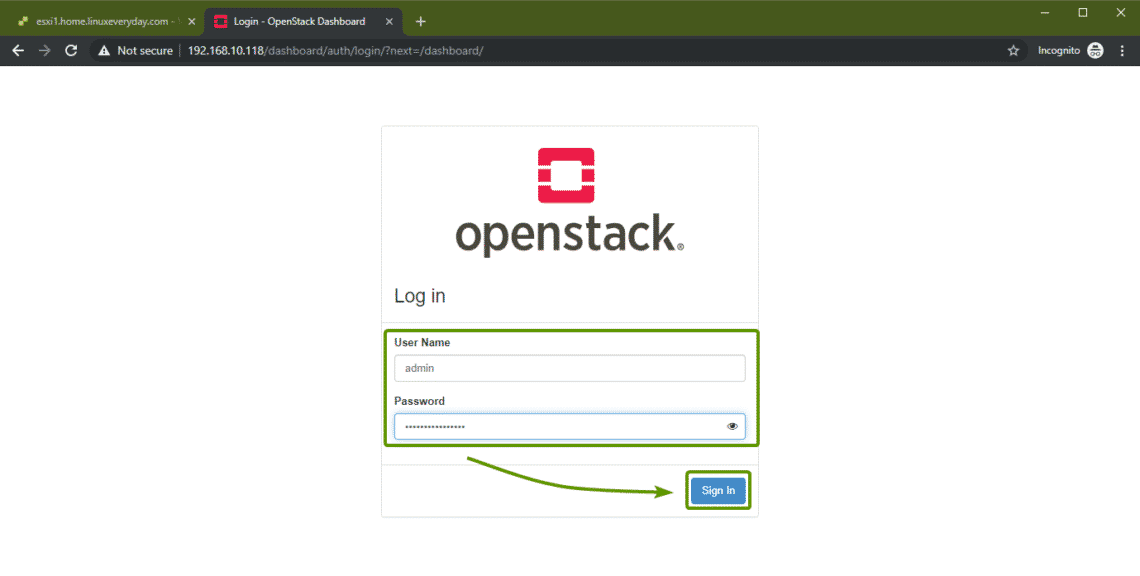
Now, from a web browser, visit http://192.168.10.118 and you should see the OpenStack login page. Type in admin and ec0bf0b1f7594df4 as the username and password respectively. Then, click on Sign In.
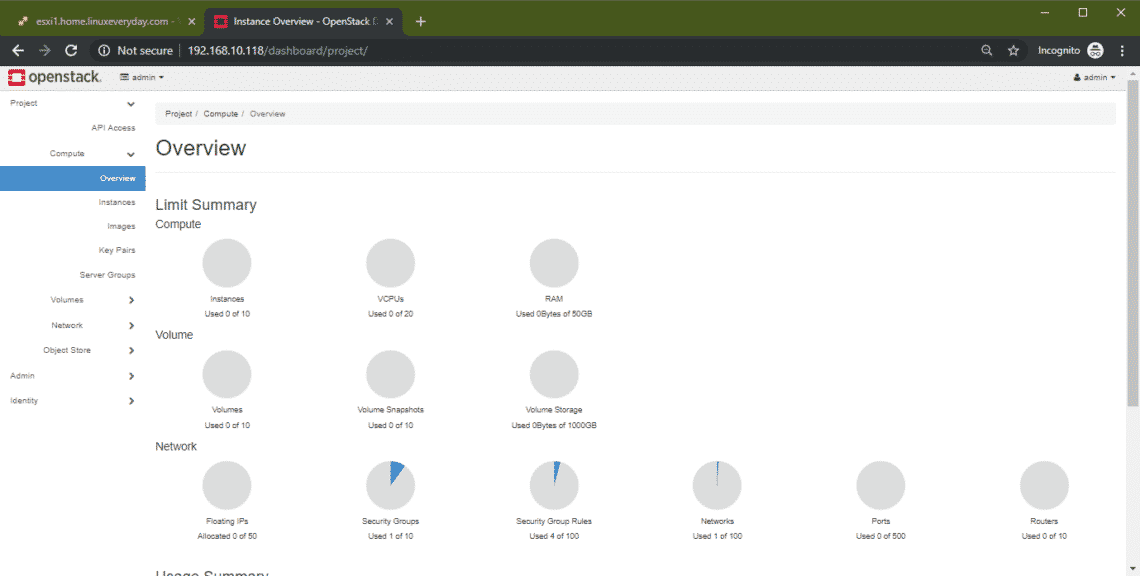
You should be logged in to OpenStack Horizon dashboard. Now, you can configure OpenStack any way you like from here.
So, that’s how you install OpenStack on VMware ESXi. Thanks for reading this article.