The Operating System (OS) Linux was developed to be multitasking and multiuser. A multitask OS allows us to run different programs simultaneously, a multiuser OS allows different users to use it simultaneously. Which mean, Linux is a multitasking operating system because it can run programs at the same time while it is multi user because you can connect to a device and use it through ssh while another user is using it.If I’m not wrong, the latest Windows versions, at least server versions, allow different users to use the computer through remote desktop, they also support ssh through OpenSSH. But in contrast to Linux, Windows was initially developed to be a personal operating system and for many years Linux and Unix based systems monopolized multitask and multiuser functions, which means increased security and stability for a system developed to be shared among users without permissions to break the system by running a dangerous code or removing a vital file.As a multiuser operating system Linux has incorporated a very sophisticated way to manage permissions for users, users groups, files, directories and even partitions or disks.
Understanding permissions syntax under Linux
On Linux we have 3 types of permissions:
Reading permission: Permission to read a file, for example, we can read the code of a script, yet we can’t execute it.
Writing permission: Permission to write a file, in this case we can edit the script mentioned above as an example, we can also remove it, or we can create files within a directory.
Execution permission: We can run the script or execute programs with this permission.
On a program or directory we can have none of these rights, all them or one or two of them but permissions also specify who has what of these rights. For Linux we have 3 objects for the permissions’ rules:
The user: The file or directory owner.
The group: Users or programs belonging to the file’s group.
Anyone: Anyone else.
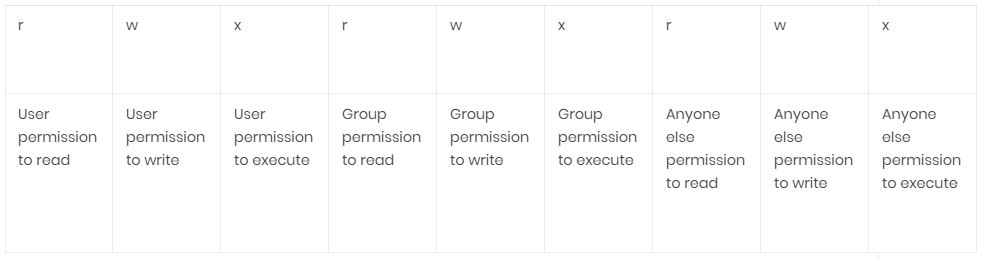
Every file or directory in Linux will contain information about it’s own permissions, the information is composed by these 9 specifications mentioned above: Reading, Writing and Executing permissions for the User, Group and Anyone else.
Linux permission syntax is almost the following:
rwxrwxrwx
In this case, in which the user, group and anyone else has full rights we have 9 characters, R,W AND X repeated 3 times. The first 3 characters define the user rights/permissions, the 3 second characters define the group rights/permissions while the last 3 characters define anyone else’s rights/permissions. In this case the user, group and anyone else have reading,writing and execution permissions.
So the syntaxis explained above will be really look like:But permissions are always preceded by a “-” in case of files, for a “d” in case of directories (we won’t go deeper with these but also a B for block devices, a C for character device, an S for Unix socket and P for Named Pipe).
or
drwxrwxrwx
The first one for files and the second one for directories. The utility of the first characters are only to determine the file type and not useful to manage permissions so you can focus on rwxrwxrwx.
As said above a file with full rights for everyone will be –rwxrwxrwx, a file with full rights for the user and group but not for anyone else would be –rwxrwx—, with 3 lines replacing the letters for anyone else.
A directory with full rights for the user, reading rights only for the group and anyone else would be drwxr–r–.
These characters have numerical equivalents we can use with chmod commands:
rwx=7 (full permissions)
rw- =6 (read and write permissions only, no execution permission)
r-x =5 (read and execute permissions only, no writing permission)
r– =4 (read permission only, no writing nor executing permissions)
-wx=3 (write and execution permissions only, no reading permission)
-w- =2 (writing permission only, no reading nor executing permissions)
–x = 1 (executing permission only, no reading nor executing permissions)
— = 0 (No permissions)
Getting started with chmod
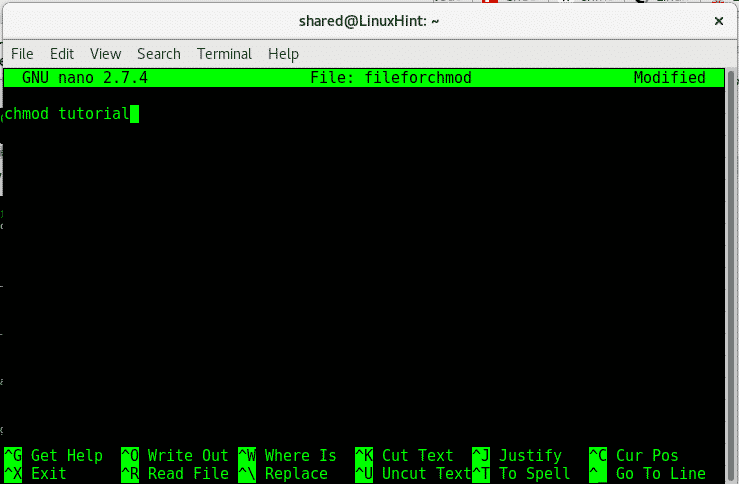
The command in Linux to define permissions for a file is chmod, before starting with chmod, create an empty file with nano:

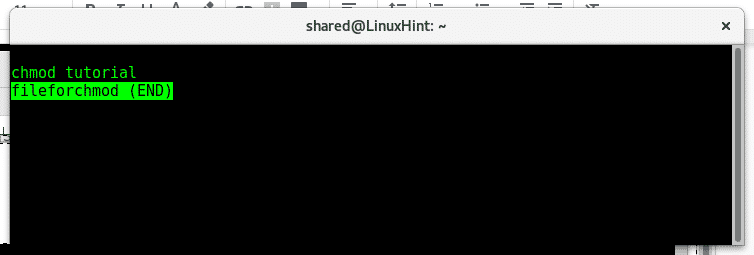
Once inside the new file type “tutorial for chmod” and press CTRL+X and Y to save and exit.
After saving the file, let’s see it’s permissions, to see a file’s or directory’s permission type:
In this case:
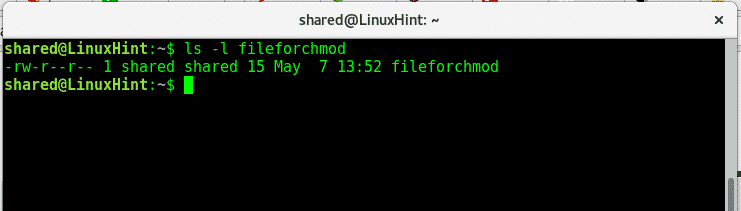
As we see the file has reading and writing permissions for the user, and writing permissions for the group and anyone else, user and group are “shared”.
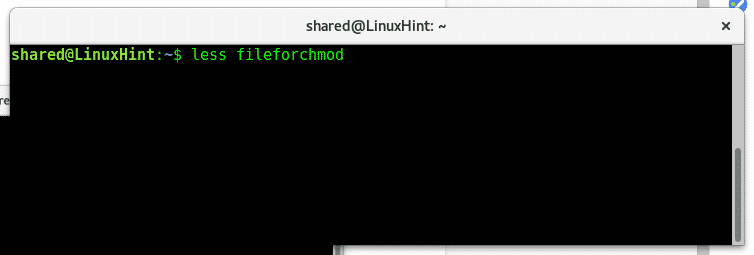
If we run the command less, we’ll be able to see our document:
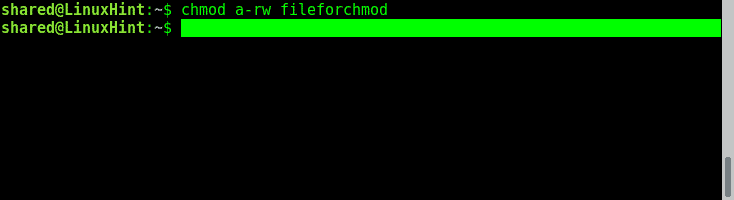
Now lets quit all permissions for this file, by giving permission 0 (———-), to do it run:
Where:
chmod = calls the program to change permissions
a = means “All”
–= means minus, we are removing rights,not adding.
rw = reading and writing rights
fileforchmod = file name.
When running chmod we need first to define over who the permission or restriction is applied, if we want to add or rest a permission, what permission and what file for.
Eg:
To define for who we are administrating permissions we can use:
a = all
u = user
g = group
o = others / anyone else
To define if we want to add or remove a permission we use:
+= add permission.
Permission types: rwx
filename = name of the file you want to modify.
Now let’s see if it worked by running again “ls -l fileforchmod”
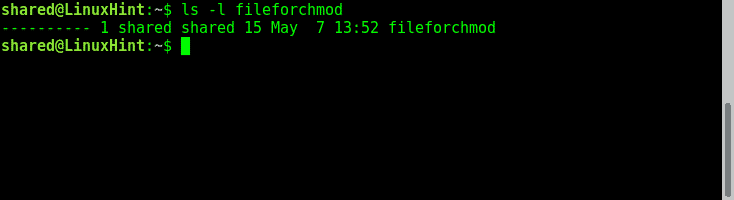
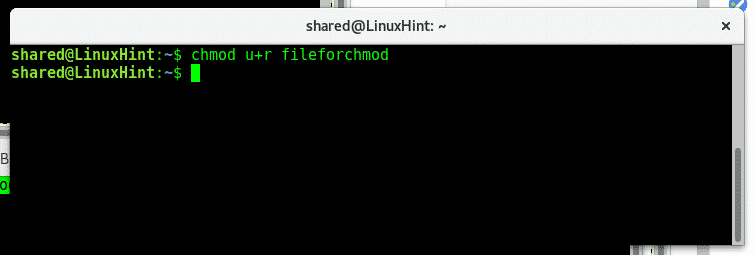
As we see the few permissions the file had previously were removed. Now, let’s add permissions for the user to read, for the group to write and for others to execute:
Giving the user reading rights:
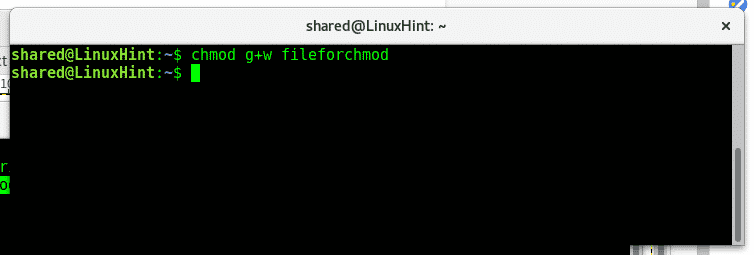
Giving the group writing rights:
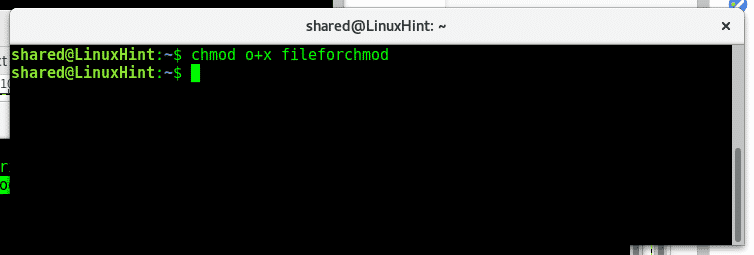
Giving other execution rights:
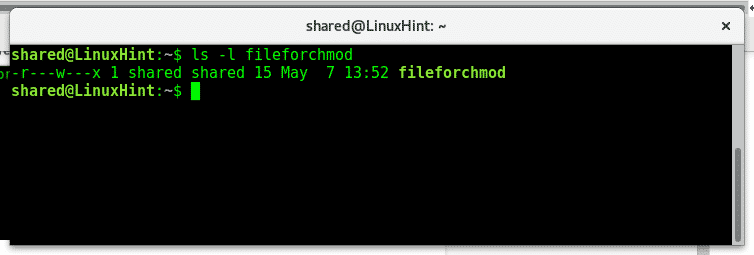
As we can see if we run “ls -l fileforchmod” now we have the rights we added.
It is important to remind we only need to define the object of our rule: the user, the group or others, than if we are adding or reducing permissions (+ or -) and the permission we want to add or remove (rwx).
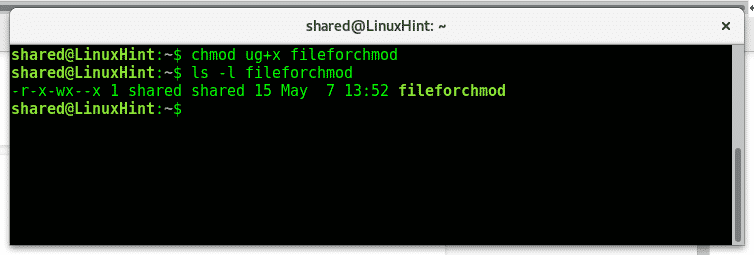
If we want to add or remove permissions for everyone we use a instead of ugo (we can use ugo too), now if you want to add execution permission for both the user and group you can type:
Then check with ls -l fileforchmod if the execution rights were properly added:
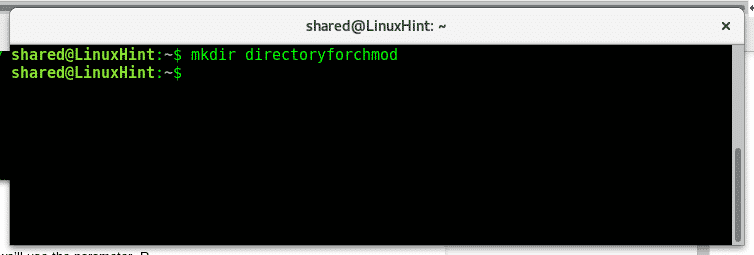
To change a directory’s permission recursively we’ll use the parameter -R.
First of all create a directory called directoryforchmod using the command:
Enter to the directory using the command cd:

Get back using the command:

To check the directory rights we need to add a parameter to ls. Type:
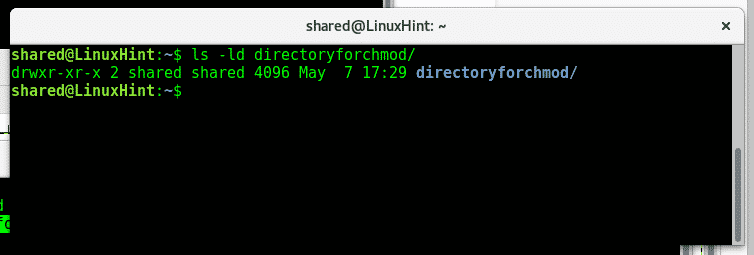
As we see the owner has full rights, the group and others can read and execute but can’t write.
Now lets remove reading rights for the user, to do it type:
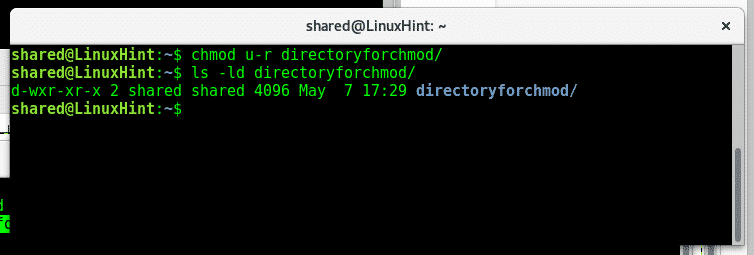
As we see after throwing a new ls -ld the reading permissions were modified for the user.
Chmod allows use to manage permissions differently for different destinataries at once by using coma, type:
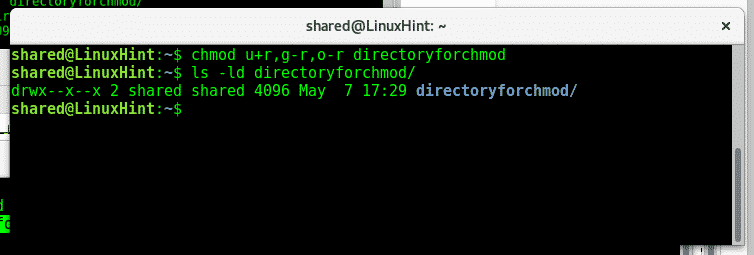
As we see after another ls -ld reading rights were restored for the user and removed for the group and others.
As you see managing permissions in Linux is simple, there are additional commands to change files, owner and groups we’ll teach in future tutorials. I hope you found this article on chmod useful, keep following LinuxHint for more tips and updates on Linux.