Installing Git and Apache HTTP Server:
Git and Apache packages are available in the official package repository of Ubuntu. So, you can easily install it with the APT package manager.
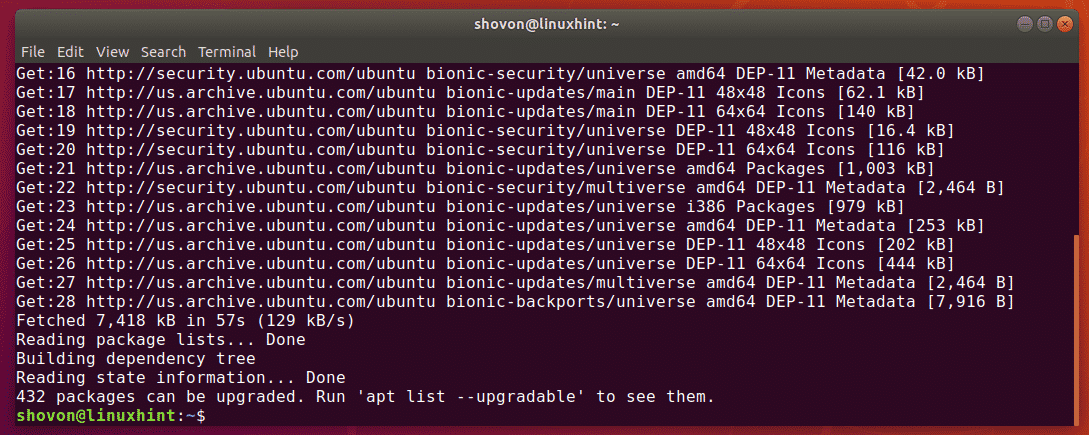
First, update the APT package repository cache with the following command:

The APT package repository cache should be updated.
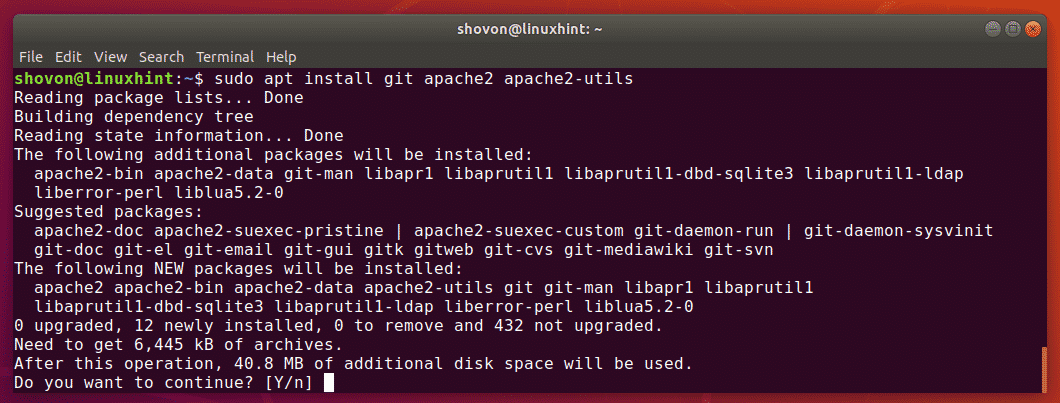
Now, install Git and Apache with the following command:

Now, press Y and then press <Enter> to confirm the installation.
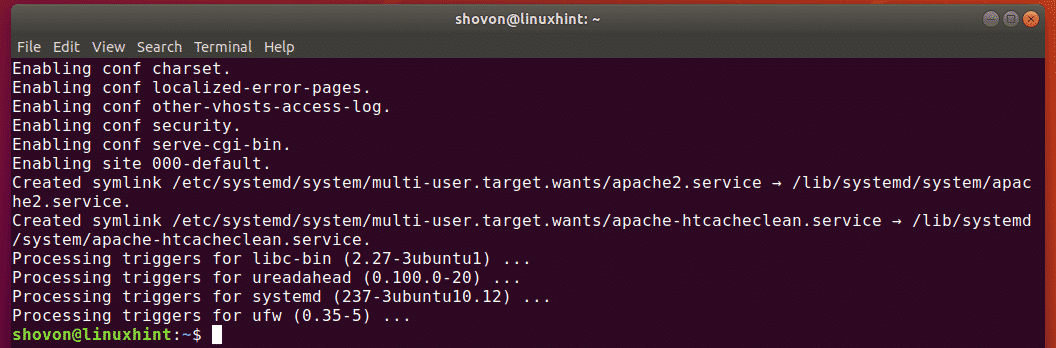
Git and Apache should be installed.
Configuring Apache HTTP Server for Git:
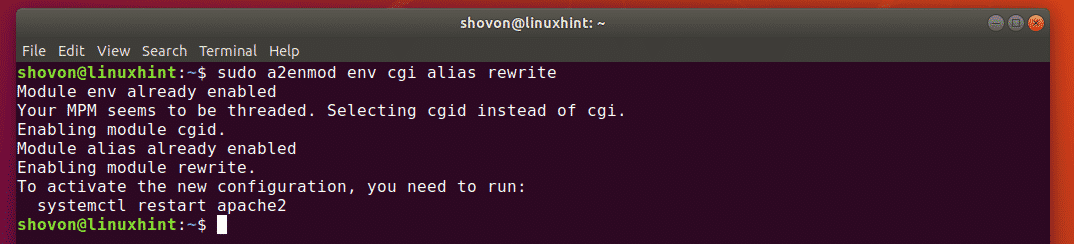
Now, enable Apache mod_env, mod_cgi, mod_alias and mod_rewrite modules with the following command:

The required Apache modules should be enabled.
Now, create a new directory /var/www/git for keeping all the Git repositories with the following command:

Now, create a new Apache site configuration /etc/apache2/sites-available/git.conf for Git with the following command:

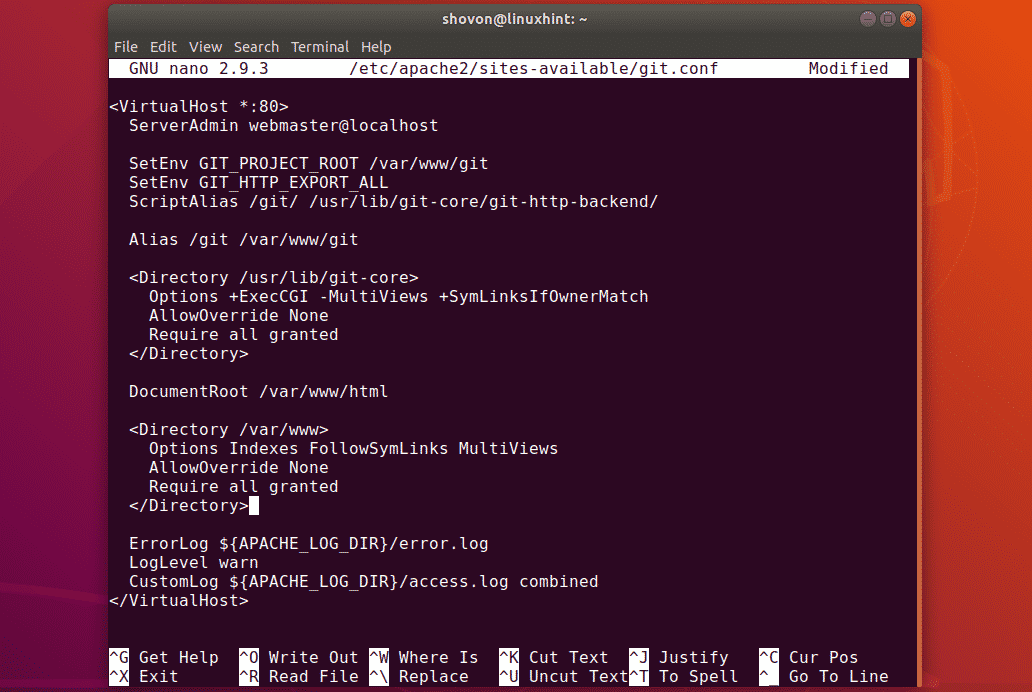
Now, type in the following lines in the configuration file:
ServerAdmin webmaster@localhost
SetEnv GIT_PROJECT_ROOT <strong>/var/www/git</strong>
SetEnv GIT_HTTP_EXPORT_ALL
ScriptAlias /git/ /usr/lib/git-core/git-http-backend/
Alias /git /var/www/git
<Directory /usr/lib/git-core>
Options +ExecCGI -MultiViews +SymLinksIfOwnerMatch
AllowOverride None
Require all granted
</Directory>
DocumentRoot /var/www/html
<Directory /var/www>
Options Indexes FollowSymLinks MultiViews
AllowOverride None
Require all granted
</Directory>
ErrorLog ${APACHE_LOG_DIR}/error.log
LogLevel warn
CustomLog ${APACHE_LOG_DIR}/access.log combined
</VirtualHost>
The final configuration file looks as follows. Now, save the configuration file by pressing <Ctrl> + X followed by Y and <Enter>.
Now, disable the default Apache site configuration with the following command:

The default site configuration should be disabled.

Now, enable the Git site configuration with the following command:

The Git site configuration should be enabled.

Now, restart Apache HTTP server with the following command:

In order to bootstrap a new Git repository accessible over the Apache HTTP server, you will have to run a few commands. You don’t want to do the same thing over and over again just to create a new Git repository. So, I decided to write a shell script for that purpose.
First, create a new shell script /usr/local/bin/git-create-repo.sh with the following command:

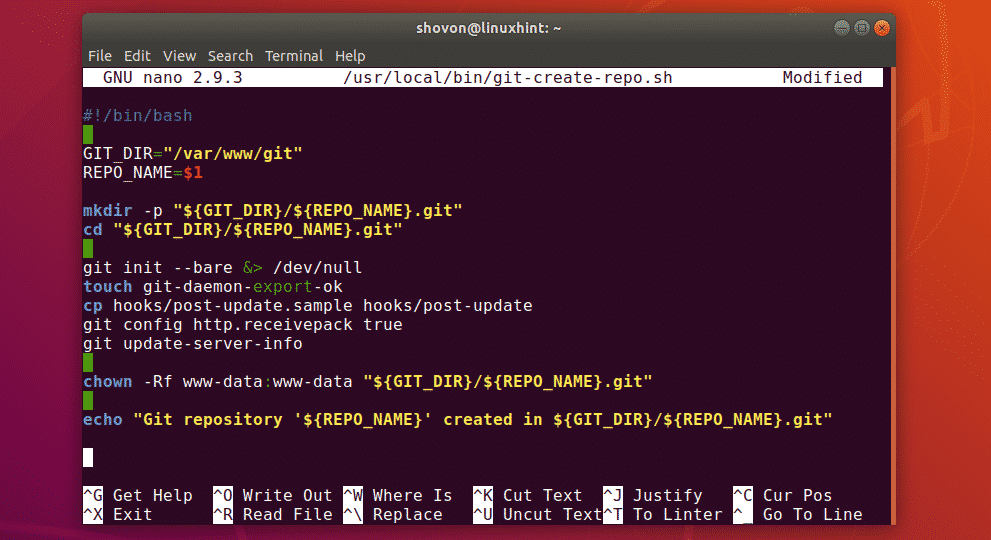
Now, type in the following lines of codes in the shell script.
GIT_DIR="/var/www/git"
REPO_NAME=$1
mkdir -p "${GIT_DIR}/${REPO_NAME}.git"
cd "${GIT_DIR}/${REPO_NAME}.git"
git init –bare &> /dev/null
touch git-daemon-export-ok
cp hooks/post-update.sample hooks/post-update
git config http.receivepack true
git update-server-info
chown -Rf www-data:www-data "${GIT_DIR}/${REPO_NAME}.git"
echo "Git repository ‘${REPO_NAME}‘ created in ${GIT_DIR}/${REPO_NAME}.git"
Once you type in these lines, the shell script should look as follows. Now, save the file by pressing <Ctrl> + X followed by Y and <Enter>.
Now, add execute permission to the shell script with the following command:

Now, create a new Git repository test in the Git project root /var/www/git using the git-create-repo.sh shell script as follows:

The Git repository test should be created.

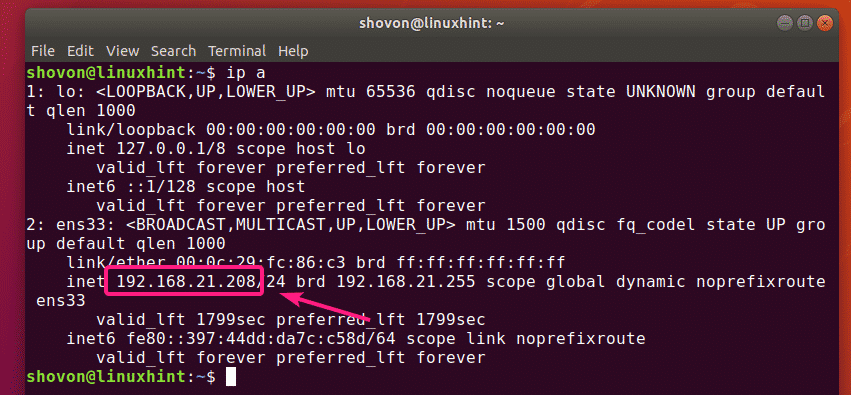
To access the Git repository, you need the IP address of the Git HTTP server.
As you can see, the IP address in my case is 192.168.21.208. It will be different for you. Replace it with yours from now on.
Now, you can clone the test Git repository as follows:

The Git repository test should be cloned.

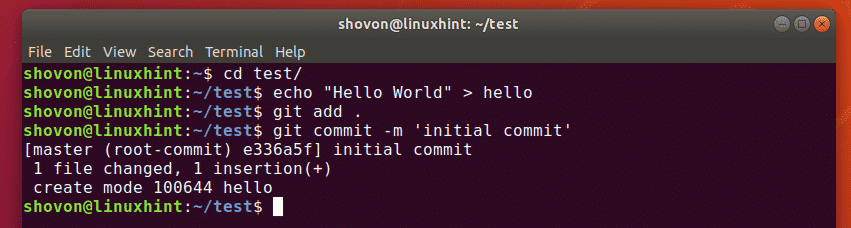
Now, let’s add a new commit to the test Git repository.
$ echo "Hello World" > hello
$ git add .
$ git commit -m ‘initial commit’
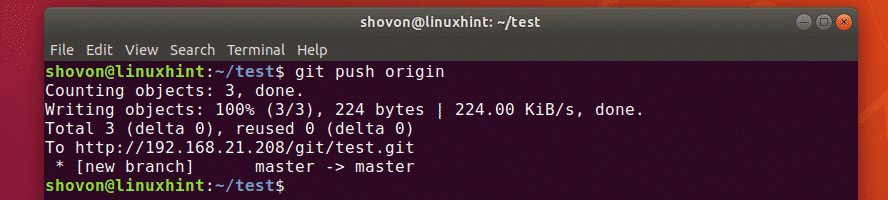
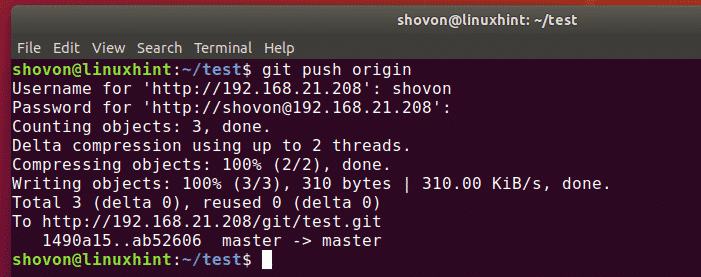
Now, upload the changes to the test Git repository on the server as follows:
As you can see, the changes are uploaded just fine.
Configuring User Authentication:
In this section, I am going to show you how to configure user authentication on the Git repositories in the server.
First, edit the git.conf site configuration file as follows:

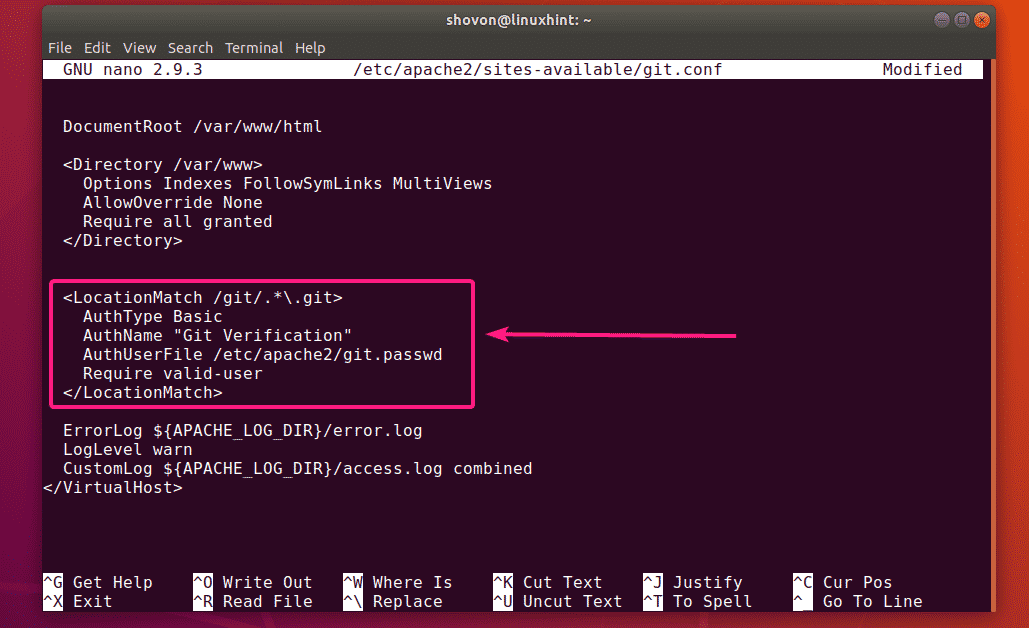
Now, add the following section in the configuration file.
AuthType Basic
AuthName "Git Verification"
AuthUserFile /etc/apache2/git.passwd
Require valid-user
</LocationMatch>
Here, /etc/apache2/git.passwd is the user database file.
The final configuration file should look as follows. Now, save the file by pressing <Ctrl> + X followed by Y and <Enter>.
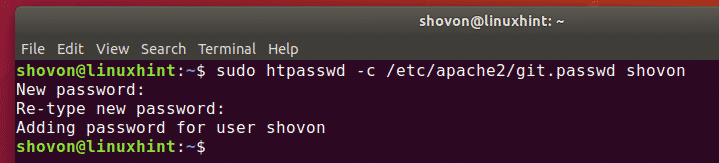
Now, create a new user database file /etc/apache2/git.passwd and add a new user (let’s say shovon) to the database file as follows:

Now, type in a new password for the new user and press <Enter>.

Retype the same password and press <Enter>.

The user-password pair should be added to the database.
Now, restart Apache HTTP server with the following command:

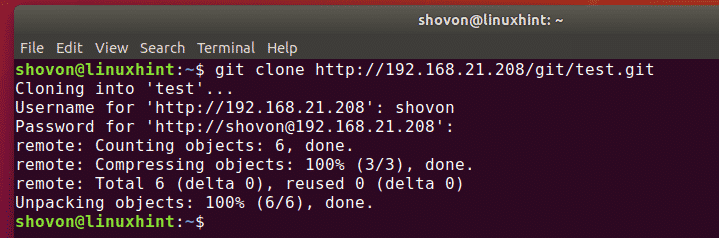
Now, if you try to clone the test repository again, you will be asked to authenticate as you can see in the screenshot below.

Once you authenticate using the username and password, you will be able to access the Git repository.
Even when you try to push or pull from the Git repository, you will also be asked for the username and password.

Once you authenticate, push/pull will work.
You can also set different user database for different Git repositories. This might be useful for projects where a lot of people are working together on the same Git repository.
To set Git repository-wise authentication, first, edit the git.conf site configuration file as follows:
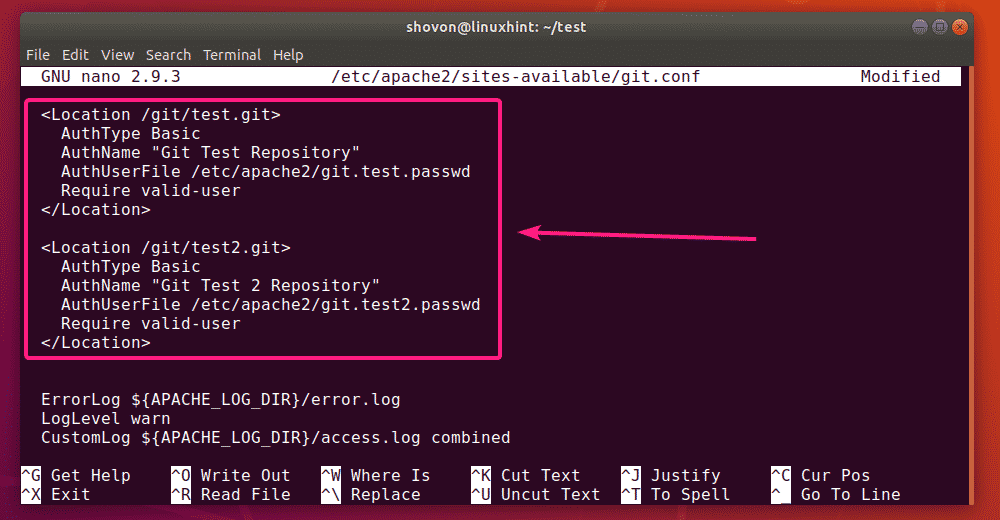
Now, add the following lines in the configuration file.
AuthType Basic
AuthName "Git Verification"
AuthUserFile /etc/apache2/git.test.passwd
Require valid-user
</Location>
<Location /git/test2.git>
AuthType Basic
AuthName "Git Verification"
AuthUserFile /etc/apache2/git.test2.passwd
Require valid-user
</Location>
For each Git repository test and test2, a <Location></Location> section is defined. A different user database file is used for each Git repository.
The final configuration file should look as follows. Now, save the configuration file by pressing <Ctrl> + X followed by Y and <Enter>.
Now, you can create the required user databases as follows:
$ sudo htpasswd -c /etc/apache2/git.test2.passwd USERNAME
Once you’re done, restart Apache HTTP server with the following command:

Now, each Git repository should have its own set of users that can access it.
So, that’s how you configure Git Server with Apache HTTP Server on Ubuntu. Thanks for reading this article.