Installing Required Tools:
You can easily format USB flash drives as FAT. In order to do that, you need to have dosfstools installed. The package name is that same in all the common Linux distributions. It should already be installed on your computer. If it isn’t, just use your package manager to install dosfstools.
On Ubuntu/Debian, you can install dosfstools with the following command:
On CentOS 7 or RHEL 7, you can install dosfstools with the following command:
Formatting a USB Flash Drive as FAT:
Now, insert the USB flash drive that you want to format as FAT.
Then, run the following command to find the device name of your USB flash drive.
As you can see, the 4 GB USB flash drive has the device name sdb in my case. So, I can access it as /dev/sdb. It may be different for you. Make sure you replace it with yours from now on.
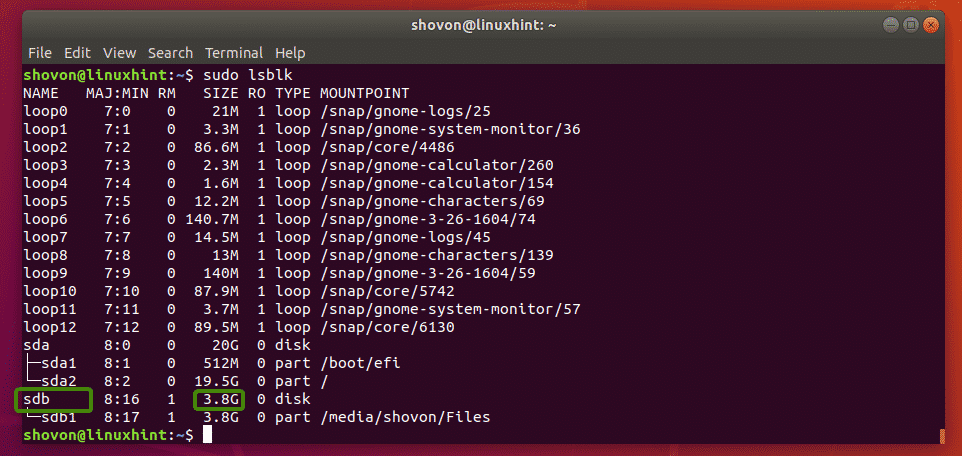
As you can see, I already have a partition /dev/sdb1 on my USB flash drive. So, I don’t have to create a partition. But if you don’t have a partition already, then you should create one first.

If you do have a partition, then unmount the partition first if it is mounted (as in my case). Otherwise, you won’t be able to format it.
To unmount the partition, run the following command:

Suppose you don’t have a partition on your USB flash drive for some reason. You can use fdisk to easily create one.
To do that, open /dev/sdb with fdisk as follows:

Now, press o and press <Enter> to create a new DOS partition table.

Now, to create a new partition, press n and then press <Enter>. You should see the following options. We want to create a primary partition. So, just press <Enter> (to select the default option).

As this is the first partition of our precious USB flash drive, the default value 1 is alright. So, press <Enter>.

Press <Enter> to leave the defaults for the first sector number.

Press <Enter> to leave the defaults for the last sector number as well.

You may see the following message. Just press y and then press <Enter>.

The partition should be created.

Now, you have to change the partition type to W95 FAT32. Otherwise, Windows and other operating system may not be able to recognize the filesystem.
To do that, press t and press <Enter>. Now, type in the hex code b and press <Enter>.

As you can see, the partition type is changed to W95 FAT32.

Now, press w and press <Enter> to write the partition table to the USB flash drive.

Now, you can format the USB flash drive partition /dev/sdb1 as FAT32 (32-bit FAT) filesystem with the following command:
NOTE: Here -n flag sets a label (MyFlashDrive in my case) for your USB flash drive. Label helps you identify the USB flash drives easily if you have multiple USB flash drives.

Your USB flash drive should be formatted as FAT32. Ignore the warning. Windows don’t support lowercase letters in FAT32 labels. It will just show the label in uppercase letters. That’s all. If the warning does bother you, then consider using only uppercase letters in label.

As you can see, I can mount the USB flash drive and copy files there.

As you can see, the USB flash drive works on Windows just fine. The files I copied from Linux are accessible.

So, that’s how you create FAT (or FAT32) filesystems on Linux. Thanks for reading this article.