Network Configuration Tools on CentOS 7:
On CentOS 7, if you have graphical desktop environment such as GNOME installed, then you can configure the network using the graphical user interface.
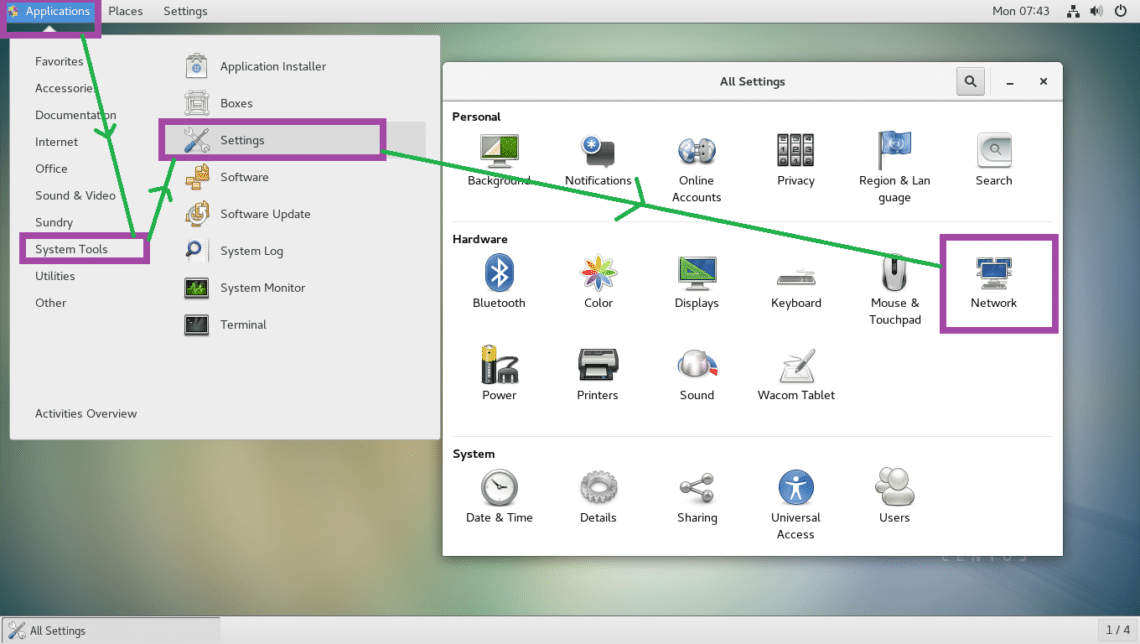
The graphical network configuration utility is available in Applications > System Tools > Settings > Network as you can see in the marked section of the screenshot below.
From the command line, you can use nmtui and nmcli commands to configure networking through Network Manager.
nmtui may not be installed by default on CentOS 7. You can run the following command to install them.

Understanding Network Interface Naming:
On modern Linux including CentOS 7, network interfaces have names such as ens33. If your network interface name starts with en, then it’s an Ethernet cable directly plugged in. If your network interface name starts with wl, then it’s a WiFi interface.
Then there are some other letters and numbers in the name such as pN, sM, oX indicating Nth PCI bus or USB, Mth hot plug slot, Xth onboard device respectively.
So, wlp1s2 means, it’s a WiFi interface (wl) on the 1st USB/PCI bus, on the 2nd hot plug slot.
To find out the name of your installed network interfaces, run the following command:

Static vs Dynamic IP Addresses and DHCP:
Static IP address is fixed. It does not change with time. On the other hand, dynamic IP addresses may change with time.
When a DHCP client requests a DHCP server for an IP address, the DHCP server leases an IP address from a range of IP addresses for a certain time (TTL). After that certain time, the DHCP client must request the DHCP server for an IP address again. So each DHCP client gets a different IP address and there’s no guarantee that a certain DHCP client will get the same IP address each time. So the IP addresses you get from the DHCP server is called dynamic IP addresses.
To learn how to configure Static IP address, see my other article at [How to Setup a Static IP on CentOS 7]
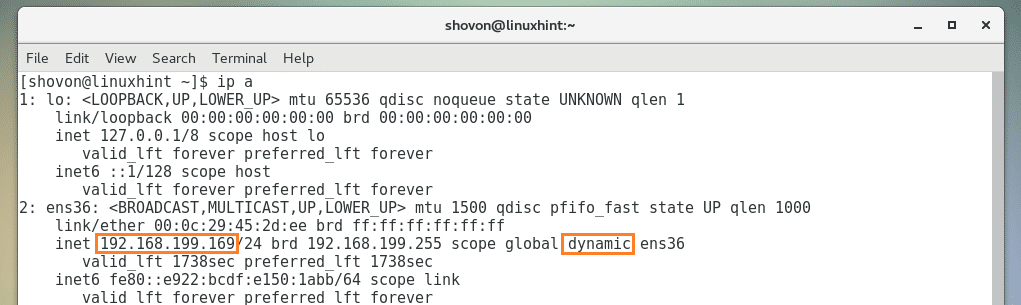
You can find out what your IP address is whether it’s static or dynamic with the following command on CentOS 7:
As you can see from the marked section of the screenshot below, my IP address is 192.168.199.169 and it’s dynamic.
Working with DHCP Client:
If your network interface is configured to use DHCP, then you can use dhclient to renew IP addresses. Let’s
First, release the IP address of your network interface with the following command:
NOTE: Here, ens36 is the network interface name.

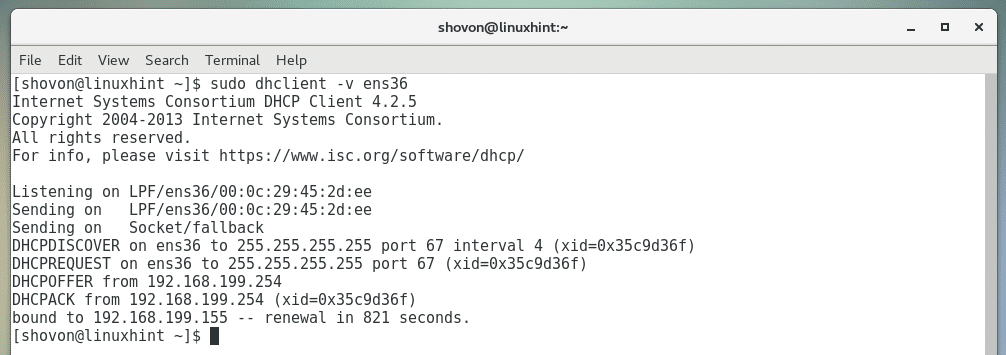
Now renew the IP address with the following command:
DNS and /etc/hosts Files:
Domain Name System or DNS in short is used to resolve host names to IP addresses and vice versa.
Here’s how DNS works, when you visit google.com, your computer looks up a DNS server you set or your ISP set to find the IP address of google.com, then it connects to that IP address and downloads the webpage to your browser. Without DNS, you would have to know the IP address of google.com and remember it, which is a nearly impossible task in today’s world.
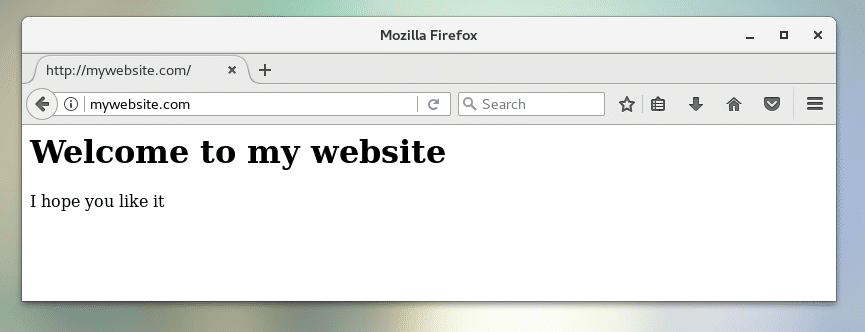
Before DNS server existed, /etc/hosts file was used to do name resolution. It still is useful for local name resolution. For example, when you are developing a website, you may prefer typing in mywebsite.com instead of typing the IP address of your webserver 192.168.199.169.
To do that, open /etc/hosts file with the following command:

Now add the following line there and save the file:
192.168.199.169 mywebsite.com

Now you can access your local webserver from the web browser very easily.
Default Gateway:
If you’re using a router, then you’re already using a gateway. It’s usually the IP address of your router that you have on your home. Technically, it’s the outgoing path that a packet originated from your computer takes. The default gateway is the path that packet will go to by default.
For example, if you go to google.com, then the request is sent through the IP address of your router, the default gateway.
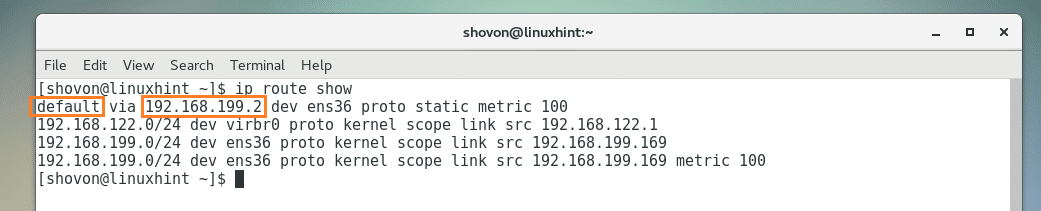
Run the following command to find your default gateway on CentOS 7:
As you can see, my default gateway is 192.168.199.2.
Connecting to a WiFi Network:
You can connect to a WiFi network using the graphical user interface as you can see from the screenshot below.

You can also use nmtui to connect to a WiFi network.
First find out your network interface name with the following command:
My WiFi interface name is wls34u1

Now open nmtui:
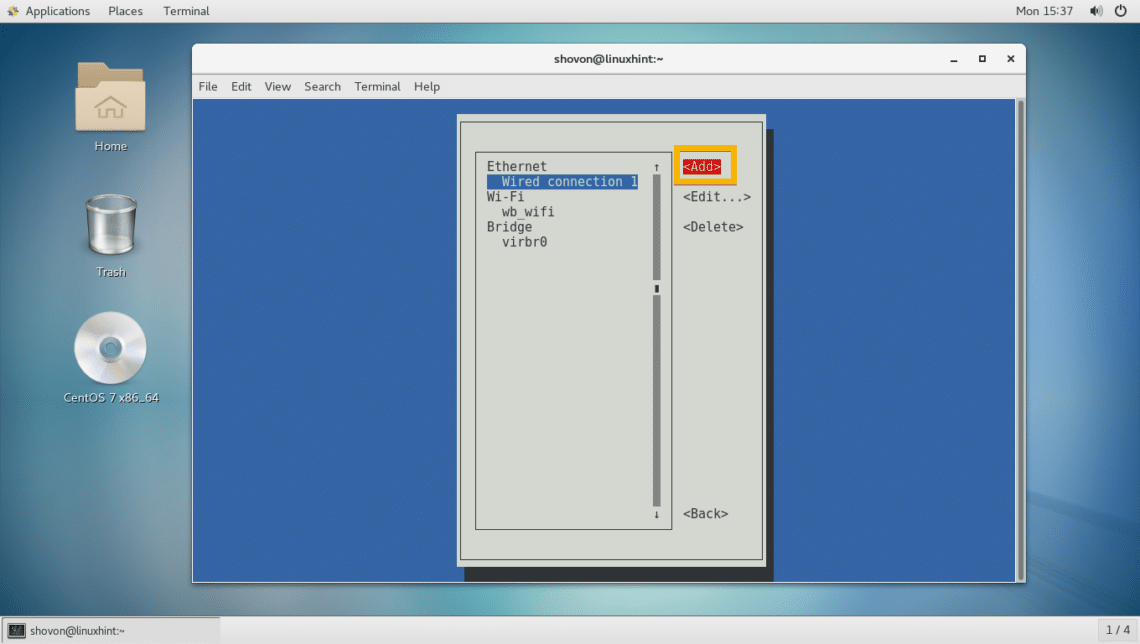
Go to Edit a connection.

Now go to
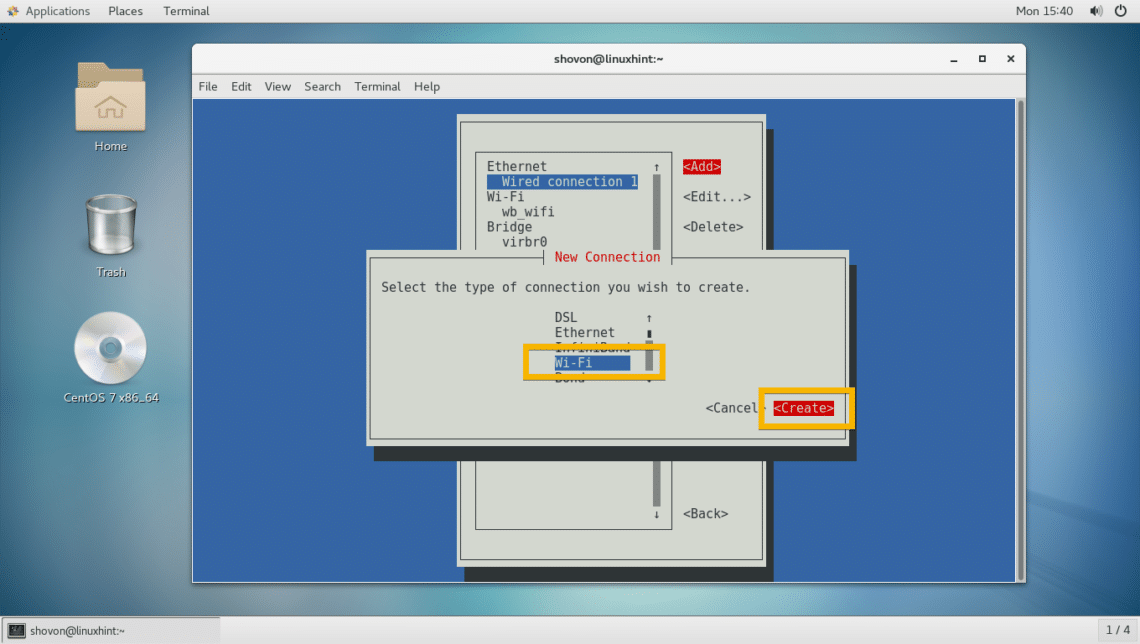
Now select Wi-Fi and then go to <Create>
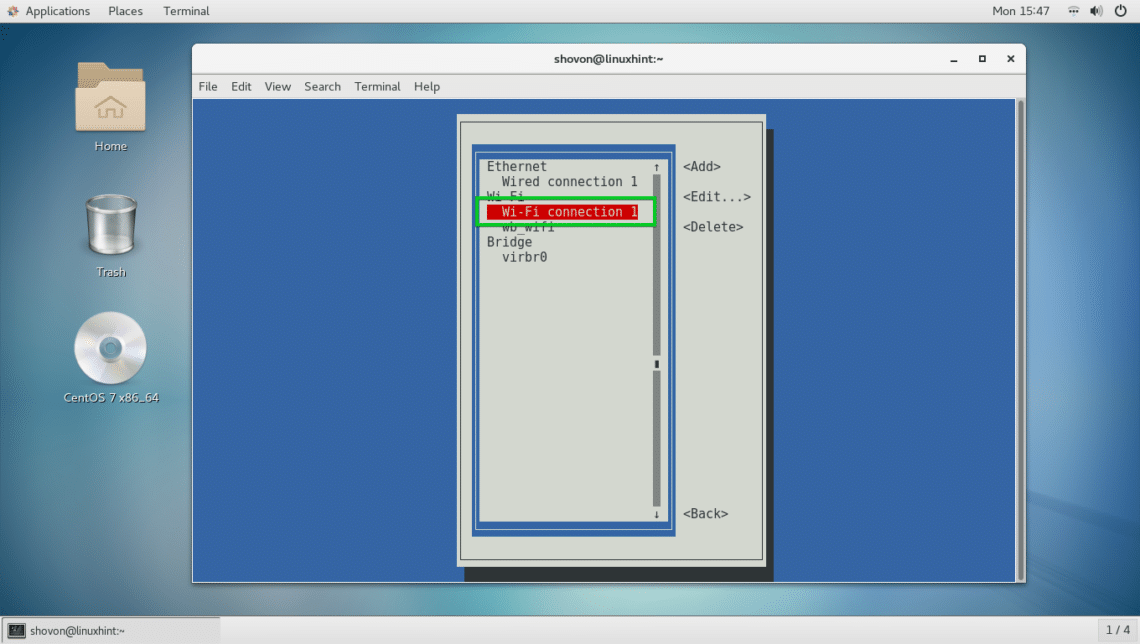
Now enter your Profile name, Device name, Wi-Fi SSID, Security type and Password. Then go to <OK>.

Wi-Fi connection should be created.
Now press <Esc> to go back and go to Activate a connection.
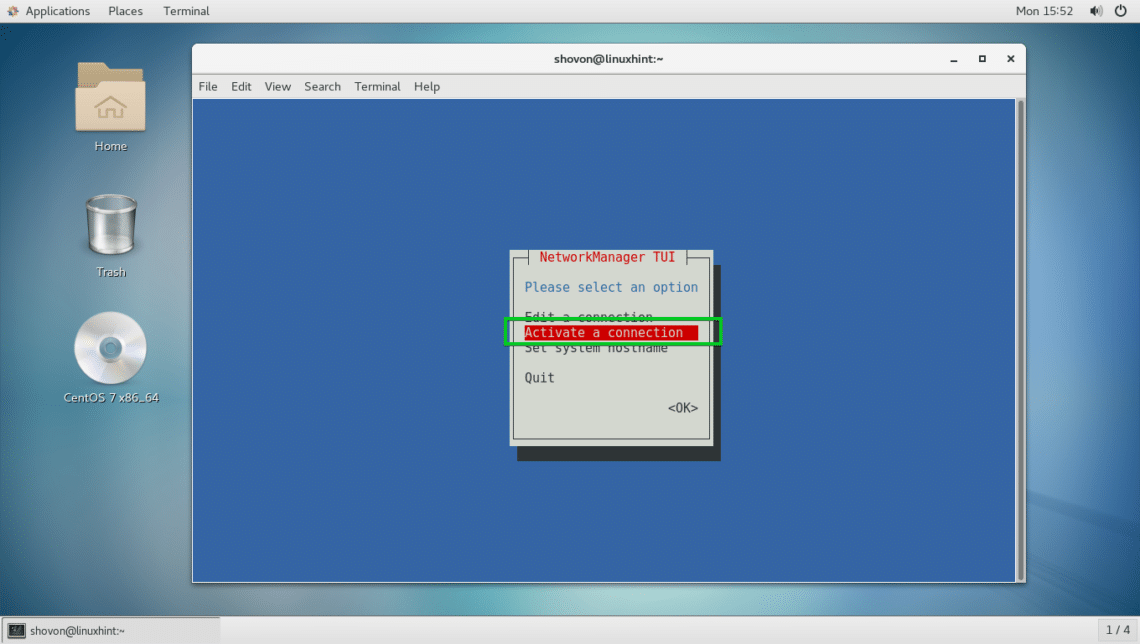
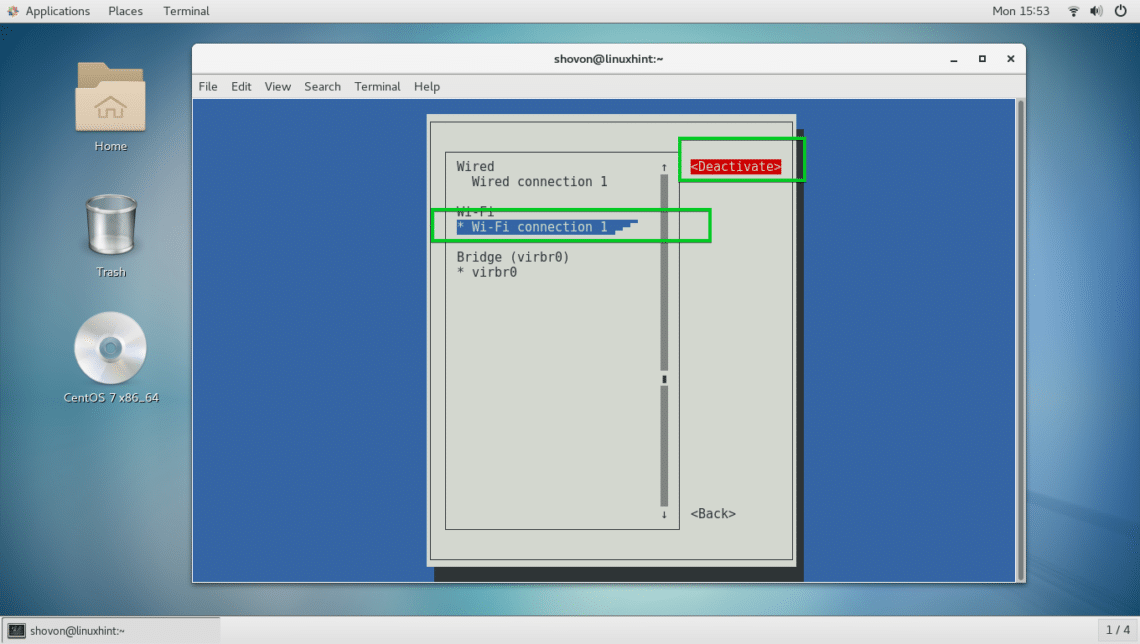
Now select your Wi-Fi connection and go to <Activate>.

It should be activated.
Now press <Esc> several times to exit nmtui.
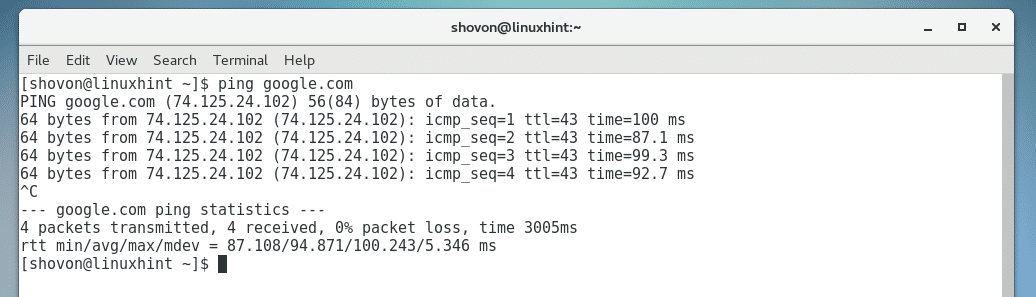
Now to test whether the internet is working, run the following command:
The internet is working as you can see.
Common Problems:
Even if you’re able to connect to your Wi-Fi or network, internet may not work. The most common problem is that the DHCP server returns invalid DNS server.
To fix that, run the following command:

Your default gateway may not be set at times. You can add a default gateway with the following command:
NOTE: Here 192.168.43.1 is the IP address of my router and wls34u1 is the Wi-Fi network interface name.
So that’s how you configure network settings on CentOS 7. Thanks for reading this article.