Installing Build Tools for Native Addons:
All the NodeJS modules are written in JavaScript. At times that has performance issues as JavaScript is not as fast as a compiled language such as C and C++. To solve this problem, NodeJS has native addons.
How that work is, NodeJS relies on Chrome V8 JavaScript engine, which is written in C++. So NodeJS adds an additional layer to compile JavaScript code to native binary code. This improves performance drastically. NodeJS codes runs almost as fast as C and C++ compiled code if the NodeJS module that you’re using is written using the Native Addons NodeJS API.
The NodeJS native addons needs a C++ build tool installed on your computer as the modules are built while you install them using Node Package Manager. I will show you how to install build tools here.
First update the YUM package repository cache with the following command:

The YUM package repository cache should be updated.

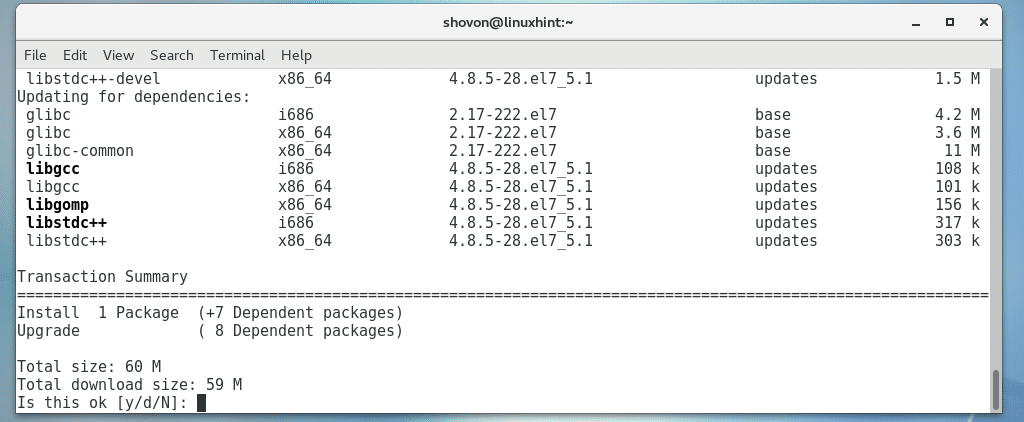
Now install build tools on your CentOS 7 machine with the following command:

Now press y and then press <Enter>.
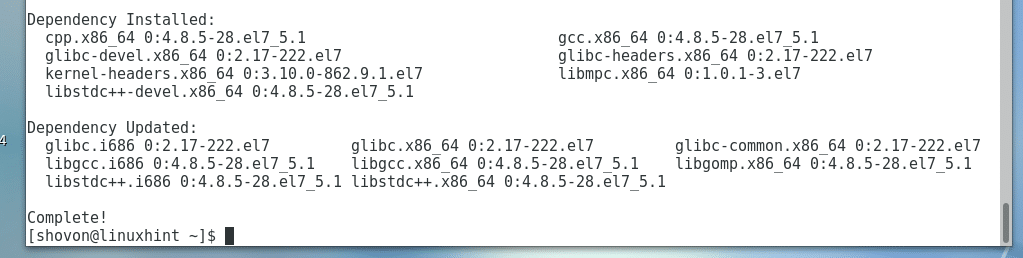
The build tools should be installed.
Adding NodeJS Package Repository on CentOS 7:
At the time of this writing, you can install either NodeJS 8.x or NodeJS 10.x. NodeJS 8 is the LTS release and NodeJS 10 is latest release. Both of these versions are available to install on CentOS 7.
Add the package repository of either NodeJS 8.x or NodeJS 10.x depending on your need.
For NodeJS 8.x:
Run the following command to add the package repository of NodeJS 8.x on your CentOS 7 machine:

For NodeJS 10.x:
Run the following command to add the package repository of NodeJS 10.x on your CentOS 7 machine:

I went for the LTS release of NodeJS, which is version 8.x. As you can see, the package repository is added.

Installing NodeJS:
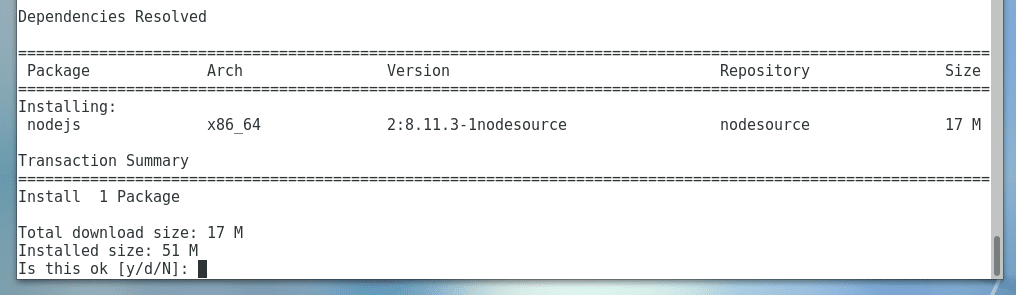
Now you can install NodeJS on your CentOS 7 machine with the following command:

Now press y and then press <Enter> to continue.
Now press y and then press <Enter> to accept the GPG key.
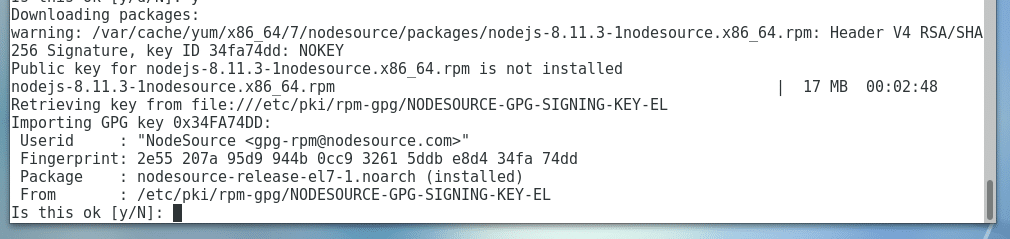
NodeJS should be installed.

Now run the following command to verify whether NodeJS is working:
As you can see, NodeJS is working properly.

Now run the following command to see whether Node Package Manager (NPM) is working:
As you can see, NPM is working correctly as well.

Using NodeJS:
Now that you have NodeJS installed, I am going to show you the basics of NodeJS.
First create a project directory with the following command:

Now navigate to the project directory:

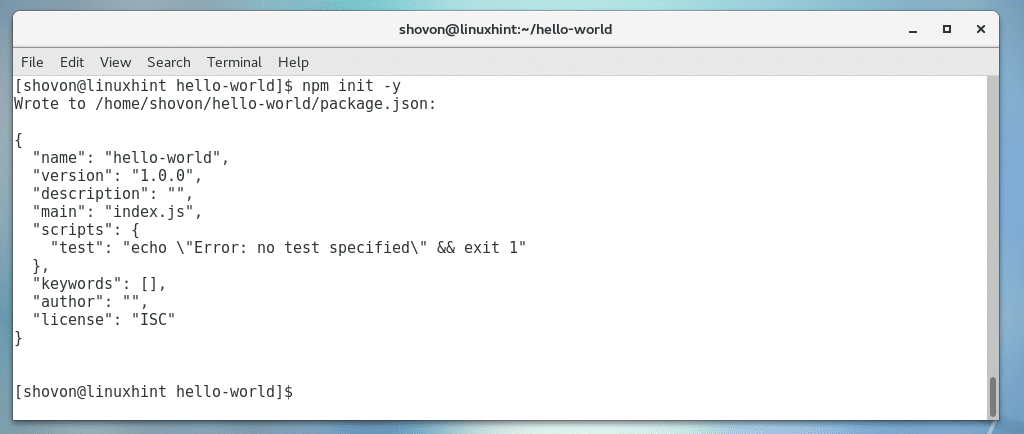
Inside hello-world/ directory, initialize a Node package.json file with the following command:
As you can see a package.json file is generated. The contents of the file are also printed on the terminal. It is a JSON file. Here, name is the application name, version is the application version, description is a short description about your application, main is the name of a NodeJS script in your project directory that is used to start your application. By default, it is index.js, but you can change it. scripts is an object that holds command aliases. I am going to leave the defaults for now.
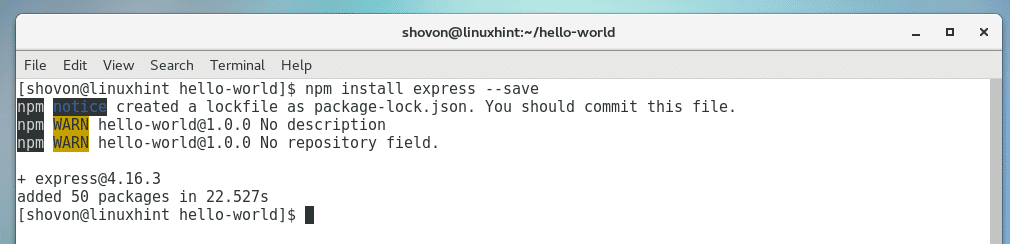
Now install Express.js NodeJS package with NPM with the following command:

Express should be installed.
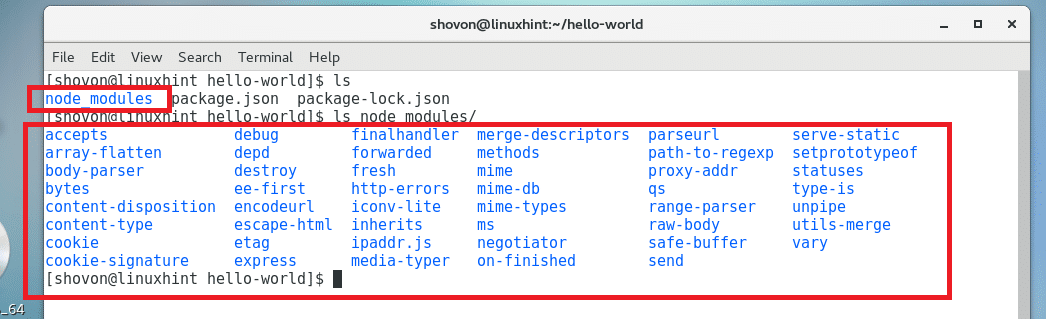
All the modules are kept in the node_modules/ directory in your project directory.
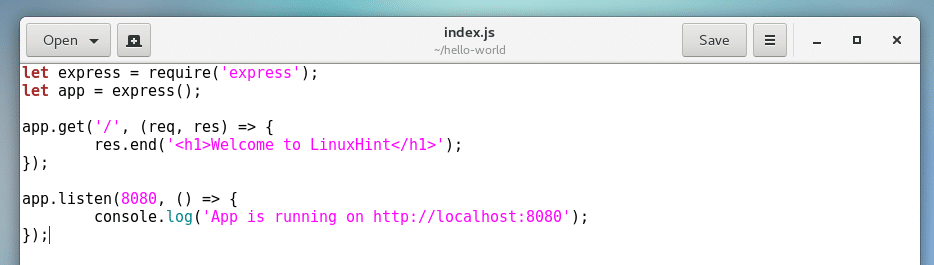
Now create a index.js file and type in the following codes:
let app = express();
app.get(‘/’, (req, res) => {
res.end(‘<h1>Welcome to LinuxHint</h1>’);
});
app.listen(8080, () => {
console.log(‘App is running on http://localhost:8080’);
});
Now run the following command to start the app:
The app should start.

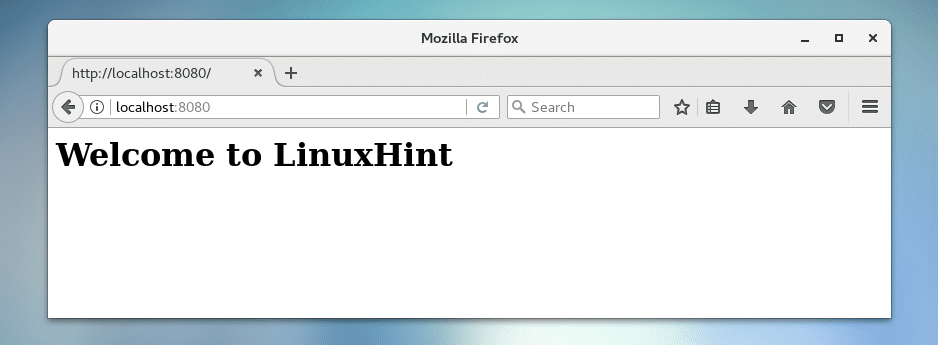
Now from your web browser, go to http://localhost:8080 and you should see the following output. The NodeJS app is working correctly.
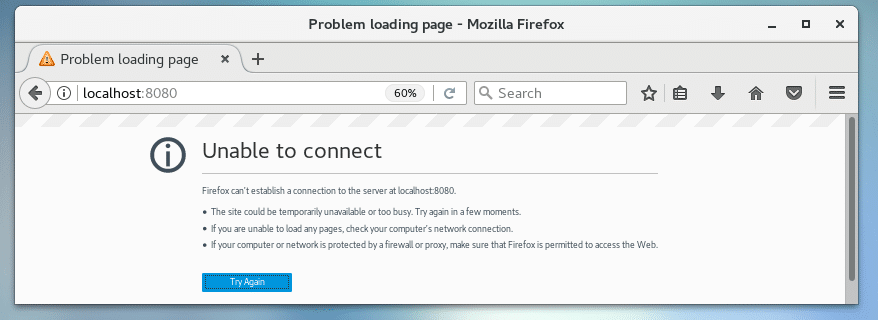
Now to stop the app, press <Ctrl> + c on the terminal.

Now if you visit http://localhost:8080 from the web browser, you should see an error.
That’s how you install and configure NodeJS on CentOS 7. Thanks for reading this article.