Installing Required Dependencies:
Write is a based on Qt5. So, you must have some Qt 5 libraries installed on your Ubuntu machine in order for Write to work. All the required Qt 5 libraries are available in the official package repository of Ubuntu 18.04 LTS. So, you can easily install them.
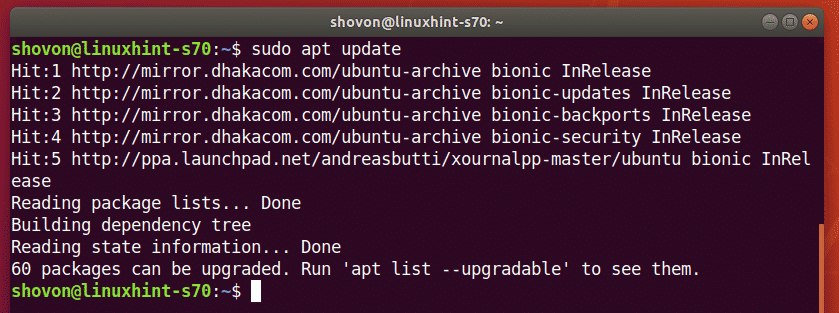
First, update the APT package repository cache with the following command:
Now, install all the required Qt5 libraries with the following command:

To confirm the installation, press Y and then press <Enter>.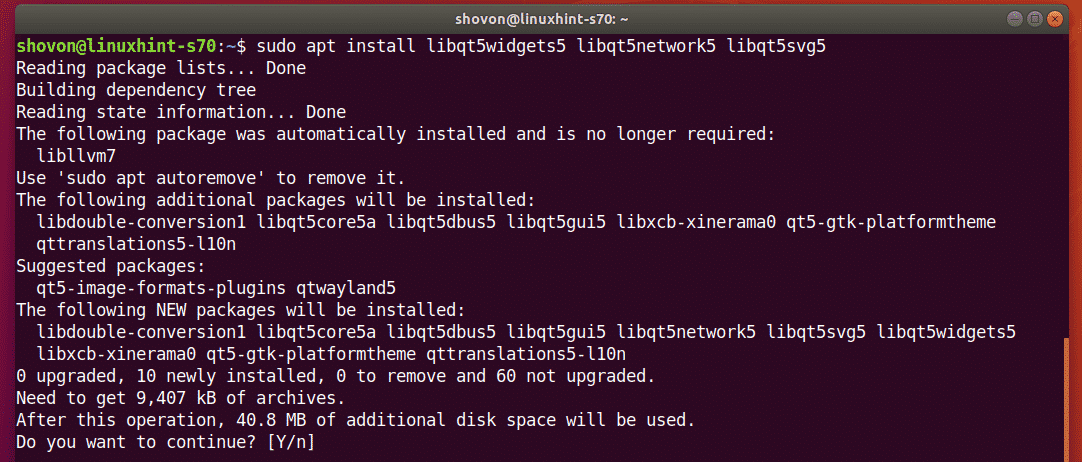
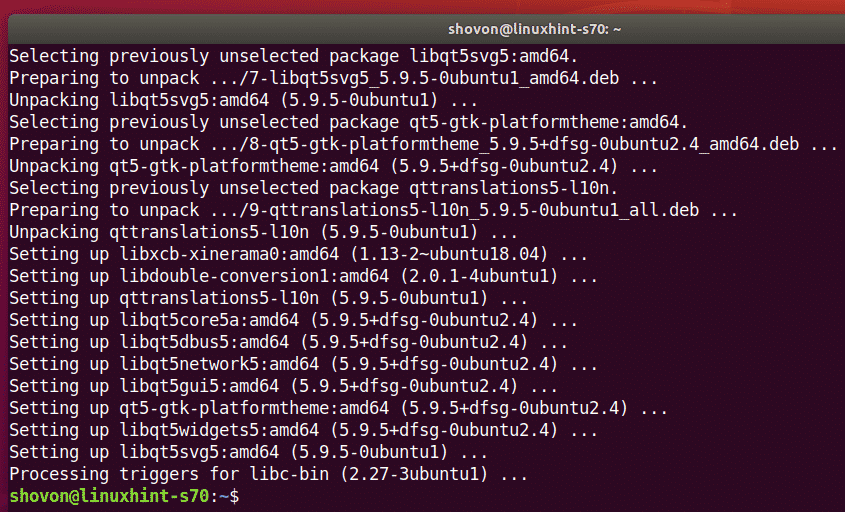
All the required Qt 5 libraries should be installed.
Downloading Write:
Write is not available in the official package repository of Ubuntu. But you can easily download it from the official Stylus Labs website and install it on Ubuntu.
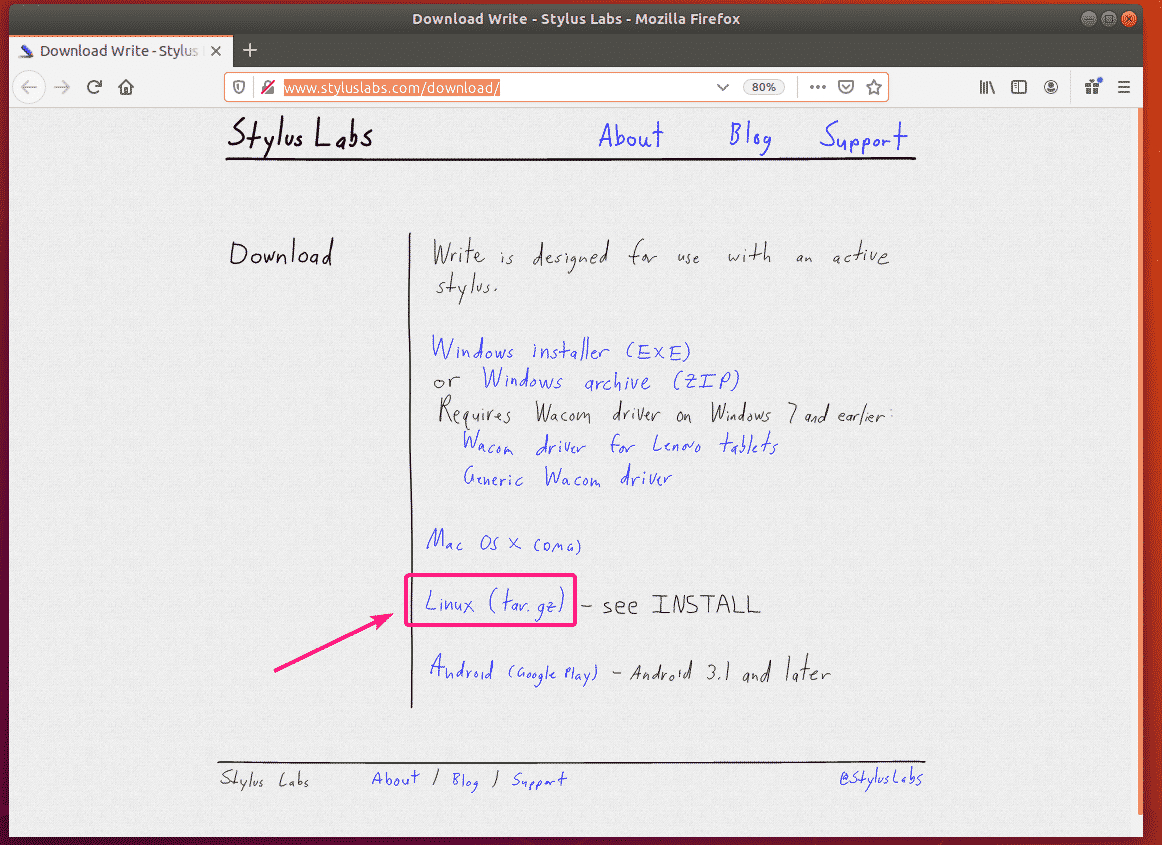
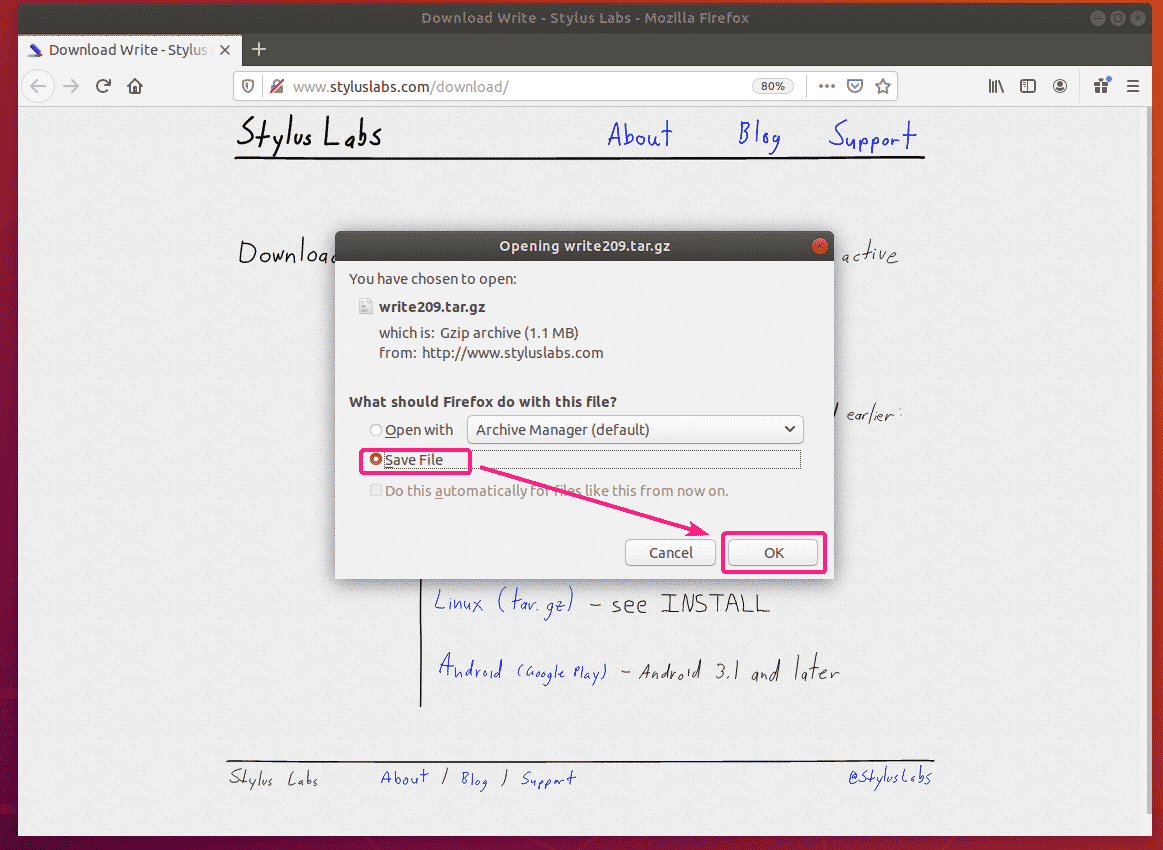
First, visit the official Write download page from your favorite web browser. Then, click on the Linux link as marked in the screenshot below.
Now, select Save File and click on OK.
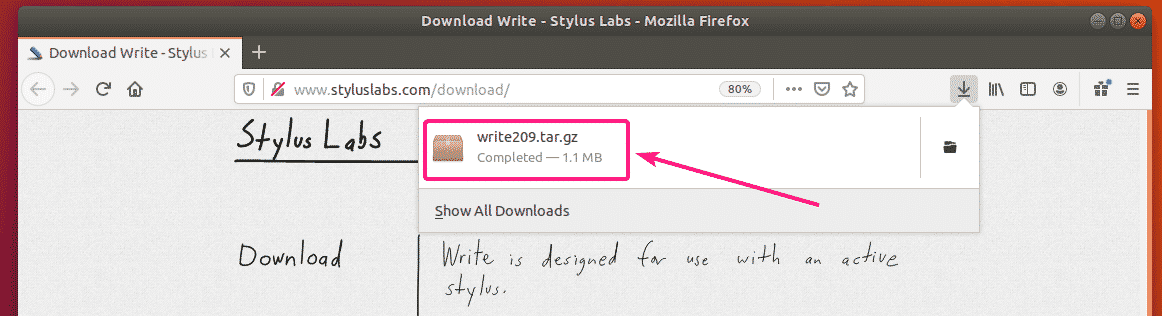
Write tar archive should be downloaded.
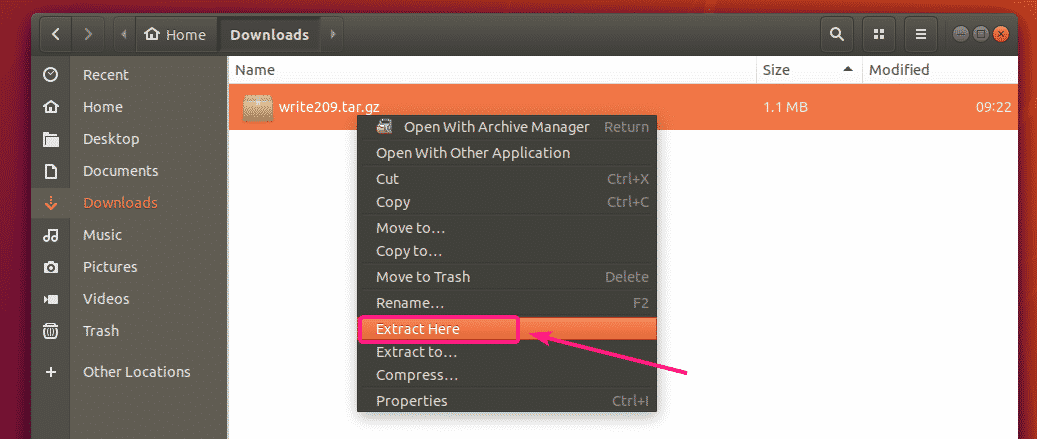
Now, navigate to the ~/Downloads directory and extract the archive.
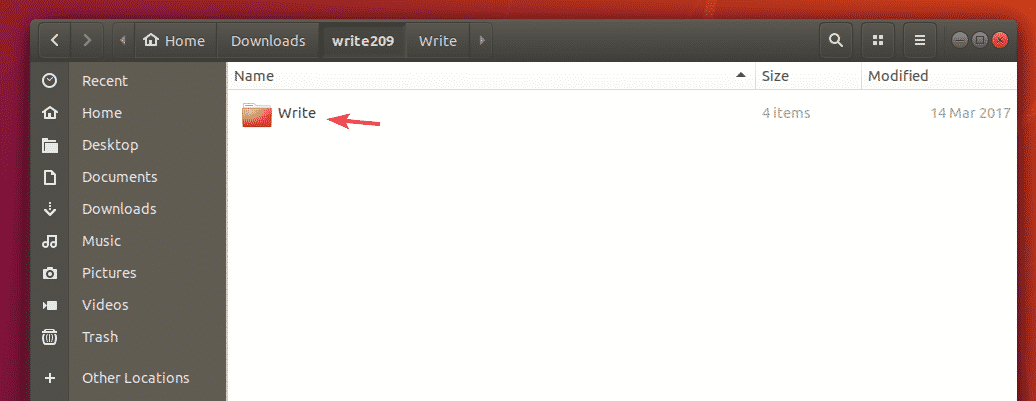
A new directory should be created. Navigate to the directory.
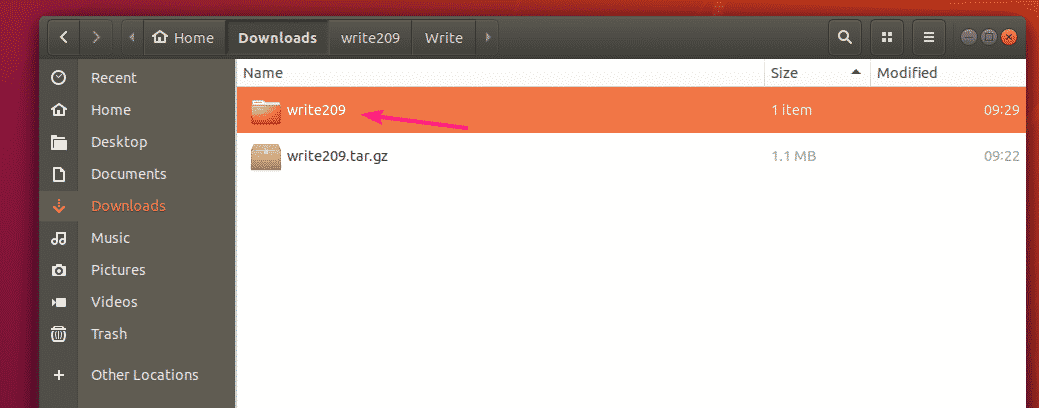
Navigate to the Write/ directory.
Now, double click on the Write binary file to run Write.
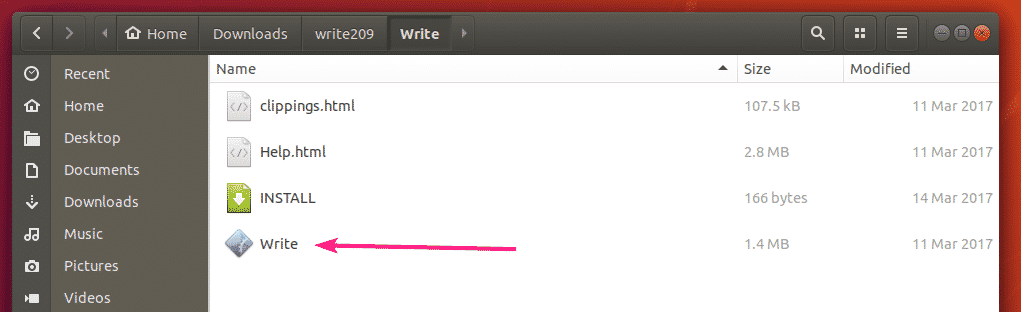
Write should be opened.
Basic Write Note Taking Workflow:
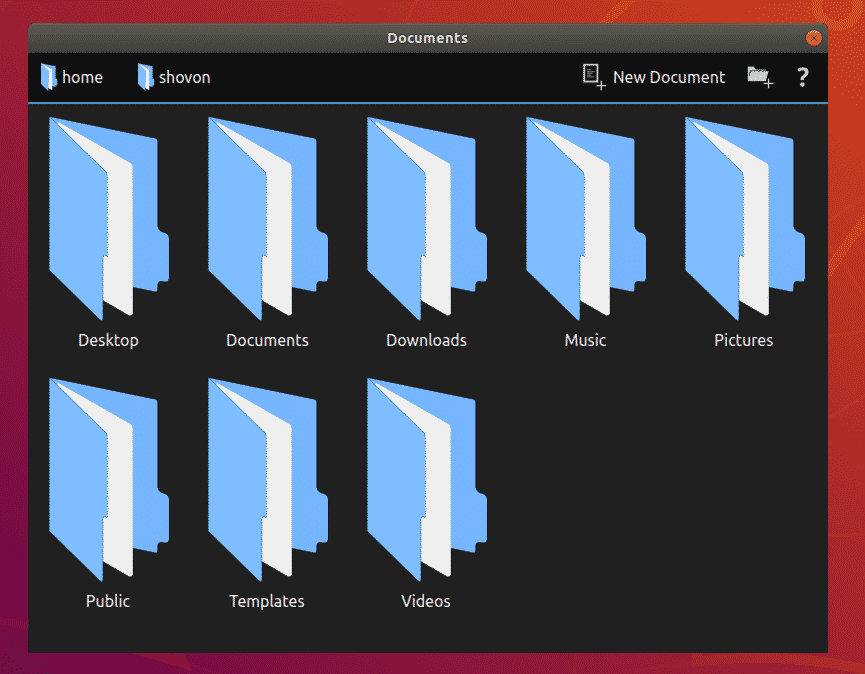
When you open Write app, the files and directories in your HOME directory should be displayed. Navigate to a directory where you want to create your Write note and click on New Document.

Now, type in a name for the Write note and press <Enter>.
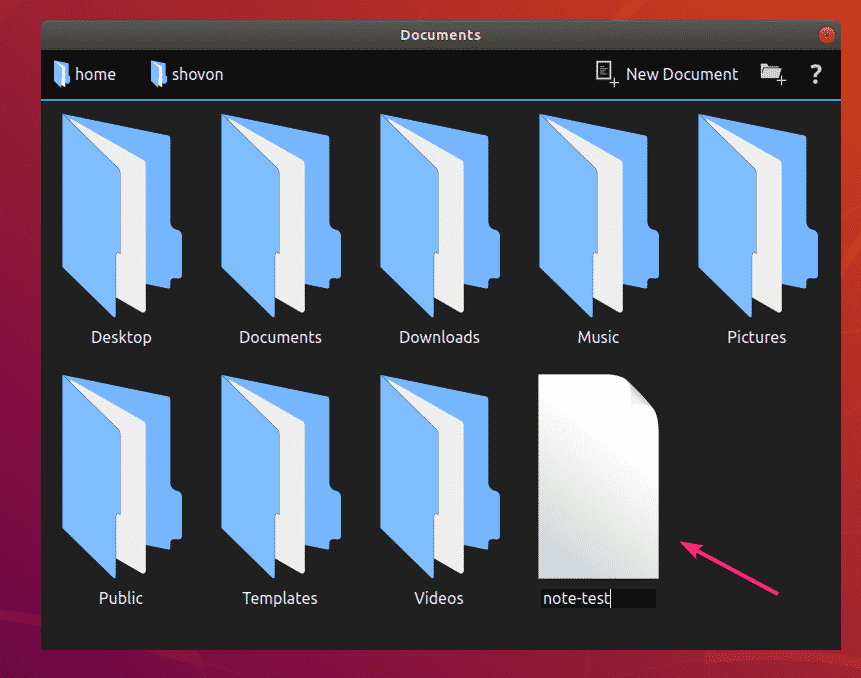
A new Write note should be created. It will also be opened with Write.
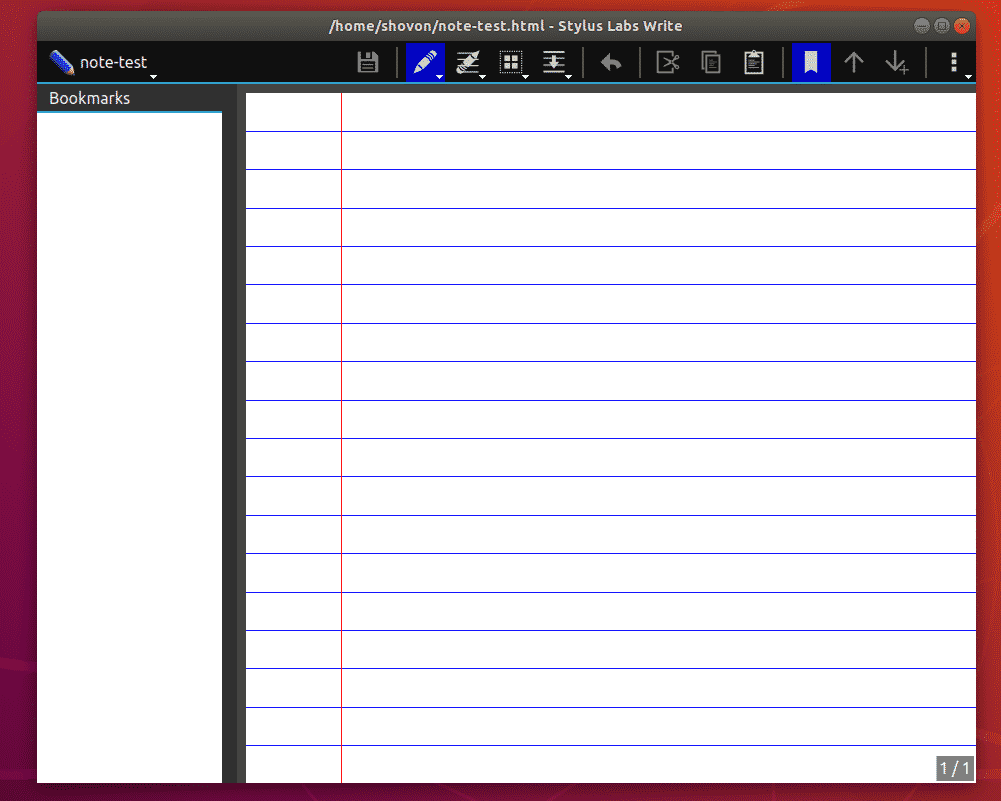
You can use your Stylus or Pen Tablet to take notes with Write.
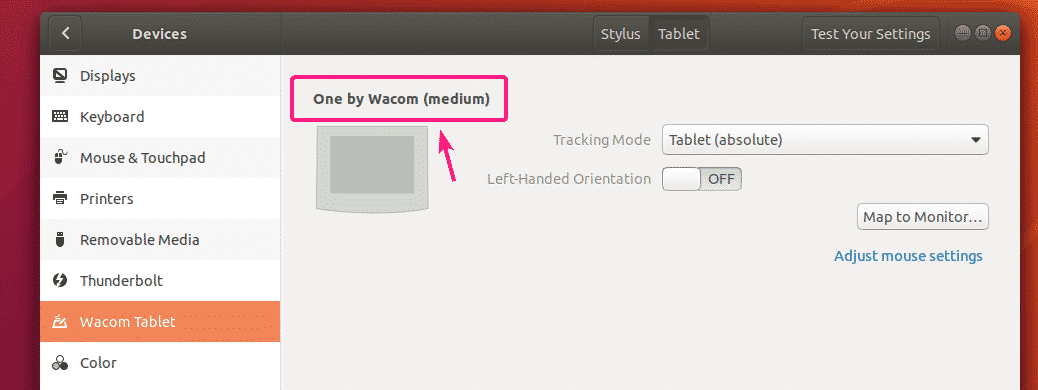
I have used my Wacom One pen tablet for note taking demonstration in this article. Ubuntu 18.04 LTS has support for Wacom pen tablets by default. So, you don’t have to do anything extra for Wacom pen tablet support.
As you can see, my Wacom One pen tablet is detected automatically on my Ubuntu 18.04 LTS machine.
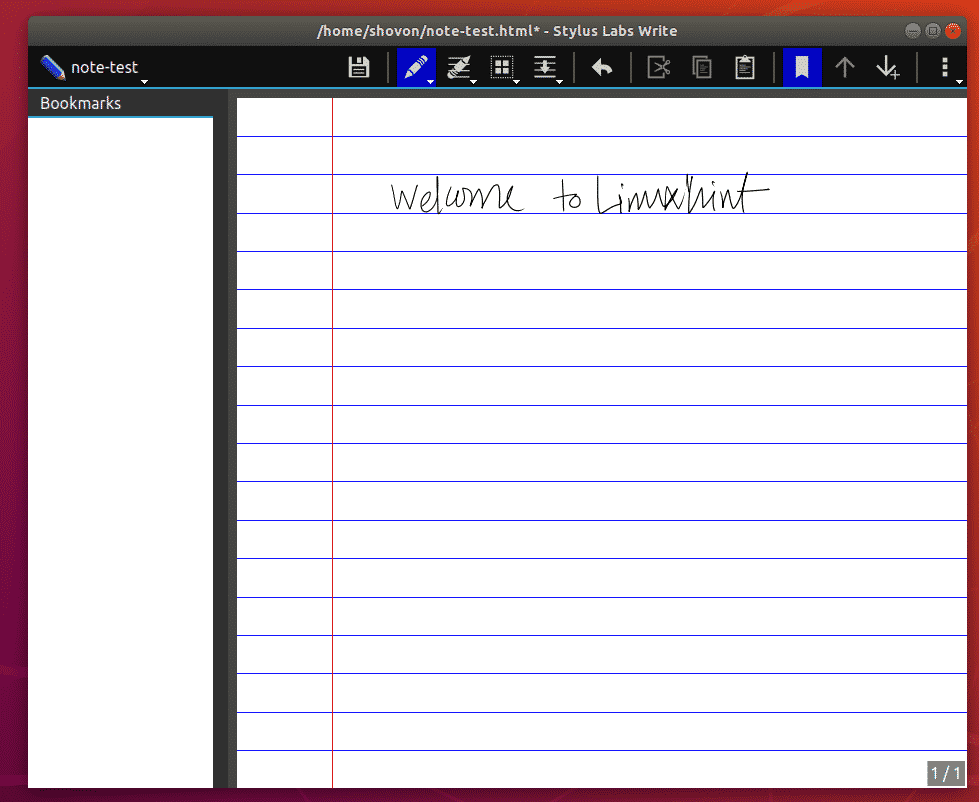
For handwriting, select the Pen tool () and start writing on Write app. Very simple.
As you can see, I can write on Write app using my Wacom pen tablet. It works nicely.
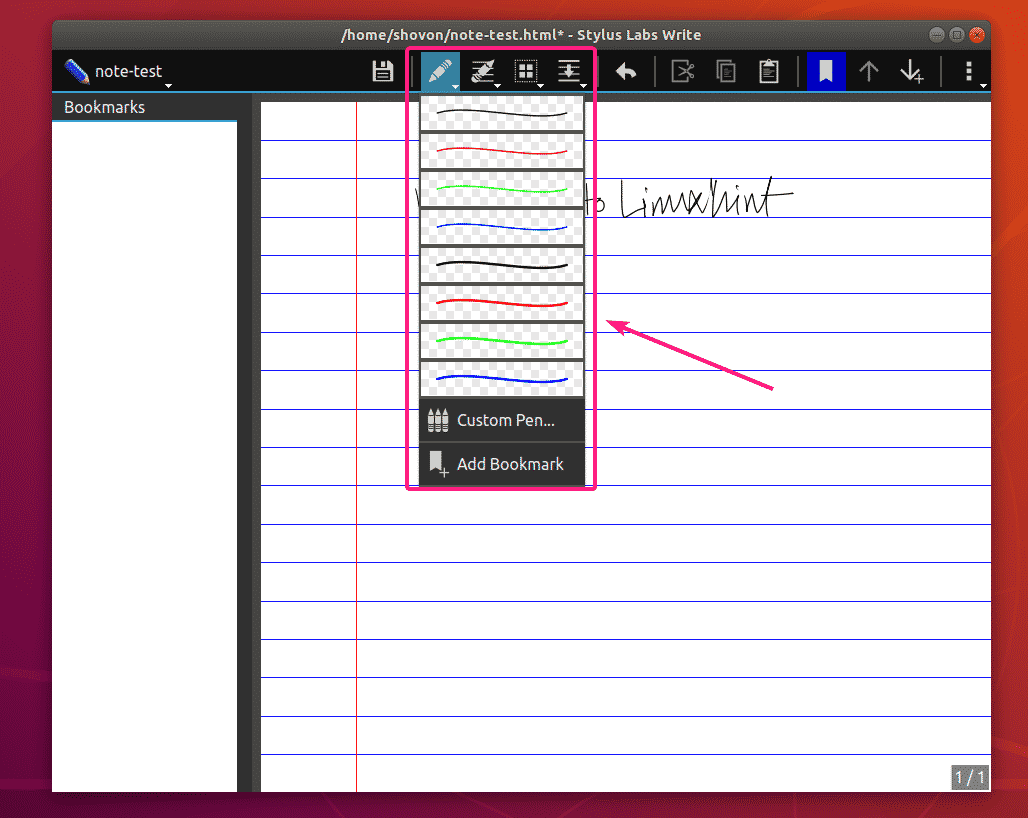
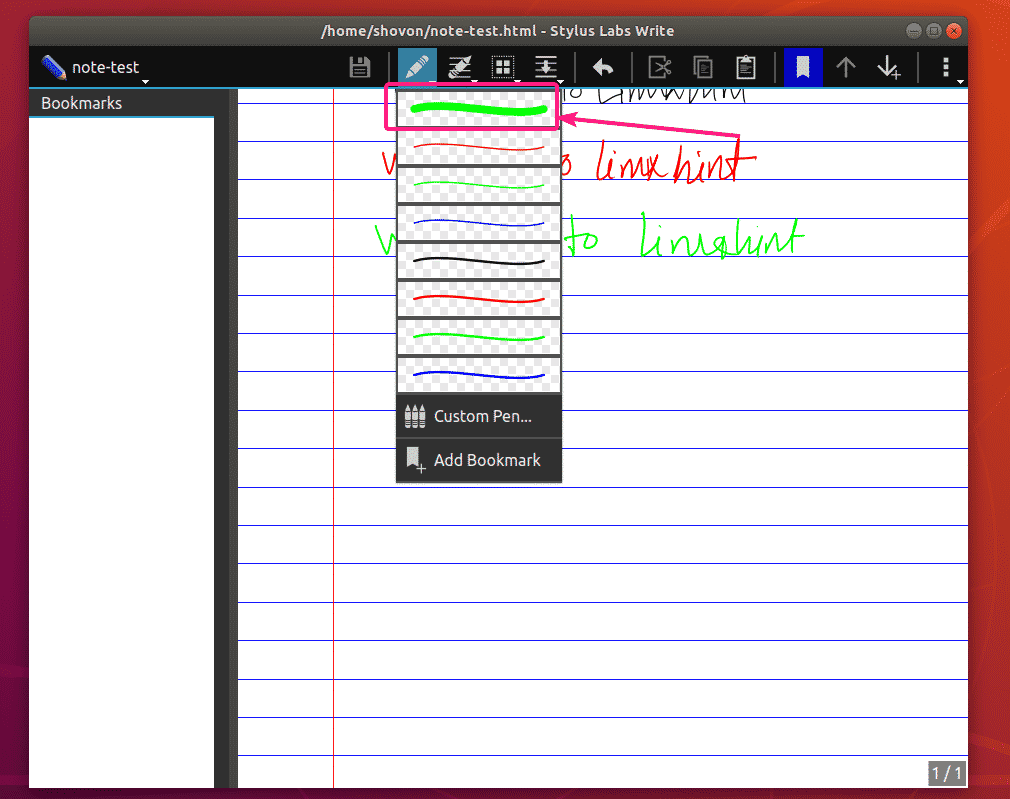
If you click and hold on the Pen icon (), it will show you all the default pen styles. You can select any one of them and write on the Write app.
There are 8 slots for pen styles. You can replace the default ones with custom ones as well. I will show you how to do it later in this article.
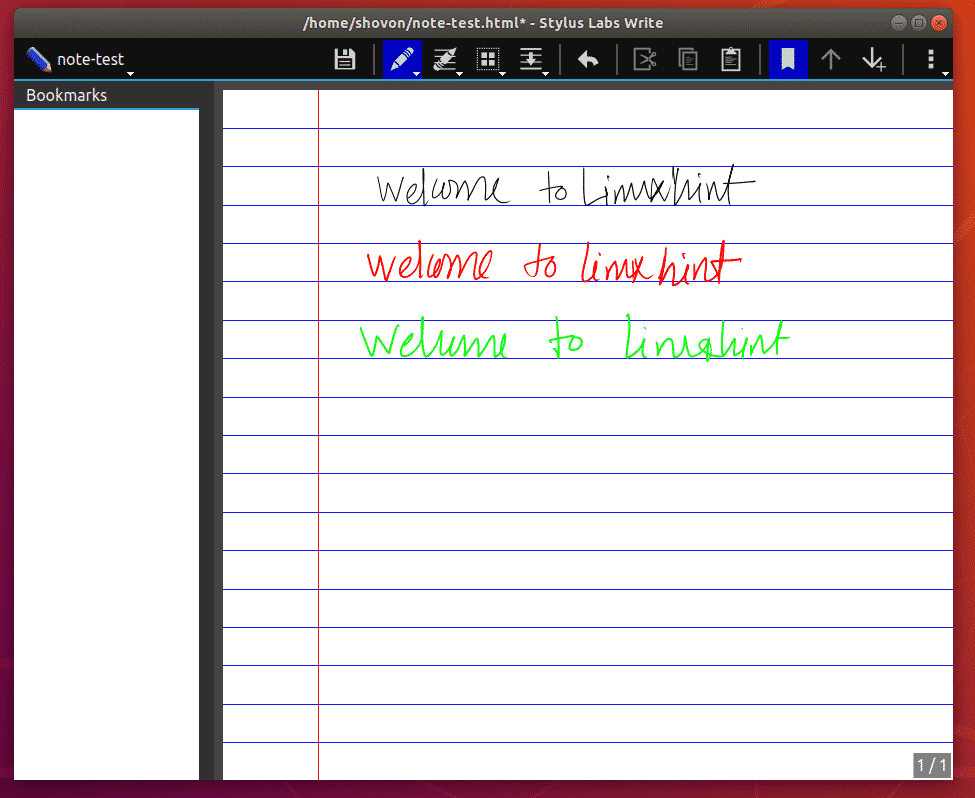
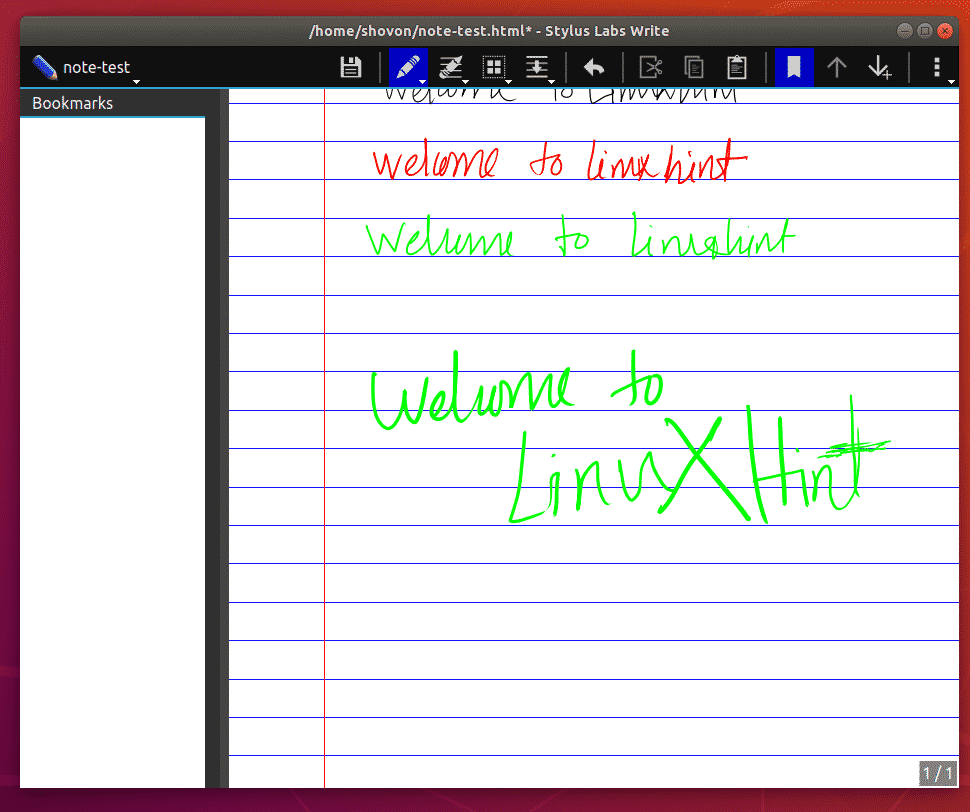
I’ve used different pen styles to write on the Write app. It looks fantastic.
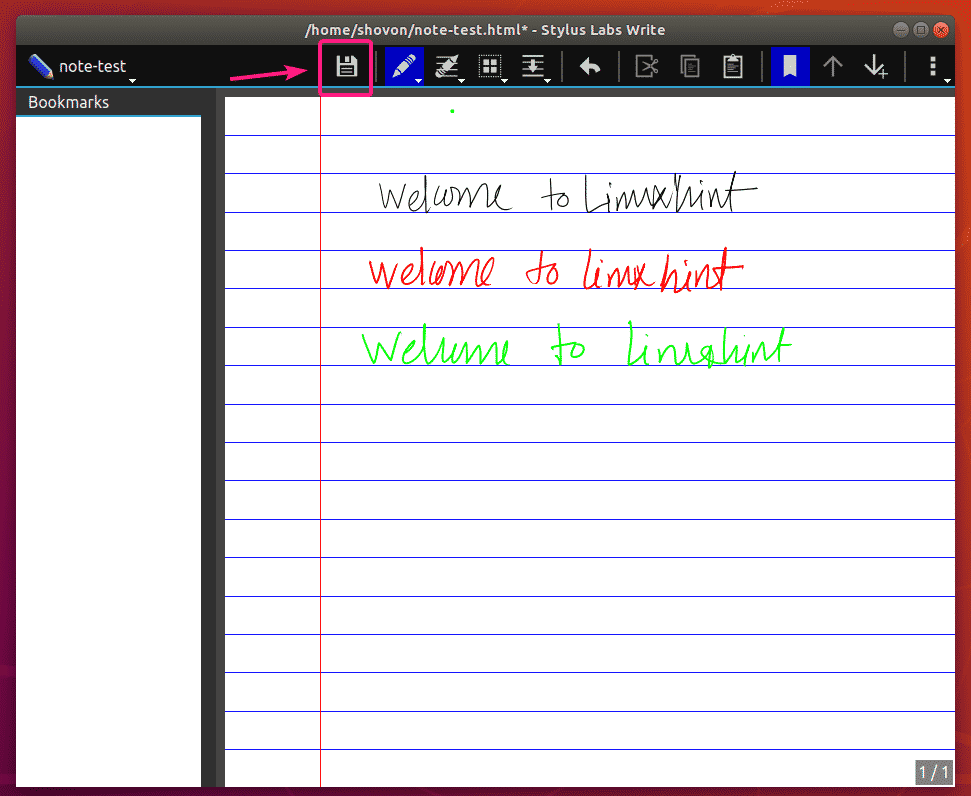
Once you make some changes to your Write note, you can click on the Save icon () to save your work.
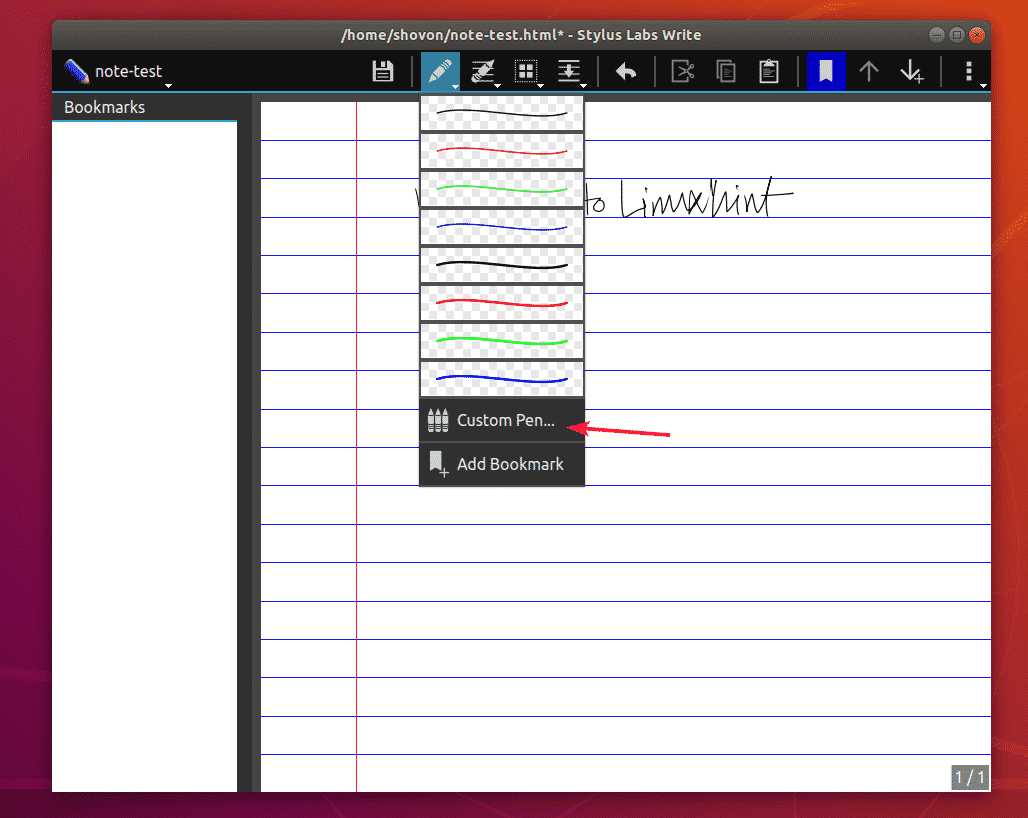
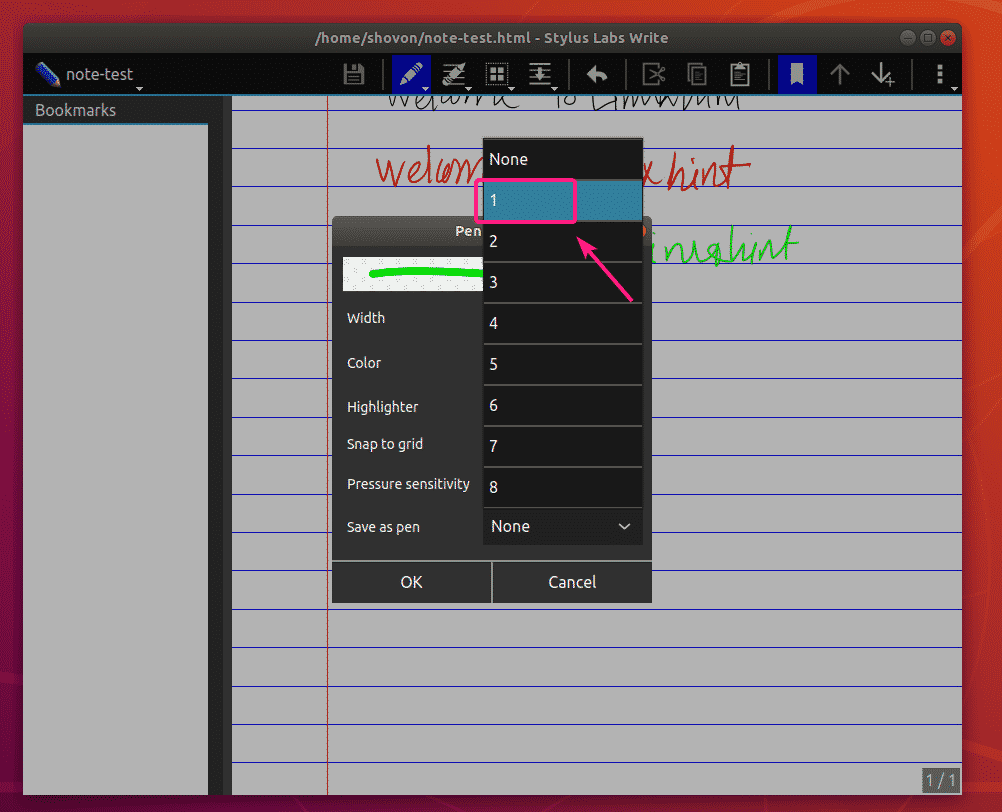
If you want to replace one of the 8 pen slots with your custom pen style, then click and hold the Pen icon and select Custom Pen…
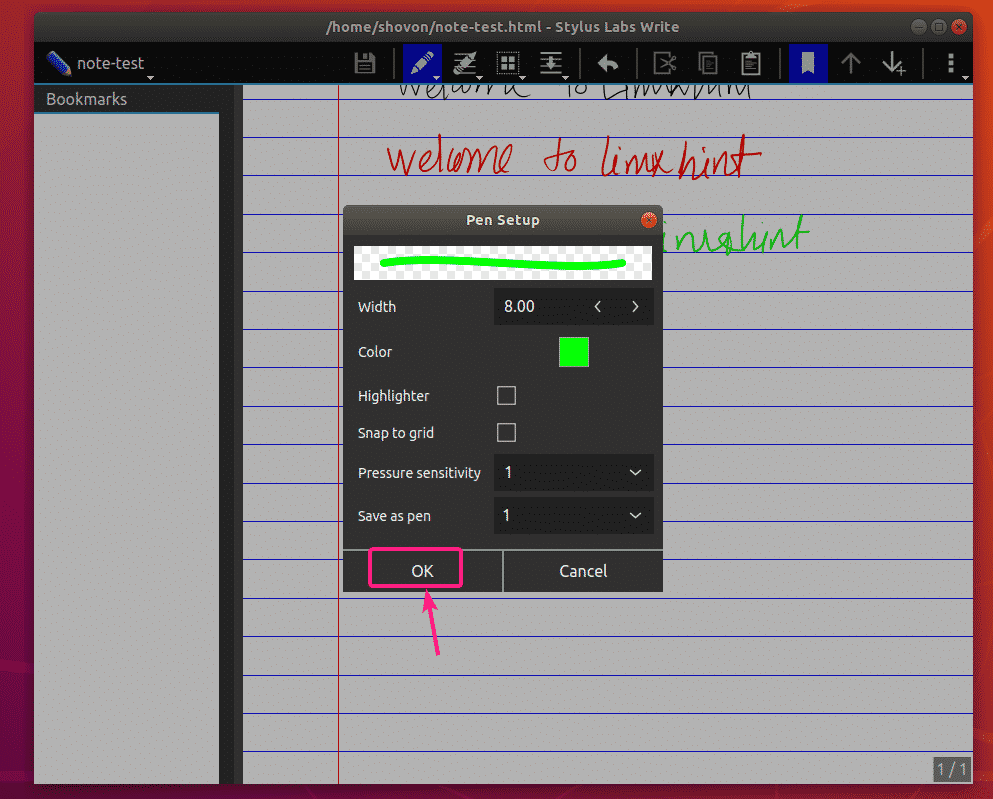
Now, set the pen Width, Color and Pressure sensitivity. Check Highlighter if you want to use this pen style for highlighting your Write notes.
Check Snap to grid if you want to auto reshape your pen strokes with the Write app grid system.
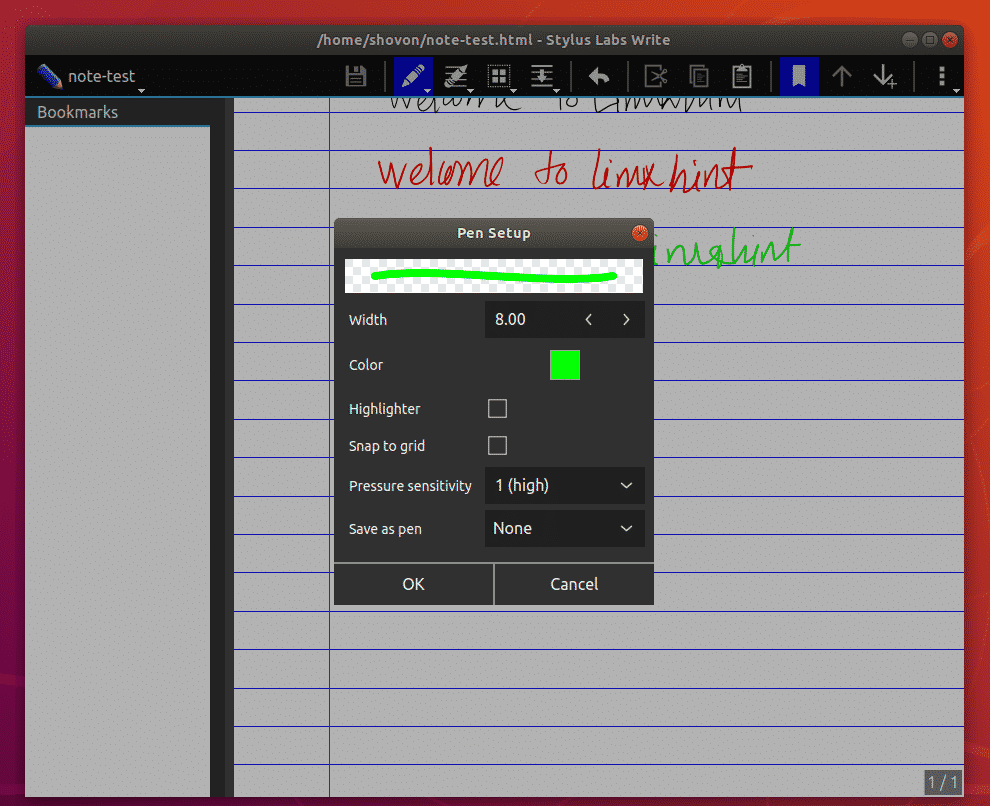
Now, click on the Save as pen dropdown menu and select the slot which you want to replace this pen with.
Once you’re done, click on OK.
Your desired pen slot should be replaced with your custom pen style.
As you can see, I am using the custom pen style for handwriting. It works great.
If you want to erase some of your pen strokes, select the Eraser () tool and erase what you don’t want on your notes.
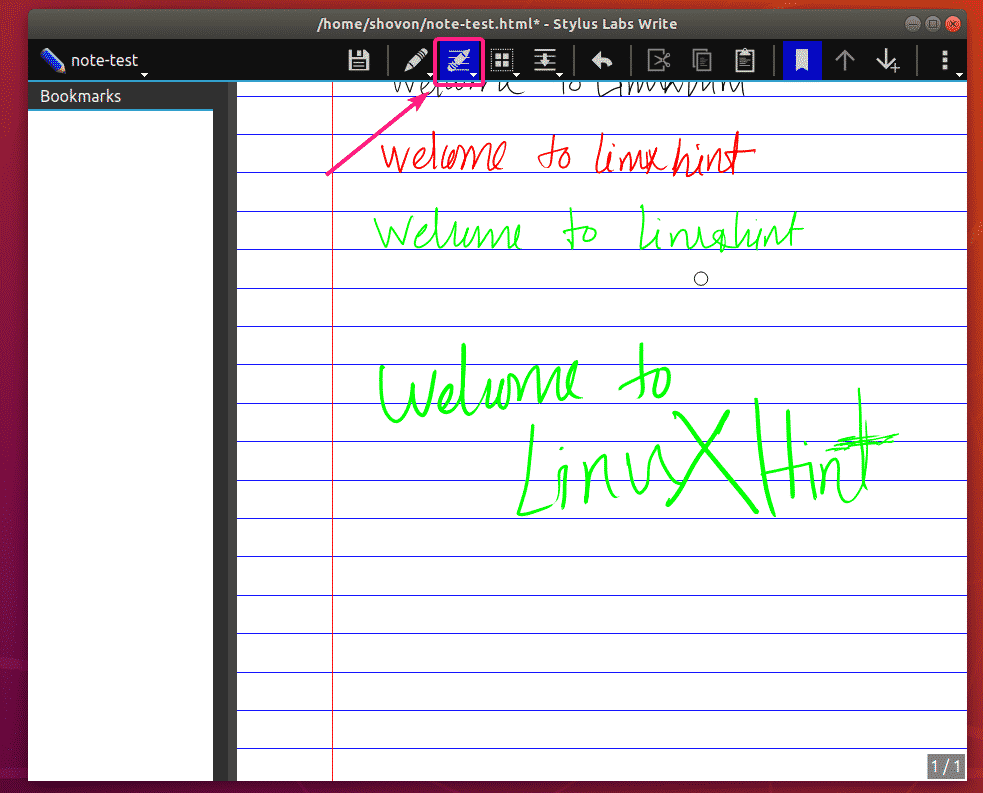
You have several eraser options, i.e Stroke Eraser (removes the whole pen stroke all together), Ruled Eraser (removes partial pen stroke but tries to maintain grid rulers), Free Eraser (removes only the part of the pen stroke you want).
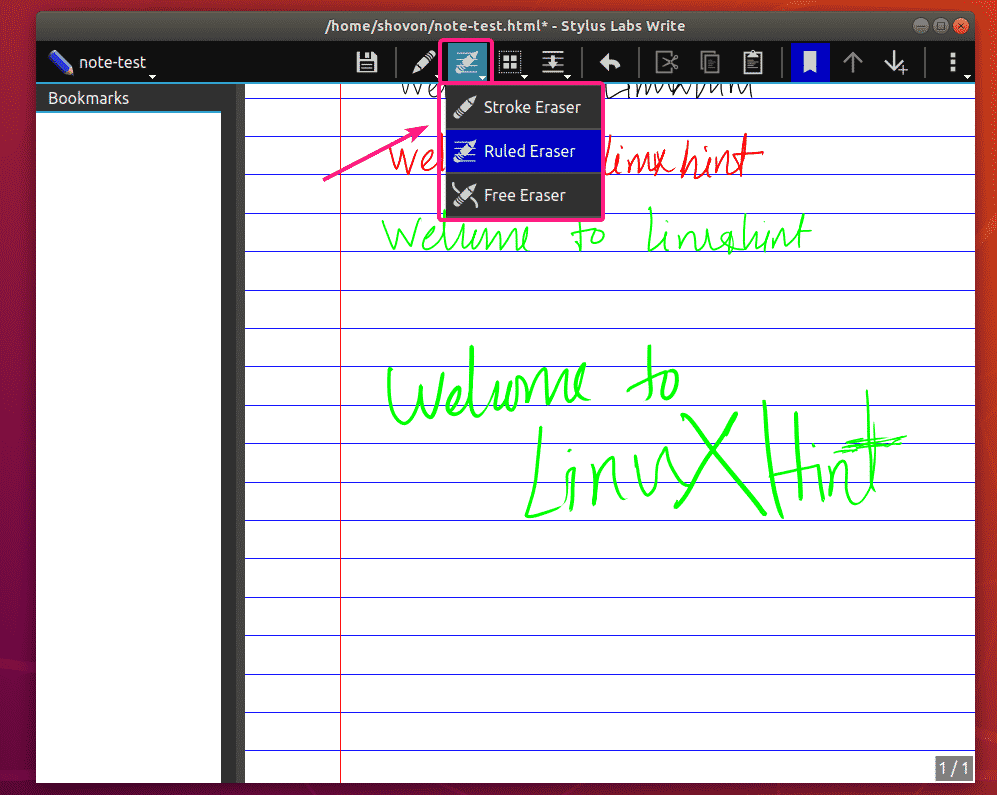
To change the eraser type, click and hold the Eraser icon () and you should be able to select an eraser type from the list.
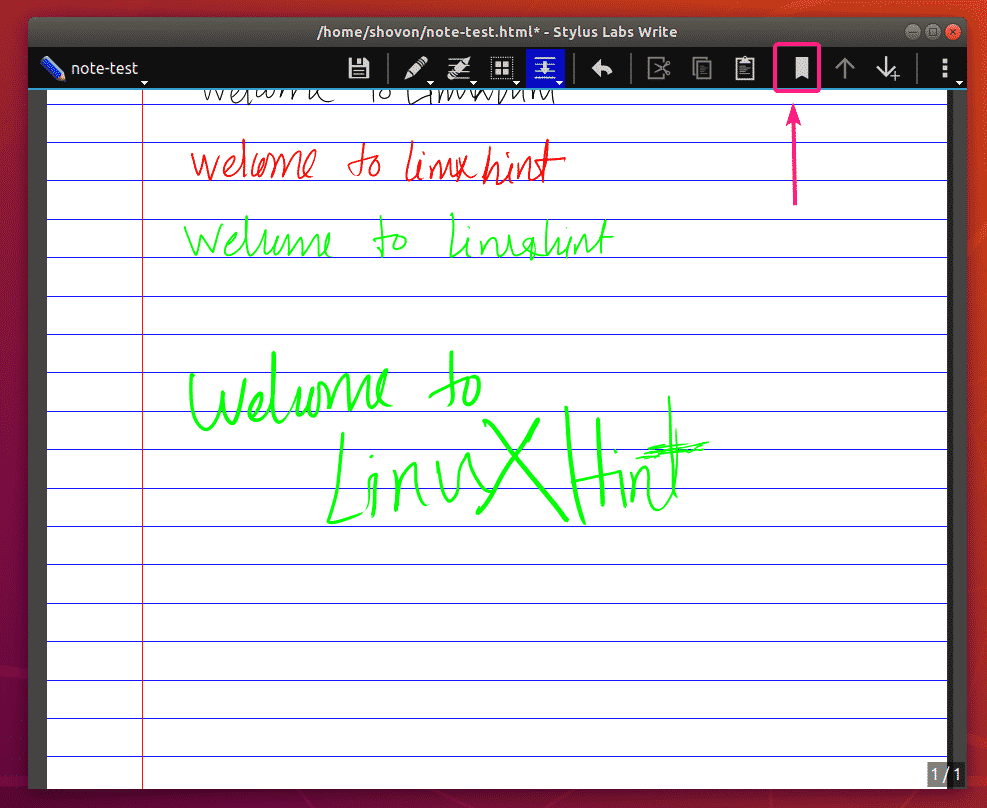
If you want to hide the Bookmark Side Pane, click on the Bookmark icon ().
If the Bookmark Side Pane is hidden and you want to make it visible, click on the Bookmark icon () again.
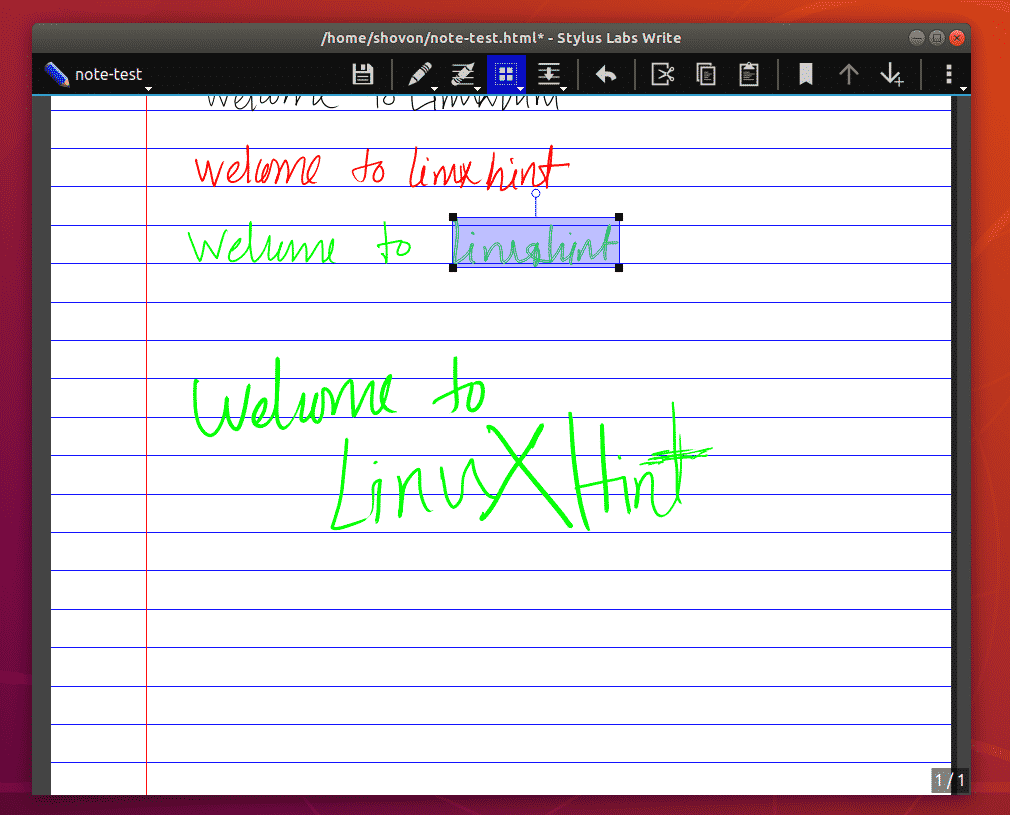
To select content from your Write note, click on the Select tool ().
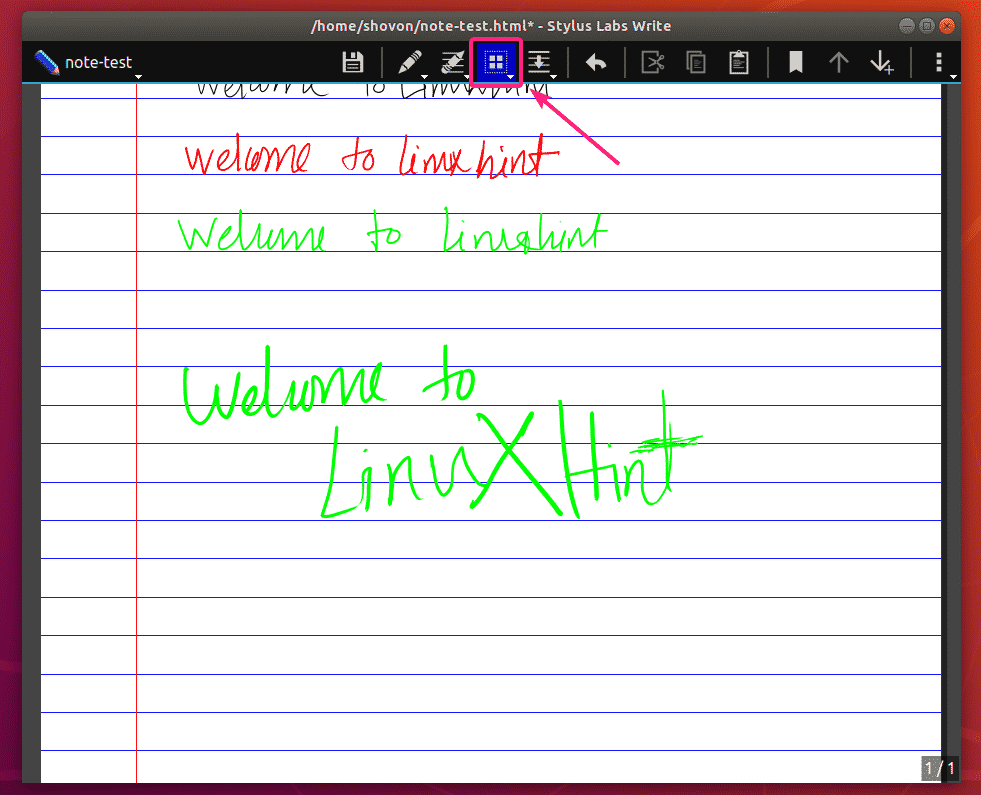
You can select content, move them around or remove them.
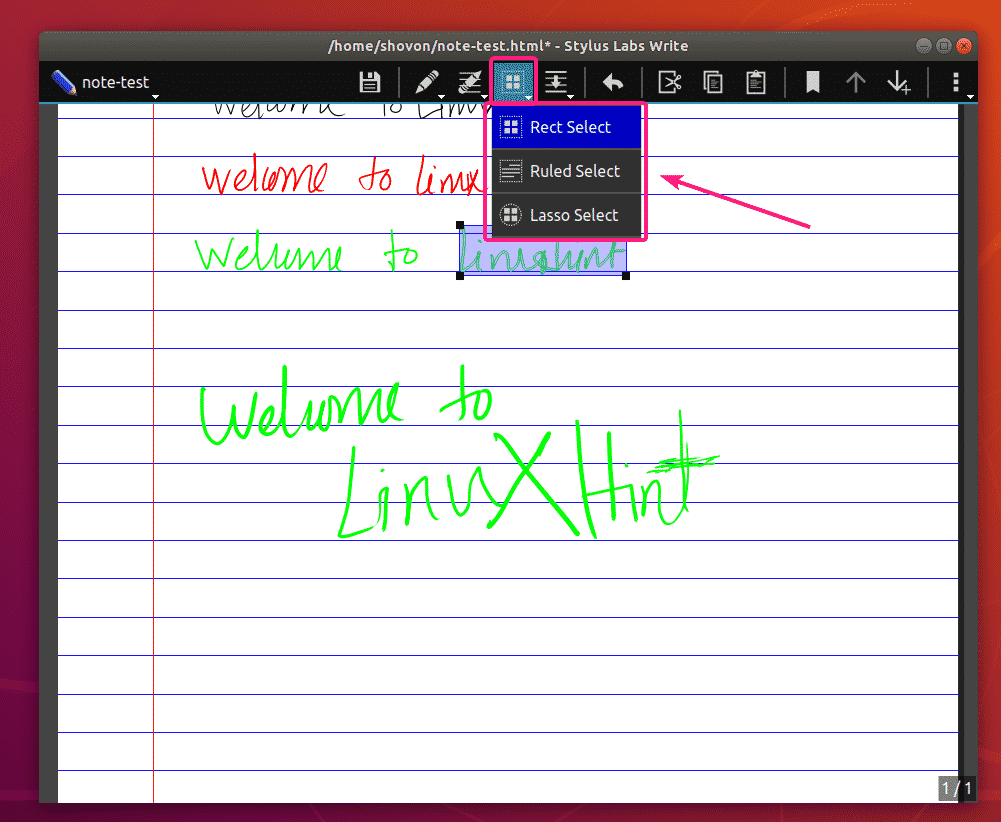
Write has 3 types of Select tool. Rect Select tool (used for rectangular selection), Ruled Select tool (used for grid based selection), and Lasso Select tool (used for freehand selection).
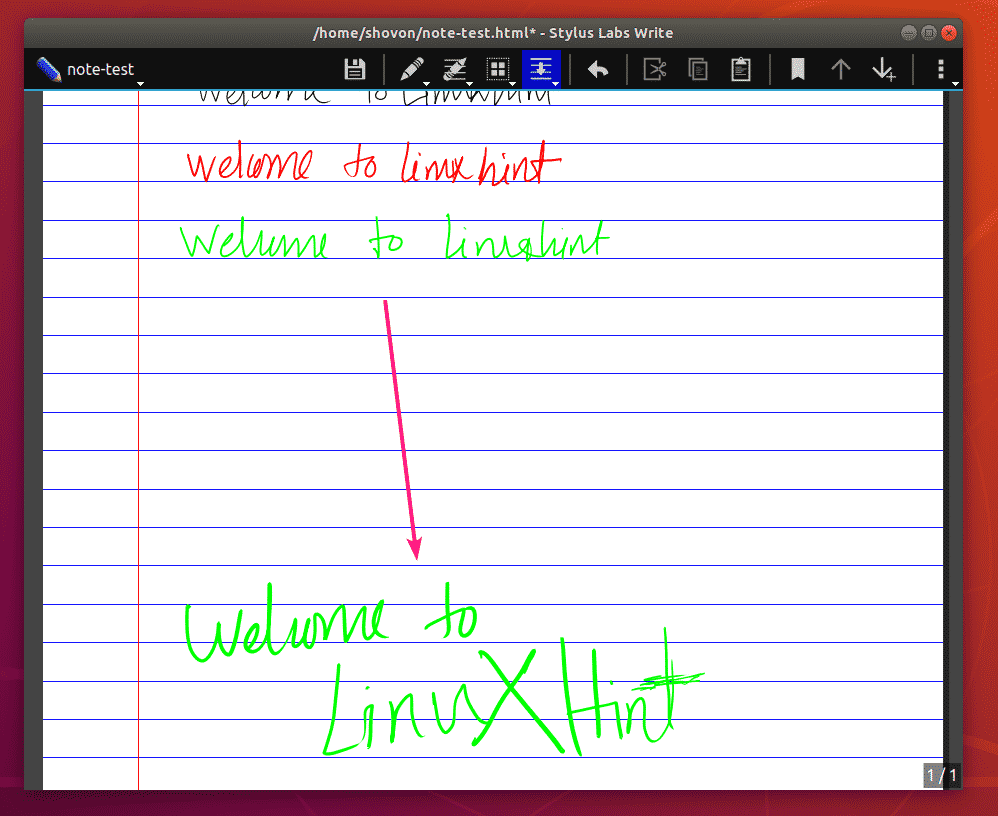
If you want to move content downward to make some spaces in the middle of your note for some new content, then click on the Insert Space () icon. Then, click an empty location in your note where you want to move content from and hold.

Then, drag downward. When you’re happy with the result, release your pen or mouse. The content should move.
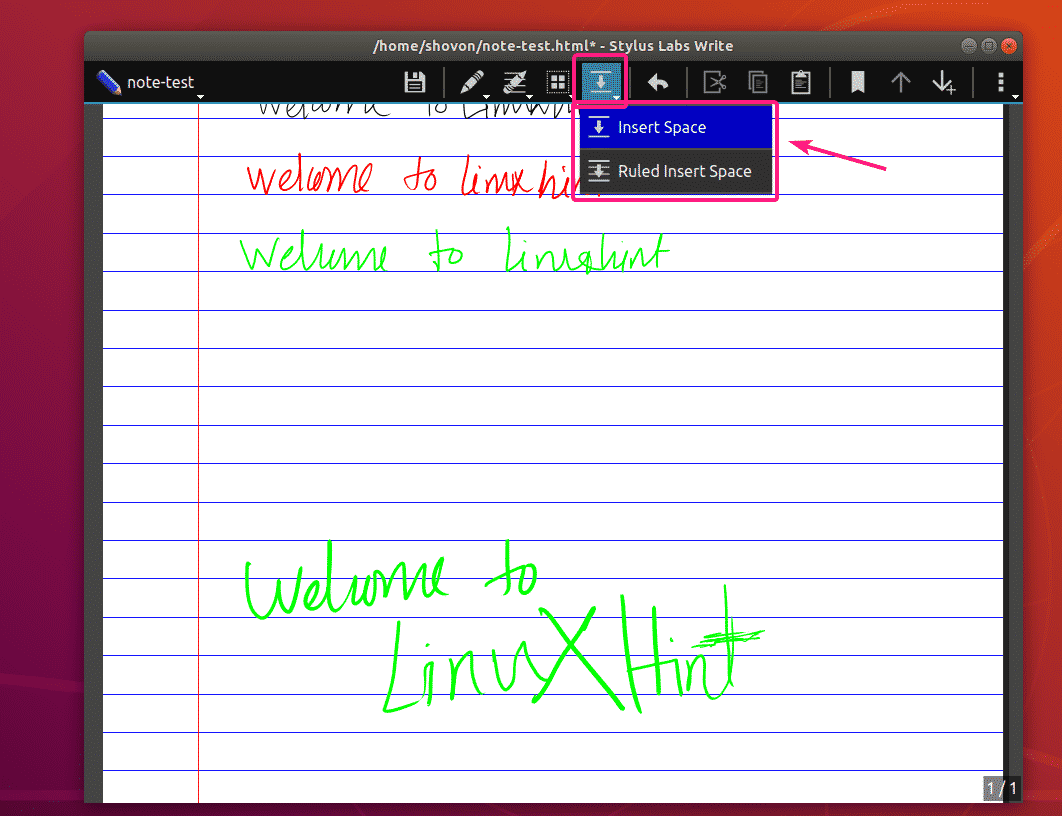
You can select between Insert Space (for freehand insertion of spaces) and Ruled Insert Space (for ruler/grid-based insertion of spaces) for inserting spaces in Write.
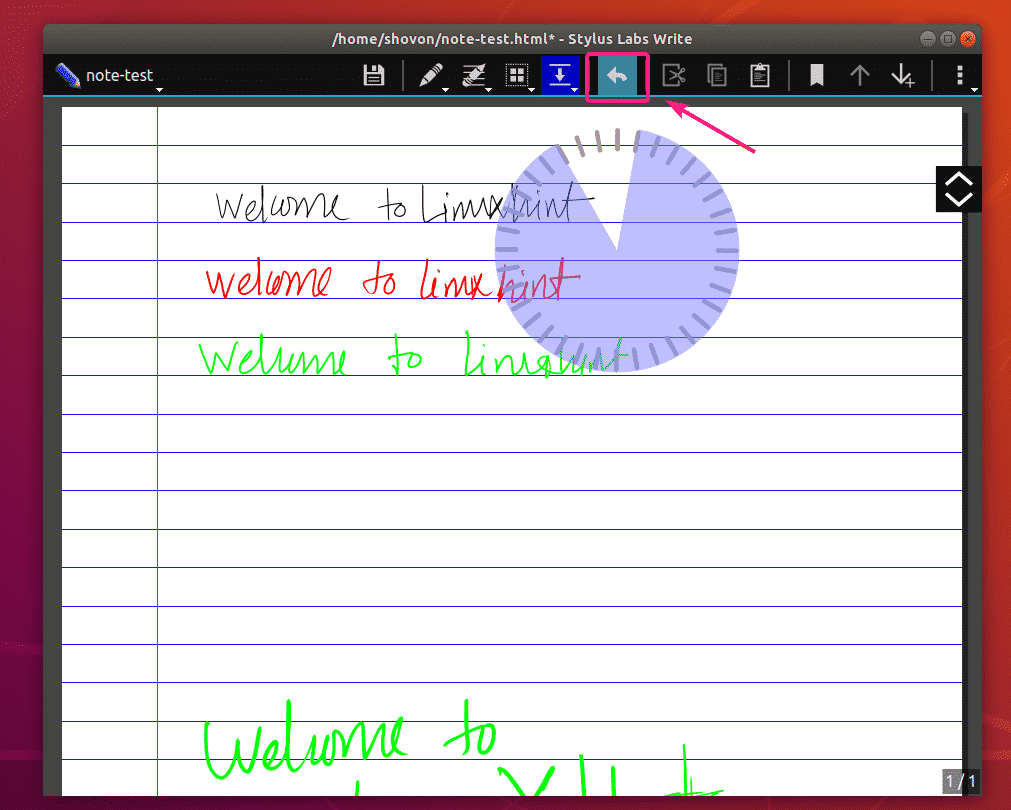
To undo/redo your work, click and hold the Undo () button and a circle should appear. When the circle is full, you’re at your current work (there is nothing to redo). Move the circle pointer left to undo and to the right to redo your work.
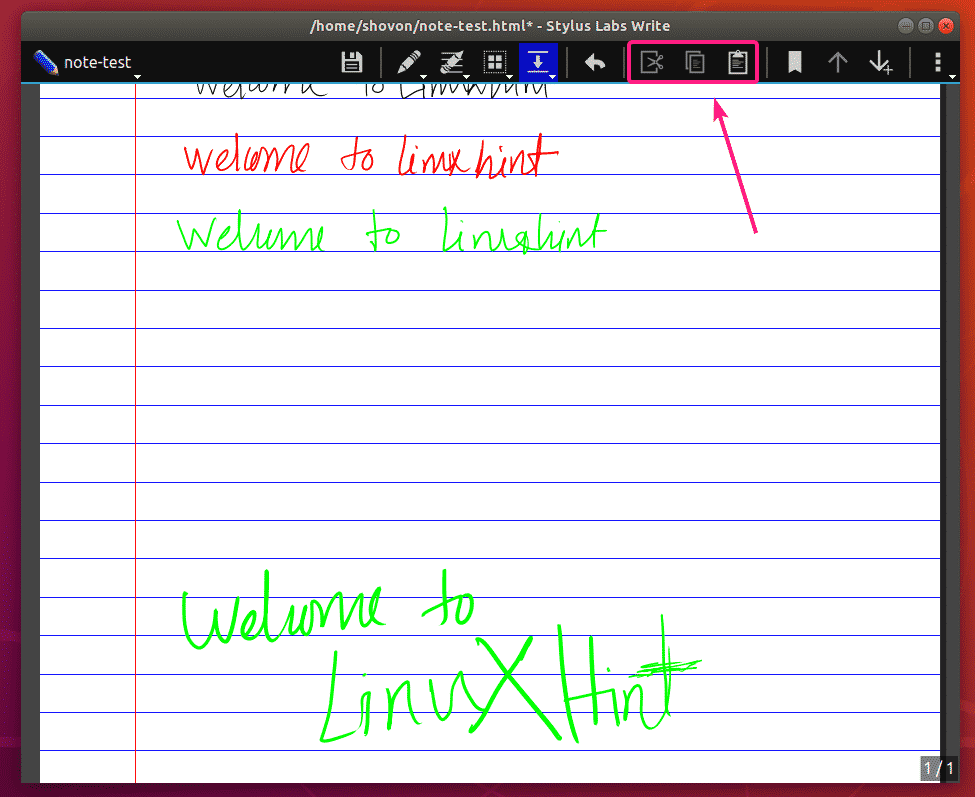
You can use the Cut (), Copy () and Paste () icon to cut/copy selected content or paste content from the clipboard respectively.
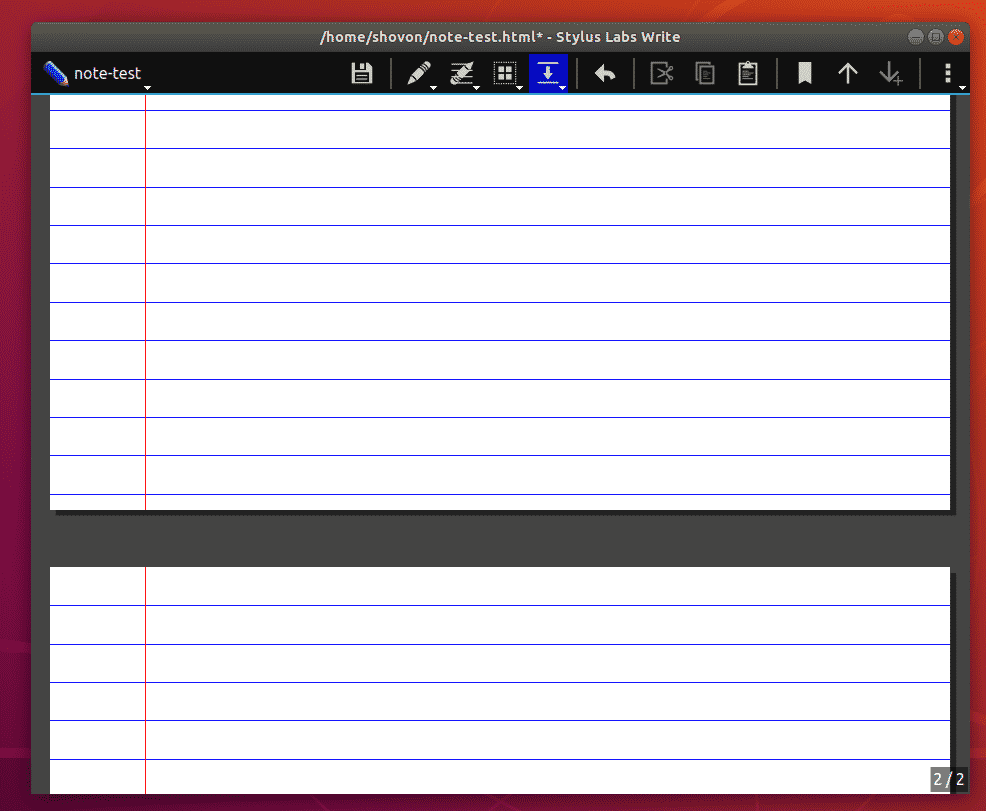
To navigate between pages, you can use the Page Up () and Page Down/Add () button.

If you add a new page, the page should be added at the end of the note. There will be a small gap between each page.
So, that’s basically how you install and use the Write note taking app. Thanks for reading this article.