In this article, I will show you how to install PHPStorm on Ubuntu. The process shown here will work on Ubuntu 16.04 LTS and later. I will be using Ubuntu 18.04 LTS for the demonstration. So, let’s get started.
Installing PHPStorm:
PHPStorm has a snap package for Ubuntu 16.04 LTS and later in the official snap package repository. So, you can install PHPStorm very easily on Ubuntu 16.04 LTS and later. To install PHPStorm snap package on Ubuntu 16.04 LTS and later, run the following command:

As you can see, the PHPStorm snap package is being downloaded.

At this point, PHPStorm snap package is installed.

You can also install PHPStorm manually on Ubuntu. But I recommend you use the snap package version as it has better integration with Ubuntu.
Initial Configuration of PHPStorm:
Now that PHPStorm is installed, let’s run it.
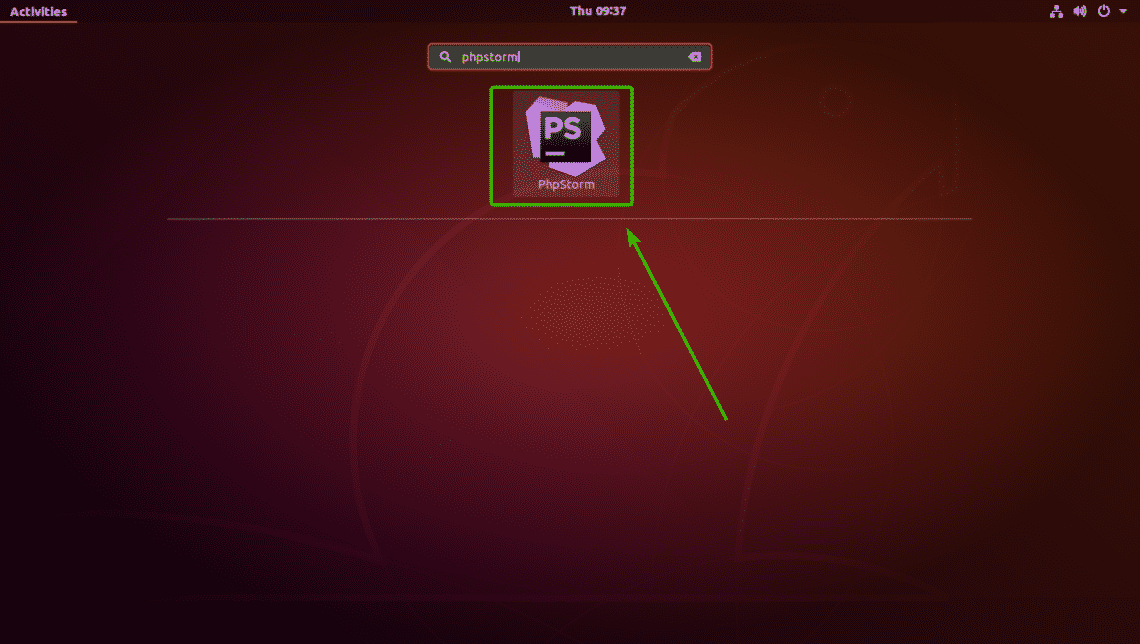
To run PHPStorm, go to the Application Menu and search for phpstorm. Then, click on the PHPStorm icon as marked in the screenshot below.
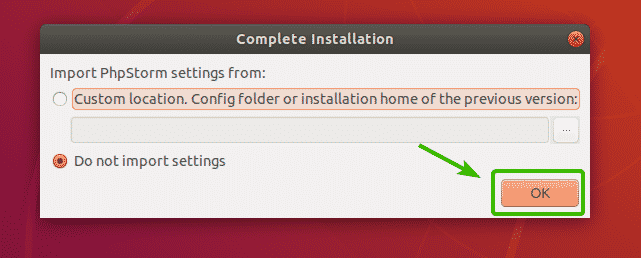
As you’re running PHPStorm for the first time, you will have to configure it. Here, select Do not import settings and click on OK.
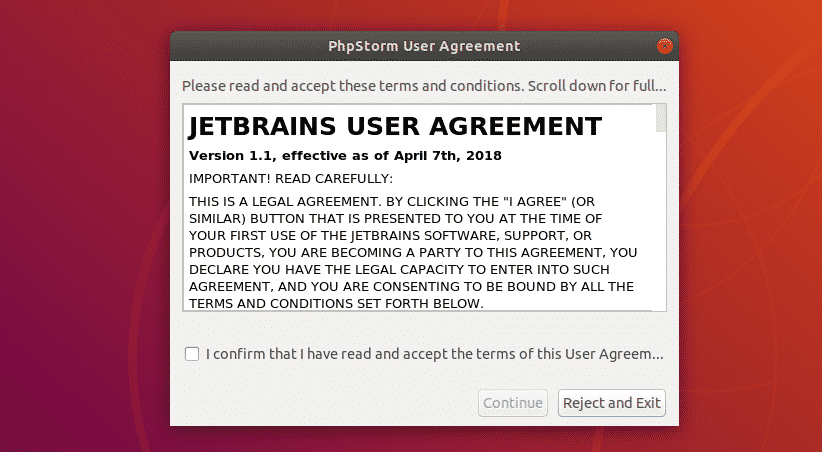
Now, you will see the Jetbrains user agreement. If you want, you can read it.
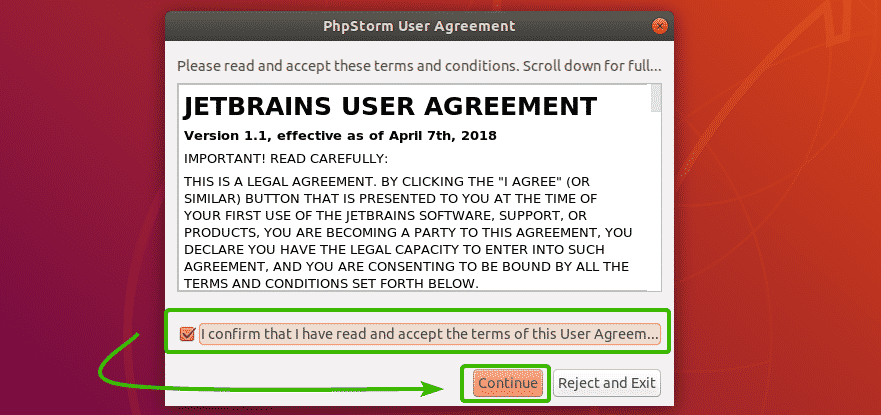
Once you’re finished reading it, check I confirm that I have read and accept the terms of this User Agreement checkbox and click on Continue.
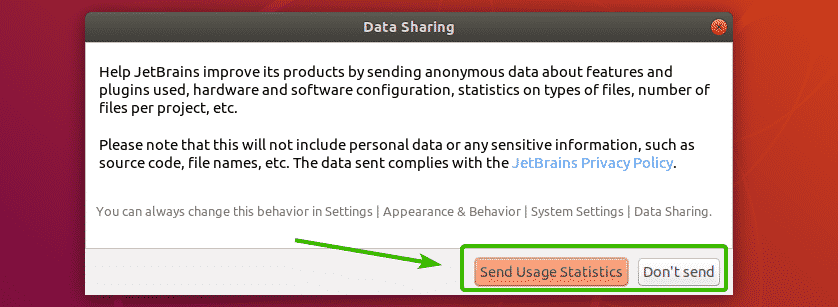
Here, PHPStorm is asking you whether you would like to share usage statistics data with JetBrains to help them improve PHPStorm. You can click on Send Usage Staticstics or Don’t send depending on your personal preferences.
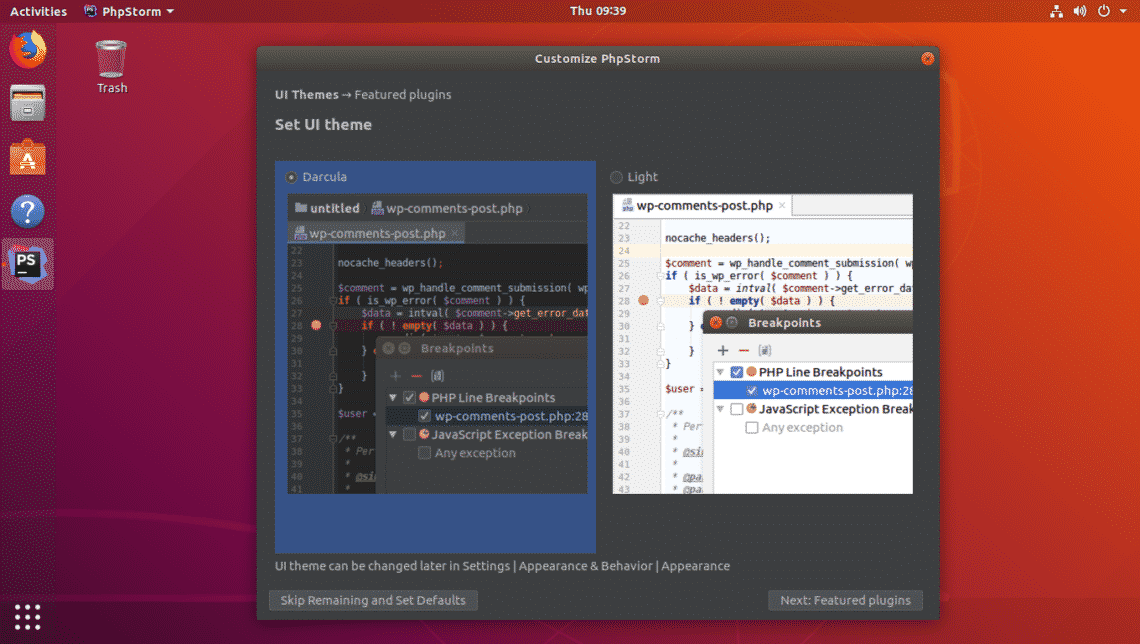
Now, PHPStorm will tell you to pick a theme. Jetbrains IDEs has a Dark theme called Darcula and a Light theme. You can see in how each of the themes look like here. Select the one you like.
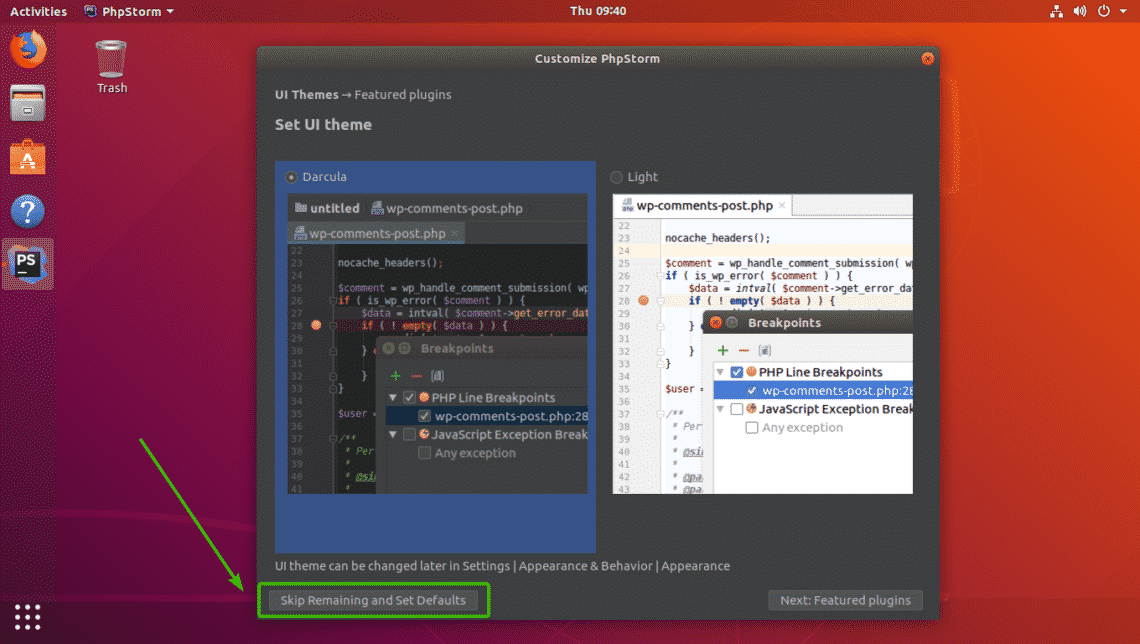
If you don’t want to customize anything else, and leave the defaults for the rest of the settings, just click on Skip Remaining and Set Defaults.
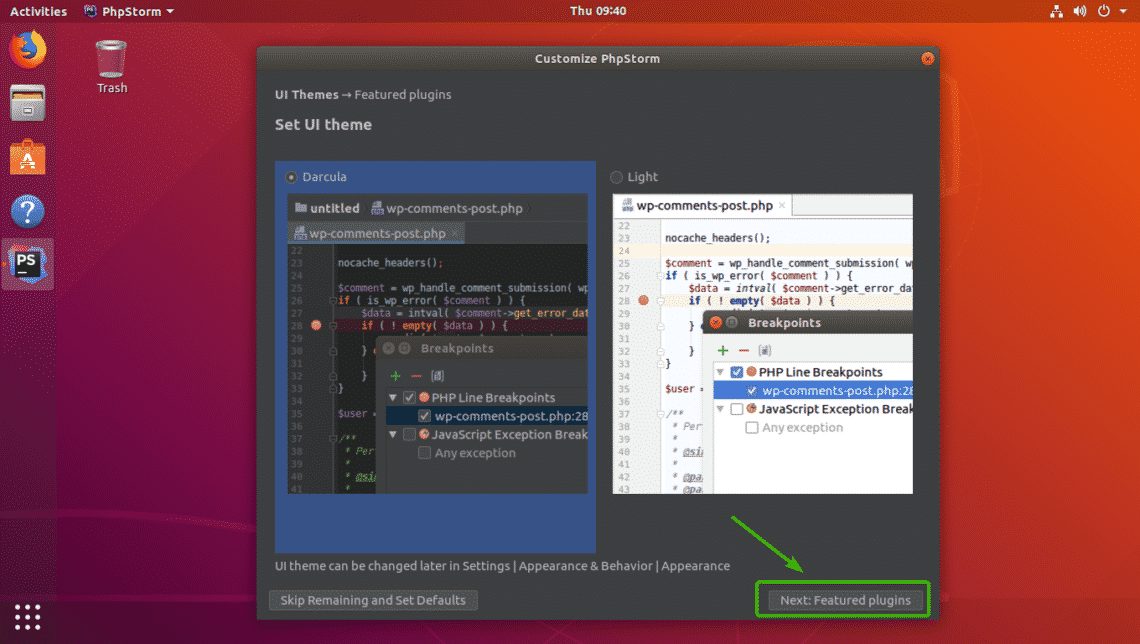
If you want to customize PHPStorm more, click on Next: Featured plugins.
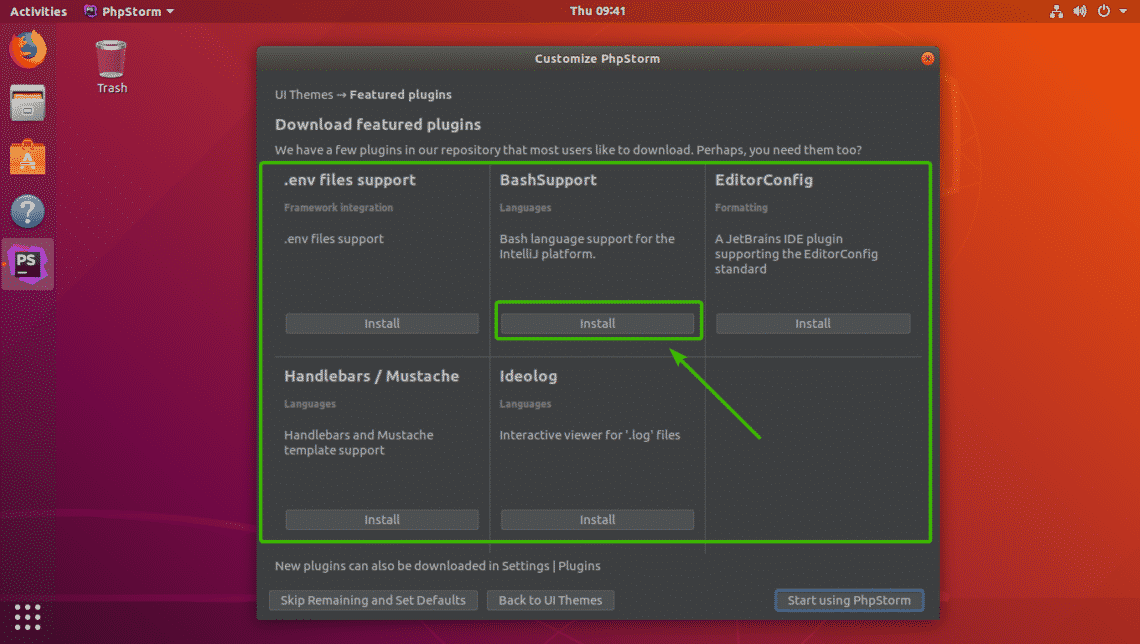
Now, you will see some common plugins. If you want, you can click on Install to install the ones you like from here. You can do it later as well.
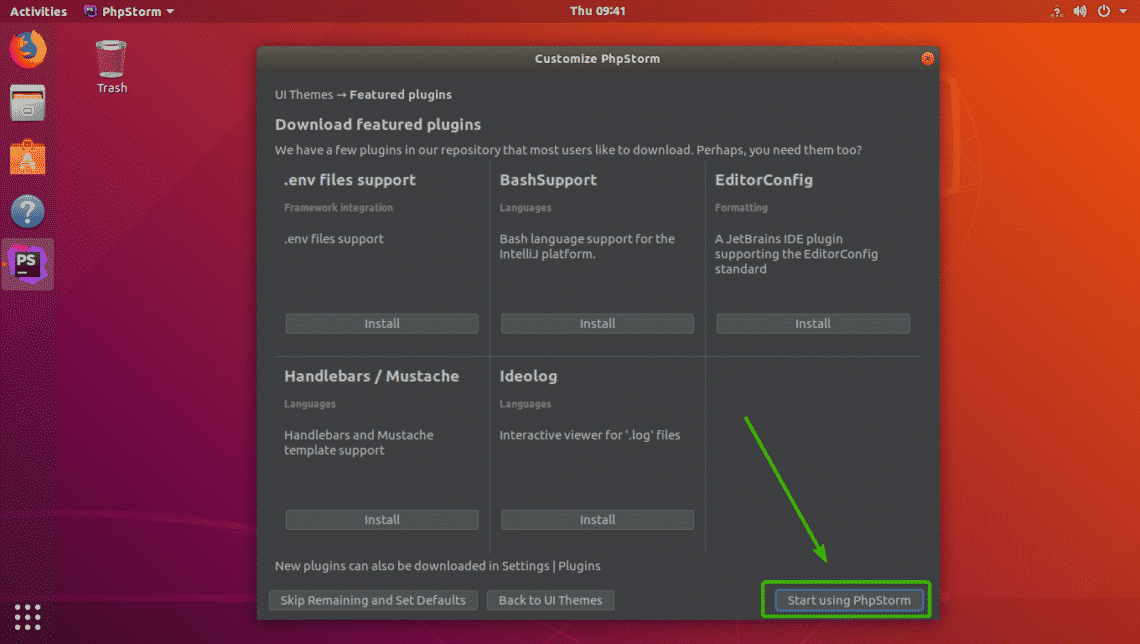
Once you’re done, click on Start using PhpStorm.
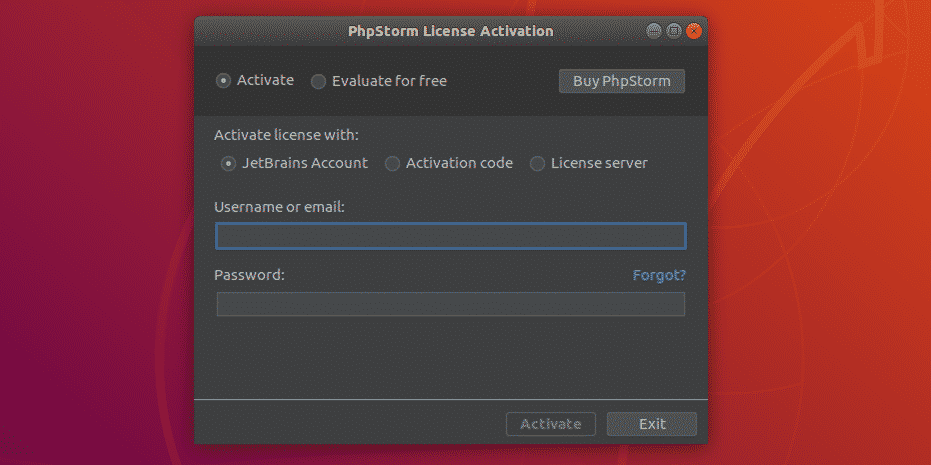
Now, you will be asked to activate PHPStorm. PHPStorm is not free. You will have to buy a license from JetBrains in order to use PHPStorm. Once you have the license, you can activate PHPStorm from here.
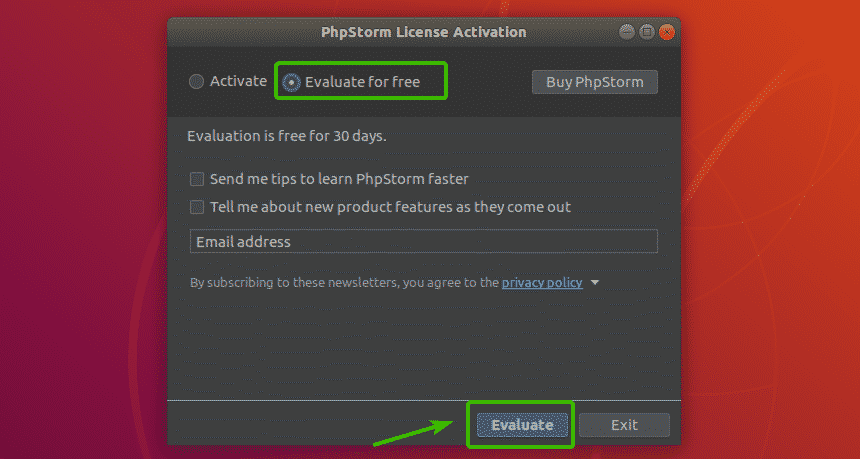
If you want to try out PHPStorm before you buy it, you can. Select Evaluate for free and click and Evaluate. This should give you a 30-day trial.
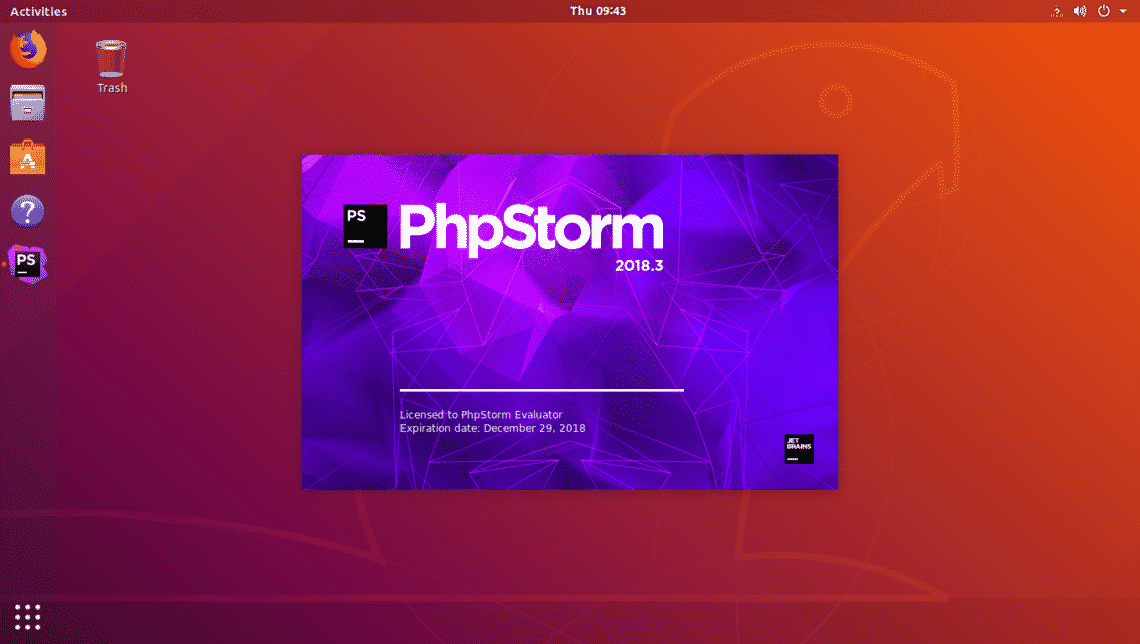
As you can see, PHPStorm is starting. It’s beautiful already.
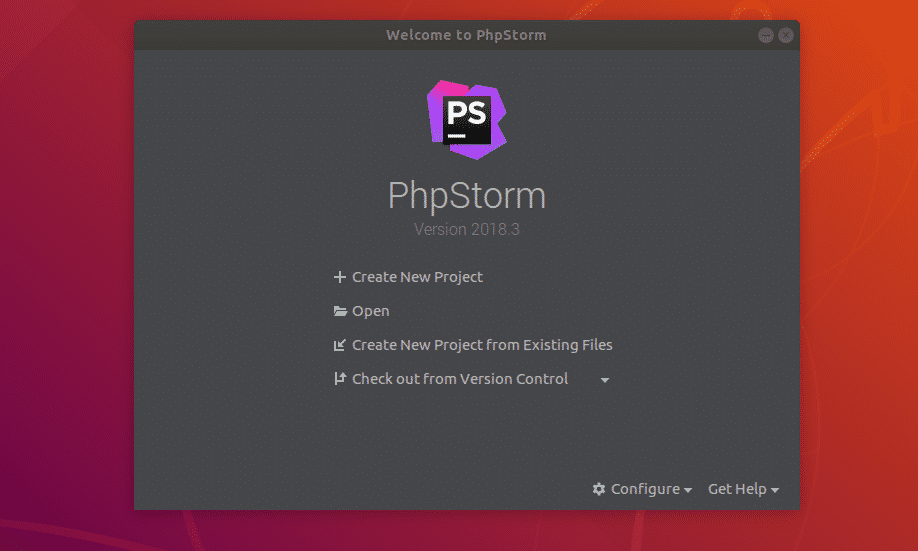
This is the dashboard of PHPStorm. From here, you can create new projects or import projects.
Creating a New Project with PHPStorm:
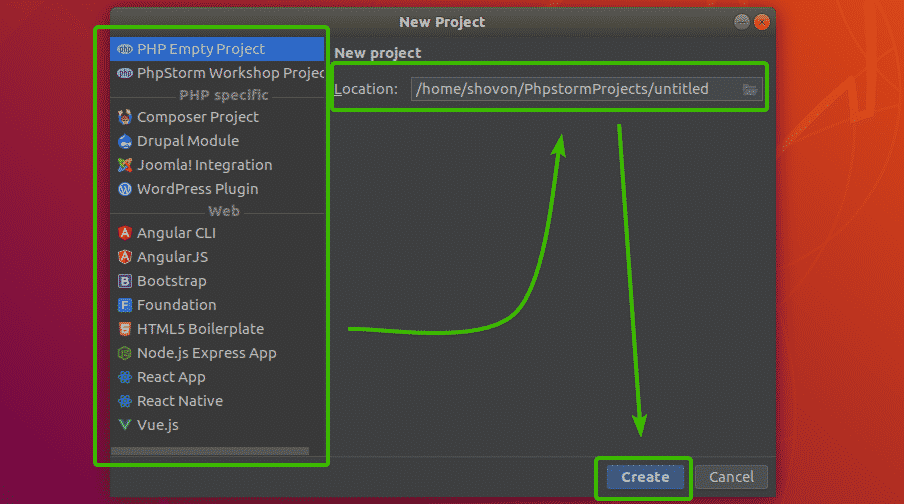
First, open PHPStorm and click on Create New Project.

Now, select the project type and then select the location of where the files of your new projects will be saved. Then, click on Create.
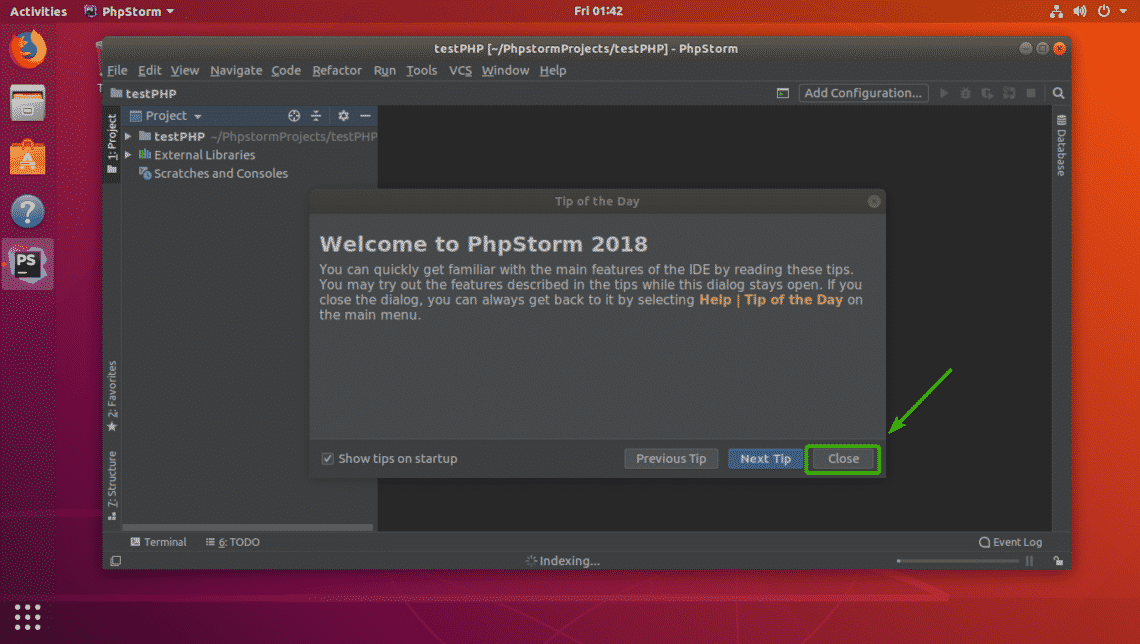
As you can see, a new project is created. Click on Close to close the Tip of the Day window.
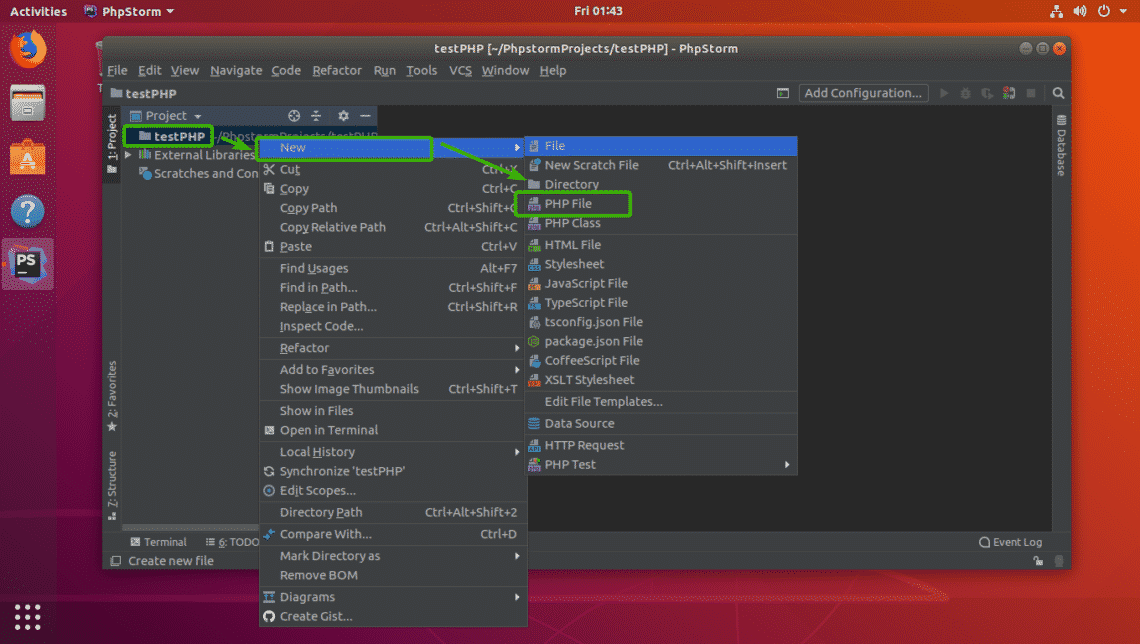
Now, you can create new files in your project as follows. Let’s create a PHP File.
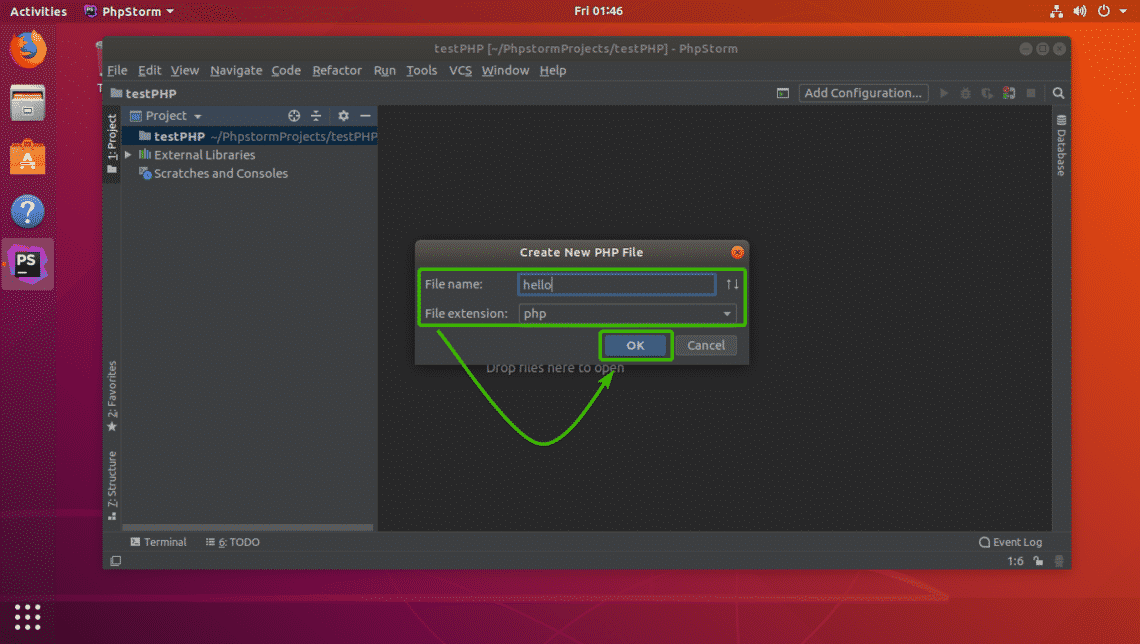
Now, type in a File name and make sure the File extension is correct. Then, click on OK.
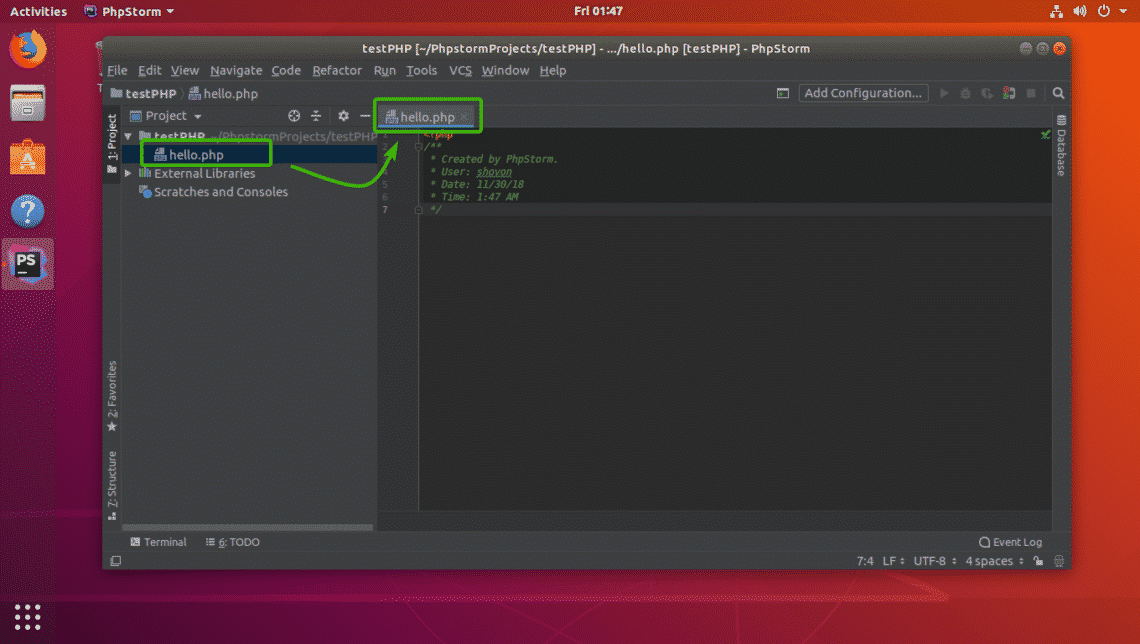
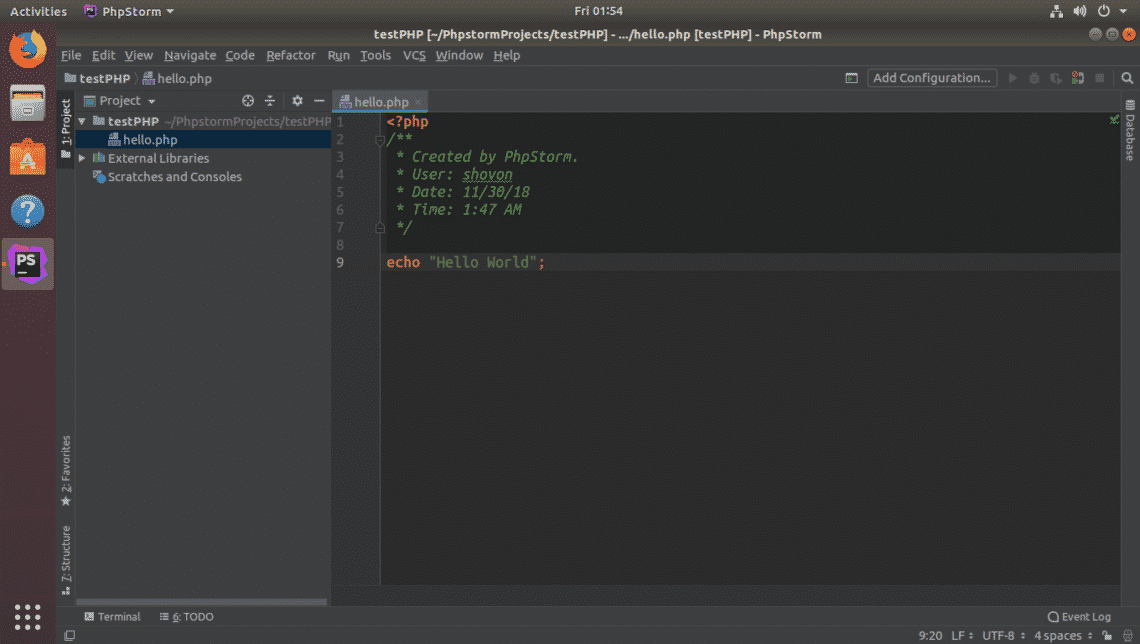
As you can see, a new PHP file hello.php is created. Now, you can start typing in PHP code here.
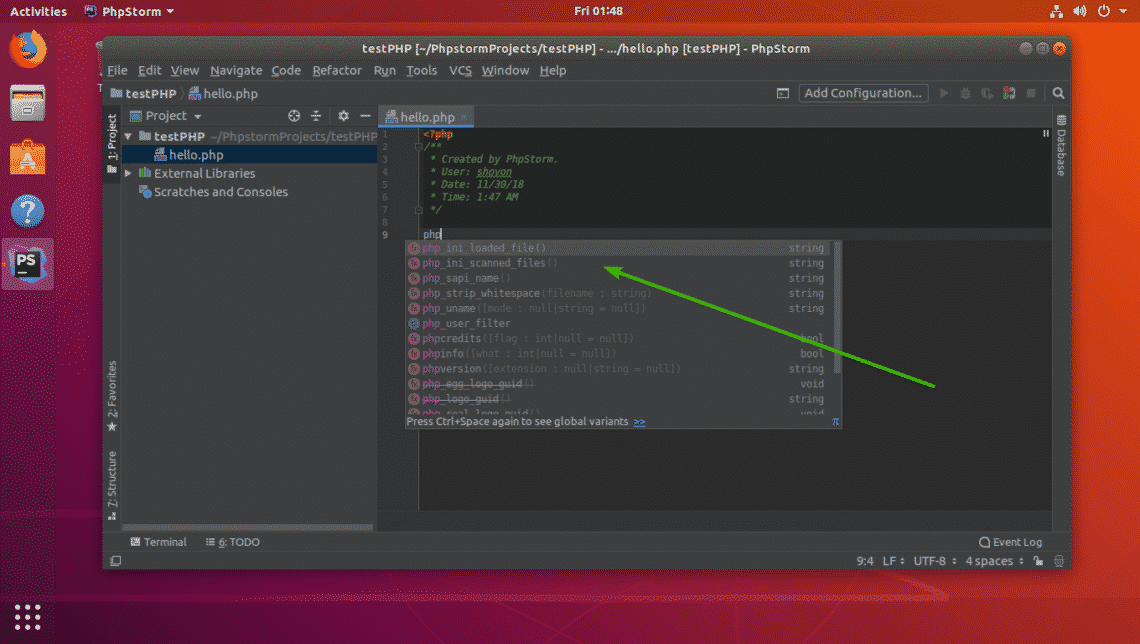
As you can see, you get auto completion when you type in PHP code. It’s amazing.
Changing Fonts and Font Size:
If you don’t like the default font or the font size is too small for you, you can easily change it from the settings.
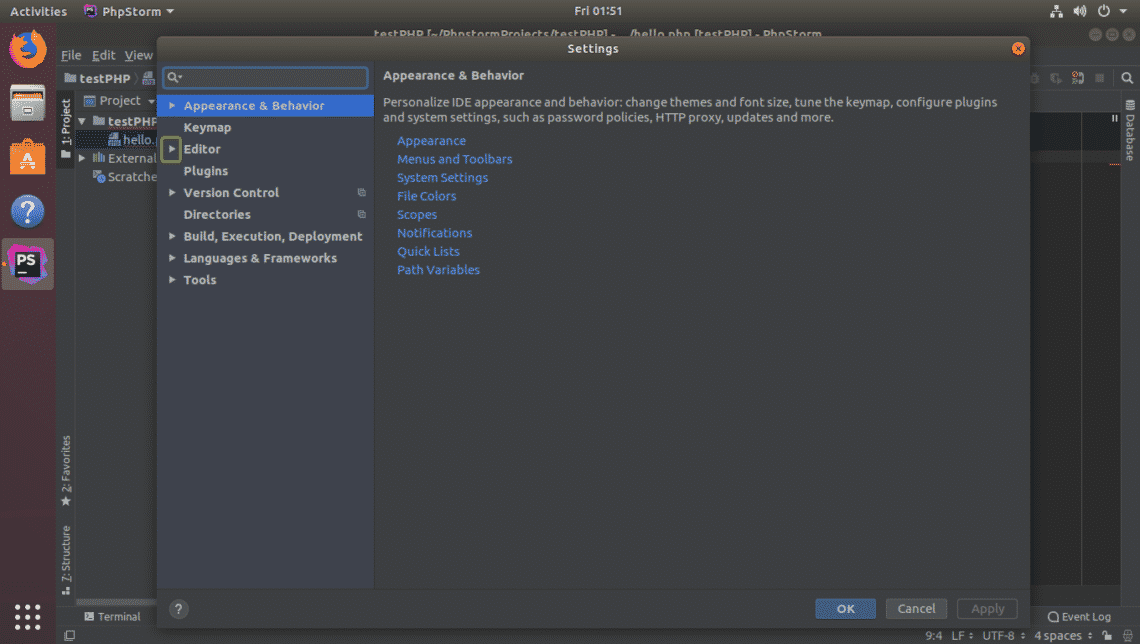
Go to File > Settings. Now, expand Editor.
Now click on Font. From the Font tab, you can change the font family, font size, line spacing etc. Once you’re done, click on OK.
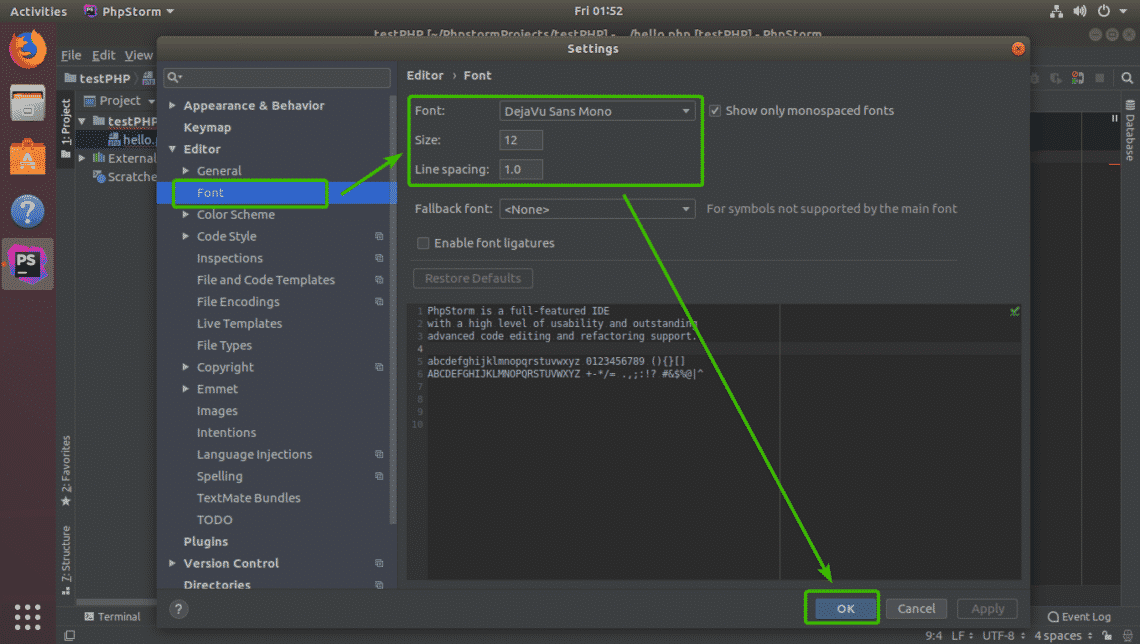
As you can see, I changed the fonts to 20px Ubuntu Mono and it worked.
Managing Plugins on PHPStorm:
Plugins adds new features or improve PHPStorm IDE. PHPStorm has rich set of plugins available for download and use.
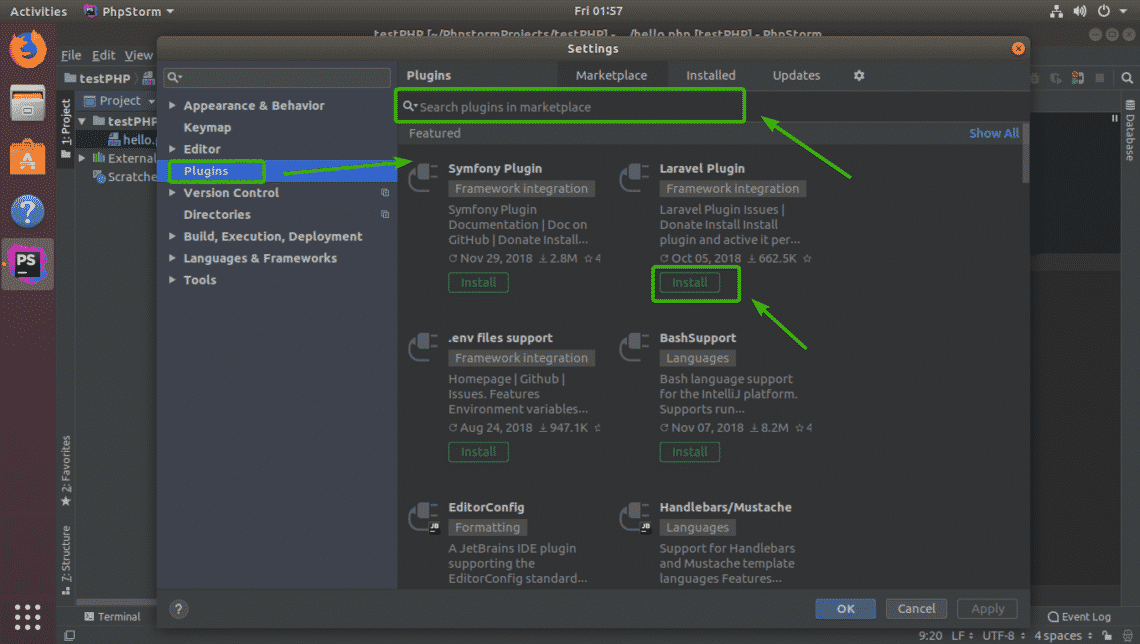
To install plugins, go to File > Settings and then click on the Plugins section.
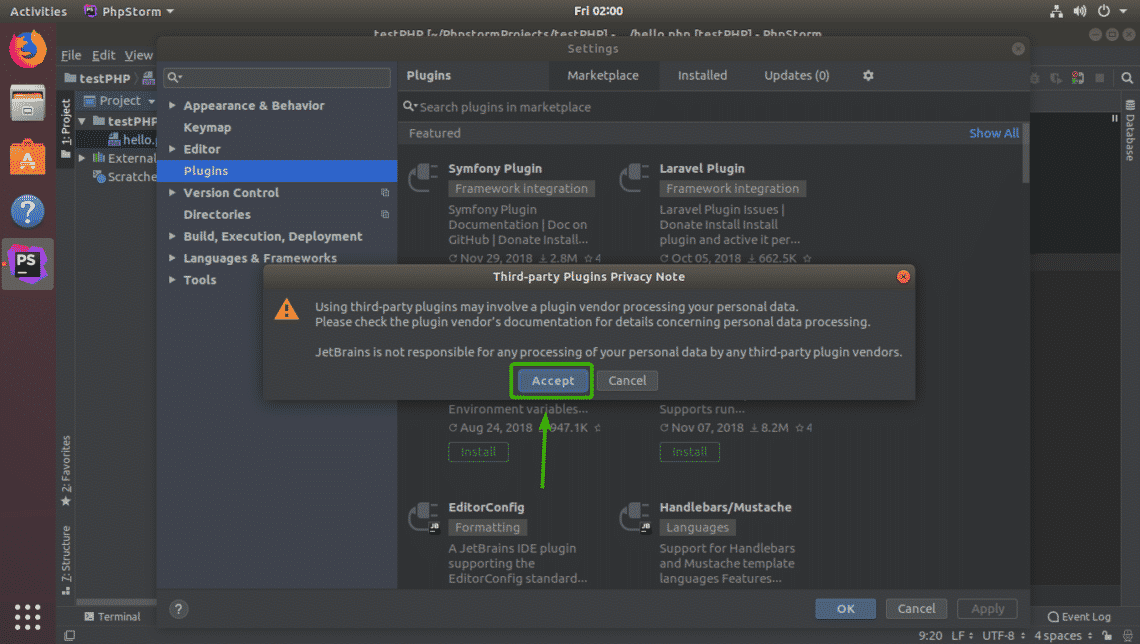
Here, you can search for plugins. Once you find the plugin you like, just click on Install to install the plugin.
Once you click on Install, you should see the following confirmation window. Just click on Accept.
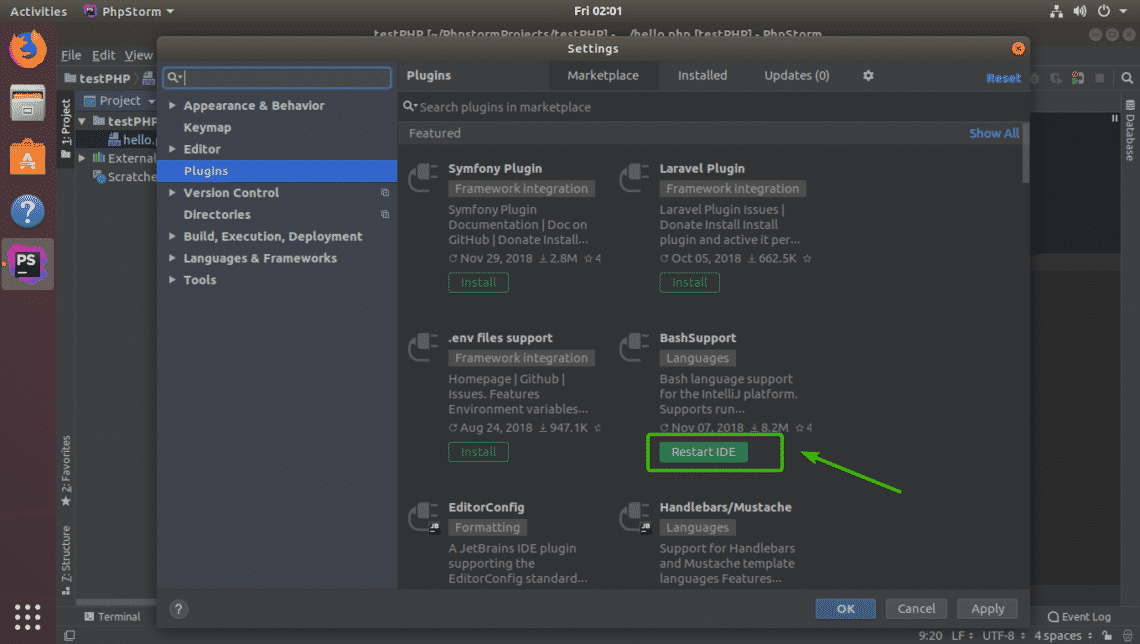
The plugin should be installed. Now, click on Restart IDE for the changes to take effect.
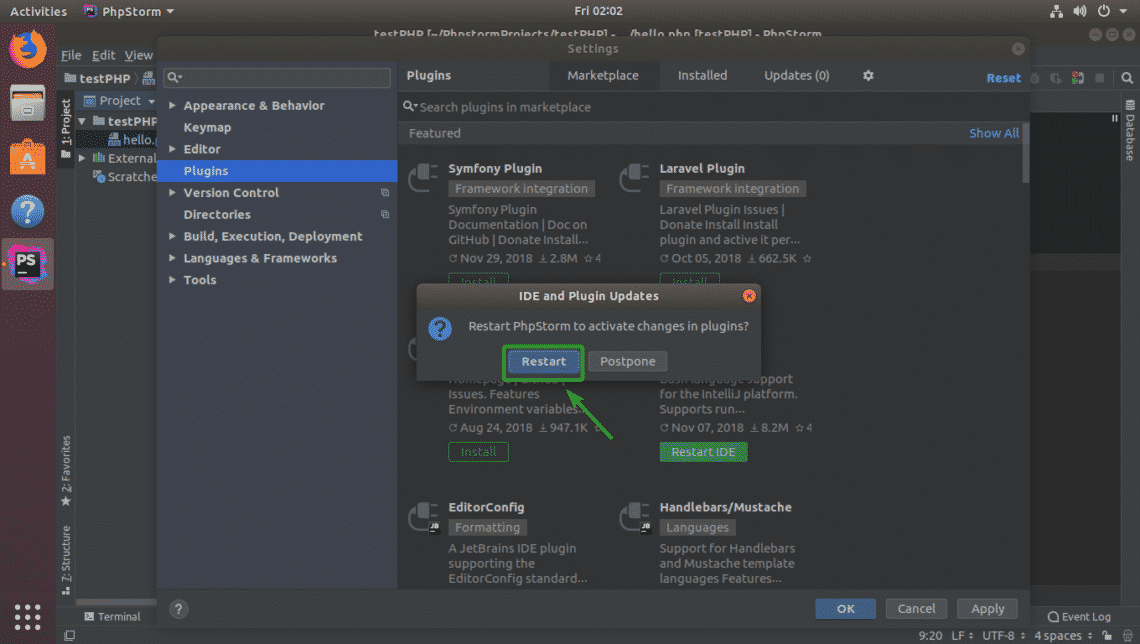
Click on Restart.
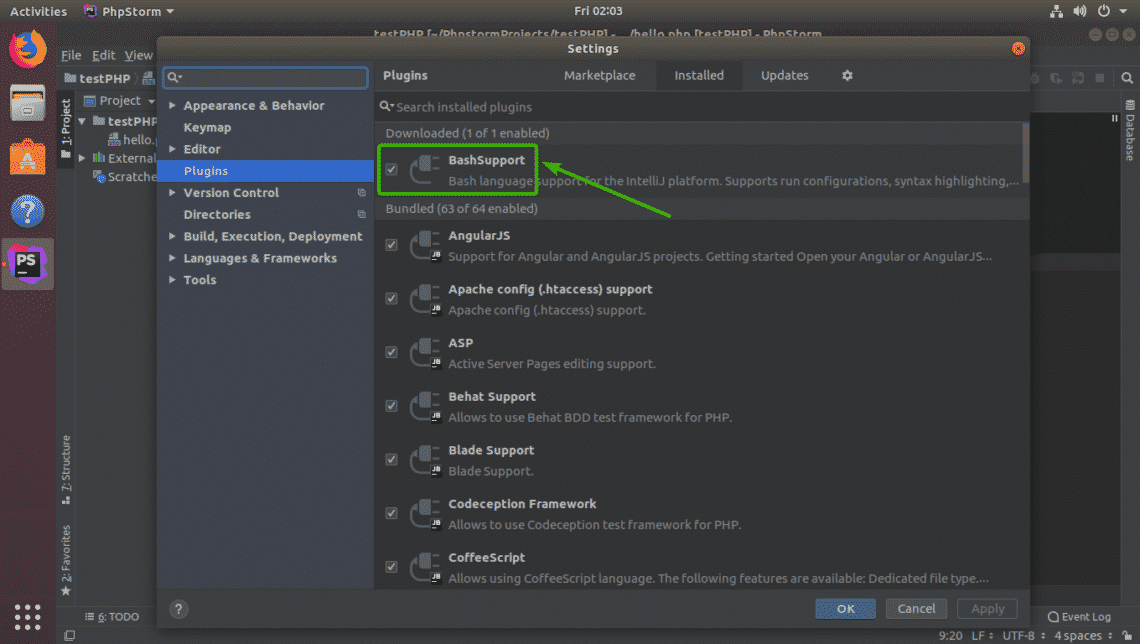
As you can see, the plugin I installed is listed in the Installed tab.
To uninstall a plugin, just select the plugin and press <Delete> or right click on the plugin and select Uninstall.
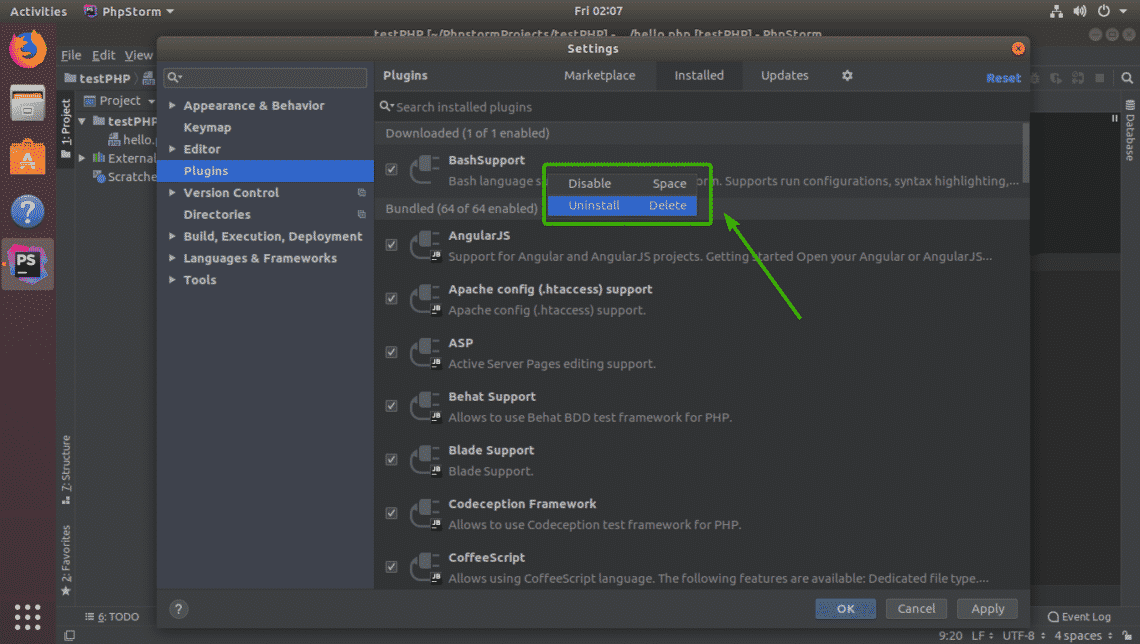
You can also disable specific plugins if you want. Just select the plugin you want to disable and press <Space Bar>. If you want to enable a disabled plugin, just select it and press the <Space Bar> again. It will be enabled.
So, that’s how you install and use JetBrains PHPStorm on Ubuntu. Thanks for reading this article.