Docker features
The feature list of Docker is quite a long one. It all starts with the benefit of containers.
Containers make the life of developers and users a LOT easier than before. Traditionally, software had to be built, packaged and published for the consumers. This task was platform-specific, meaning the software had to be tweaked and rebuilt for each target platform. To make things worse, the dependencies might cause big problems from platform to platform. Double the pain with no benefit.
Docker, with its container system, offers a better solution. Instead of building the package for all platforms, it’s built only once. As for the dependencies, Docker only packs the uncommon and necessary ones. Thus, Docker containers are reduced size for easier sharing. On dev’s side, it reduces the time and effort for maintenance and improvements. They can only focus on the coding of the package and not worry about the target platform.
For system admins, Docker offers centrally managed and secure way of distributing critical applications. Unlike virtualization, Docker allows easier connection with the host system’s kernel without the necessity of intermediate virtualization. This dramatically improves performance compared to virtual servers.
Probably the best part is, it’s completely free of cost! Docker is an open-source project that’s shaping the industry. Because of its impact, even big firms like Red Hat, Rackspace and Microsoft have been working with Docker!
Docker on Arch Linux
Installing Docker
Because of its sheer popularity and benefits, Docker is now an official package of the Arch Linux package collection. No need to tinker with AUR.
At first, ensure that the system is up-to-date.
Enable the loop module.


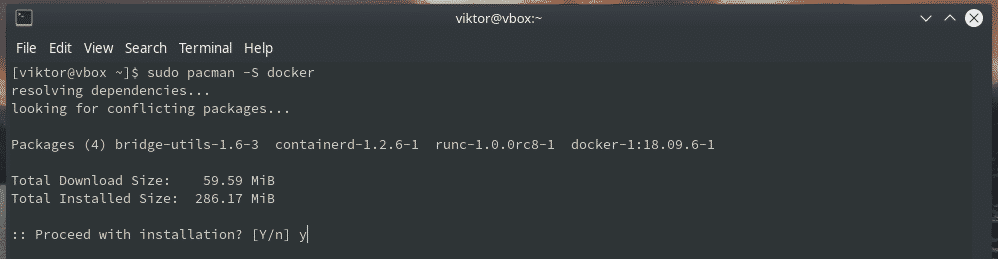
Now, it’s time to install Docker. There are 2 versions of Docker available for installation – from official repository (stable) and AUR (testing).
Official repo
This is the one we’ll be using for the rest of the guide. Tell pacman to install Docker.
AUR
This is a development version of Docker. It’s not suitable for regular usage.
Prepare your system for building AUR packages.
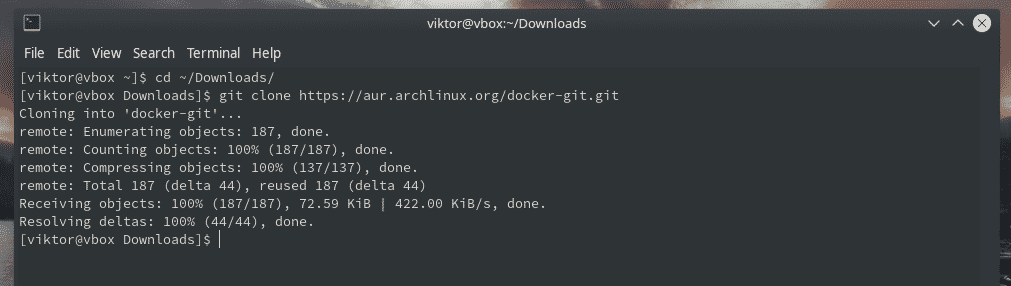
Now, grab Docker from AUR.
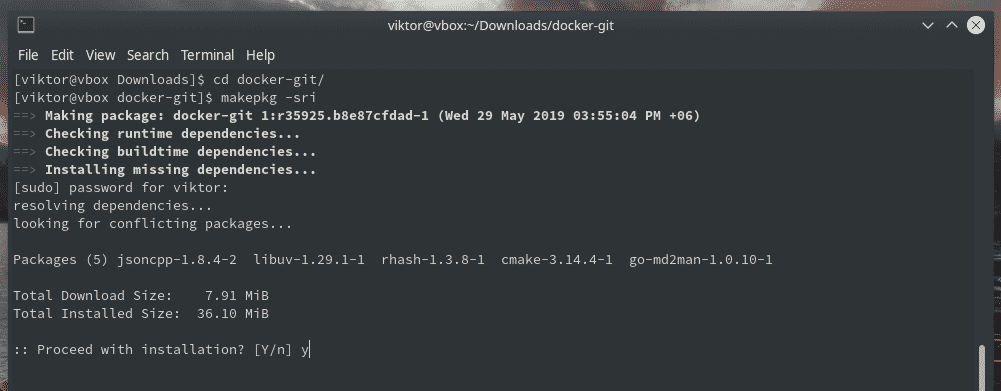
Start the building procedure.
makepkg -sri

Configuring Docker
Once installed, there are some system tweaks necessary to perform.
At first, start and enable the Docker service. This will start Docker daemon at every boot.
sudo systemctl enable docker.service

Verify that the process went as expected.
Running Docker as a normal user
By default, Docker can only run as root. However, for everyday usage, running as root is not a realistic scenario. For using Docker as a normal user, we have to add the target users into the “docker” user group.
Add the Docker group.

Now, the group is ready to register users. Add your user(s) in the group.

Don’t forget to logout and log back.
Need to verify the effect? Run the following command.
Using Docker
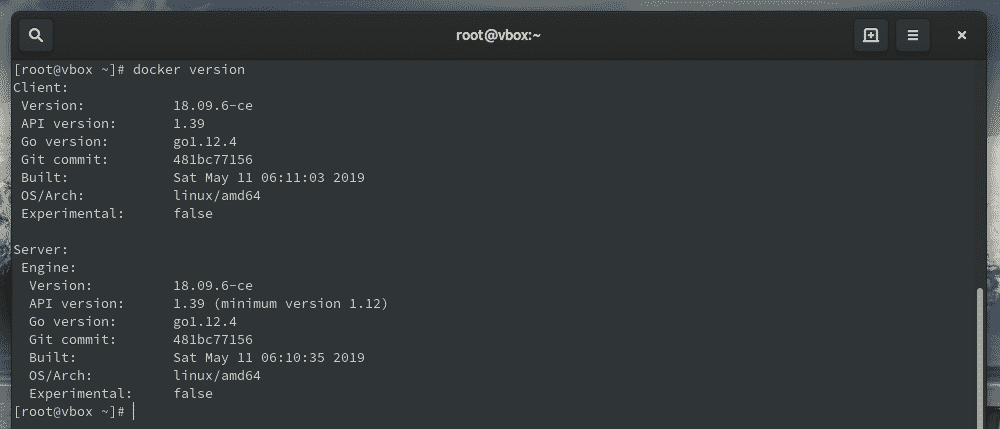
Docker version
Check out the Docker version your system is running.
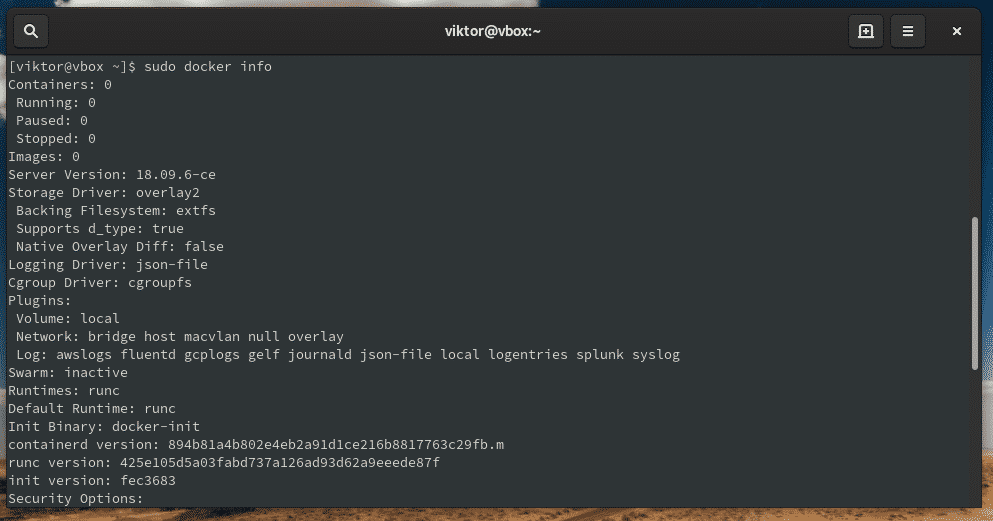
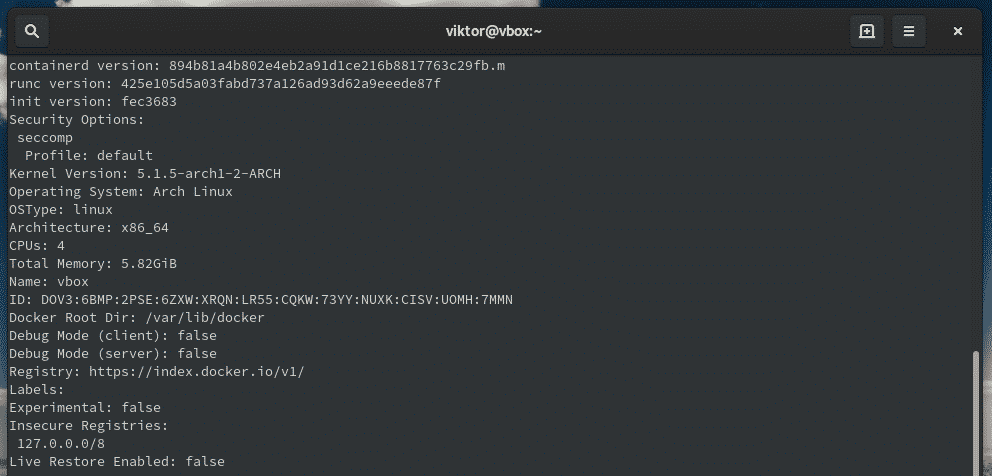
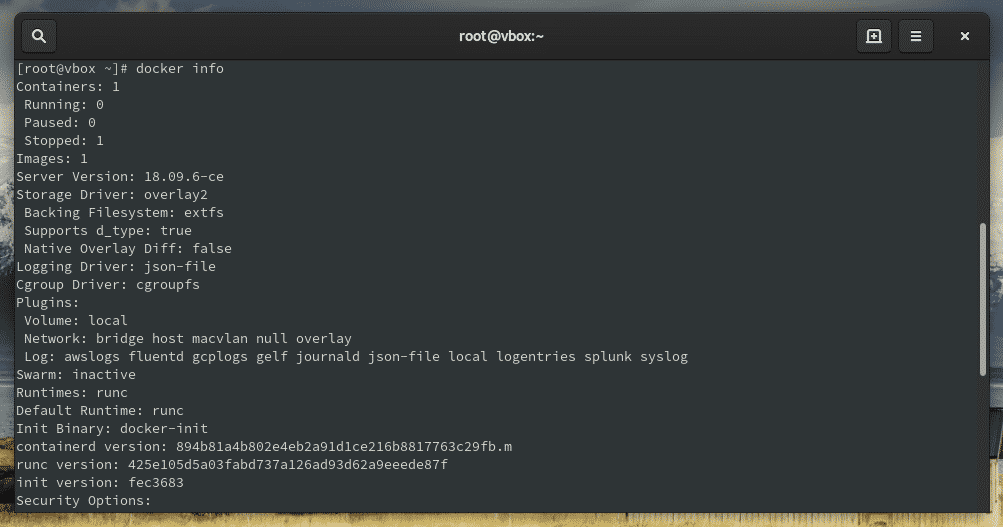
For system-wide information, use the following command.
Search Docker image(s)
Images are at the heart of Docker. It’s essentially an instruction that’s responsible for compiling the complete executable version of the target app. It’s highly dependent on the OS kernel. When Docker starts running an image, it essentially becomes one or multiple instances of that container.
Confused about the name of an image? Let Docker do the searching job.

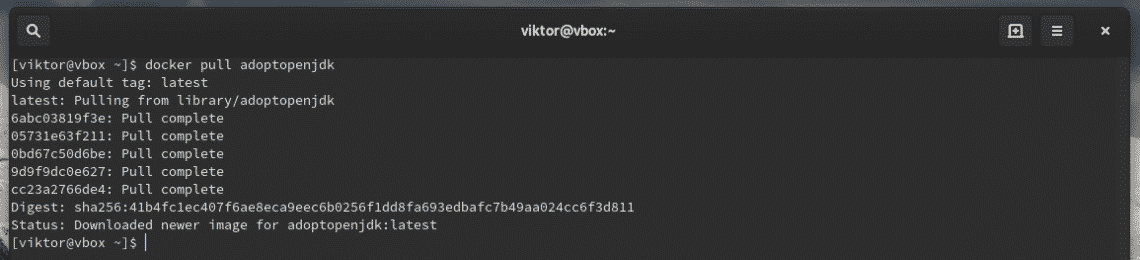
Downloading Docker image(s)
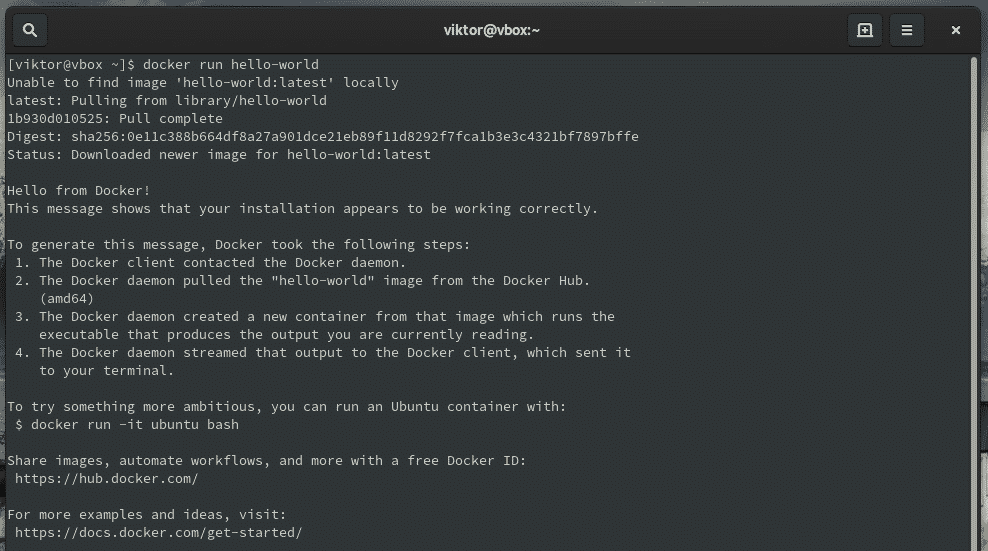
Once you’ve decided to install an image, tell Docker to do the job.

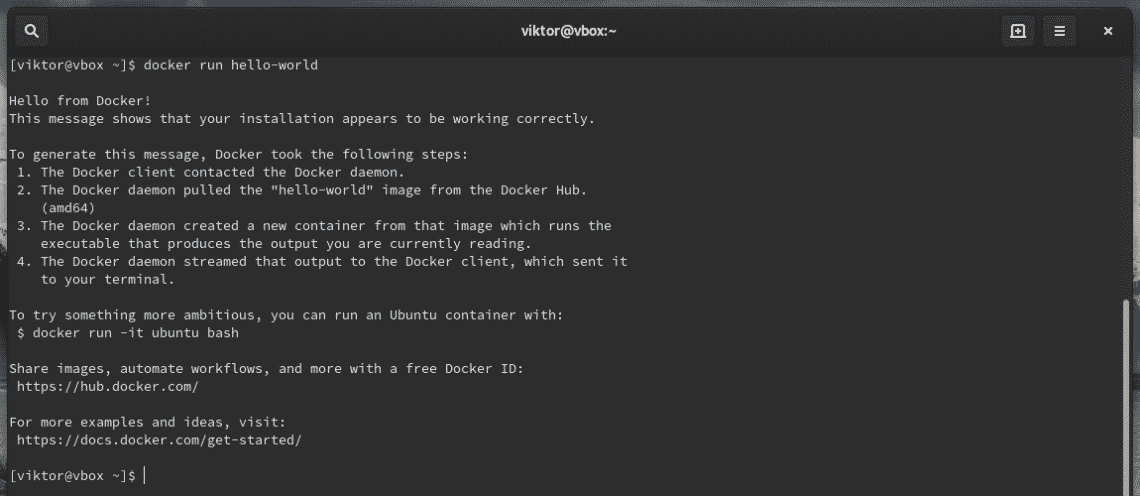
Using an image
Every single Docker image has its own style of usage. Check out Docker Hub for all the officially available images and their usage.
Generally, Docker follows the following structure for running an image.
Building your own image
It’s possible to generate your own image from an existing Docker image. Note that this won’t share the data stored in the volumes mounted by the original image.
Find out the container ID of the target image.

Once you’ve performed your preferred modification, commit the changes and create your own image.

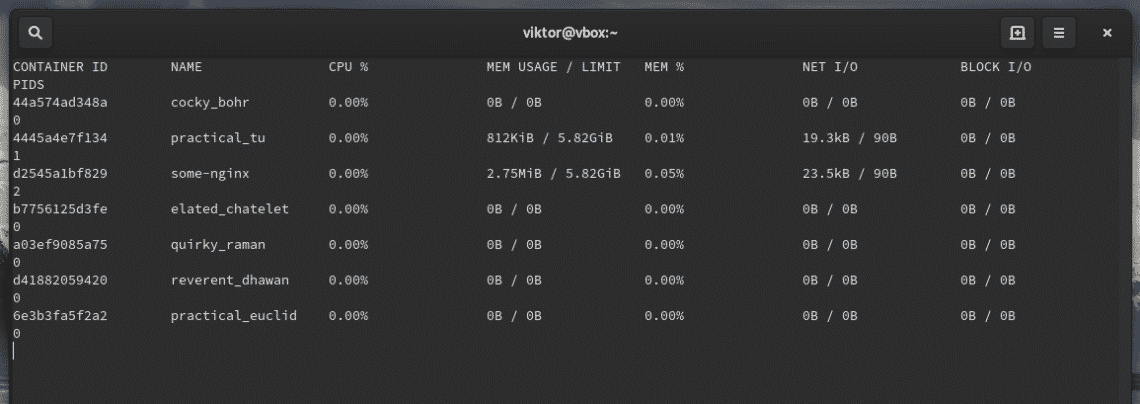
Listing all installed containers
Check out what containers are currently installed in the Docker system.

Monitoring container behavior
Docker also allows monitoring the current stats of all the containers running.

If you’re willing to monitor stopped containers as well, use the following command.
All these stats are continuous streams of the current stats. Sometimes, this can be annoying depending on the situation. To get the stats of just a single moment, run the following command.

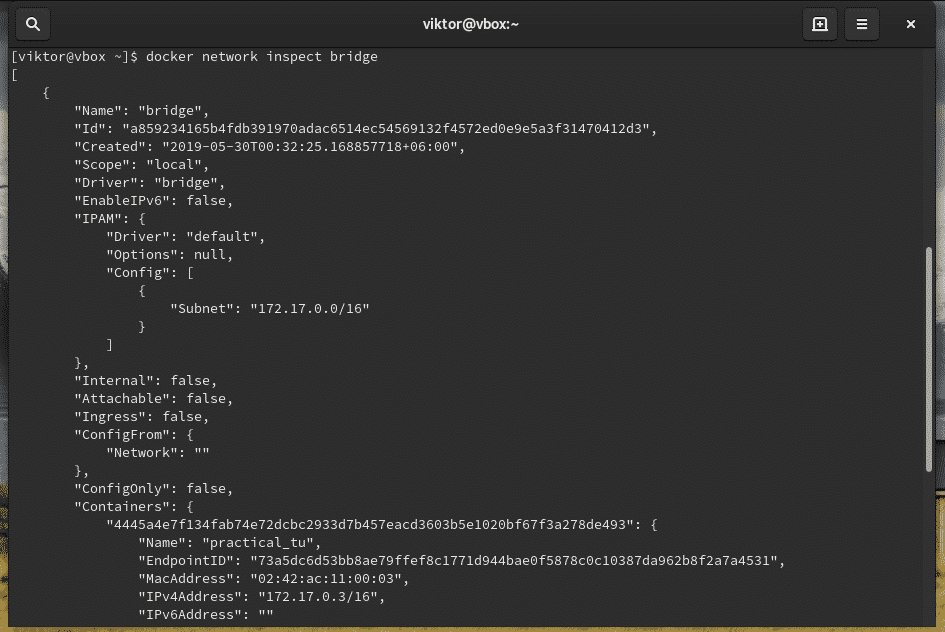
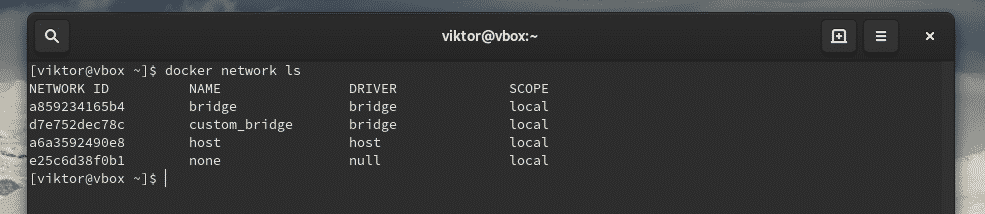
Network configuration
Docker allows managing the network connections. By default, it creates 3 networks. List the networks.

Inspect a certain network.
Docker recommends using user-defined networks for controlling container communication. There’s no limit on the number of networks. A container has the ability to connect with multiple networks at once.
Create a custom network.
docker network create –driver <driver_name> <network_name>

Check out the result.
For running a container using the newly created bridge, run the following command.
–network=<network_name>
-itd <container_name>

Changing images location
By default, Docker stores all the images at “/var/lib/docker” directory. It’s possible to change the directory to your desired location.
We need to move the images from “/var/lib/docker” to the desired directory. This is a tricky part that requires a bit carefulness.
At first, let’s perform some housekeeping. With the freed-up Run the following commands.
docker ps -f status=exited

docker stop [container_id] && docker rm -v [container_id]

docker volume rm $(docker volume ls -qf dangling=true);
# Get rid of any dangling images
docker rmi $(docker images -qf dangling=true);
Now, time to prepare for making the move. Create the directory and change permission.
sudo chown root:root /path/to/directory/docker &&
chmod 701 /path/to/directory/docker

For making the move, we have to stop all the running containers.
Stop the Docker service.
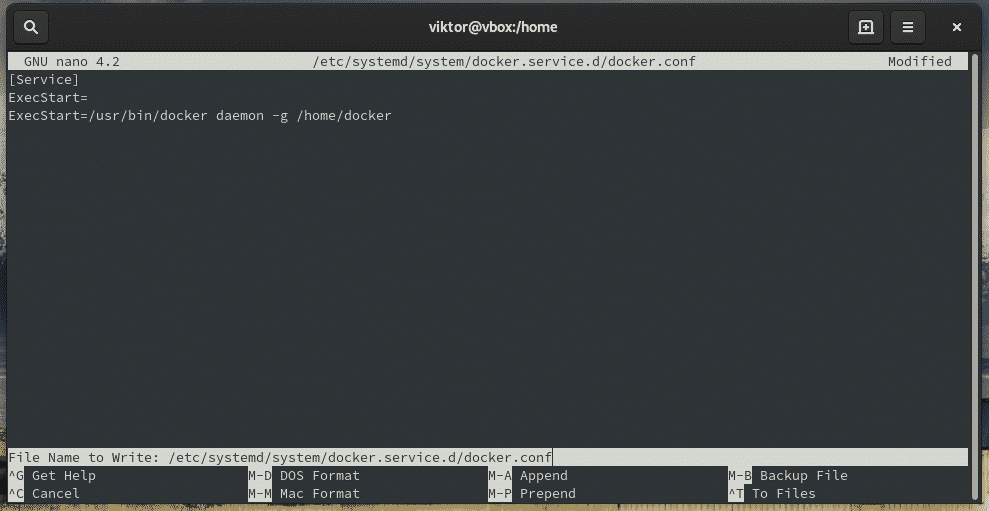
Next up, we have to create a config file for Docker. Create the directory for the config file.

Now, create the docker.conf file.

Fill the file with the following content.
# Enter the following lines in the file
[Service]
ExecStart=
ExecStart=/usr/bin/docker daemon -g /path/to/docker
Reload the Docker daemon configuration.

Before making the move, it’s necessary to unmount all the Docker mounts. It will ultimately depend on the storage engine.
sudo umount ./*
The system is ready to make the file movement. Run the following commands.
mv /var/lib/docker/ /home/docker
ln -s /path/to/docker /var/lib/docker

Finally, start Docker.
Final thoughts
Docker is a huge platform with tons of features. This guide is just a short demo on how complex and powerful the Docker ecosystem is. In order to get fully acquainted with Docker, there are a number of tutorials to grind.
Feel free to explore the amazing world of Docker!
Cheers!